Junior Heart Paint Pipettes

R54470-A

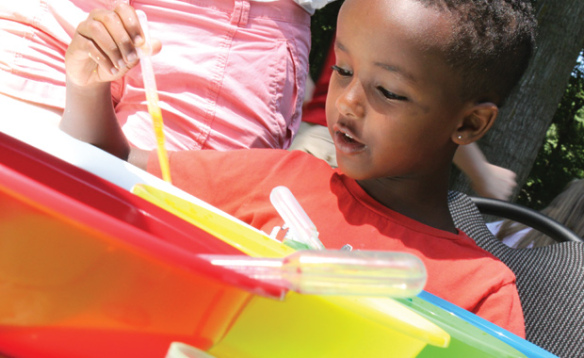
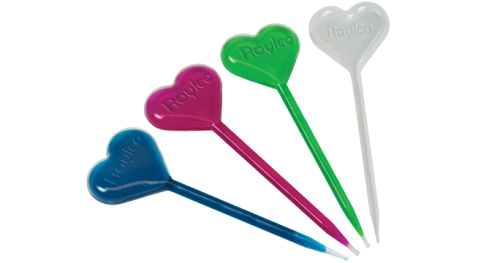
Use our Junior Heart Paint Pipettes and love your art! The pipettes have heart-shaped bulbs at the top that will encourage children to practice flexing and squeezing their fingers.

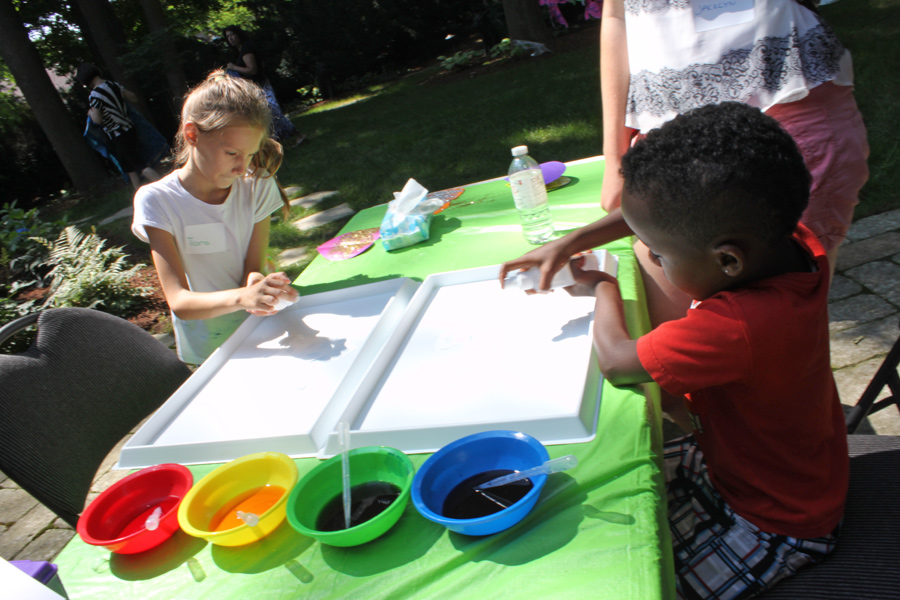
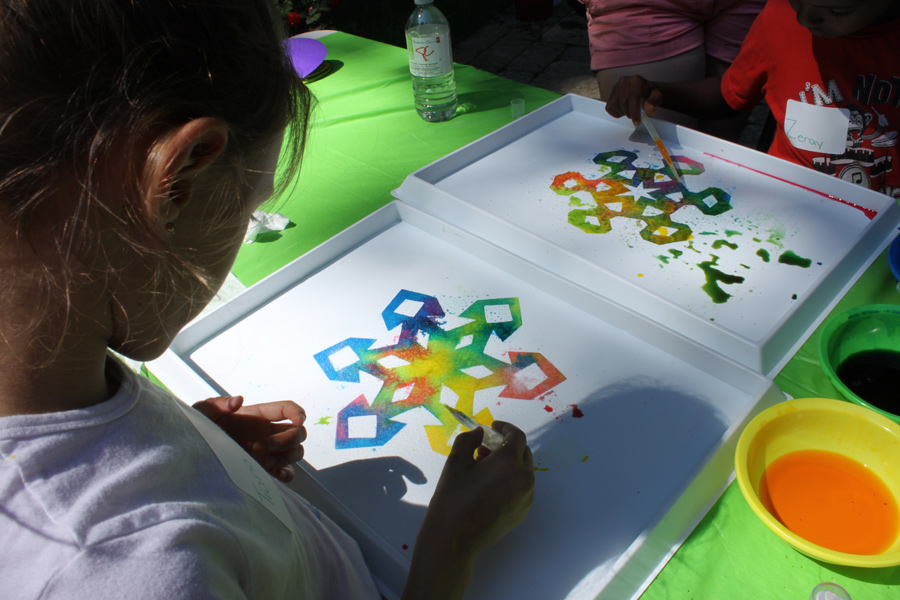
Mix a few drops of concentrated watercolor paint or food coloring with about 2 cups of warm water. Squeeze the bulb to expel all the air from the inside and then dip the nozzle into a bowl of watercolor paint. Release the bulb. The inner chamber will fill with paint.

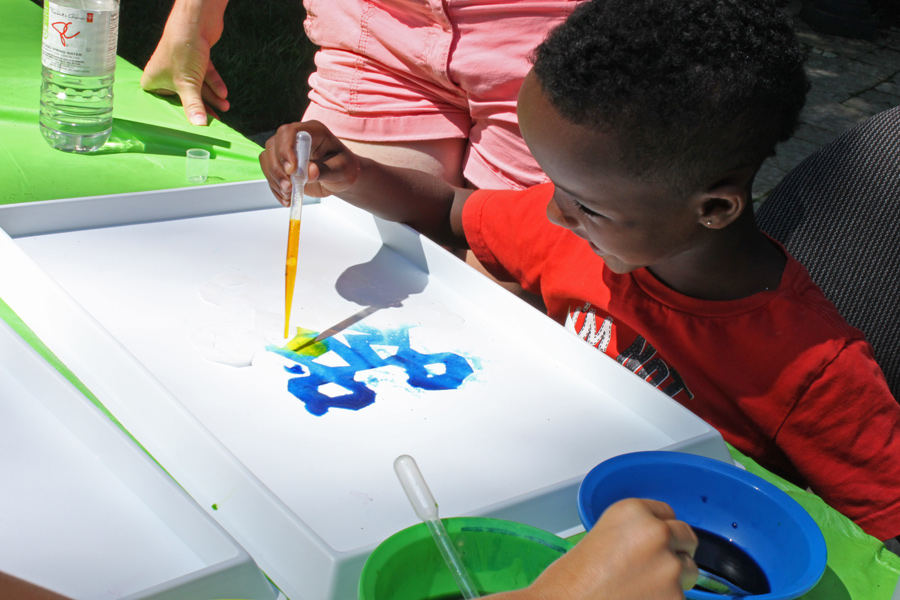
Squeeze the bulb to press out the paint.

R54470-B

Here are some ideas on how to use the Paint Pipettes!

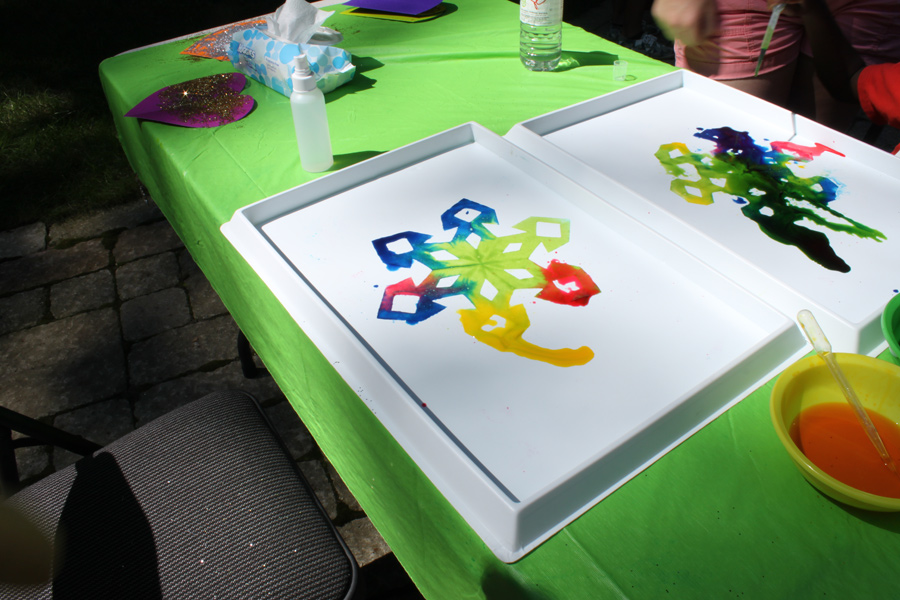
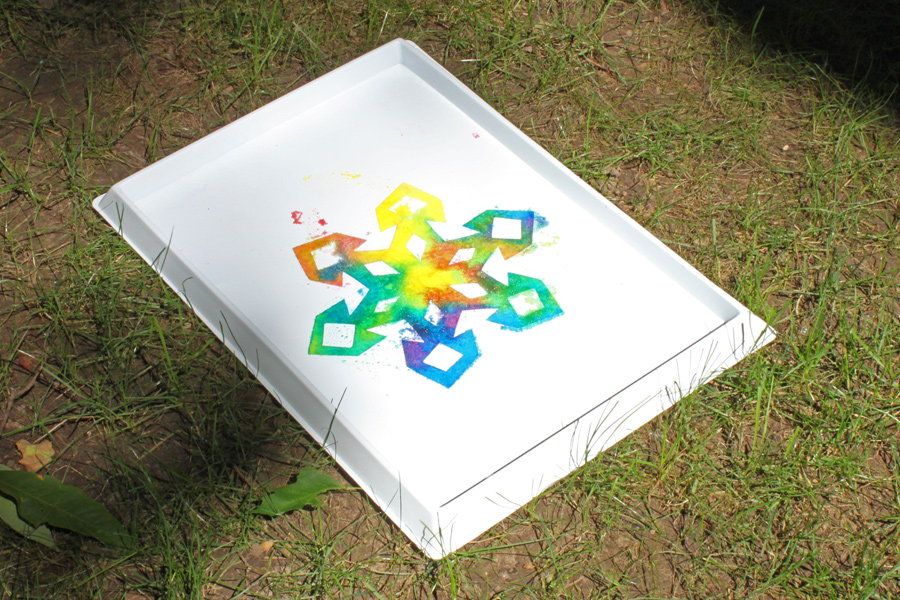
  • Make interesting splatter art.
  • Mix up watercolor paint with a dash of glitter. Pipette the mixture onto a sheet of Color Diffusing Paper. Let dry overnight, then in the morning, get a look at your fantastic glitter painting!
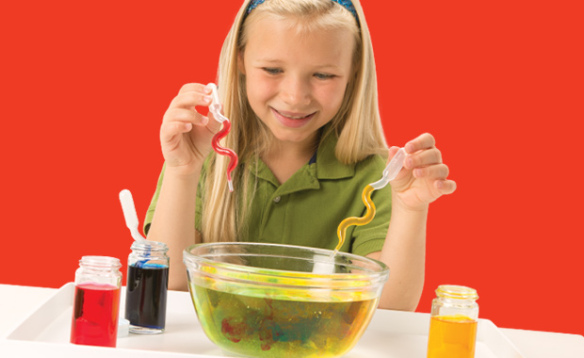
  • Make a gel heart! Mix up ¼ cup cold water to 1 packet of Knox® Gelatine. Add ¼ cup boiling water and stir until dissolved. Use the pipette to draw in some of the mixture. Let set at room temperature or place in the fridge for faster setting times. Once the gel is set, use a pair of scissors to cut the pipette open. Peel away the sides to reveal your gel heart! Tip: Add in a bit of food coloring to the mixture before you let it set.

Looking for more ideas? Check out our YouTube page for more Roylco videos!

Line-09

Like us on FacebookShare this post with your friends, or Subscribe to this blog today to receive original craft project updates every week!

Spotlight on… Squiggle Pipettes

squiggle pipette painting watercolors

We recently revamped our pipette line with a few new designs! One of the new designs is our fabulous Squiggle Pipettes. Learn more below!

squiggle pipette painting watercolors

Squiggle Pipettes feature an interesting squiggle design that helps to distribute paint evenly onto paper. Learn more about this product here! Pipettes are not only a great tool to use for painting, but can be incorporated into fine motor exercises–the motion of squeezing the bulb helps to get kids working out their pincer grip! If you are planning to paint with the pipettes, use watercolor paints.

To use your pipettes, first squeeze the bulb to press out all the air. Dip the nozzle into a container of watercolor and release the bulb to suction the paint into the pipette. Squeeze the bulb again to release the paint over your sheet of paper.

[youtube https://www.youtube.com/watch?v=QmCBhIL4COc]

You can use the Squiggle Pipettes to color your art! Here are some ideas you can try for yourself! Click on the links to be taken to the full tutorials.

 • Make your own giant weaving mat using only Color Diffusing Paper, paint and Squiggle Pipettes! Cut the dried colored paper into strips and weave them in and out of each other to make a beautiful woven mat.

Learn our secret for color-resist painting! We use Squiggle Pipettes to add color to the flag designs.

Color your own clothes! A paper vest, that is. Find more about how to design your own vest at the link.

• Form your art into beautiful images of animals using basic shapes! Squiggle Pipettes are used to make the painted images.

Line-16

Like us on FacebookShare this post with your friends, or Subscribe to this blog today to receive original craft project updates every Monday, Wednesday and Thursday!

Craft Spotlight: Color Diffusing Snowflakes

Feature-Image-coldiffsnowflakesThe winter season is fast approaching but you can do your decorating now! Our easy-to-use Color Diffusing Snowflakes give children the opportunity to explore their painting skills while experimenting with a few neat effects!

The Color Diffusing Snowflakes are cut into a variety of different snowflake shapes. Since every student will color their snowflakes differently, you can talk about how no two snowflakes are alike, even within art!
IMG_2079We worked on our snowflakes in the sun and it helped to speed up the drying process while we painted! So no matter where you live, this will be a great activity for your students to try.

Notice that we provided pipettes at each of the bowls for each color of watercolor paint. This helped to make sure that students placed the pipette back to its original bowl before using another color. In addition, we placed paint trays beneath the Color Diffusing Snowflakes to help keep paint off the workstations.

IMG_2087

Place the pipette above the Color Diffusing Snowflake and gently release some of the paint. Our crafters enjoyed watching the colors spread throughout the paper; it showed the entire shape of the snowflake against the white of the plastic paint tray.

IMG_2109Our crafters combined some of the colors to make some of the coolest-looking snowflakes around!

IMG_2095To really add interest to the project, spread a pinch of Epsom salts or regular table salt over the drying snowflakes. As the snowflakes dry, the salt will stick to the paper and appear sparkly like real snowflakes!

IMG_2112Line-03Thanks for hanging out with us today! Have you tried this project? Send us photos of your work if you have! We’d love to feature your work in our next post! Send all emails to subscriber@roylco.ca!

Special Feature this week:

We’ll be updating every day of this week and next week with fantastic holiday crafts you can use in your classroom!

Please note:

LittleFingersBigArt won’t be posting anything between December 18th, 2013 and January 6th, 2014! Have a wonderful winter vacation!