Craft Spotlight: Nature Paper

2014-05-05-FeatureImage

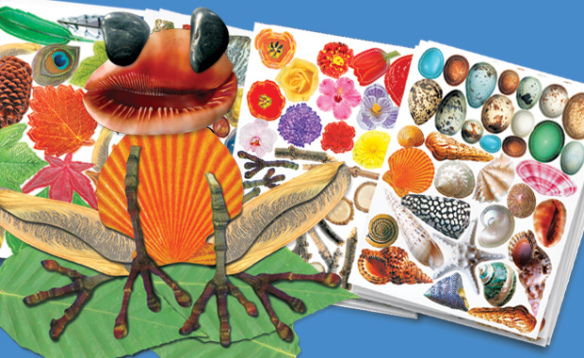
Take a good look at the images in our R15290 Nature Paper, and think of how you can combine them to make colorful, crazy critters! The Nature Paper elements can also be hung from mobiles or pasted onto picture frames or posters as decorations.

The R15290 Nature Paper features 32 sheets of brilliant graphics that are die-cut for easy removal. Simply pop out the images from the backings and use! The great part about these images is that they’re printed on both sides so you don’t have to paste two pieces together.

To view more about Nature Paper, click on this link! You can view a video, read the detailed PDF guide or check out some nifty images. The art in the guide can be used to make your own selection of animal friends. Find the first image in your Nature Paper set, and match it in the same position as shown in the guide. Continue to find the remaining images in the set and glue together once the image is complete.

Get a little creative with your own designs! The video below shows you how to make a beautiful dancing ballerina from the elements in the kit. What a great exercise for young students! Learn how to combine these elements together, just like puzzle pieces, to create something new!

Line-17

Thanks for viewing this post! Give us a like and share with your friends! Subscribe to this blog to receive updates every Monday, Wednesday and Friday on new craft projects and products. We’d love to hear from you! Send us your input through the contact form.

Craft Spotlight: Sew Up Vests

2014-04-28-FeatureImage

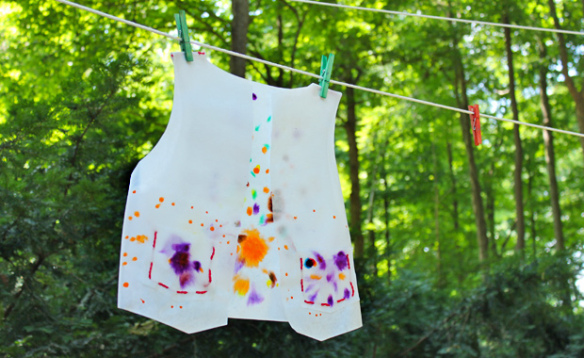
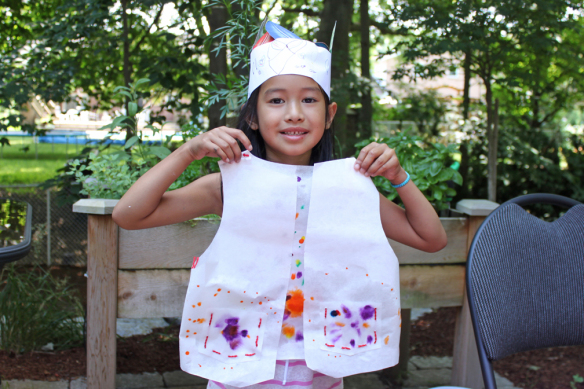
Wear your art! That’s what we say for our amazing Sew Up Vests! These multi-skill craft projects are made from versatile Color Diffusing material so that the paint design you make on the vest creates a tie-dye like effect when you add a bit of water. Paint, fold, sew and wear your vest for a variety of classroom activities!

Sew Up Vests help encourage fine motor development while giving children the creative freedom to design their own wearable vest. The vests dry fairly quickly in the sun after painting, so you don’t have to be stuck waiting for long!

To see more about our Sew Up Vests, visit this webpage. The accompanying teacher’s guide gives you more project ideas and suggestions to experiment with your Sew Up Vests.

Use the vests for group differentiation, gross motor exercise, math and literacy games, or for drama class!

IMG_2670


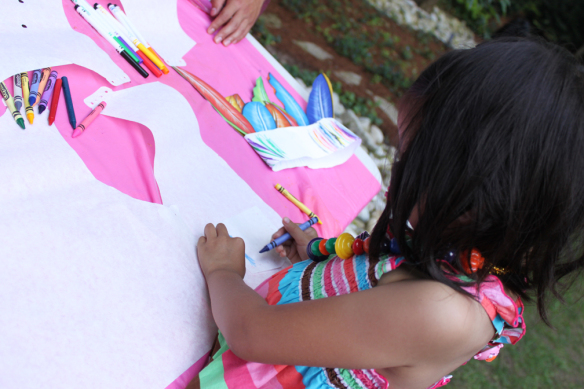
At the Art Camp, our little artists went to town with their vest designs! We supplied the campers with markers and spray bottles of water to help distribute the ink throughout the vests. Some of our campers decided to use crayons instead!

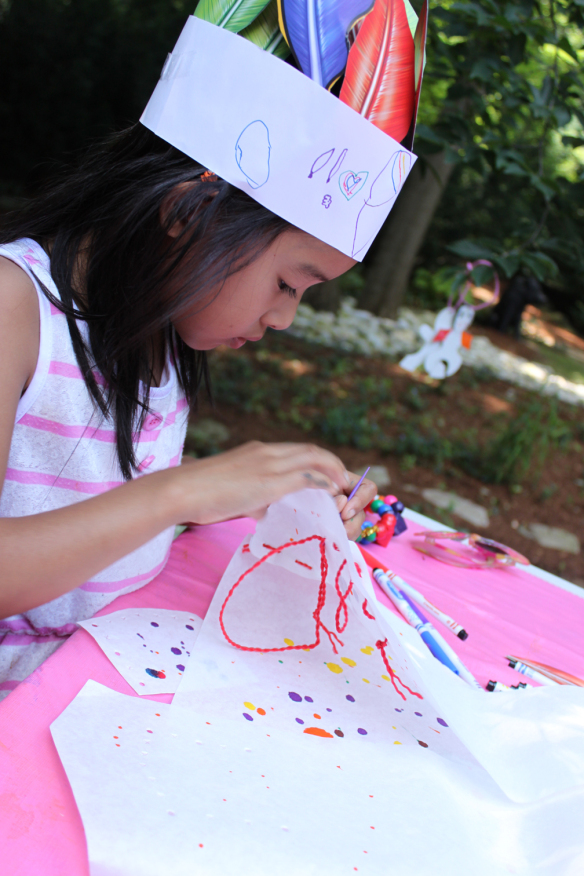
IMG_2684Once several spots of marker were applied to the vest, the campers used their spray bottles to spread the ink throughout the material.

IMG_2682

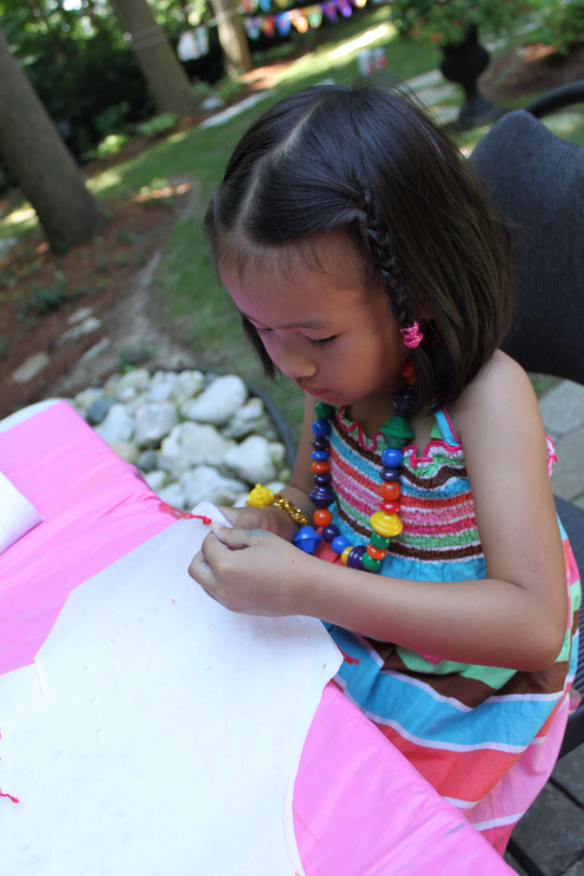
Next, we sewed the various pieces together. There are two pocket pieces, a back vest piece and two side vest pieces. All the pieces have matching holes to help coordinate your students’ sewing. Here, we use our plastic sewing needles, which are included in the kit.

IMG_2698

The guide provides you with further details on how to sew together the vest.

IMG_2691

We tried a few spots with paint first to see how they turned out!

IMG_2699

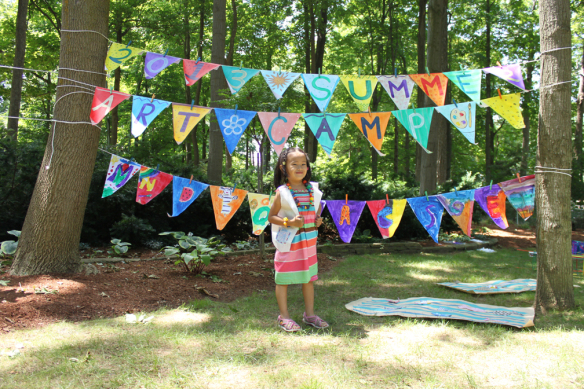
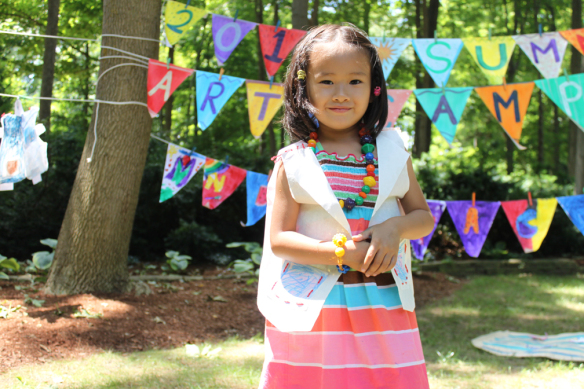
The best part was getting to wear the vests.

IMG_2701

These art vests are perfect for students to personalize and to feel good about wearing them.

Line-16

Thanks for viewing this post! Subscribe to this blog today to get updates on new craft products and craft ideas every Monday, Wednesday and Friday! Send us any comments, questions or suggestions through the contact form at the top of the page.