A great spring craft to take outdoors and fly!
Age: 4+
Duration: 10 Minutes (not including drying time)
Learning Outcomes: Exercise fine motor skills as kids fold, thread and tie. Exercise gross motor skills when taking this craft outdoors to play! Talk about the life cycle of butterflies, and the purpose behind colors and camouflage.
You’ll Need:
- R2450 Bug Bodies (Teachers wanting to do this craft might prefer to use our R83260 Butterfly Ornaments Crafts Kit; there are enough bug bodies, wings and antennae for the whole class!)
- R2445 Color Diffusing Butterflies
- R5449 Paint Pipettes
- Liquid Watercolor Paint
- Yarn
- Chenille Stems
- Wooden chopsticks or dowels

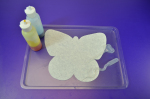
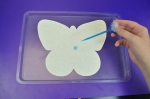
Start by pipetting liquid watercolor paint onto your color diffusing butterfly. Take this opportunity to talk about colors in butterflies. Why are some so brightly colored when others are brown and drab? Some bright colors are actually camouflage. Can you think of situations where bright colors would hide the butterfly better than dull colors? Some butterflies also use their colors to attract mates! Leave your butterfly for a few hours (or overnight) to dry.
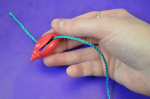
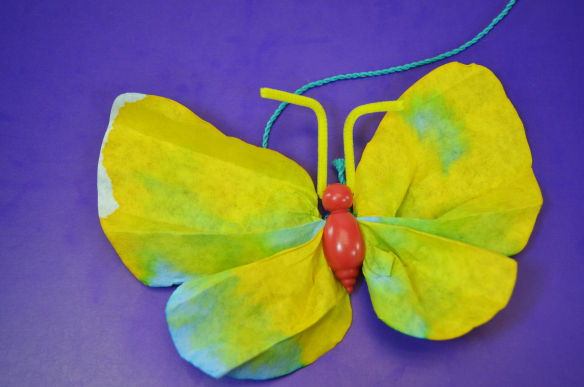
Choose a bug body. Start by threading one end of a long piece of yarn through your bug body, and tie a knot to secure the yarn to the bug body.
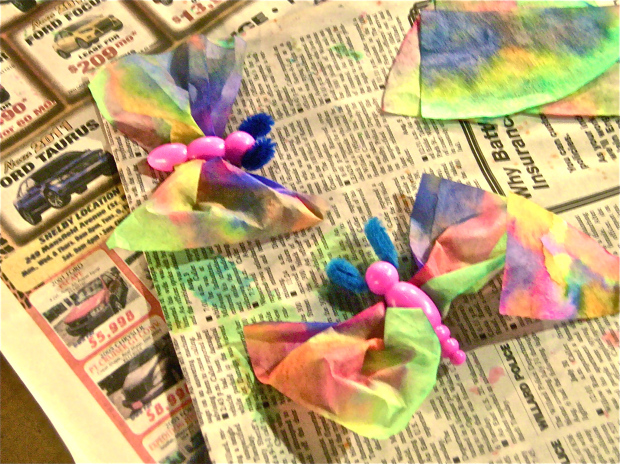
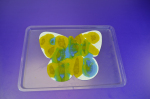
Once the butterfly is dry, accordion fold your butterfly. Next, slide the wings through the large slot in the bug body.
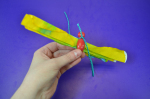
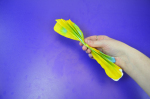
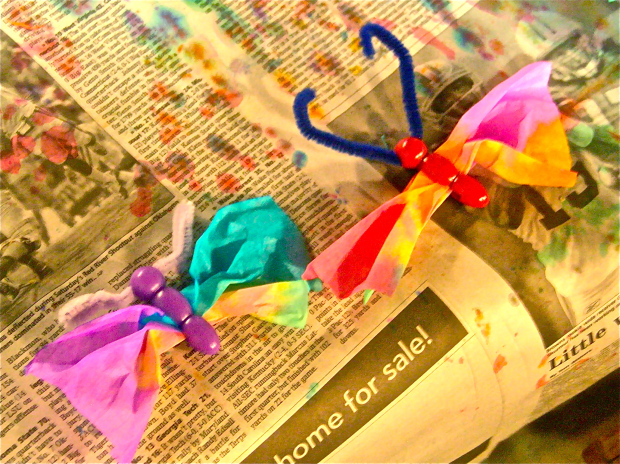
Once your folded butterfly wings are centered in the bug body, carefully unfurl the wings to let your butterfly fly!
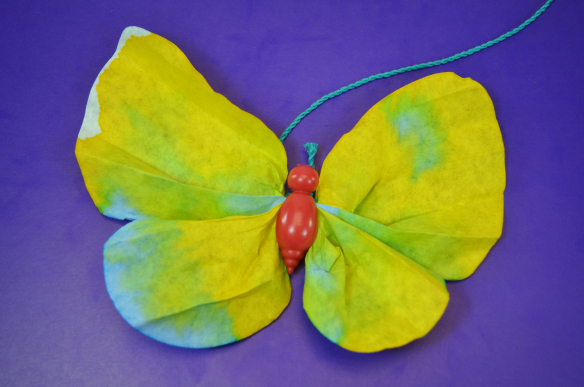
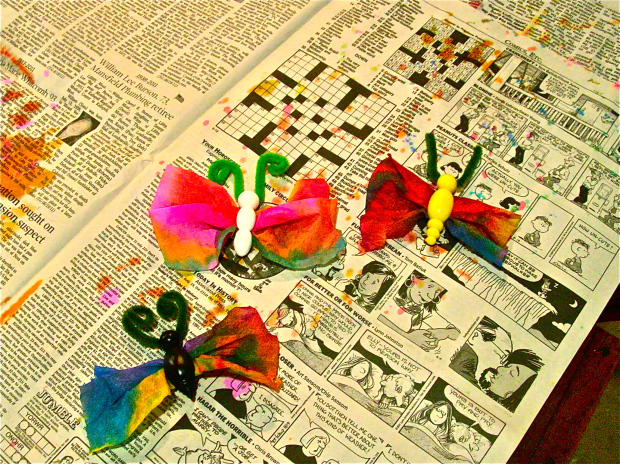
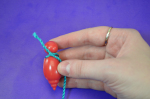
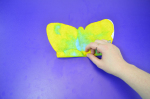
Next, thread a chenille stem through the small opening in the bug body’s head. This will be your butterfly’s antenna. Bend the ends of the chenille stem to make zig zags, or curl them around a pencil to make curlicues.
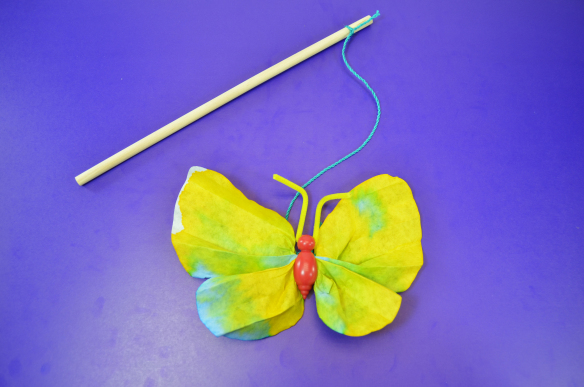
Tie the loose end you your yarn to a wooden chopstick or dowel. To extend this craft, have kids decorate the dowel with paint, markers, yarn, or streamers. Finally, take your butterfly outside and spin or run to watch it fly!

Like us on Facebook, Share this post with your friends, or Subscribe to this blog today to receive original craft project updates every week!

![]()