Posts by Darby at Roylco
Fun Preschool Literacy Lessons for Active Learning

Preschool Lesson Plans That Combine Movement and Literacy Preschoolers were never meant to sit still for long periods of time, and any early childhood educator knows it. Wiggles, bouncing, spinning, and constant movement are part of how young children explore the world around them. So when teachers search for preschool lesson plans or alphabet activites,…
Read MoreCapillary Effect: Diffusing Paper

Discover The Magic Of Color: Learn The Capillary Effect With Roylco Diffusing Paper! Explore our lesson plan here! Have you ever watched colors magically spread across paper? That exciting moment is called the Capillary Effect! This process allows a liquid to move through small, narrow spaces like tiny fibers in paper. It happens because of…
Read MoreFree SEL Coloring Pages: Theo, Chloe & Edgar for the Classroom
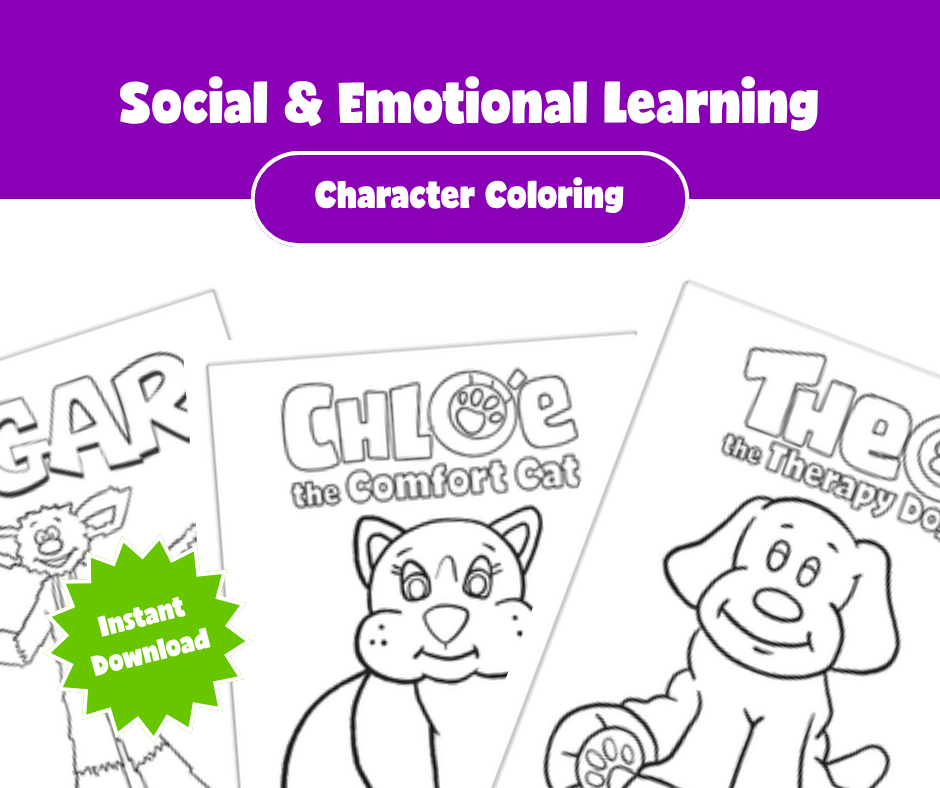
Free SEL Coloring Pages: Theo, Chloe & Edgar for the Classroom Looking for SEL coloring pages for kids that actually connect to your curriculum? You’re in the right place. Coloring is quiet. It’s focused. It asks something of a child’s hands and gives something back to their mind. For students navigating big emotions, that combination…
Read MoreInternational Children’s Day Classroom Activities
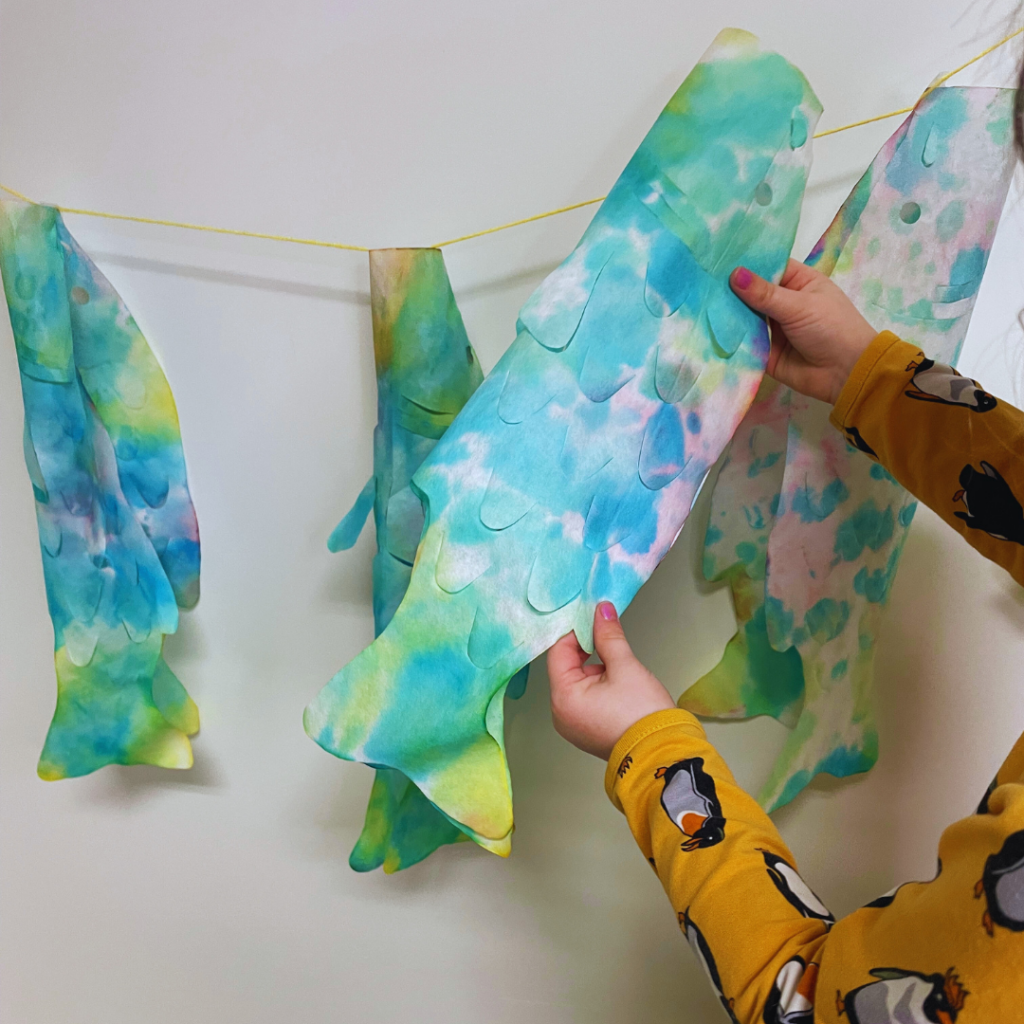
What Is International Children’s Day🎏 International Children’s Day, or Koinobori, is celebrated in many countries to honor children’s happiness, rights, and cultural heritage. Many schools use this occasion to focus on fun, learning, and compassion. In classrooms, it’s a perfect opportunity to blend cultural learning, art, and fun activities. These Children’s Day classroom activities help…
Read MoreRoylco’s PlusWater Color Diffusing Paint Is Competing for the Coolest Thing Made in South Carolina!
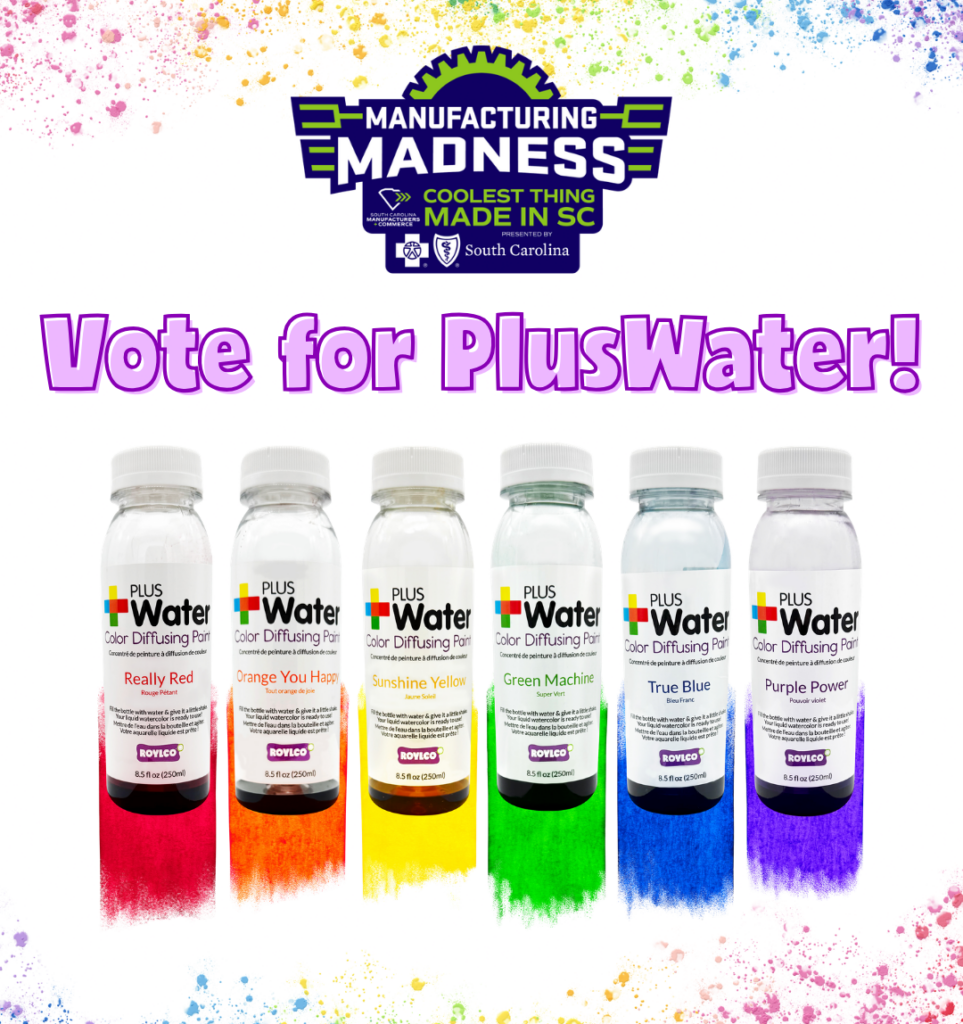
PlusWater Paint Is In The Running For SC Manufacturing Madness! We have exciting news to share: Roylco’s brand-new PlusWater Color Diffusing Paint has been nominated in the 2026 SC Manufacturing Madness contest — and we need your vote! This annual statewide celebration puts South Carolina’s best-made products head-to-head in a bracket-style competition. Because of this…
Read MoreFrogXplore: A Humane, Hands-On Way to Teach Frog Anatomy
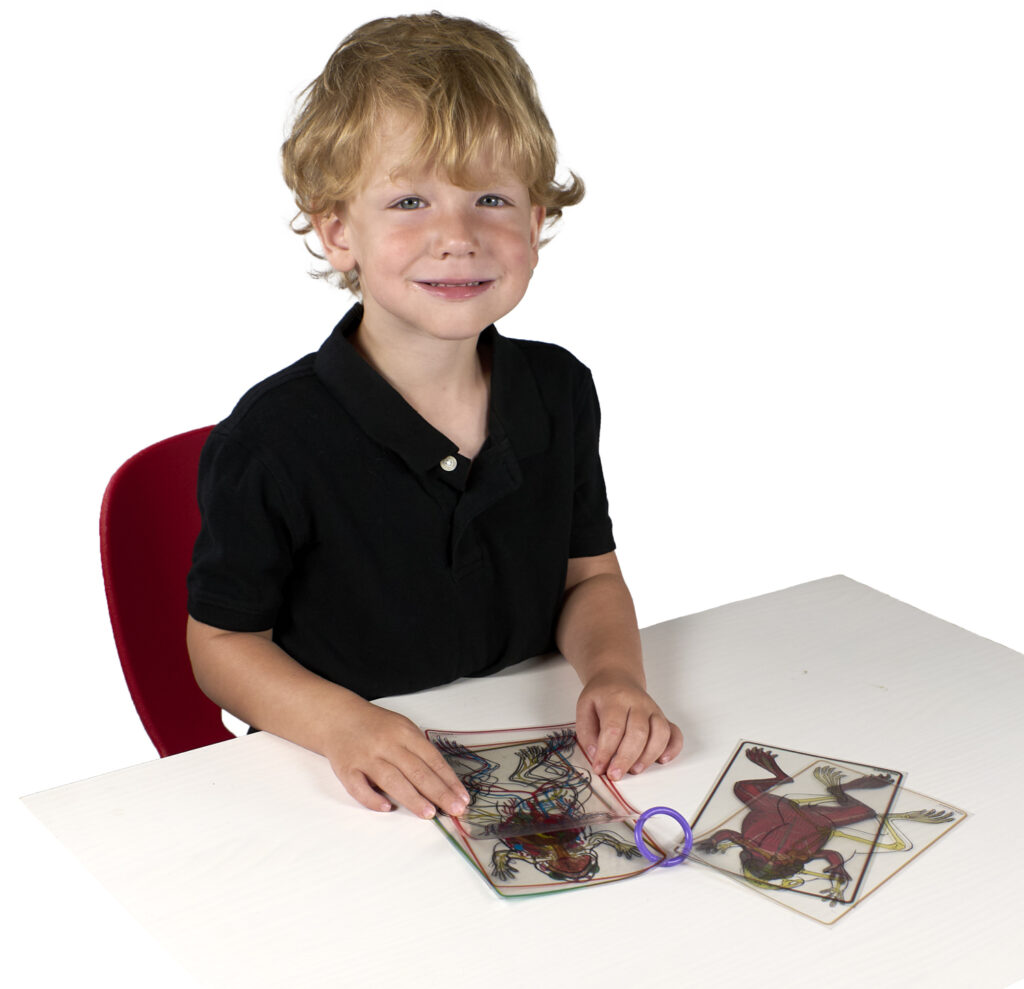
The Layered Lab: Reimagining Dissection for the Modern Classroom Why the “FrogXplore: See-Through Anatomy Guide” Is the Best Frog Dissection Alternative for Learning For generations, traditional frog dissections have been used in science classrooms to demonstrate anatomy. But many teachers, parents, and homeschool educators now want a more accessible, ethical, and engaging way to teach…
Read MoreDiscovering the Beauty of Fractals: A Hands-On Adventure with Roylco Fractal Mosaics

Transform abstract math concepts into colorful, tangible learning experiences through these hands-on fractal activities for kids What Are Fractals, and Why Should Kids Learn About Them? Imagine looking at a fern leaf and noticing that each tiny leaflet looks like a miniature version of the entire frond. Alternatively, observe how tree branches split into smaller…
Read MoreTeaching Short and Long Vowel Sounds: A Complete Guide for Homeschool Parents

Teaching vowel sounds is one of the most important foundations in early reading and phonics. We’ve thought through how to teach short and long vowel sounds and created this complete guide for homeschooling parents. If you’re a homeschool parent working with kindergarten or first-grade students, understanding how to effectively teach short and long vowels can…
Read MoreInspiring Creativity with TAB: Roylco Products for Choice-Based Art Classrooms

Art educators know that creativity flourishes when students are given the freedom to make choices. That’s the foundation of TAB (Teaching for Artistic Behavior) — a nationally recognized approach to art education where “the child is the artist, and the classroom is the child’s studio.” In a TAB classroom, students explore their own artistic interests…
Read MoreUntranslatable Words & Leaf Light: A Language Arts Lesson with a Creative Twist

Some words don’t translate—and that’s where the magic happens. – Take the Japanese word komorebi (木漏れ日), for example. It means “sunlight filtering through the leaves of a tree.” There’s no direct English equivalent, but the feeling is instantly recognizable—and it’s the perfect jumping-off point for a hands-on language arts activity. – Lesson Idea: Create Meaning…
Read More