2 Flowers Learn use our Heart Mosaics!

More fun with heart mosiacs

What’s a colorful and beautiful paper mosaic set that you can use for just about any project? Our R15367 Heart Mosaics! To see what kinds of projects you can do with the Heart Mosaics, visit the post at 2 Flowers Learn in the links below!

The post is entitled, “More fun with Heart Mosaics” and was posted on March 6, 2014. View the full post here!

The post demonstrates just how versatile these mosaics are. Use your imagination to come up with a variety of different images by overlaying the mosaics at different angles.

The mosaics also come in several shapes and sizes so you can create more things! View the project idea guide here for more information.

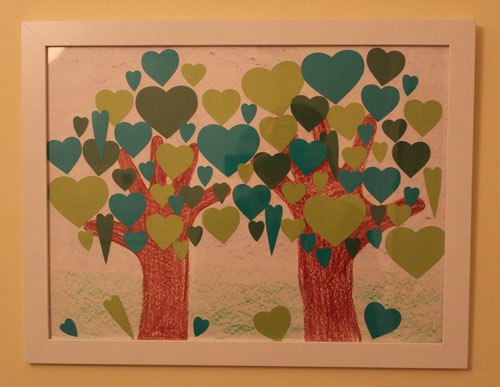
In addition, you can use our artwork guide to make your own characters from combining the Heart Mosaics. Here are a few images of what you can make!

R15367

See more ideas and step-by-step instructions here!

Thanks to Chris @ 2 Flowers Learn for the post!

Image and original post © 2 Flowers Learn

This post was not sponsored for a review. At LittleFingersBigArt, our mission is to present to our readers and viewers the newest and most creative craft ideas that fans of Roylco have made on their own. Our goal is to allow you and other educators and parents to reuse our products in fun ways so that children always get the best educational experience from them!

We’d love to see more ideas like this one! If you’ve got a brilliant craft idea or have made a version of one of our crafts that you would like to share with us, send an email to us with photos, descriptions or a link to your work. We will create a feature post and link back to you with full credit. Contact us through the contact form for more details. We’d love to hear from you!

Craft Spotlight: Clay Rollers

2014-03-24-FeatureImage

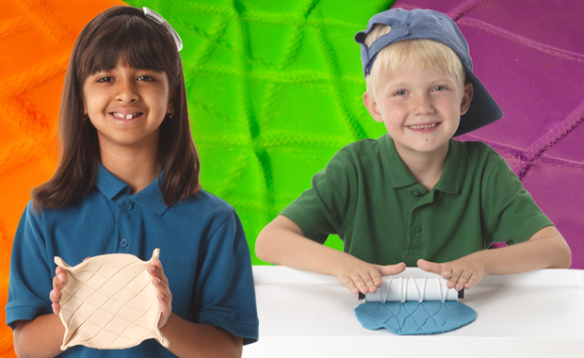
Get ready to roll with Clay Rollers! The rollers create new designs every time. Use on clay, Plasticine, dough and more! 

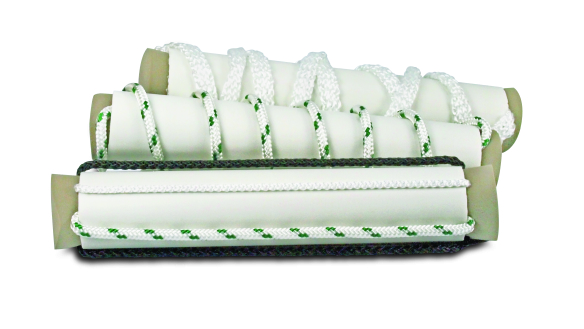
The Clay Rollers are easy to put together, too. The kit features 4 rollers with accessories: 4 large cylinders, string, and stoppers. To make the rollers, tuck one end of a length of string inside the cylinder. Press a stopper into this end to hold the string in place.

Next, wrap the string around the length of the cylinder. You can loop it in different sections or add another length of string to make the design more intricate! Once you are satisfied with the string design, insert the remaining length of the string into the free end of the cylinder. Press a stopper into it.

OLYMPUS DIGITAL CAMERA

Once you have set up your design, roll the Clay Roller across a flat slab of clay. The string will press into the clay slab and leave a patterned imprint on it. The patterned slab can then be molded into a variety of different shapes. Make cups, bowls, boxes, or cut out various shapes from the slab using cookie cutters. There’s so much you can make with the Clay Rollers!

View project ideas at the Clay Rollers guide which can be found HERE in PDF form.

To learn more about the process, watch the video below!

Use our special salt clay dough recipe with the Clay Rollers! Our Salt-Clay recipe was crafted from a few experimental attempts to make fridge magnets! We ended up with a great recipe for moldable clay that could be used for tons of projects. We decided to use the clay to make the garden stones, but you are welcome to use your own recipes if they are better suited. We tried to use ingredients that are easily found in your nearby stores and pantry closets!

SALT CLAY RECIPE

2 Cups Potato Starch

1 Cup  Salt

1 Cup  Water

Visit the full recipe at this post: Collage Garden Stones!

Line-17Thanks for viewing this post! Please subscribe to our blog to view more of our updates every Monday, Wednesday and Friday. Send your comments, suggestions and ideas to subscriber@roylco.ca. We’d love to hear from you!
Willard City Elementary Artists use our Tessellations Animal Templates!

The Artman posted his students’ math/art projects that used our Animal Template Tessellations! Tessellations are a great way to build coordination and patterning skills! See more about Artman’s process below.

Artman posted many photos of his students using our Animal Template Tessellations. A variety of designs from the pack were used. These included the elephant, lizard, fish, butterfly, dog, turtle and spider. The pack includes so much more, however! See the full display of designs at the full web guide HERE.

This project was posted by Artman at his WordPress blog Artmanews on April 30, 2012, entitled “Tessellations -part 1.” Visit the full post on his students’ tessellation art the link!

After the tessellations were traced onto paper, the students incorporated a lesson in color theory to complete their project. They chose complementary colors, which are two colors on the color wheel that are directly opposite each other. This student chose blue and orange as his complementary colors.

Instead of merely coloring in the tessellation in one flat color, the interior details were filled in with the complementary color to help distinguish the patterns from each other.

Lovely work!

Thanks to the Artmanews for this post!

Images and original post © Artmanews

This post was not sponsored for a review. At LittleFingersBigArt, our mission is to present to our readers and viewers the newest and most creative craft ideas that fans of Roylco have made on their own. Our goal is to allow you and other educators and parents to reuse our products in fun ways so that children always get the best educational experience from them!

We’d love to see more ideas like this one! If you’ve got a brilliant craft idea or have made a version of one of our crafts that you would like to share with us, send an email to subscriber@roylco.ca with photos, descriptions or a link to your work. We will create a feature post and link back to you with full credit. We’d love to hear from you!
Line-01

Craft Spotlight: Animal Silhouettes

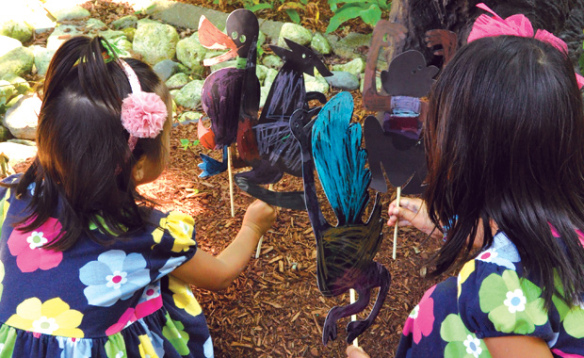
Feature-Image-AnimalSilhouettesMake your own garden safari with our Animal Silhouettes! Animal Silhouettes feature stylish animal designs, and special glossy and matte sides to allow students to experiment with their coloring using different materials. Check out more of our Art Camp photos below!

Students can learn how to draw various graphical patterns and designs on the intriguing black card and use multiple media such as gel pens, chalk, glitter glue, pastels and more!

View our pdf HERE for more ideas on Animal Silhouettes!

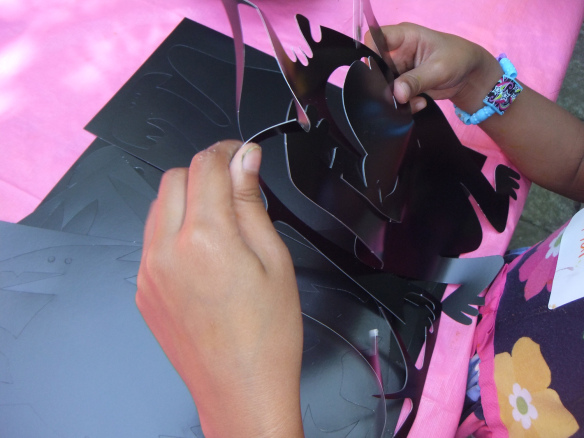
DSCF7201Each Animal Silhouette comes with a backing that you can pop off. Separate the interior shape from the outer shape.

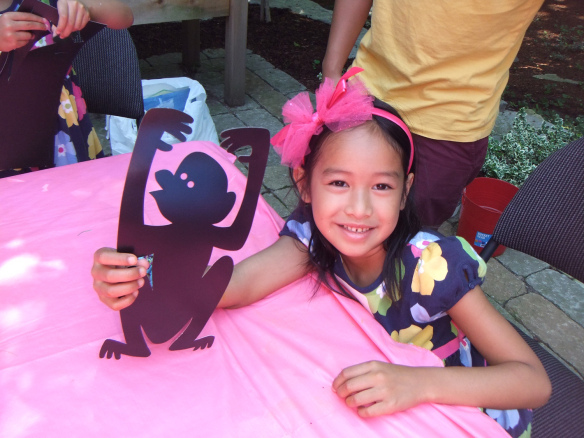
DSCF7202Animal Silhouettes come in a range of designs–24 animals in a neat little pack! Choose between a monkey (pictured above), camel, kangaroo, lion, moose, penguin, horse, ostrich, bear, pig, alligator, hippo, rhinoceros, elephant, kudu, tiger, bull, wolf, snake, duck, rabbit, turtle, squirrel and hedgehog. With so many to choose from, your students will never get bored of their art work!

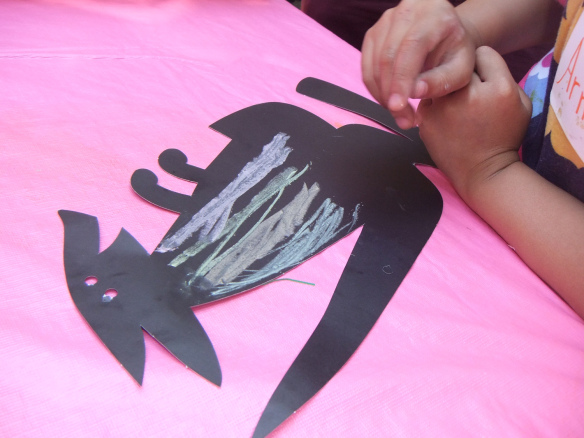
DSCF7206We set out pastels and chalk for the Art Campers to use. This young artist decided to experiment with different colors of chalk in vertical lines. She followed the vertical design of the kangaroo’s body to make her patterns.

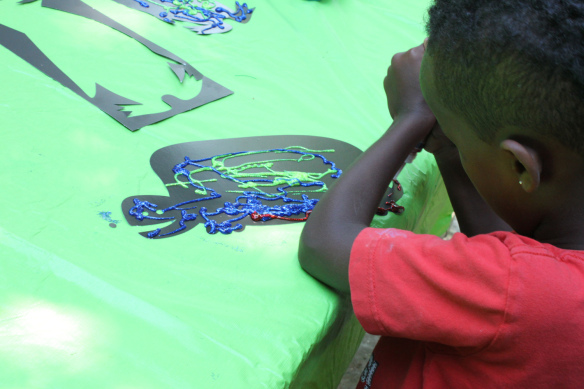
IMG_2263Another camper decided to use the glitter glue in multiple colors. He mixed blue and green to color in the turtle’s shell and used red to define the turtle’s feet and tail. The random pattern of lines generated by the glitter glue helped to give the turtle an abstract, “drip-like” appearance.

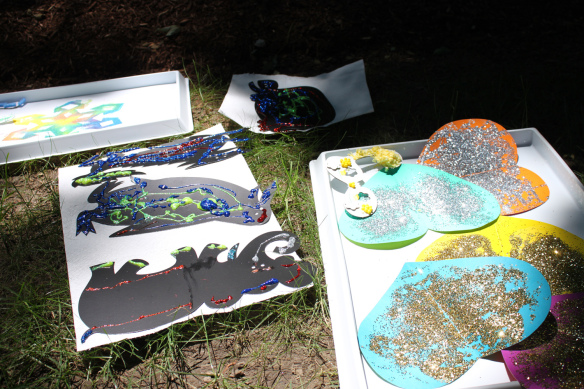
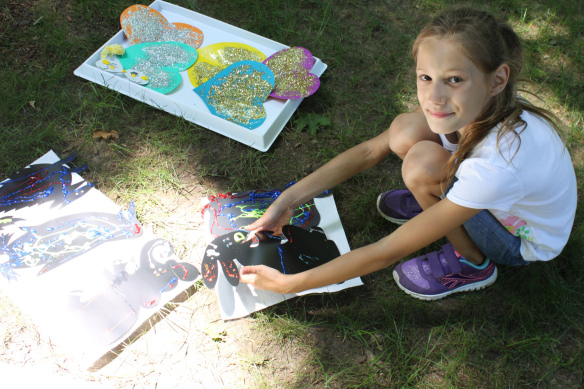
IMG_2269Here’s a brief view of some of our art projects combined: The Floppy Foam Brushes were used to make the glitter hearts (stay tuned for an upcoming post on this project this Friday!), while our Animal Silhouettes were placed alongside in a sunny spot to dry.

IMG_2278Thanks for viewing our projects!

Line-21If you would like to share with us some of your project ideas, please email us at subscriber@roylco.ca! We’d love to feature your students’ projects in an upcoming post!