Tessellations Nature Mobile

OLYMPUS DIGITAL CAMERA

Don’t hesitate—tessellate! We’ve got a load of fun animal designs you can make from the R15664 Tessellations Mosaics. Turn your beautiful artwork into a hanging mobile using our R51302 Nature Mobile.

Age:

Duration:

Learning Objectives:

You’ll Need:

Line-12

OLYMPUS DIGITAL CAMERA

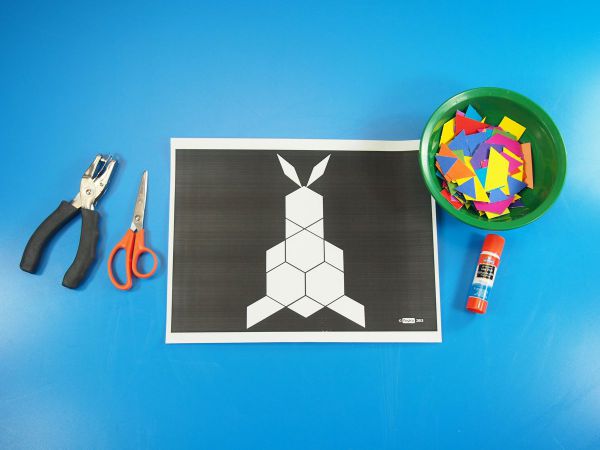
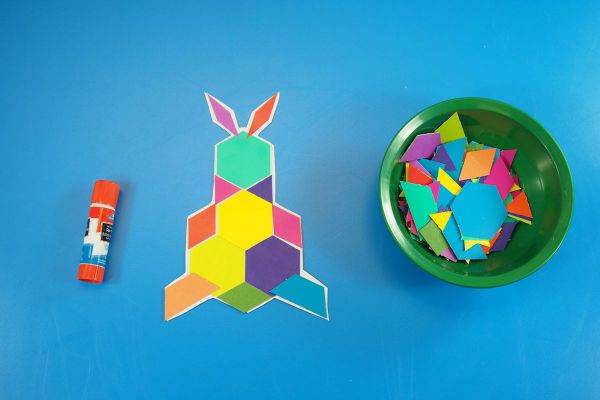
Print out the artwork onto photocopy paper and arrange the Tessellations Mosaics onto the paper. Use the outlines within the design as clues to what kinds of shapes you’ll use to fill in the designs.
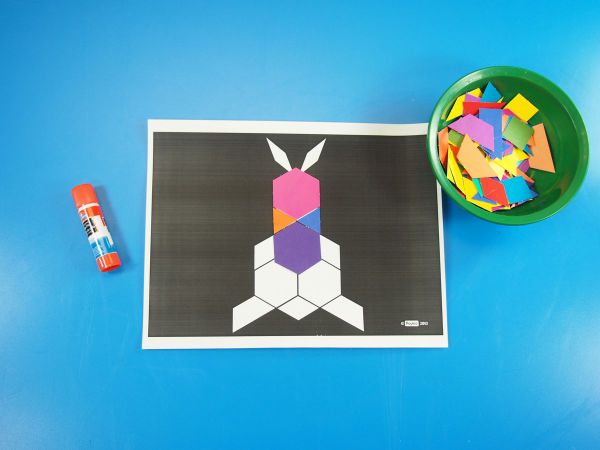
OLYMPUS DIGITAL CAMERA

The shapes and sizes of our Tessellations Mosaic are similar to traditional Pattern Blocks but in different colors. You can use your Pattern Blocks resources with our mosaics.
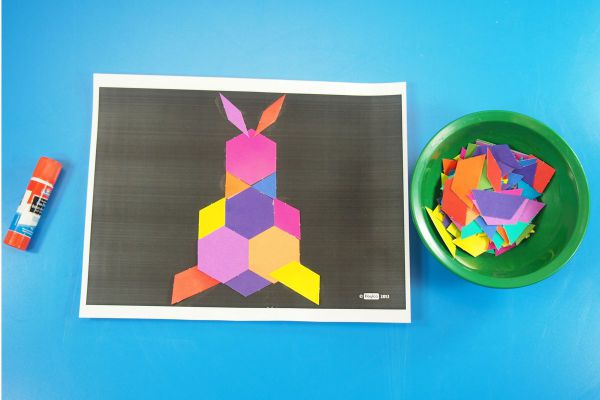
OLYMPUS DIGITAL CAMERA

Our Tessellations Mosaics are capable of presenting you with the same educational value as Pattern Blocks but are more plentiful to allow your entire class to benefit from the experience of putting them together. These mosaics help to build critical thinking skills and allow students to explore the properties of geometric shapes. Using the Tessellations Mosaics, you can explore a variety of puzzle-solving exercises below or come up with your own!
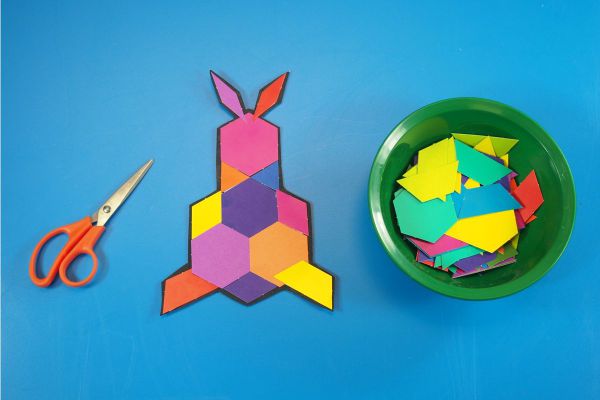
OLYMPUS DIGITAL CAMERA

Cut around the outside edge of the animal tessellation.
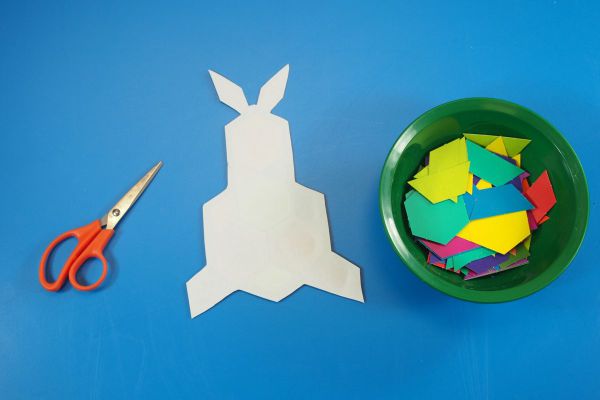
OLYMPUS DIGITAL CAMERA

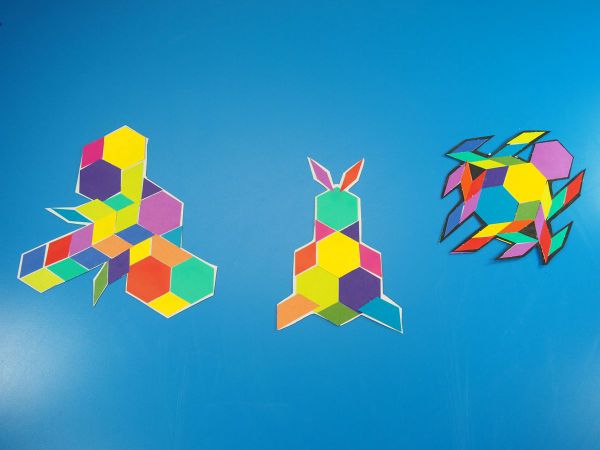
Flip the card sheet over to the blank side. Give your students more Tessellations Mosaics to fill in the other side.
OLYMPUS DIGITAL CAMERA

Challenge students in older grades to not look at the opposite side of the cutout to match the arrangement, but instead come up with a new one!
OLYMPUS DIGITAL CAMERA

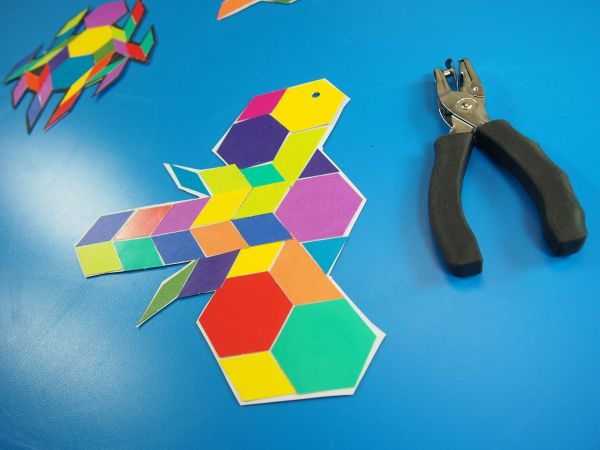
Once students are satisfied with their new pattern, they can paste it down to the back of the cutout.
OLYMPUS DIGITAL CAMERA

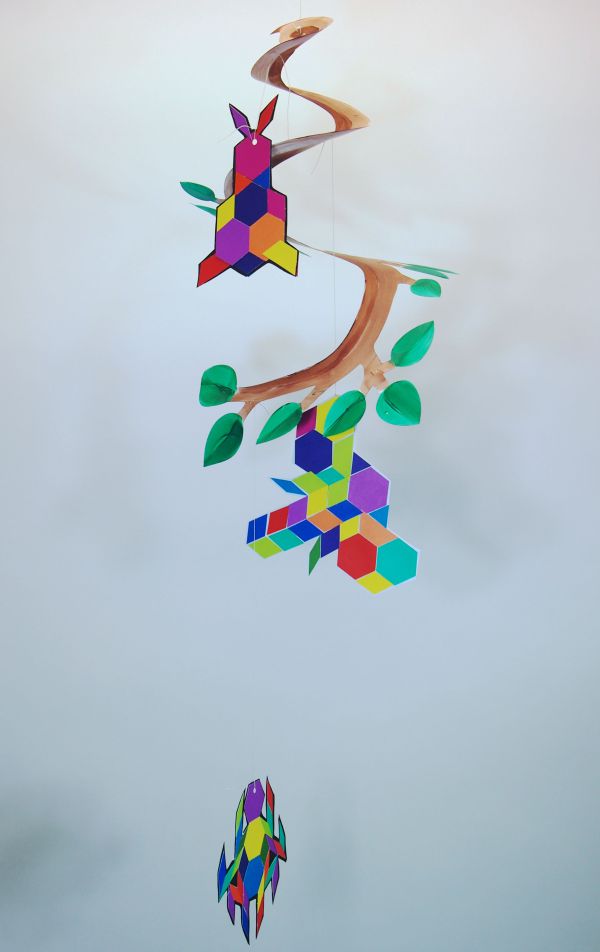
Punch a hole through the top of the cutout and attach some string to it.
OLYMPUS DIGITAL CAMERA

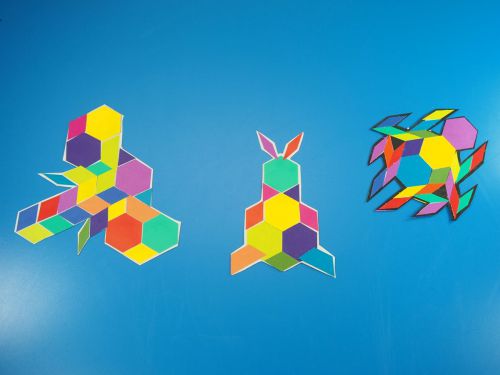
Tie the other end of the string to our R51302 Nature Mobile Maker to make a Tessellations Mosaics mobile! The bright and beautiful colors of the Tessellations Mosaics work very well against the subtle nature-inspired design of our Nature Mobile Maker.

Line-09

Like us on FacebookShare this post with your friends, or Subscribe to this blog today to receive original craft project updates every week!

Tessellations Mosaics

Print

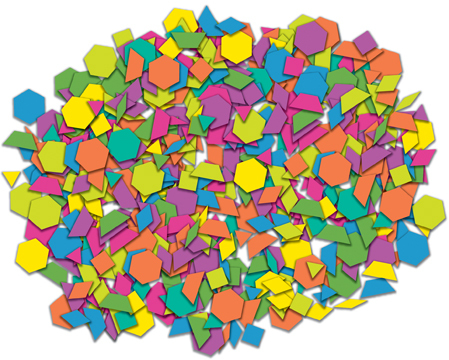
Inspired by Pattern Blocks, we’ve created 6 shapes that can be used to make wonderful tessellation patterns. Shapes are: equilateral triangle, rhombus, trapezoid, hexagon, square and small rhombus. Each shape is carefully crafted to match the sides and angles of the other shapes allowing your students to use the shapes to create seamless tessellations or to design animals, people, vehicles, structures and patterns!

Unlike Pattern Blocks, which have specific colors for specific shapes, our tessellations mosaics come in a range of 12 bright, glossy, double-sided colors. Your students can make patterns with similar colors or challenge themselves by creating patterns in different colors. Get students acquainted with the different shapes and talk about their characteristics by giving each group a bowlful of the Tessellations Mosaics. Ask students to sort the mosaics only according to color. They must choose one color and find all the shapes in that color. Note: Make sure to point out that the mosaics are double-sided!
Once all the shapes are found, ask students to describe each shape to you.

Print

What do the shapes look like? For instance, some children may say the trapezoid reminds them of a roof. Once your students get a chance to share their opinions on the shapes, discuss the characteristics of the shapes. We’ve included a short description of each of
the shapes later on in this guide. Now comes the fun part—putting the Tessellations Mosaics together! Pull out the provided pattern sheets and photocopy each set. Keep the
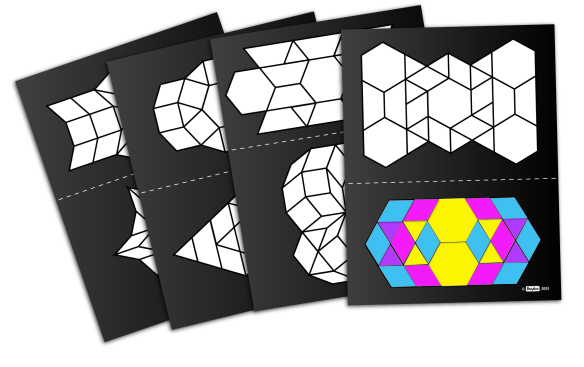
original sheets safe for future use. There are 2 patterns on each sheet. Print as many sheets as required for your class. You can provide the entire sheet with both patterns to students or cut the sheets and hand out one pattern each.

Fill in the puzzles with the shapes shown in the outlines. Before students fill in their patterns with the mosaics, encourage them to experiment with colors. For their first pattern, students can make the shapes match all in one color. Once they get comfortable with arranging the Tessellations Mosaics onto the pattern sheet, they
can switch out different colors for the same shapes. For instance, instead of filling a pattern sheet with Tessellations Mosaics all in red, students can switch out some of the red shapes for the same shapes in blue.

15664 Tessellations Mosaics girl web

Make new patterns with these color arrangements! After all the students have arranged and glued down their mosaics, compare the patterns to see how different color combinations change how the patterns look. These patterns are intended to teach students how to put the mosaics together. They are meant as a guide to understand how the edges and angles of the shapes can be matched. Some of the patterns can be replicated to make regular tessellations. These patterns can be tiled together to make even larger and more impressive patterns. Ask children to cut their patterns and arrange one big tessellation on a bulletin board.

To add more value to your Tessellations Mosaics pack, go online to download our amazing patterns featuring kaleidoscope-like designs and fun animals! Click on the ‘Artwork’ link to access the resources in printable PDFs. You can access the artwork directly here. Fill in the designs with the Tessellations Mosaics! Draw thematic backgrounds, such as an ocean, the plains or a jungle onto the animal puzzle cards!

Line-11

Like us on FacebookShare this post with your friends, or Subscribe to this blog today to receive original craft project updates every week!