Need a fast and fabulous Christmas craft? These beautiful ornaments are the perfect project to spread holiday cheer!
Age: 4+
Duration: 10 minutes
Learning Outcomes: Explore the symbolism behind common Christmas emblems. Create beautiful take-home art that can be given as a gift. Exercise fine motor skills.
You’ll Need:
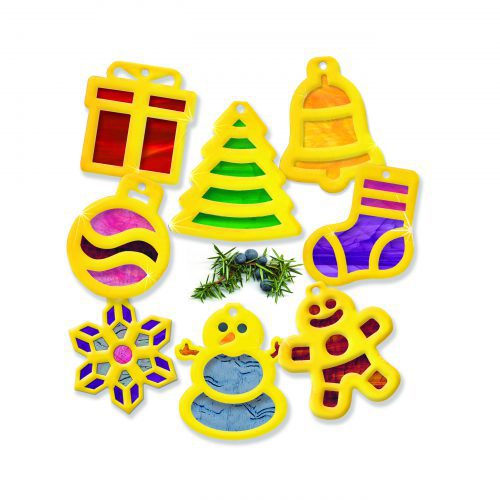
- R31100 Stained Glass Christmas Ornaments
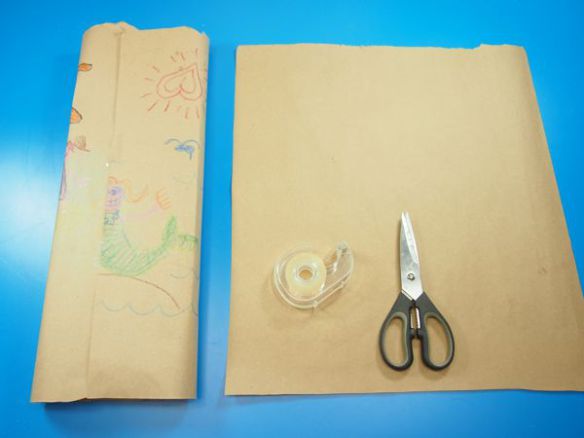
- Scissors
- Tape
- Yarn
- Pencil

These ornaments are quick and simple to put together. Start by simply popping out the die-cut frames. Next, pop out the internal pieces, and set the frames aside.
Lay the internal pop-out on the stained glass paper and use a pencil to draw around the internal pop out. Make sure that you leave at least 1/4″ of space around the internal pop out so you have enough space to tape the stained glass paper into the frame. Cut out your stained glass pieces, and tape them to the inside (the white side) of the frames. Make sure to leave the small round hole at the top open!
Once your stained glass pieces are taped in place, fold the frame over and tape closed.
To finish off your stained glass ornament, cut a 6″ piece of yarn. Thread the yarn through the small round hole at the top of your ornament, and knot the loose ends into a circle. This will allow you to hang your ornament on your Christmas tree!
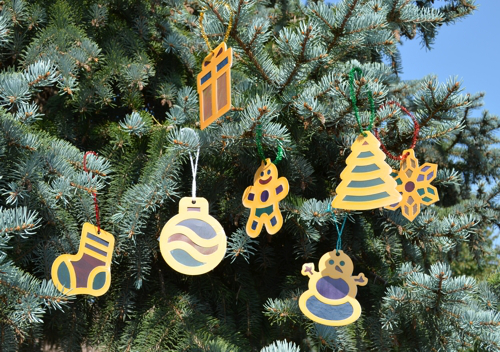
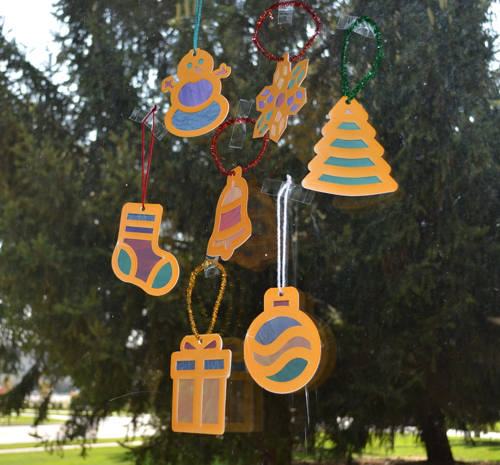
Have family members who don’t celebrate Christmas? Gift them the snowman or snowflake ornament and suggest they hang it in a window! Sunlight streams through the stained glass paper beautifully, and adds cheer to winter months.

Like us on Facebook, Share this post with your friends, or Subscribe to this blog today to receive original craft project updates every week!