Getting Creative with our 60170 Constructa Clips Creative Animal Set!

DSCF8281

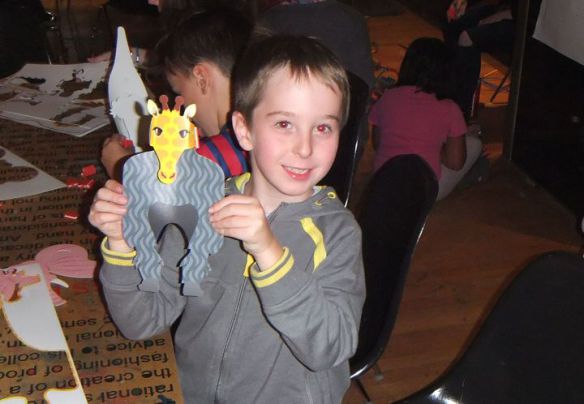
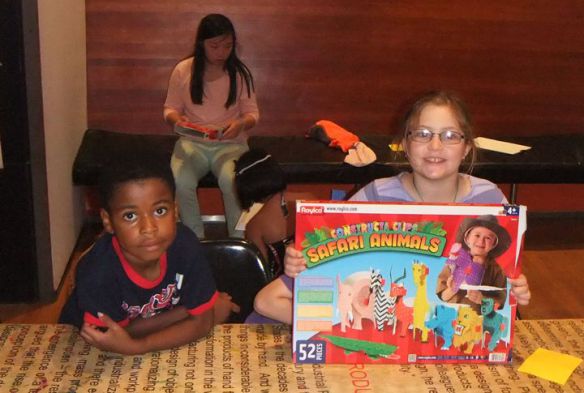
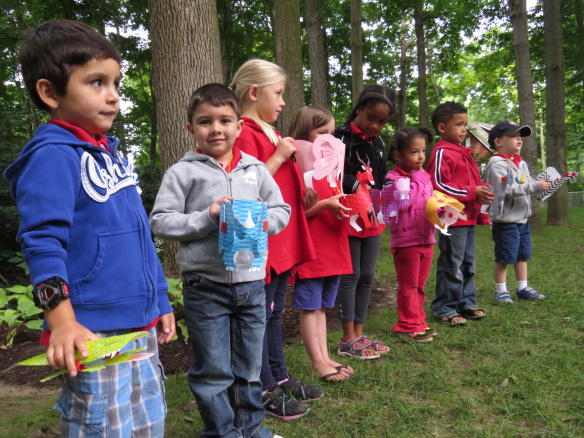
A few years ago, we spent the day at the Design Exchange Museum in Toronto putting together a few activities with the kids. One of those activities was our R60170 Constructa Clips Safari Animals set, also known as our Creative Animal Set! Check out what the campers made!

DSCF8288

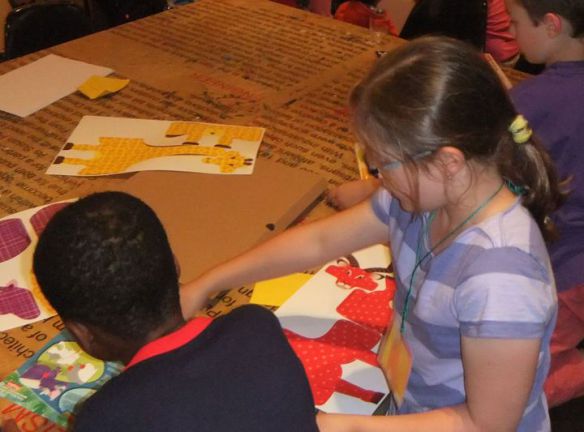
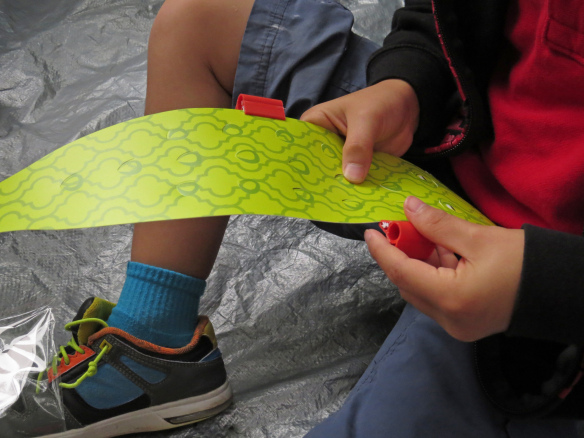
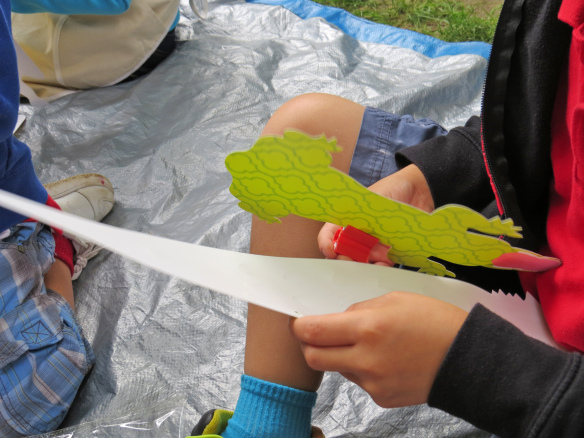
Campers popped out the pieces of the Safari Animals kit, then started assembling them with the provided Constructa Clips. This is a great little kit for kids who love to tinker with their creations.

DSCF8313

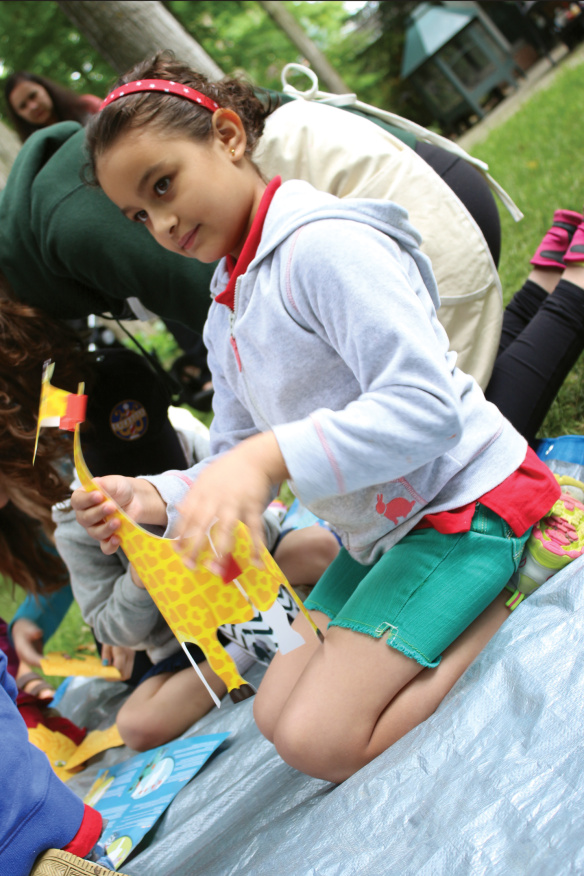
They were working away like Santa’s elves to make the coolest little toys!

DSCF8299

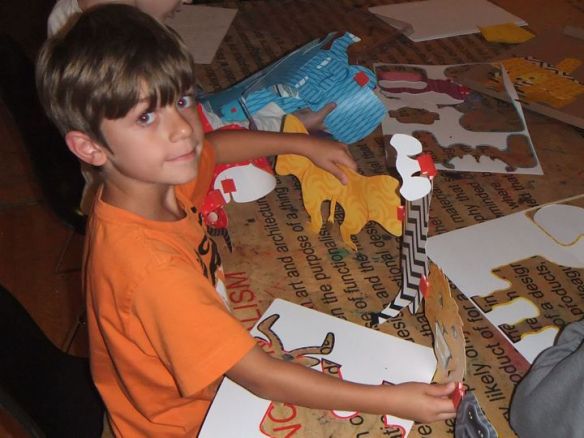
We’ve included full-color instructions to help you put together the unique toys. Experiment a little and see what kinds of combinations your students come up with…

DSCF8314

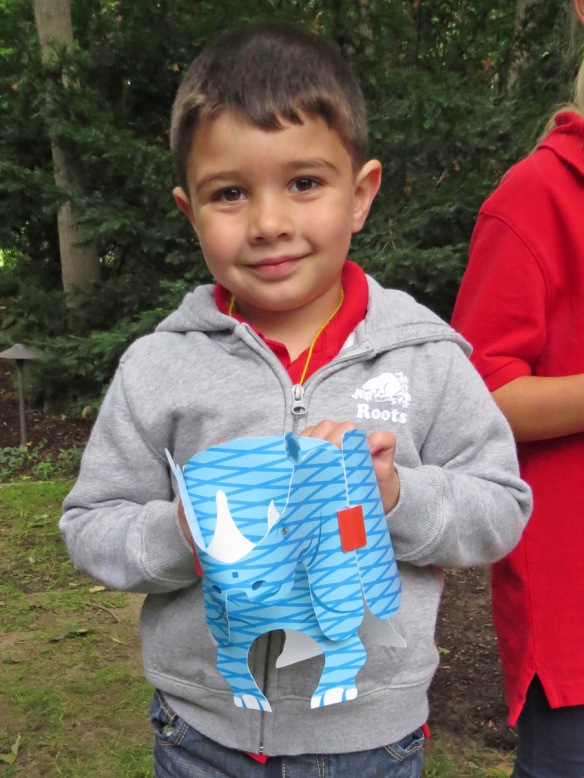
Like this one! Go wild with your designs and have hours of fun this holiday season with a kit that’s bound to be a hit in your classroom.

Line-09

Like us on FacebookShare this post with your friends, or Subscribe to this blog today to receive original craft project updates every week!

Constructa Clips Neighborhood

constructa clips house neighborhood

Constructa Clips are our versatile building toys–combine recyclable materials using the handy clips, and create anything from vehicles to robots, buildings and more! In this project, we got our campers to contribute to the development of a model neighborhood using simple materials. 

Age: 4+

Duration: 10-15 minutes

Learning Objectives: Open discussion with students about communities, neighborhoods and city planning. Discover all the various aspects of running and maintaining a community, including building up city centers and living spaces. Talk about the different types of living structures (condominums, bungalows, two-storey houses, semi-attached or townhomes, etc). Move your discussion towards an “All About Me” lesson. Ask students to picture their own homes and build them using the card materials and Constructa Clips. Alternatively, get students to brainstorm what their “dream homes” would look like/include.

constructa clips house neighborhood

You’ll Need:

R60160 Constructa Clips

• Card paper

• Scissors

• Pencil crayons/crayons/markers

• Stickers or collage embellishments

Line-20

constructa clips house neighborhood

Cut out angular shapes such as rectangles, squares and triangles from the card paper. Students can design their own buildings or mix and match the shapes to create new and interesting sculptures.

constructa clips house neighborhood

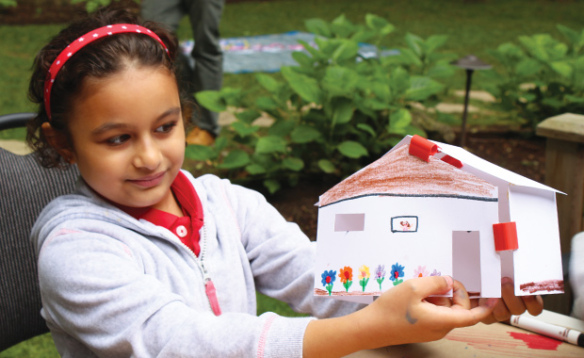
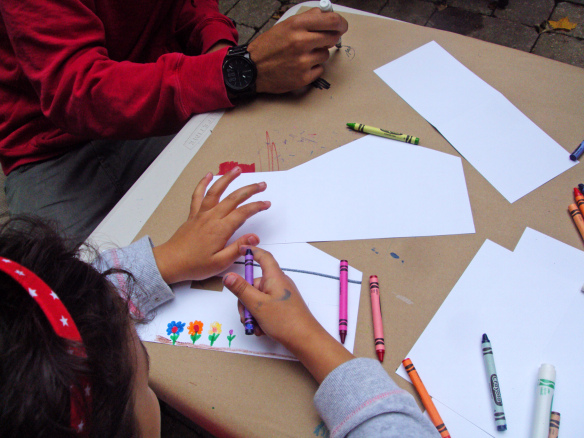
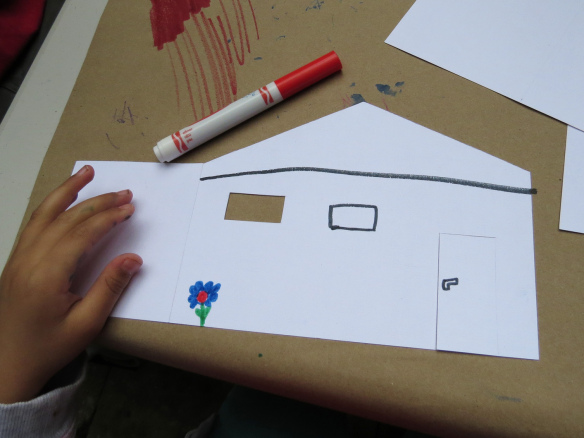
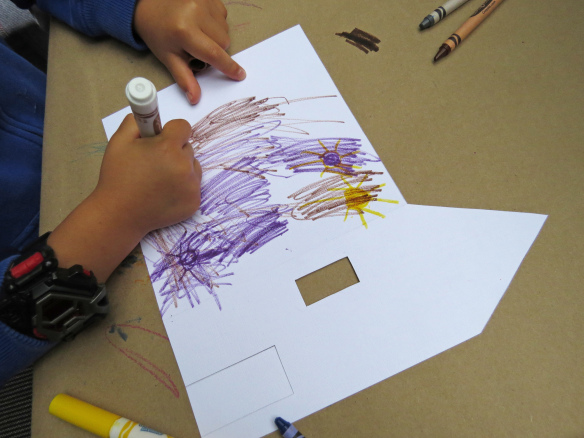
Use crayons, markers or pencil crayons to decorate your card houses! Create a garden, or focus on showing the exterior brickwork of the house. Make cutouts for doors and windows. You may even illustrate the occupants of the house as if they are proudly standing right beside their living area. Don’t forget: you will need to make 2 large size card house shapes and two smaller ones on either side, depending on the type of structure you are designing. Since you are making a 3D model, you will need all 4 sides of your building structure to complete it.

constructa clips house neighborhood

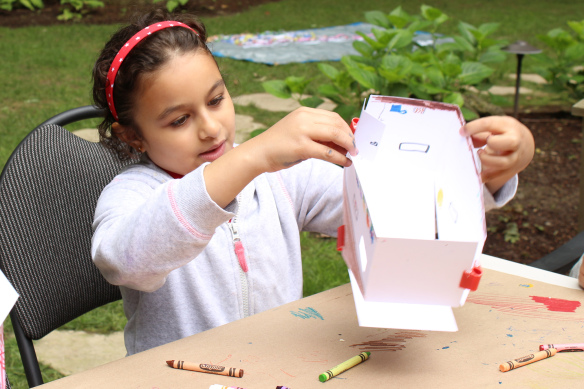
To attach the card sides together, slide an edge into a slot on either end of a Constructa Clip. The plastic “teeth” on the inside will grip the material as it slides in. Make sure you complete all four sides of the structure.

constructa clips house neighborhood

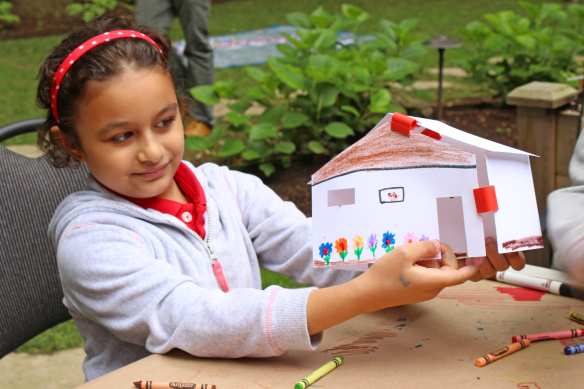
Ready, set… build! This activity can be expanded to children building an entire city using simple materials such as card paper and our Constructa Clips!

Line-17

Like us on FacebookShare this post with your friends, or Subscribe to this blog today to receive original craft project updates every Monday, Wednesday and Thursday!

Double Color Card City

paper card city

Let your little engineers create and build a city all their own using simple materials!

Age: 4+

Duration: 10 minutes

Learning Objectives: Fold unique sculptures to look like buildings using only card paper. Create colorful arrangements with the Double Color Card. Explore structural supports and designs through folded card shapes.
paper card city

You’ll Need:

R22052 Double Color Sheets

• Optional: R60160 Constructa Clips Creative Building Kit

• Flat surface, such as a table or a play center area

• Postal wrap paper (brown recycled paper)

• Tape

• Markers or crayons

Line-16

paper card city

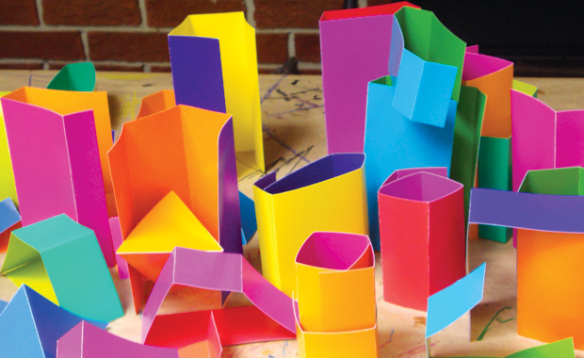
Lay all your materials out onto the flat surface. Cut the various sheets of Double Color Card into several large or smaller rectangle shapes. Crease the shapes at various points. You have to make at least 2 creases in the card. Older students can help crease the cards for the final activity.
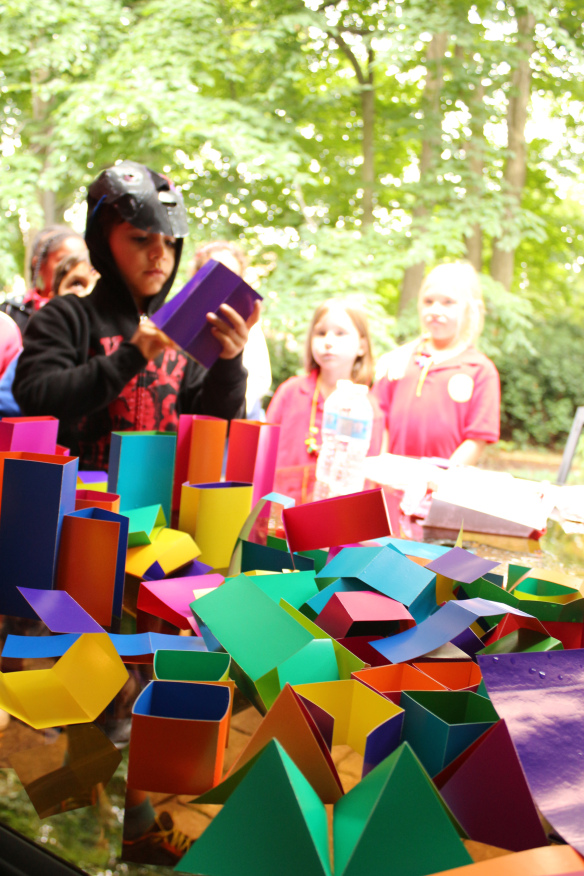
paper card city

Creasing the cards at different points allows your students to make interesting shapes, from tall rectangles to cubes, triangular prisms and more!
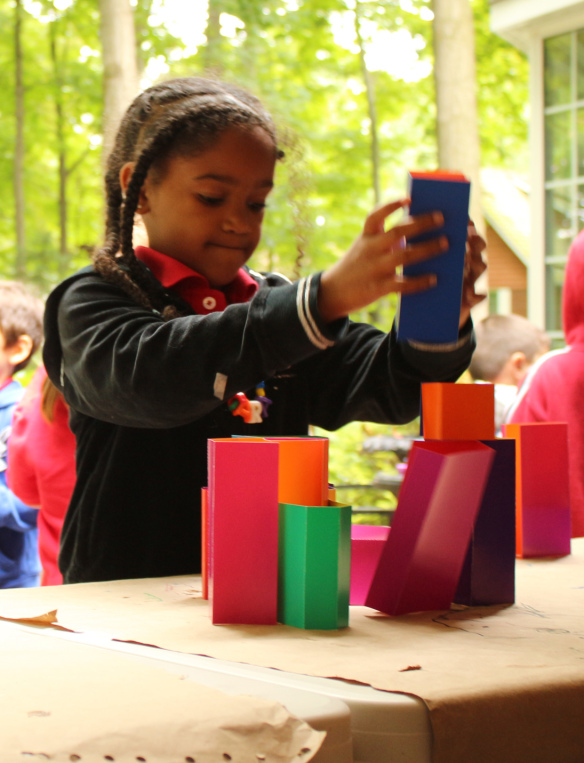
engineering art

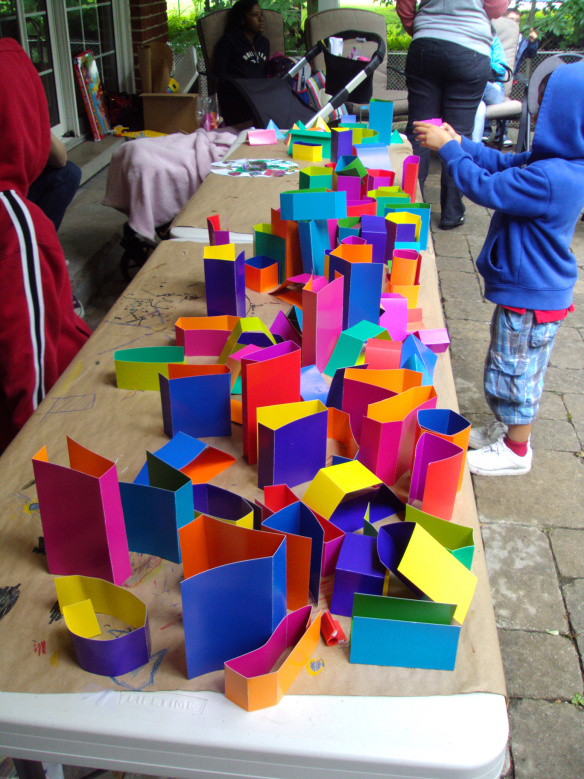
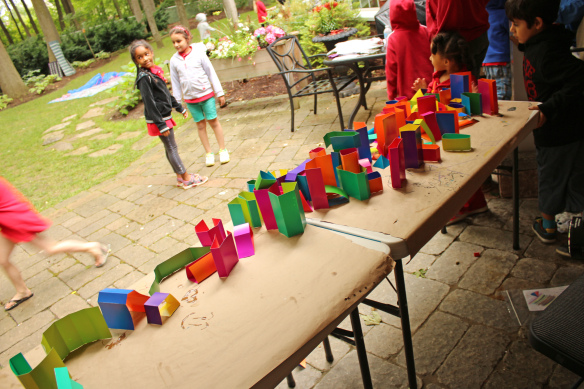
This exercise will allow students to explore ways to align the shapes together and make building sculptures. The objective is to create a little city using all of the shapes provided.
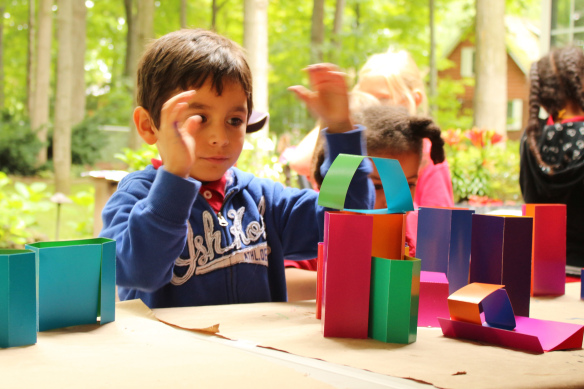
engineering art

Some students stacked multiple shapes together to give their structure more strength.
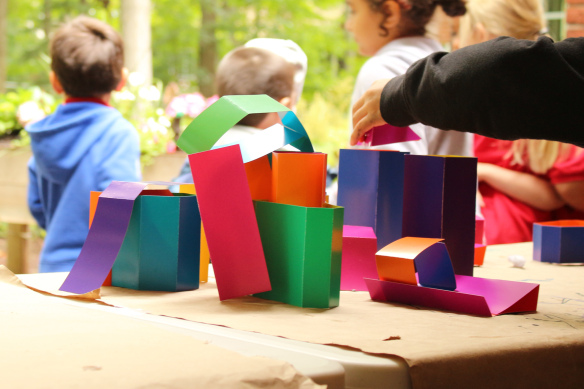
engineering art

Others figured out how to stack on top of one another to create unique building shapes.
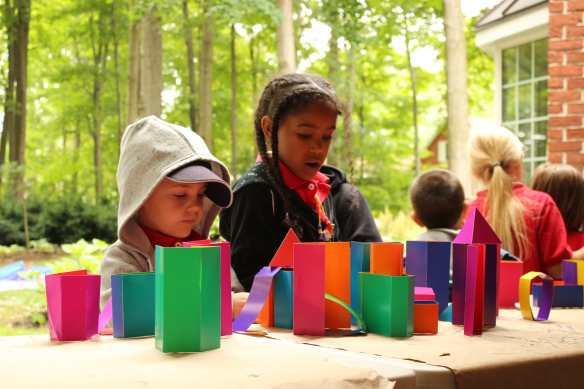
engineering art

As the children aligned all their buildings into a coherent “neighborhood,” we encouraged them to draw streets and small markers onto the paper roll beneath. Make sure the secure the paper roll onto the table with tape!
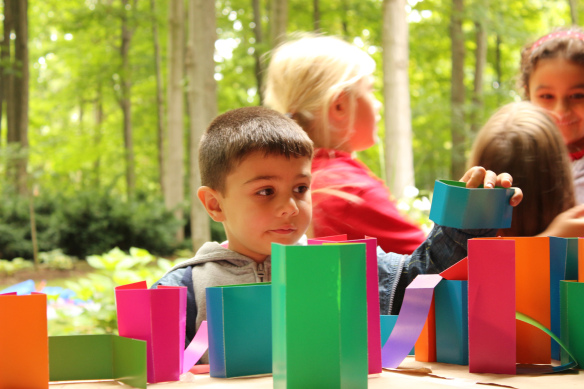
engineering art

The exercise encouraged ongoing collaboration as students often would turn away from one section of the cityscape to work on another. Meanwhile, another student would modify the look of the previous building arrangements.
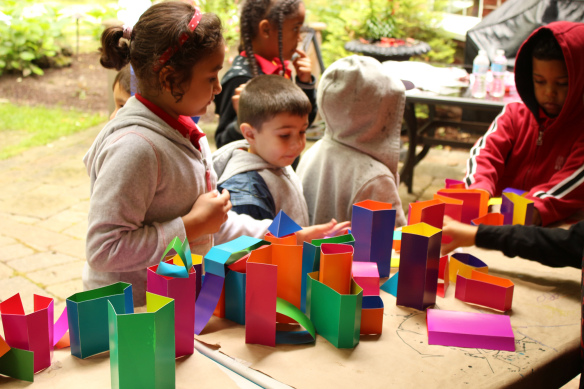
double color card sheet

It was an “organized chaos” as the sculptures were shifted around the table surface.
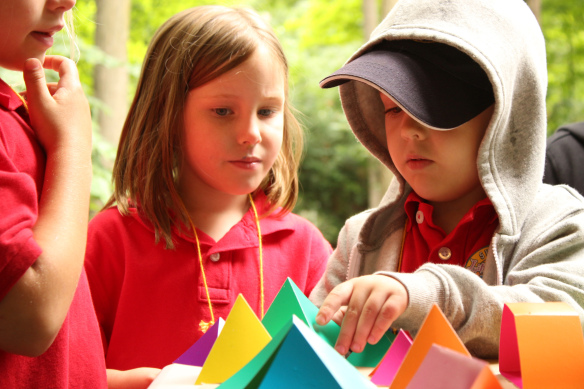
double color card sheet

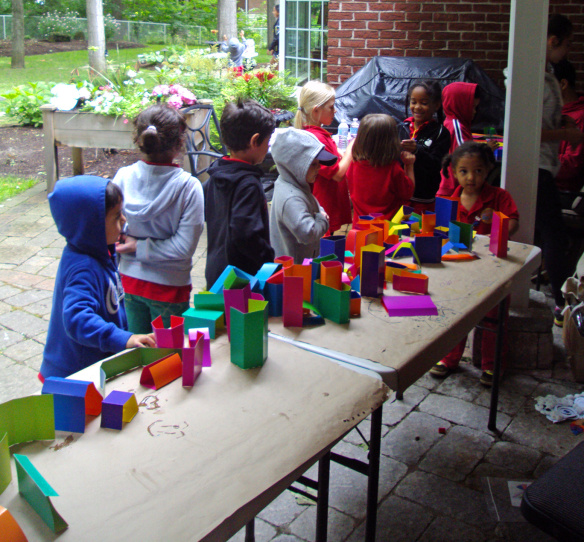
There was some compromise that needed to be made when arranging the card buildings into different configurations. Some campers felt that the buildings each represented important municipal landmarks such as city hall, the library, museum, art gallery, fire station, subway, bank or hospital, and needed to be placed in certain areas rather than others.
double color card sheet

Here is a look at the finished city, although we still saw “development” in some parts!

Line-04

Like us on FacebookShare this post with your friends, or Subscribe to this blog today to receive original craft project updates every Monday, Wednesday and Thursday!

Spotlight on… Constructa Clip Safari Animals

constructa clip safari animals

Construct your own toys with Constructa Clip Safari Animals!

constructa clips safari animals

These toys use the ingenuity of our Constructa Clips to help students mix and match their animal figurines. There are 3-4 simple pieces that can be combined together to make a complete animal. Each piece connects easily with the Constructa Clips.

IMG_0160

The pieces come flat, but are made of a sturdy plastic material. This allows the piece to bend easily as you attach it to the other pieces.

IMG_1506

To attach the pieces together, first slide the edge of your main piece in between the grippers of a Constructa Clip.

IMG_1502

Each piece overlaps with another piece. Use the Constructa Clips to secure the pieces together.

IMG_0165

Most of the Constructa Clip Animals attach together with three pieces, like the giraffe above. The head attaches on either side of the neck using the clips.

IMG_1559

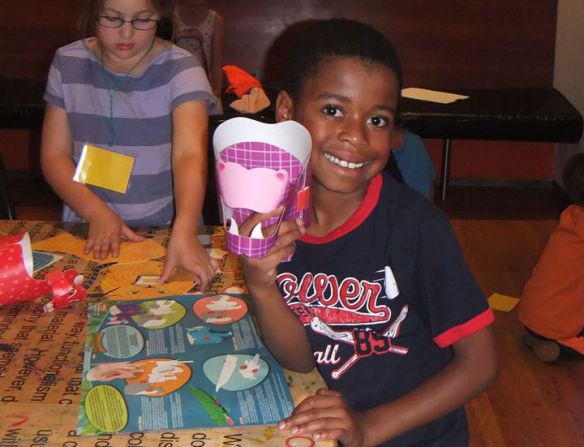
Everyone loved to show off their creations!

IMG_1552

You can mix and match the creations for even greater variation! Make up your own animal friends and come up with names for unique combinations.

Line-14

Like us on FacebookShare this post with your friends, or Subscribe to this blog today to receive original craft project updates every Monday, Wednesday and Thursday!

Educational Light Cube: Dimensional Art by Twins at Play!

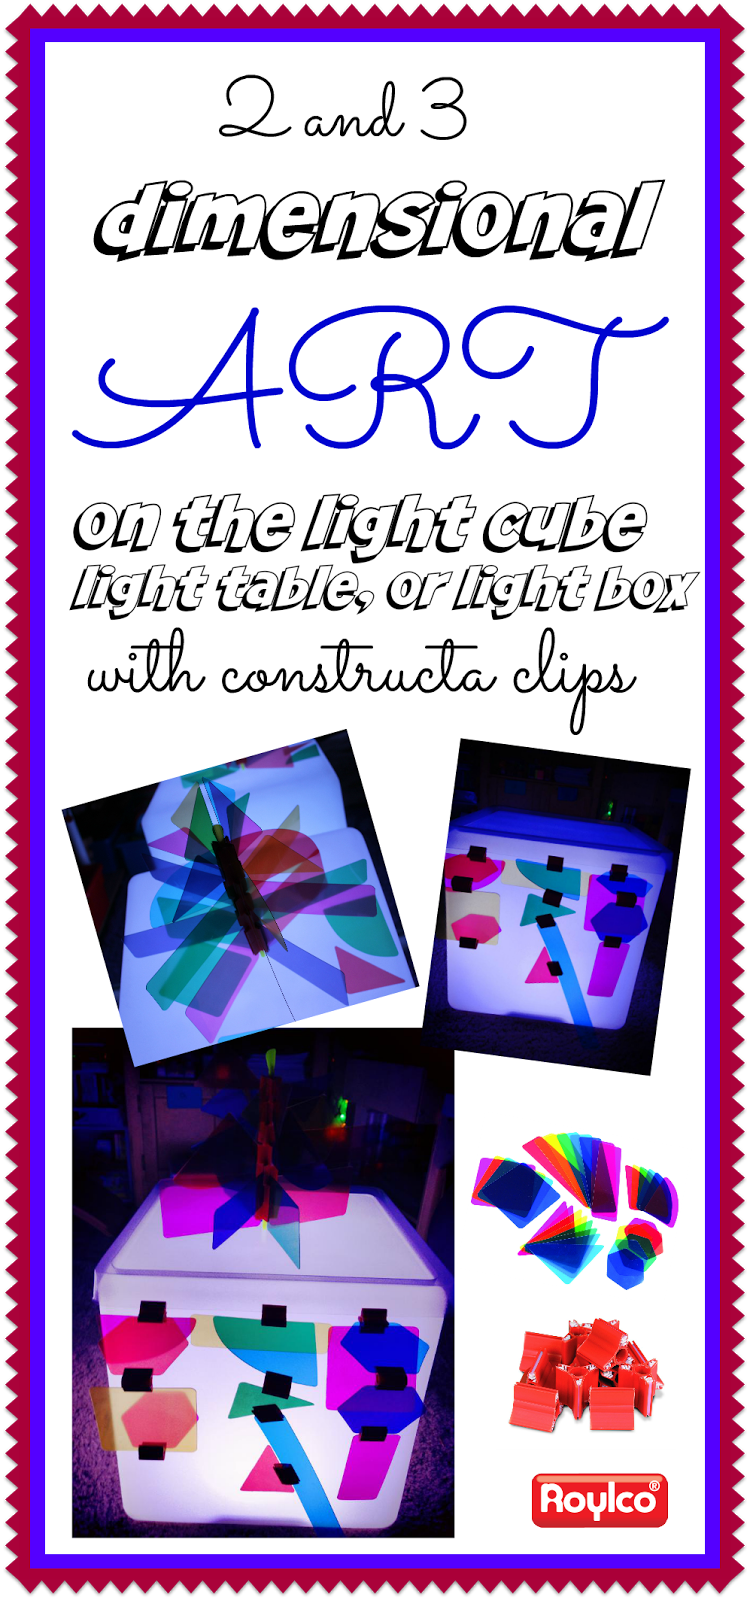
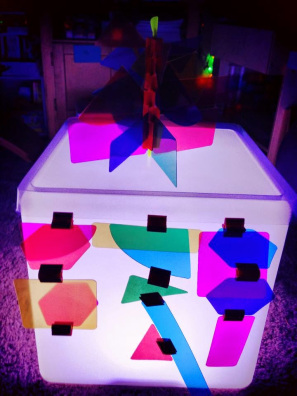
The awesome sensory and light play blog Twins at Play delivers a new post about our Educational Light Cube! Check out this great combination of our Light Cube Building set and Constructa Clips on a beautiful illuminated surface and the coolest sculpture you’ve seen yet! 

© Kristen from Caution! Twins at Play! blog
This is what Kristen from Twins at Play had to say about her twins’ experiences with these products:

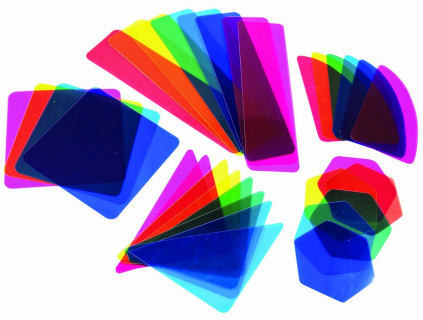
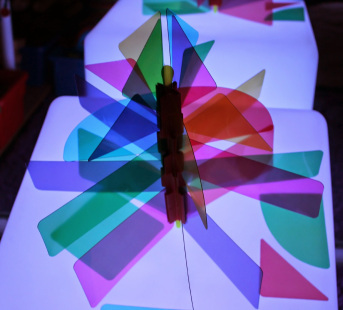
My twins and I have been enjoying making awesome shapes, sculptures, and art on the light cube with the Constructa Clips light table building kit! The kit comes with 48 red clips and 32 mylar shapes. The shapes are nice and sturdy but do bend a little for awesome building fun! The shapes are also great for color lessons! I love this kit, it is perfect for the light cube, light table, or even natural light play! They cast great color in sunlight!!
In the photos below, we used the clear plastic trays for the light cube to hang the clips from. Then we were able to build outward and downward with the constructa clips and shapes!  This was a really fun and unique building experience. This was also a very unique light cube/light table play experience.
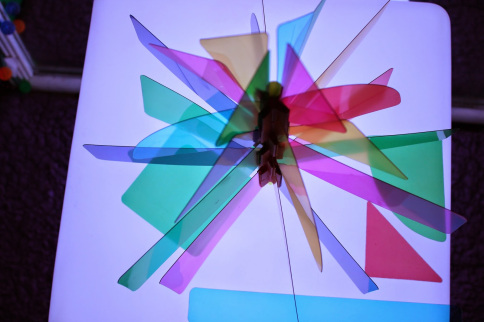
We also used a plastic straw to create art sculptures. We used the 4 clip constructa clips to attach shapes and then we just put the straw through the whole in the center of the constructa clips. What a fun way to create art and building at the same time on the light cube!!

Thanks to Kristen @ Twins at Play for putting together this awesome post!

To see more about our R59601 Educational Light Cube, visit here!

R60165 Constructa Clips Light Table Building Kit can be viewed in-depth here.

Line-07

Like us on FacebookShare this post with your friends, or Subscribe to this blog today to receive original craft project updates every Monday, Wednesday and Friday!