Giant Easter Egg Decorating

Make larger-than-life decorated eggs for Easter holiday

2015-03-11-FeatureImage

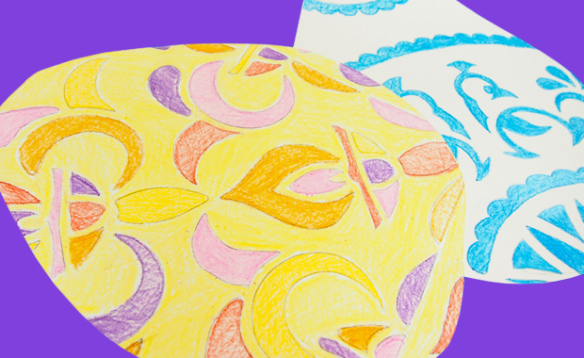
Make larger-than-life decorated eggs for Easter holiday! 

Age: 5+

Duration: 10-15 minutes

Learning Objectives: Use stencils to trace beautiful mandala patterns onto egg shapes. Choose coordinating colors and color in specific parts of the egg design. Learn about the history of Easter and the origin of Rangoli designs through research.

P1016511

You’ll Need: 

R5621 Rangoli Mega Stencils

• Large sheet of card paper

• Pencil

• Crayons or pencil crayons

• Scissors

Line-08

P1016515

Start with a sheet of card paper that is about legal size 11 x 17″ (28 x 43 cm) or more. Draw a small curve at the top of the sheet, and a very large curve at the bottom of the sheet. Join the two curves together to make a full egg shape.

P1016517

Cut the resulting shape out. You don’t have to make the egg shape look absolutely perfect, but the general idea is to keep the bottom wider than the top.

P1016519

Before you begin, make sure to pop out the die cut pieces on the inside of the Rangoli stencil. Place the stencil onto the card cutout. Use a pencil to trace the interior edges of each pattern piece.

P1016523

Here you can see how well the tracing transfers onto the sheet. Don’t press the lines too harshly, as you will want to let the color shine through rather than the outlines.

P1016526

Start filling in each of the outlined shapes with a preferred color of crayon.

P1016528

How do you like me now!? What a pretty design… the color combination looks a lot like the famous blue and white porcelain designs from Asia and Europe.

P1016529

Here’s another egg design to show the variation in color and pattern you can do–much like designing your own Easter egg! Pin up on a display wall for this spring!

Line-08

Like us on FacebookShare this post with your friends, or Subscribe to this blog today to receive original craft project updates every Monday, Wednesday and Thursday!