Origami Heart Garland

Origami Heart Garland

finished craft.jpg

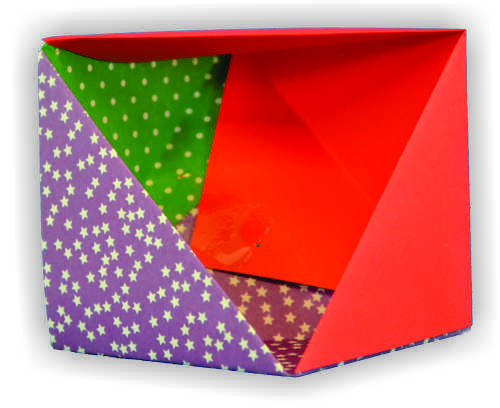
This easy five-minute origami project is perfect for Valentine’s Day!

Age: 4+

Duration: 5-10 minutes (depending on the length of your garland)

Learning Outcomes: Practice origami and fine motor skills. Complete a simple but beautiful classroom decoration.
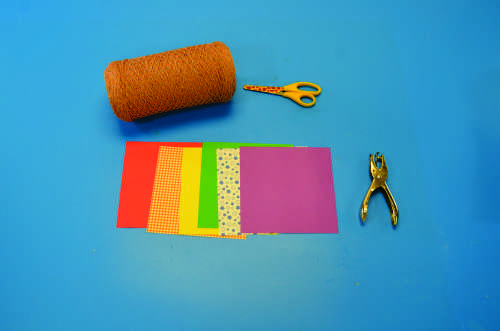
You’ll Need:

Line-12

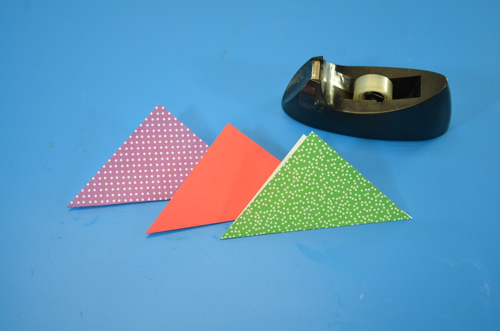
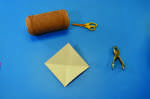
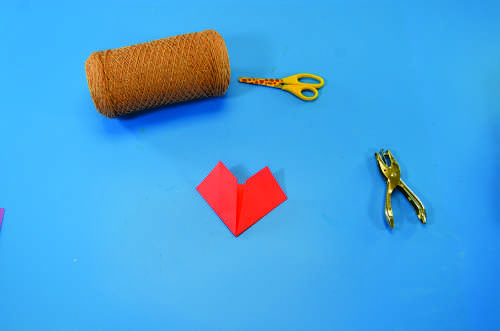
For this project, you’ll need origami paper, a hole punch, yarn, and lots of willing hands!

step 1

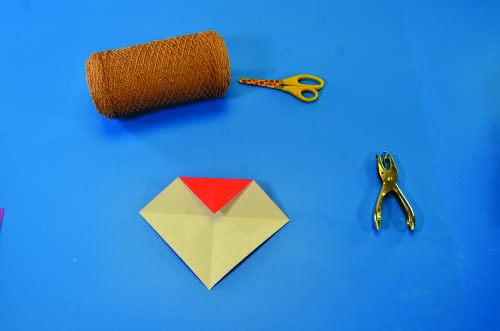
First we’ll teach you how to fold the origami heart. Start by folding your paper diagonally, so you have a triangle. Open the triangle, and fold on the other diagonal. Open the paper again. You should have crease marks going from point to point.

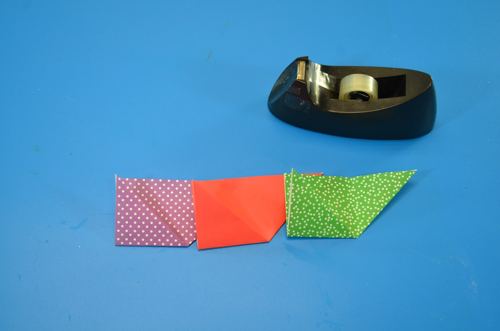
Turn your paper so it looks like a diamond in front of you. Fold the top point down to the center of the paper and crease it.

step 6

Fold the bottom point up to meet the center of the top fold.

step 7

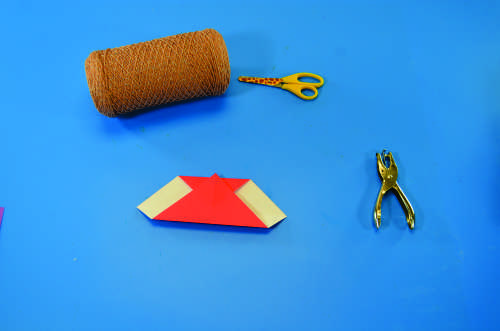
From the center crease on the bottom fold, fold the right half of your soon-to-be heart up.

step 8

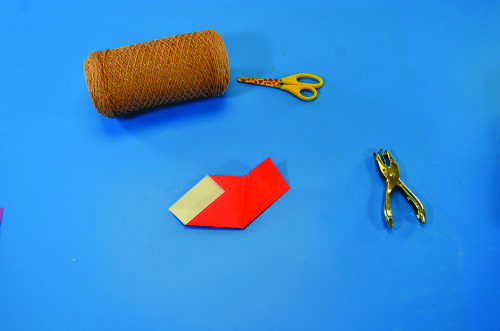
Bring the left half up to meet the right half in the middle.

step 9

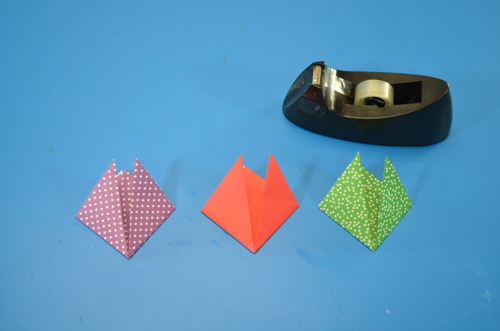
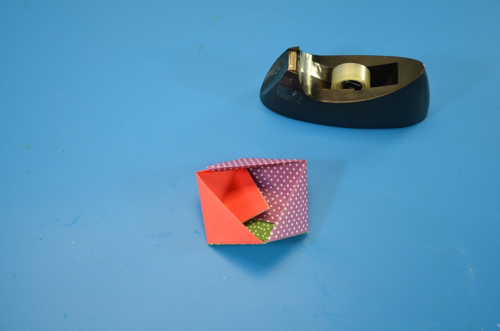
Flip your soon-to-be heart over. Fold down the top two points. Fold in the left and right points. When you flip it back over, your heart will be finished! Challenge each student to make several hearts. Not only does practice make perfect, but the more hearts you have, the longer your garland will be!

step 11.jpg

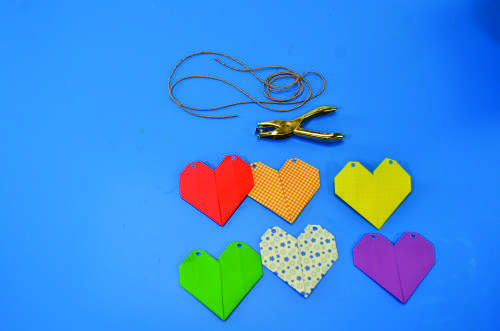
Once you have collected the class’s hearts, break out the hole punch and the yarn. Punch two holes in the top of each heart.

step 12

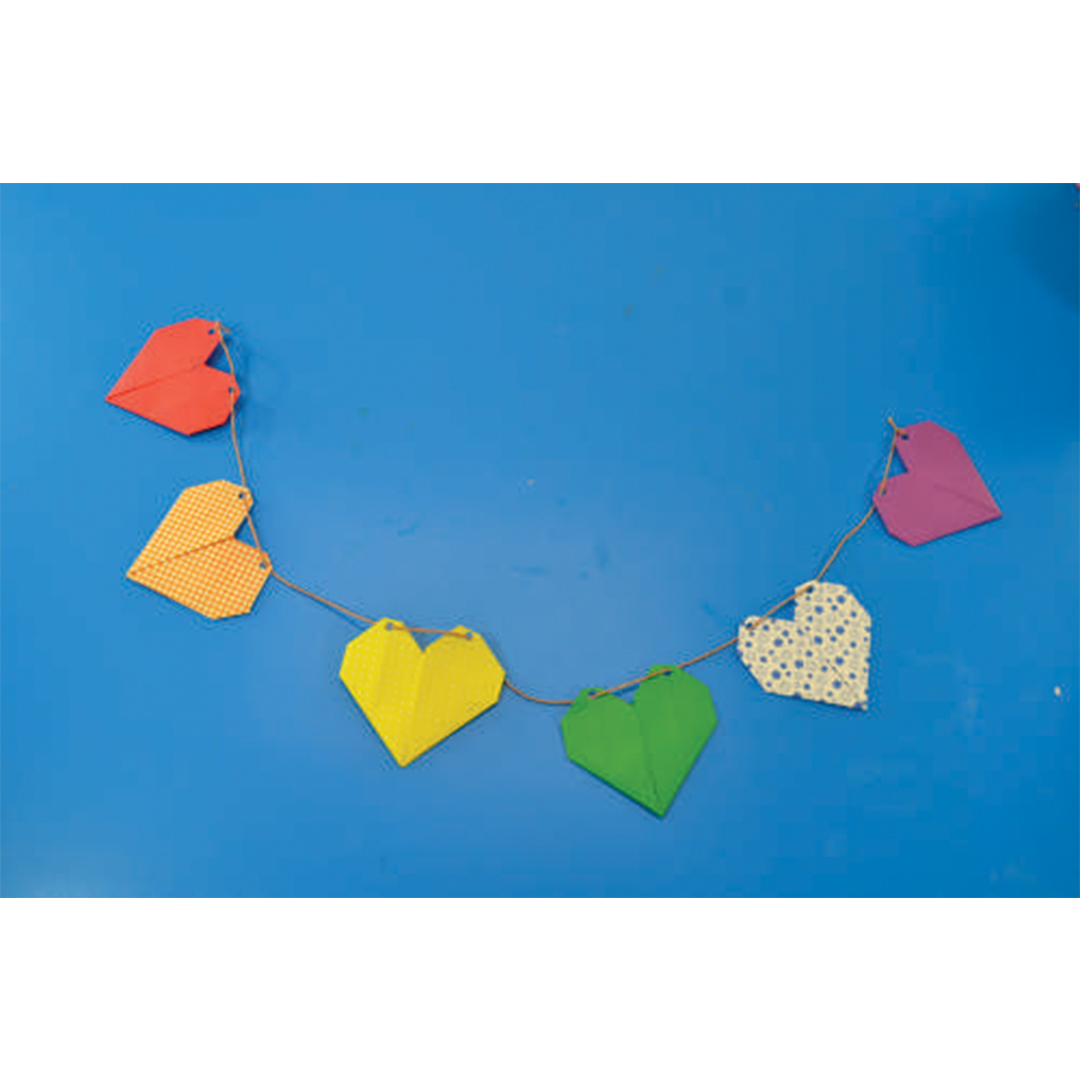
Finally, thread the yarn through the holes. If the yarn frays or the small holes are tricky for little fingers, try our plastic lacing needles to make the job a little easier.

step 13

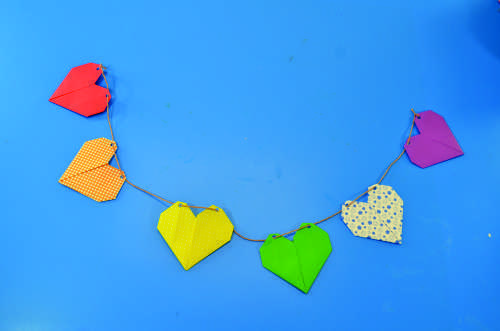
Once your garland is strung, only your imagination limits its uses! Tape the garland to the edge of tables, desks or cabinets to add color to the classroom. Use the hearts to decorate bulletin boards, doors and hallways!

Line-04

Like us on FacebookShare this post with your friends, or Subscribe to this blog today to receive original craft project updates every week!

Origami Triangle Box

finished craft

This adorable origami project is perfect for desks or as a holiday gift container! 

This origami project looks professional and beautiful when it is complete, but it’s simple enough for little fingers to easily fold!

Age: 4+

Duration: 5-8 minutes

Learning Outcomes: Introduce students to origami. Exercise fine motor skills. Practice precise folding techniques. Use in the classroom or as a gift container. Explore shapes and their attributes.

You’ll Need:

step 1.jpg

Line-17

For one box, each student will need three sheets of origami paper. Begin by folding all three sheets diagonally, so you have three triangles. During this process, remember to talk to your students about shapes. Ask them to describe their square sheets of paper, and once they have folded them, talk about the different kinds of triangles, their attributes, and how to tell them apart.

step 2.jpg

Turn your three triangles so the point is facing away from you on the table. The take the left bottom corner, and fold it upwards so it meets the center point. Crease firmly. Repeat this with the other two triangles.

step 3.jpg

Now fold the right bottom corner the same way on all three of your sheets!

step 4.jpg

Now you should have three diamond shapes on the table in front of you. Open the two folds, so you have triangles in front of you again. Turn the triangles so the point is TOWARDS you on the table. Now fold the center point up until it meets the center of the flat edge. Crease the fold.

step 5.jpg

Unfold the sheets so you have three triangles again. Turn all three triangles so the center point is AWAY from you. It’s time to start constructing your box. The fold lines on your triangles should demarcate four smaller triangles inside your large triangle. Carefully slide one triangle inside another until they line up like this:

step 6.jpg

The folds allow you to carefully curve the green sheet around and slide it inside the purple sheet, completing your box. The three triangles on the bottom overlap to give your container a floor. You can secure the bottom with a small piece of tape if you wish.

step 7.jpg

To create a larger version of this box, try using our R15208 Really Big Origami Paper!

Line-10

Like us on FacebookShare this post with your friends, or Subscribe to this blog today to receive original craft project updates every week!