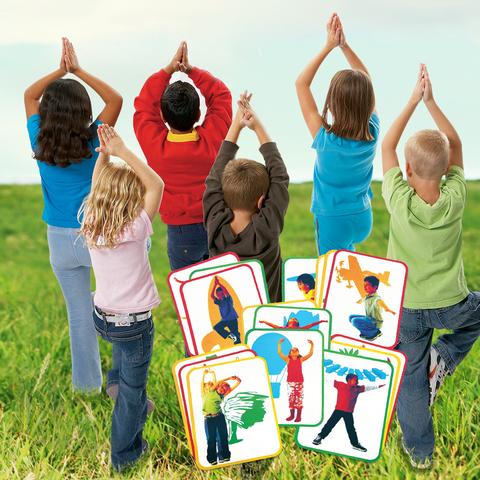
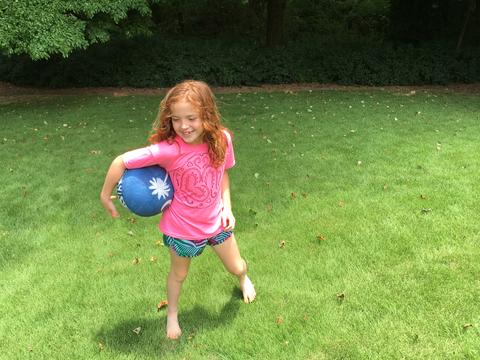
A teacher’s job is no easy assignment. Day after day, you’re tasked with educating and inspiring children, so that they have the tools they need to become intelligent and motivated adults. Whoa… We hear you! And we like to think we have some valuable tools to help you do your job to the best of your abilities! We’ve compiled a list of 10 items that have proven to be winners in the classroom, not only for their academic attributes, but for being just, plain fun! As a new school year approaches, we’re ready to work along your side to get kids inspired about creativity and learning! Let’s get started…

Color Diffusing Paper
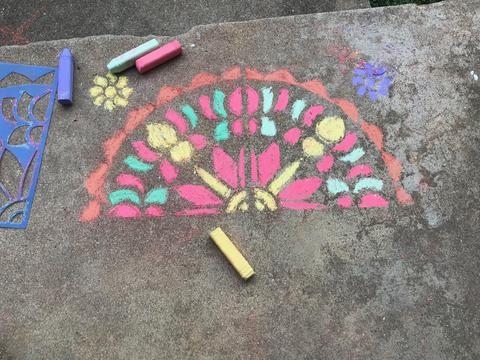
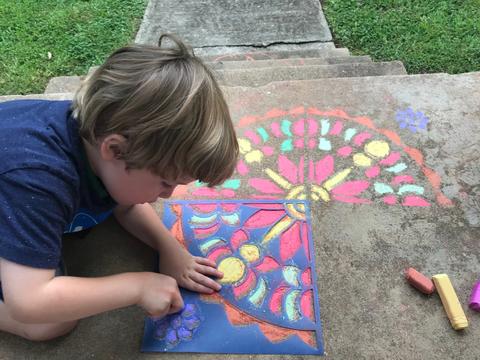
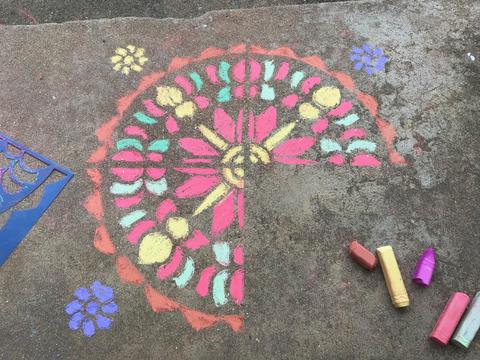
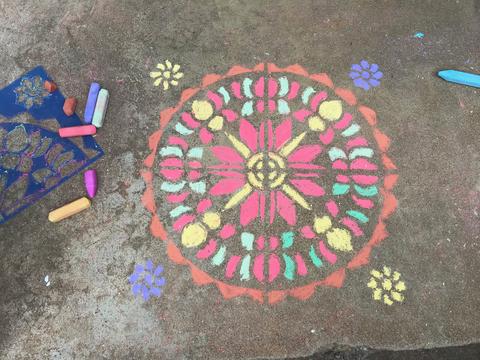
If this is not already your favorite painting craft, it probably will be soon! Kids and adults alike can create unbelievable patterns and images using this woven paper. The material is highly absorbent, which allows amazing things to happen when you drip, spray or splash liquid paints onto the surface. You can even mask out pictures using a wax crayon or some glue before you put down your water colors. Really easy. Parents are going to want to frame this stuff. Use our tools, like Paint Bellows or Paint Pipettes, to create even cooler effects, like tie-dyes!
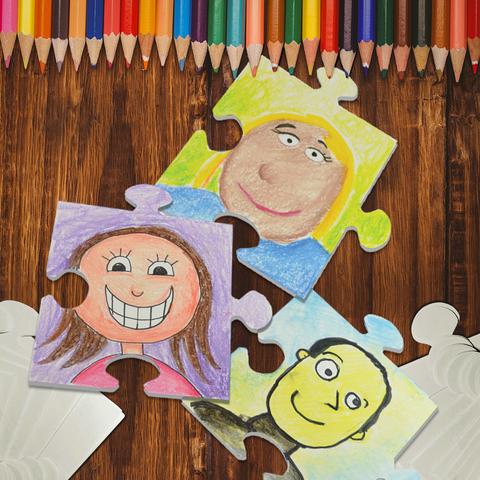
We All Fit Together Giant Puzzle Pieces
When kids come to school, they get a chance to see lots of different faces from lots of different backgrounds. This product gives you a chance to create a fun project that can help kids visualize that diversity. Have your students take one of these puzzle pieces and make it their own. Encourage them to fill it up with colors and imagery using any medium they prefer: markers, paints, crayons, pastels, charcoal, collage, etc. Maybe they’ll want to create a self-portrait, or maybe they’ll want to use colors to represent their family heritage. When everyone has had a chance to finish their puzzle piece, begin connecting them all together. Fill up a bulletin board to create a one-of-a-kind classroom display that everyone can be proud of. Or, if you have the time to get really creative, you can connect the different pieces to create a larger picture that represents a theme. Or, connect them to spell out words or phrases, like “DIVERSITY”, or “CLASS OF 2019”.
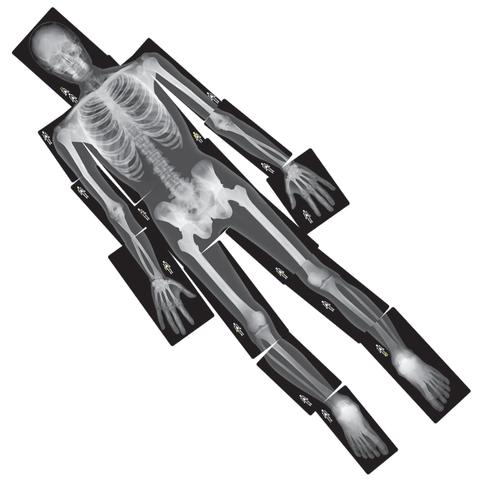
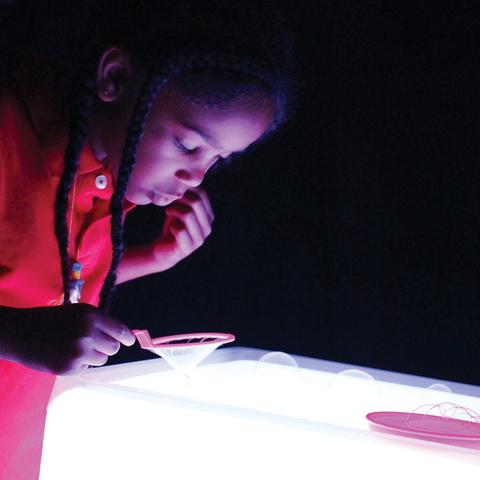
True to Life Human X-Rays
Biology is the perfect subject for visual aids — especially for young children. Whether your discussions are focused on technology or anatomy, adding these authentic X-rays of the human skeletal system will help bring your lessons to life! They work perfectly with our Educational Light Cube, or you can hold them up to a light source in your classroom to see X-rays of a real human skeleton! All the bones are represented, and you can even place them beside one another to form the whole skeleton.
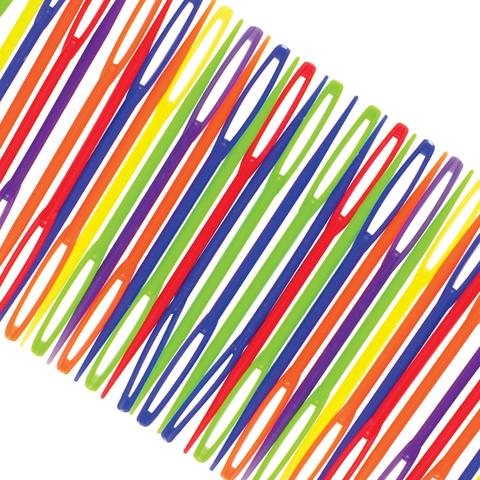
Plastic Lacing Needles
Craft time with kids is more than just a chance to make awesome stuff. It’s an opportunity to put new skills to work. With our Plastic Lacing Needles, kids can practice manual dexterity as they lace string in loops through Paper Mesh or construction paper cutouts. When they’re finished, not only will they have a neat spider web decoration, basket, shoe lace ornament — or, whatever you come up with to guide them — but they will also have a just a little bit more control of their fingers. In these important early years, every little bit helps. Plus, these Plastic Lacing Needles are designed with kids in mind. They have lots of fun, bright colors, rounded edges, and great, big eyes for easy threading.
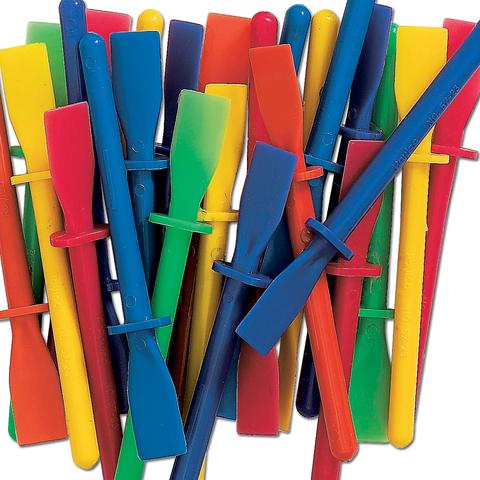
Goo Spreaders
We love making tools that help kids learn why tools work. These Goo Spreaders are a good example of that. They come in handy for spreading sticky glue on paper or fabric, mixing thick paints and stirring up slimy concoctions. They have a safely chiseled edge for smooth spreading, and a flat guard that keeps gummy goo where it belongs while keeping the tool from rolling on flat surfaces.
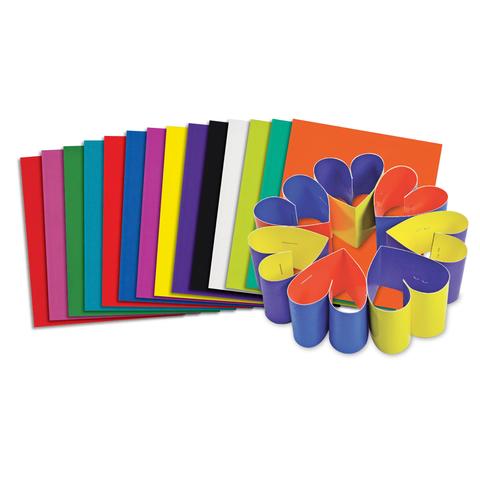
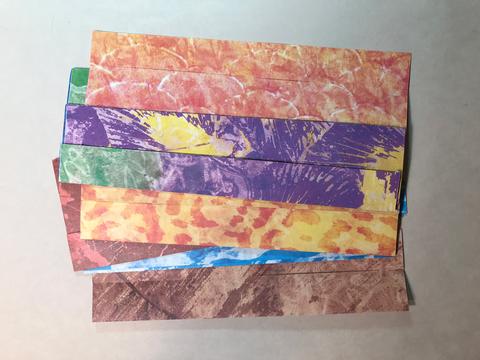
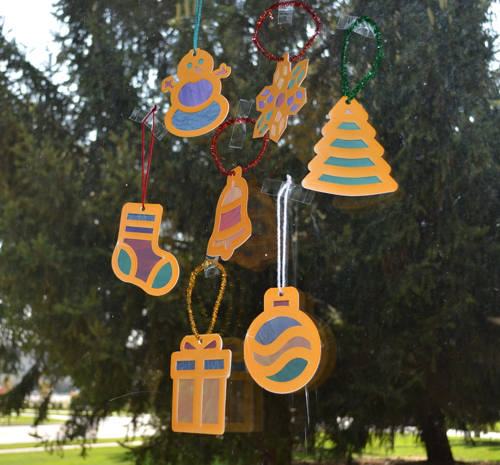
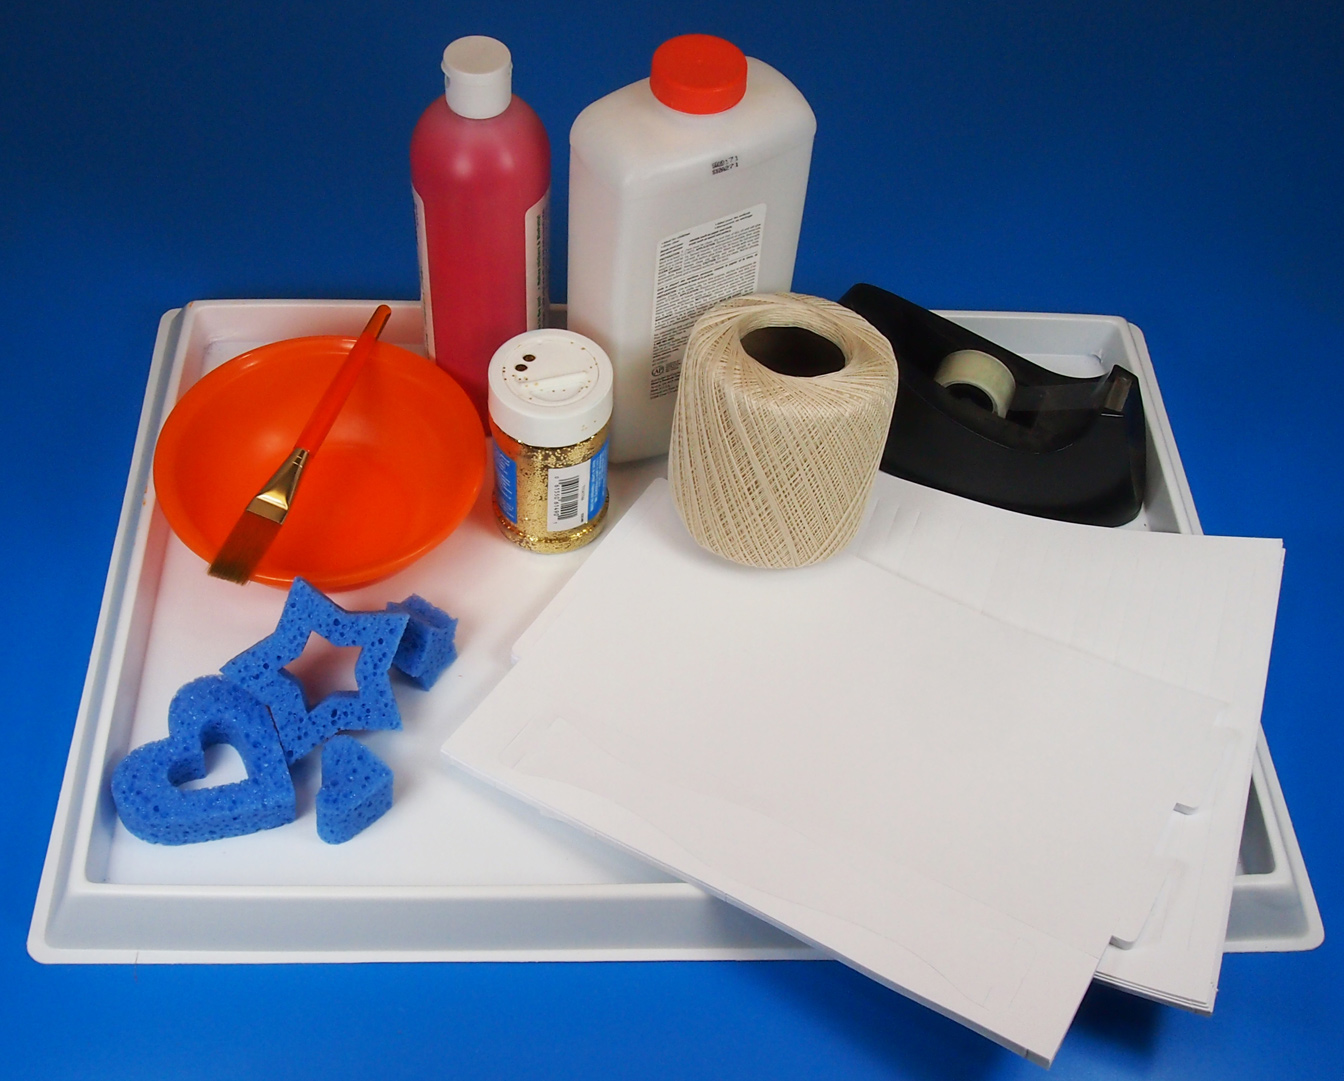
Double Color Card Stock
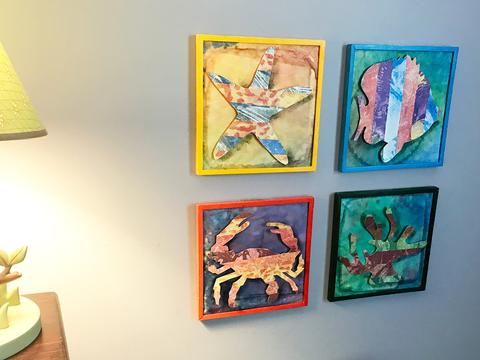
Every great paper craft starts with a great idea. After that, proceed to this Double Color Card Stock. This sturdy, colorful cardstock is double-sided with assorted colors to make sure that whichever side is facing your audience, it’s going to be beautiful. This is also an excellent base for three-dimensional paper sculptures because the paper is thick enough, yet pliable enough, to crease and bend, and stack up and out. Cut it into strips or shapes. Roll it into tubes and tape it shut. Kids can glue buttons, macaroni or colorful rice onto the structures they’ve made, and it will keep its shape. This bright, sturdy paper is also collage and presentation friendly, making it a must-have classroom staple.
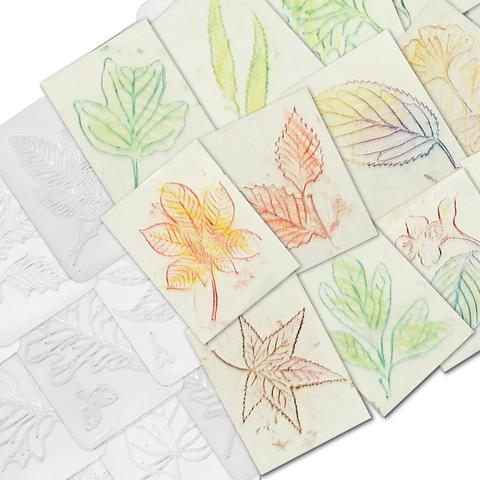
Leaf Rubbing Plates
Back to school means back to autumn. Which means it’s that time of year when rich, warm, beautiful colors cover EVERYTHING! Okay, our love for fall is showing, but it’s true that it’s a great time for crafts. What better way to celebrate this crafty time of year than with leaves? We have a tool here that you can run with and make your own. Leaf Rubbing Plates. There’s so many ways you can use this product that by the time you’ve finished, your craft it will be something that no one else has, anywhere. Start with paper. What kind of paper? Already you’re in control. Handmade papers, woven papers, textured papers, soft papers… What medium? Pencil, pastel, charcoal, crayon… You get the point. Also, you don’t just have to make rubbings. The surface of these plates makes an excellent mold. Fill it with glue, dish soap and food coloring to make a window cling! Fill it with water and freeze it. Let your ideas lead the way. By October, your classroom will be an autumn Arcadia!
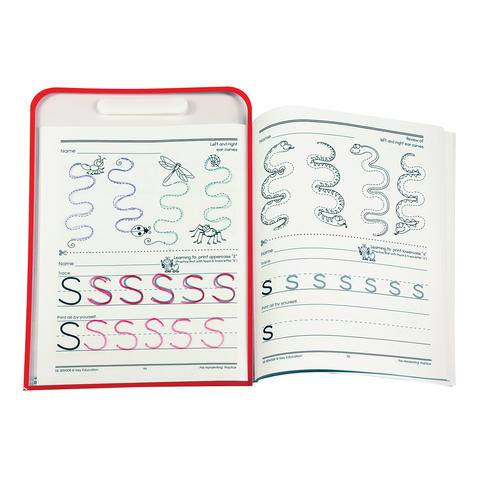
Wipe Clean Worksheet Cover
Time to get down to business. We have a great tool for the classroom that is going to save you time and money. Our Wipe Clean Worksheet Covers work for you. That means, you can use them year after year to suit your lesson plans. If you need to print out worksheets, wrap your printouts in these colorful, side-loading, transparent covers. Now kids can use dry erase markers to practice writing letters, perform calculations, fill in the hands of a clock face, match words to pictures — whatever you have a need for. When they’re done, just wipe the cover clean and reuse the work sheets! If you like, we have some useful, and FREE, worksheets available for download from our website.
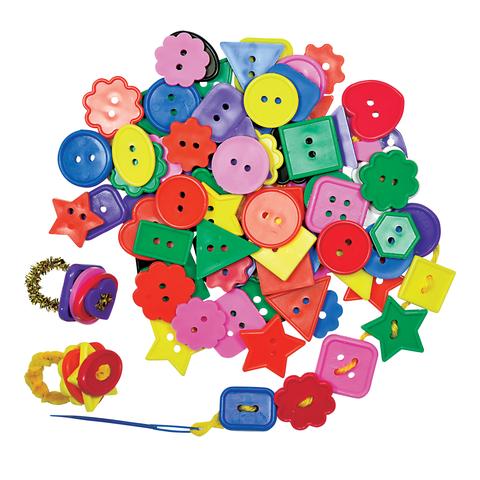
Bright Buttons
Kids love buttons. …they just do. Especially big, bright, soft, textured, colorful buttons with fun shapes! Keep these handy in your classroom craft supplies for adding color and textures to collages, decorations and impromptu fashion statements. They have big holes for threading thick yarns with our Plastic Lacing Needles, which makes them great for exercising manual dexterity. Plus, the colors, shapes and textures make them a valuable multi-purpose tool for counting and sorting activities, as well as sensory explorations.
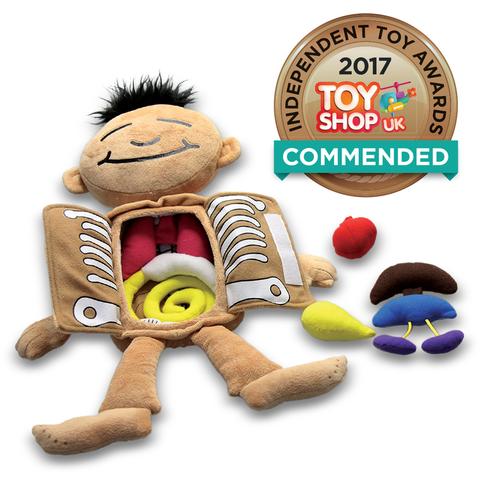
What’s Inside Me Doll
Human beings are made of complicated systems. Explaining how these systems function in a way that kids can understand can be difficult, but we’re here to help! We’ve taken some of the body’s major organs (brain, heart, lungs, intestines and more), and turned them into simple, soft and squishable toys that kids can relate to. Better yet, we’ve added sounds to some of them to complete the sensory experience! The sleepy, kid-friendly doll is ready for surgical procedures. Kids inspired by science and technology can pretend to be surgeons as they open up the doll’s belly to find the organs inside. Open the flap on the back of the head to find the brain. Velcro strips make opening and closing the doll a cinch. It’s the ultimate visual aid for early biology lessons. Kids who are just learning about the inside of the body will be amazed at how our What’s Inside Me Doll reveals what’s inside them! Pediatricians and guidance counselors may also find this doll useful as a tool for helping to explain complicated medical procedures. When a child, or a child’s family member, needs medical care, our What’s Inside Me Doll can help to comfort them by explaining what’s happening in a way that they can understand.

We hope this list of cool and useful products gets you inspired, and ready to make new success stories throughout the coming months. If you have any questions or ideas for us, if there’s anything we can do to help you in your valuable work, please contact us. We love to hear from you. We’re looking forward to another excellent school year!


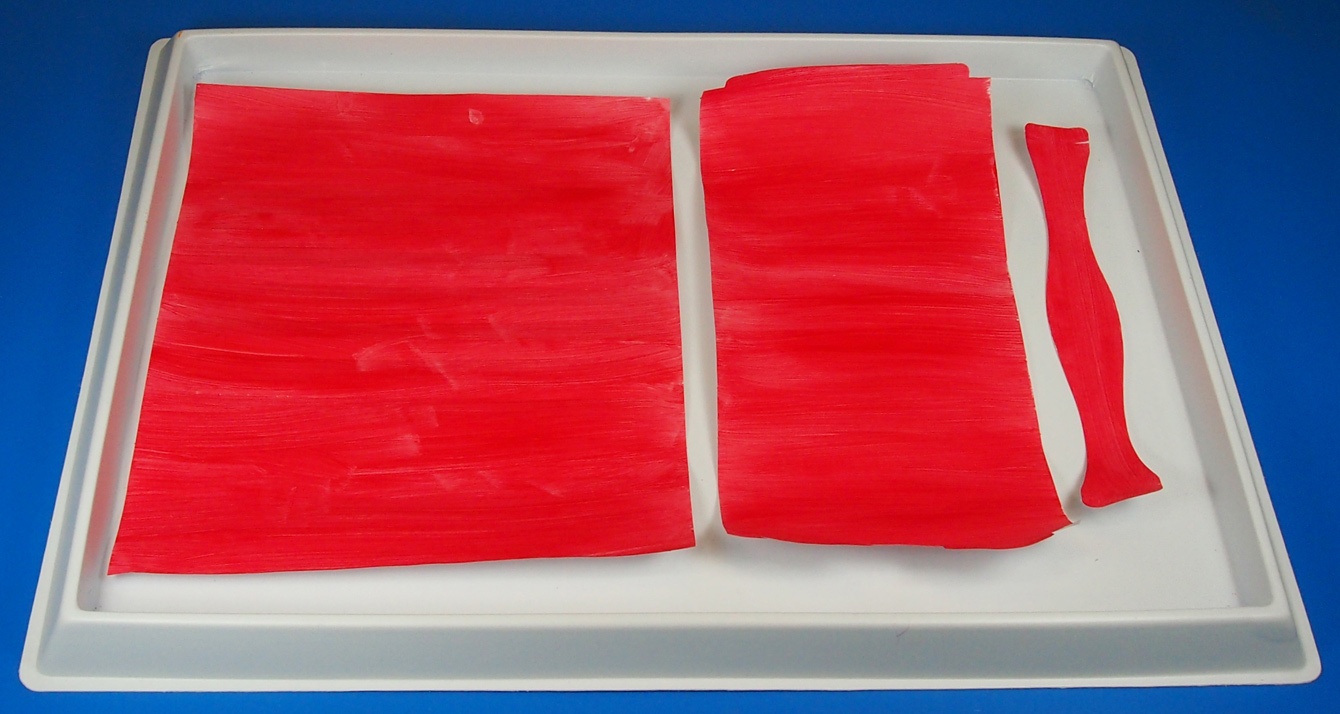 Set each piece inside your paint tray. Paint all 3 pieces in a flat color. If needed, paint on two or three layers. When you are satisfied with the strength of the paint color, set aside to dry.
 Once the large square piece is completely dry, get ready to decorate it! Fill a plastic bowl with a bit of white glue. Select a favorite sponge shape and dip one side into the glue. Carefully stamp the sponge shape 4-6 times across the square lantern piece.
 Make sure you do this step quickly, before the glue dries! Place the square piece onto newspaper. Sprinkle gold glitter glue completely on top of the stamped glue areas.
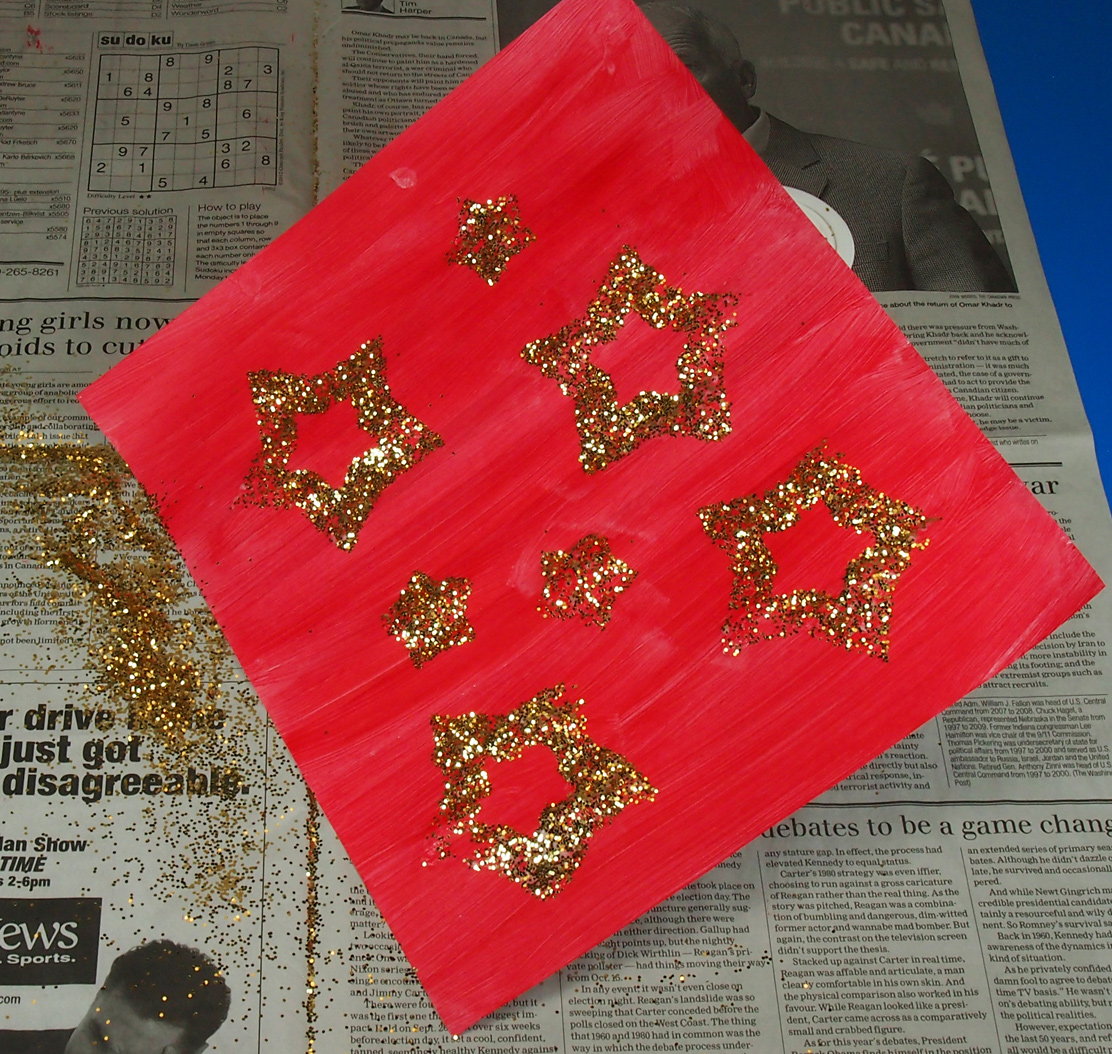 When the glue and glitter have dried, gently lift up one edge of the square piece and shake off the excess. Only the parts where the glitter met the glue will remain on the square piece. This creates a lovely surprise for students! Tip: Try to separate the die-cut lines if they are stuck together from the paint/glue.
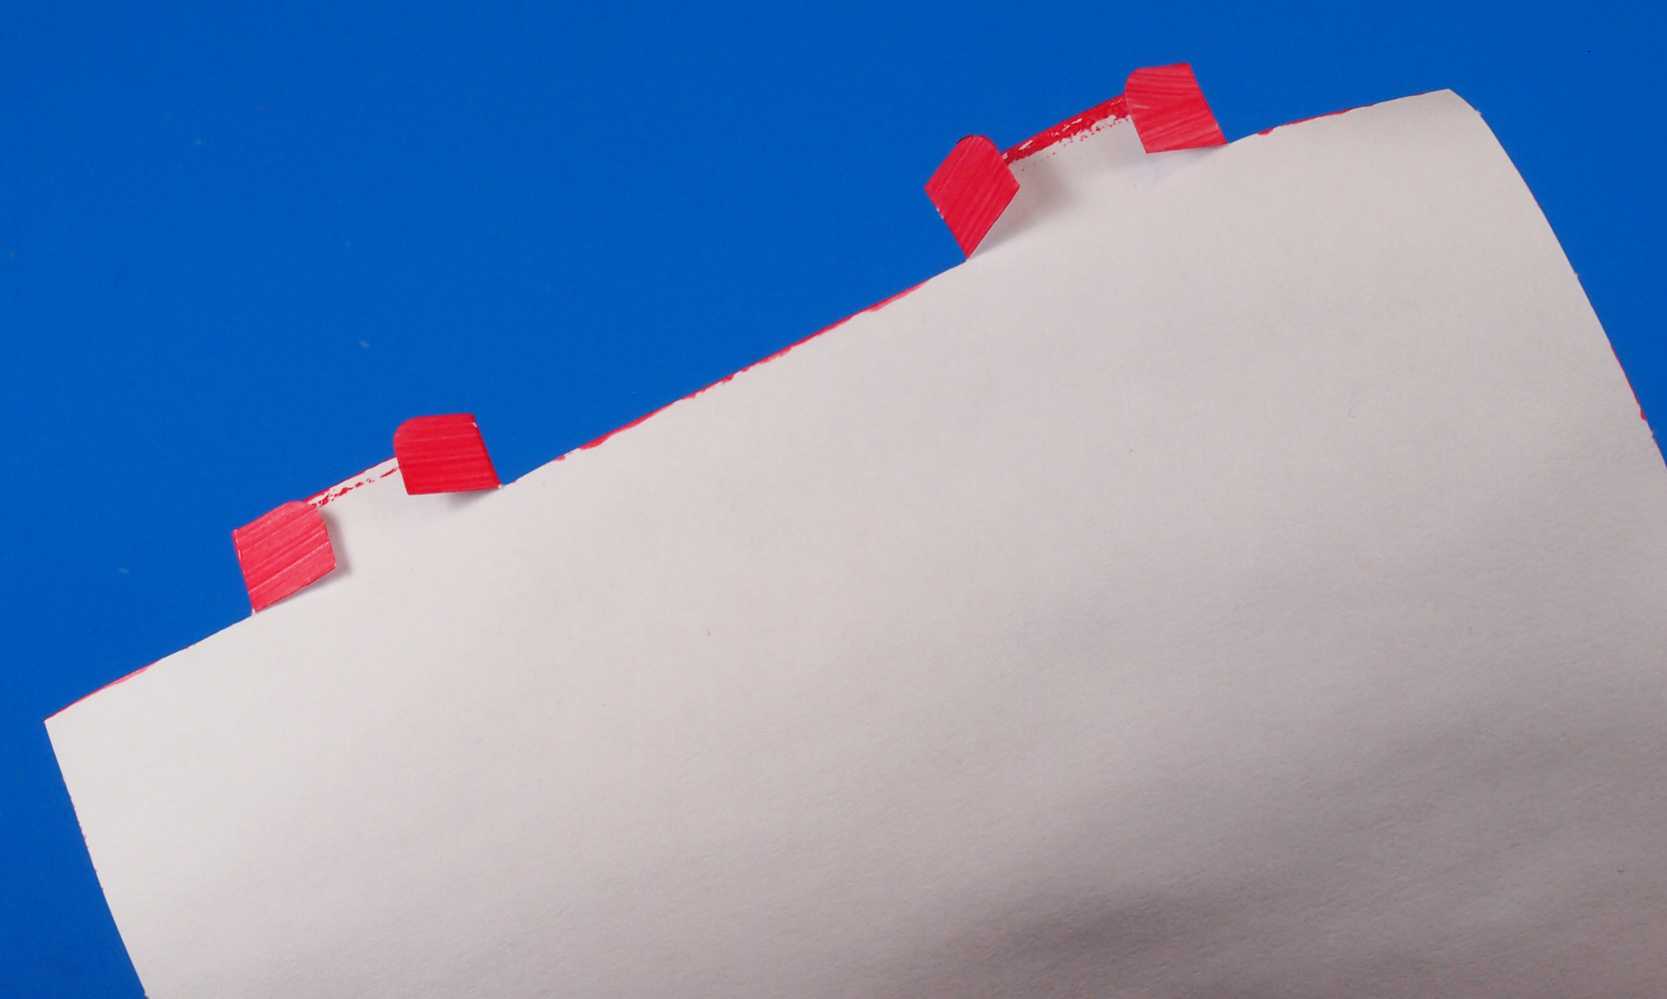
 Roll the rectangle piece into a tube. To secure the tube, slide the folded tabs into the slots.
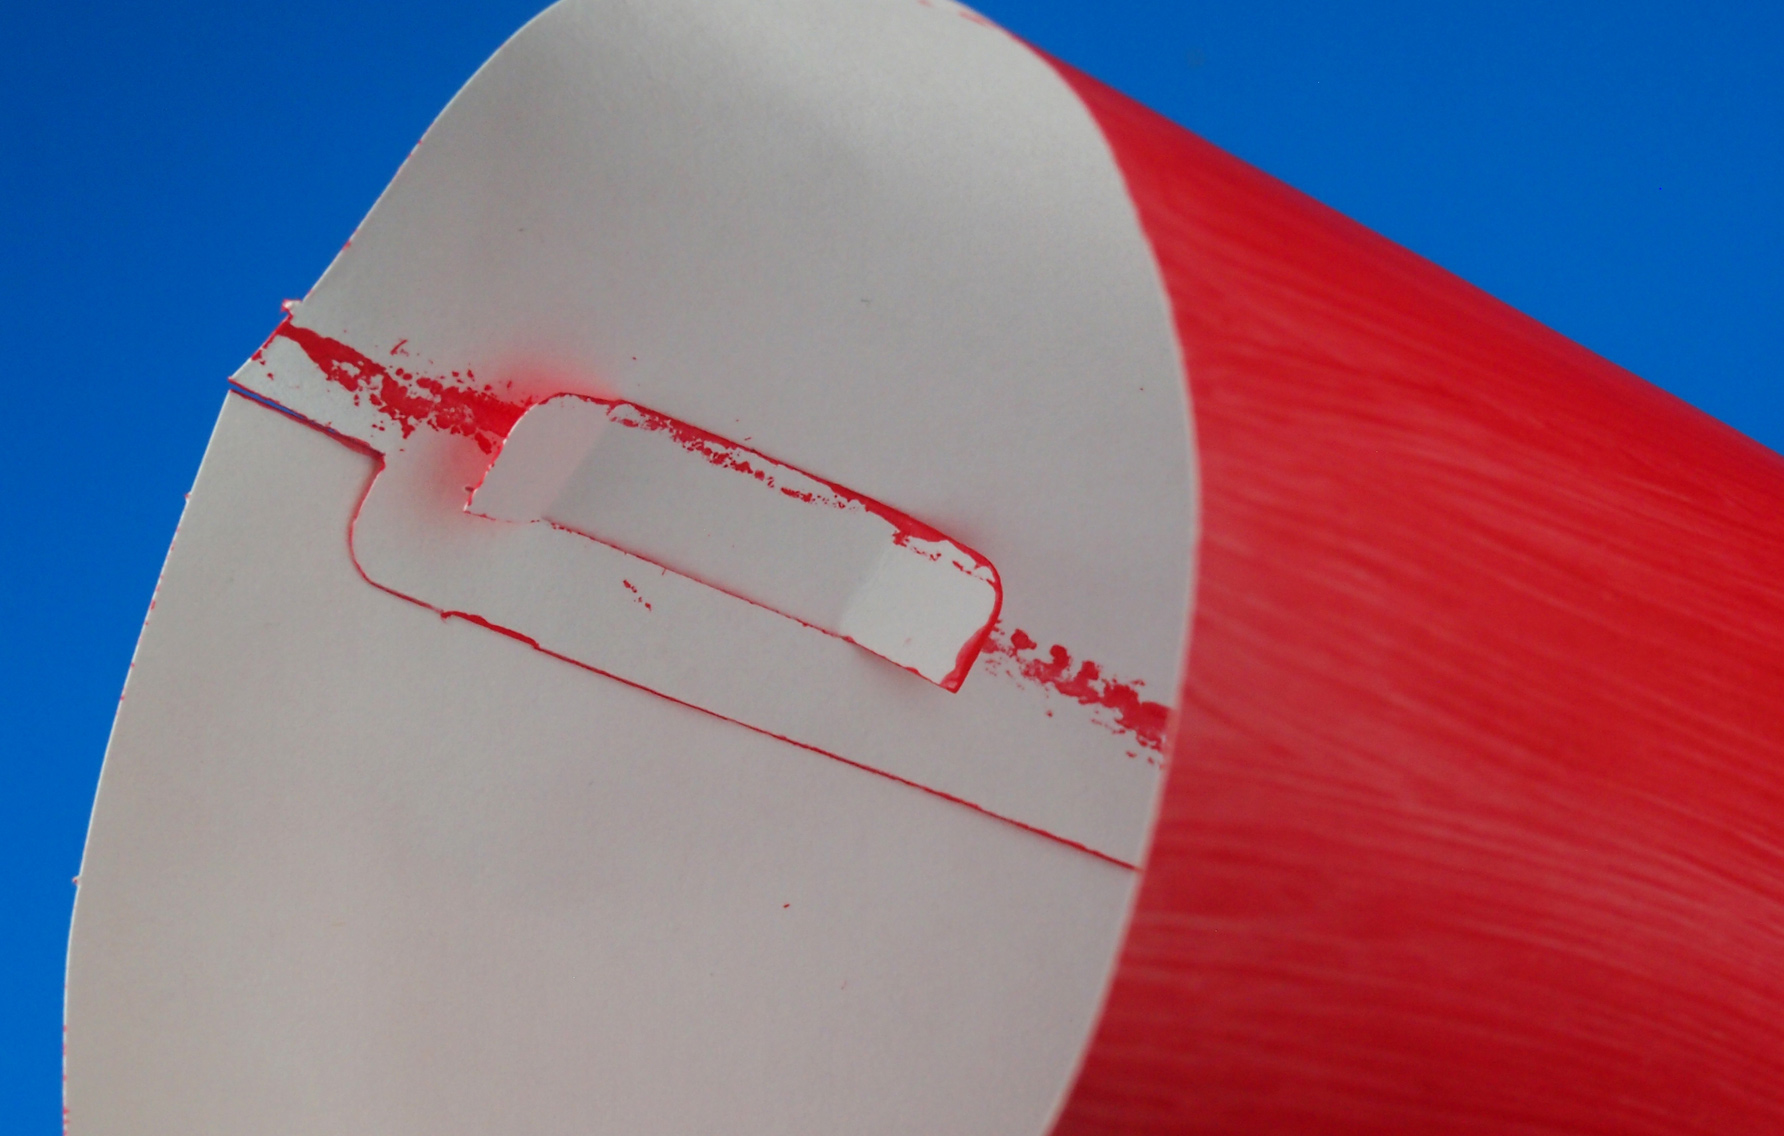 Reach inside the tube and unfold the tabs to “lock” in place.
 You can reinforce the tube with a bit of tape!
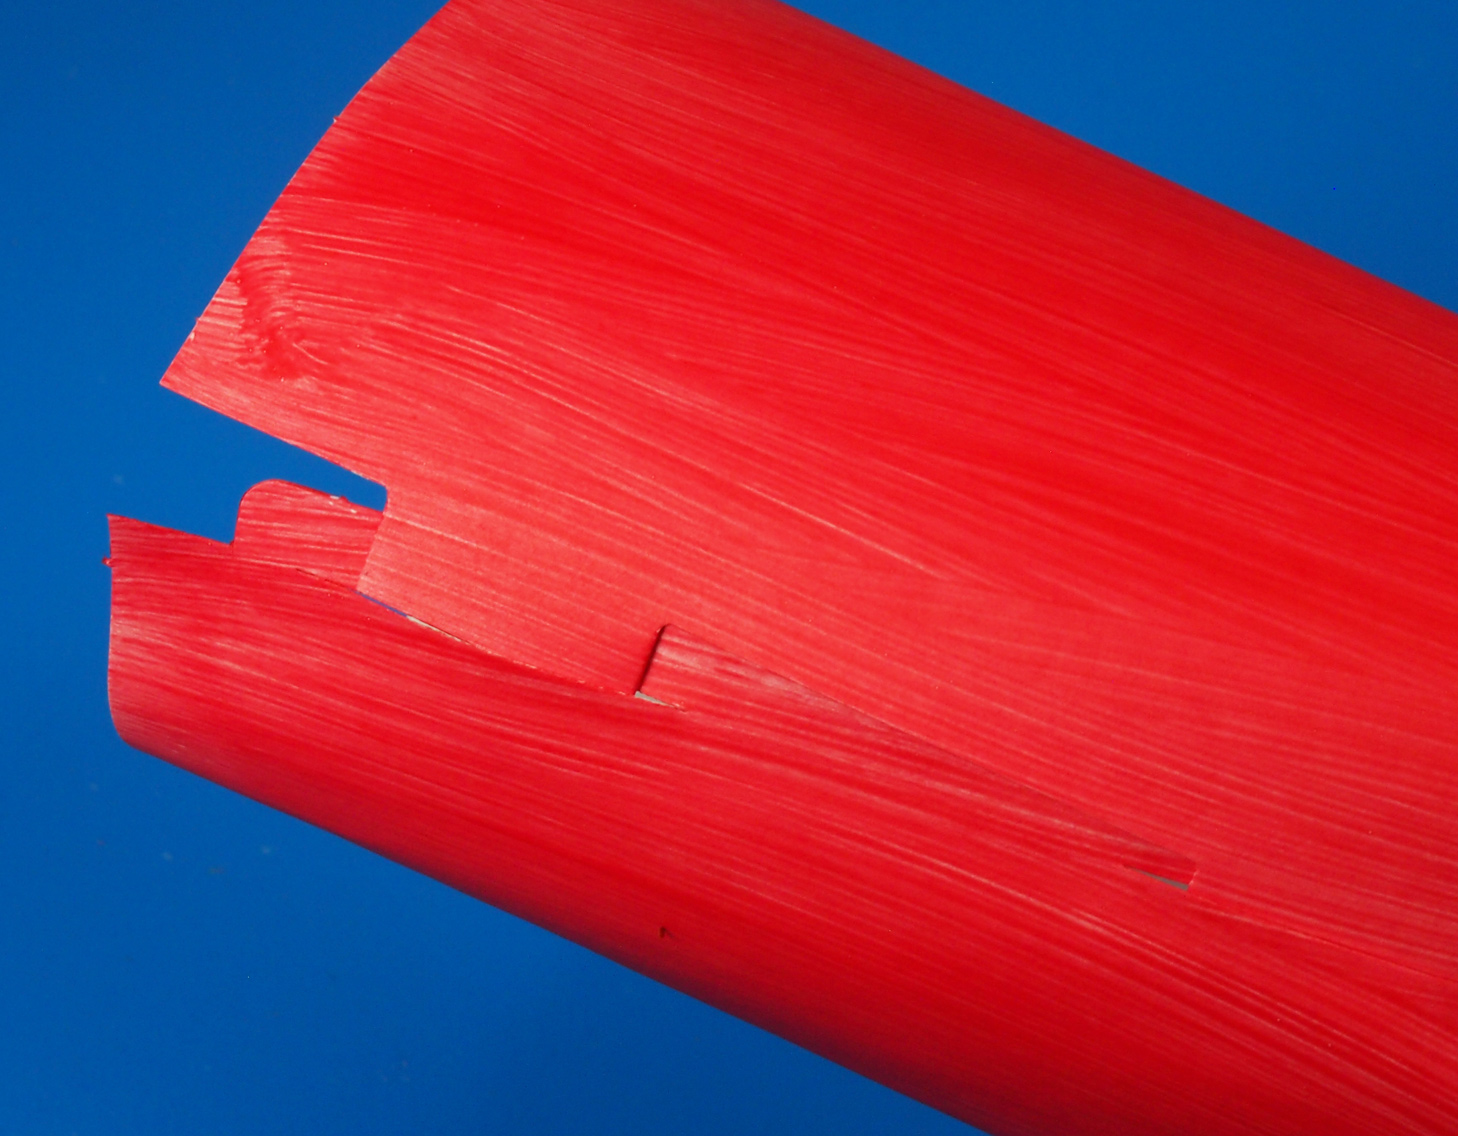
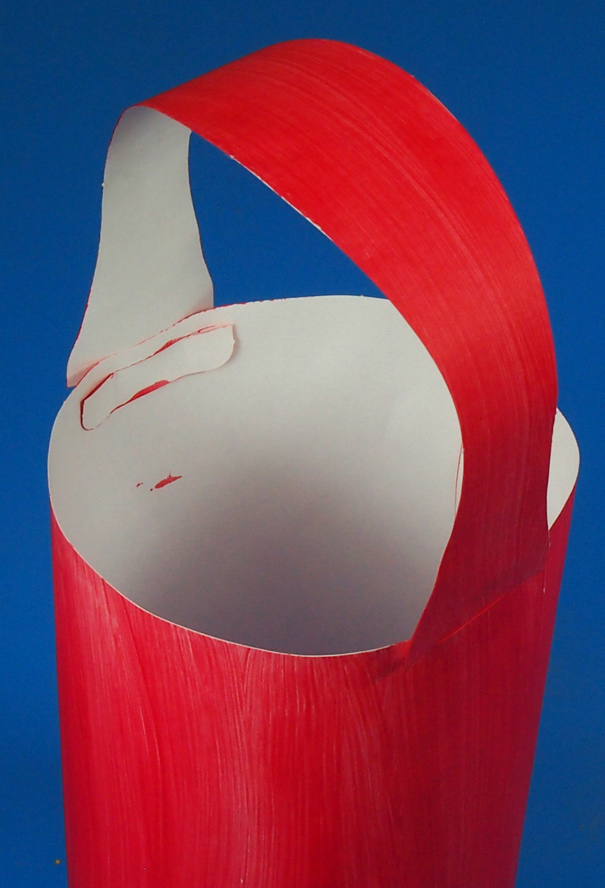 Now it’s time to attach the handle. That’s what the long wavy piece is for! Locate the two slots along the top edge of the tube and slide the ends of the handle through.
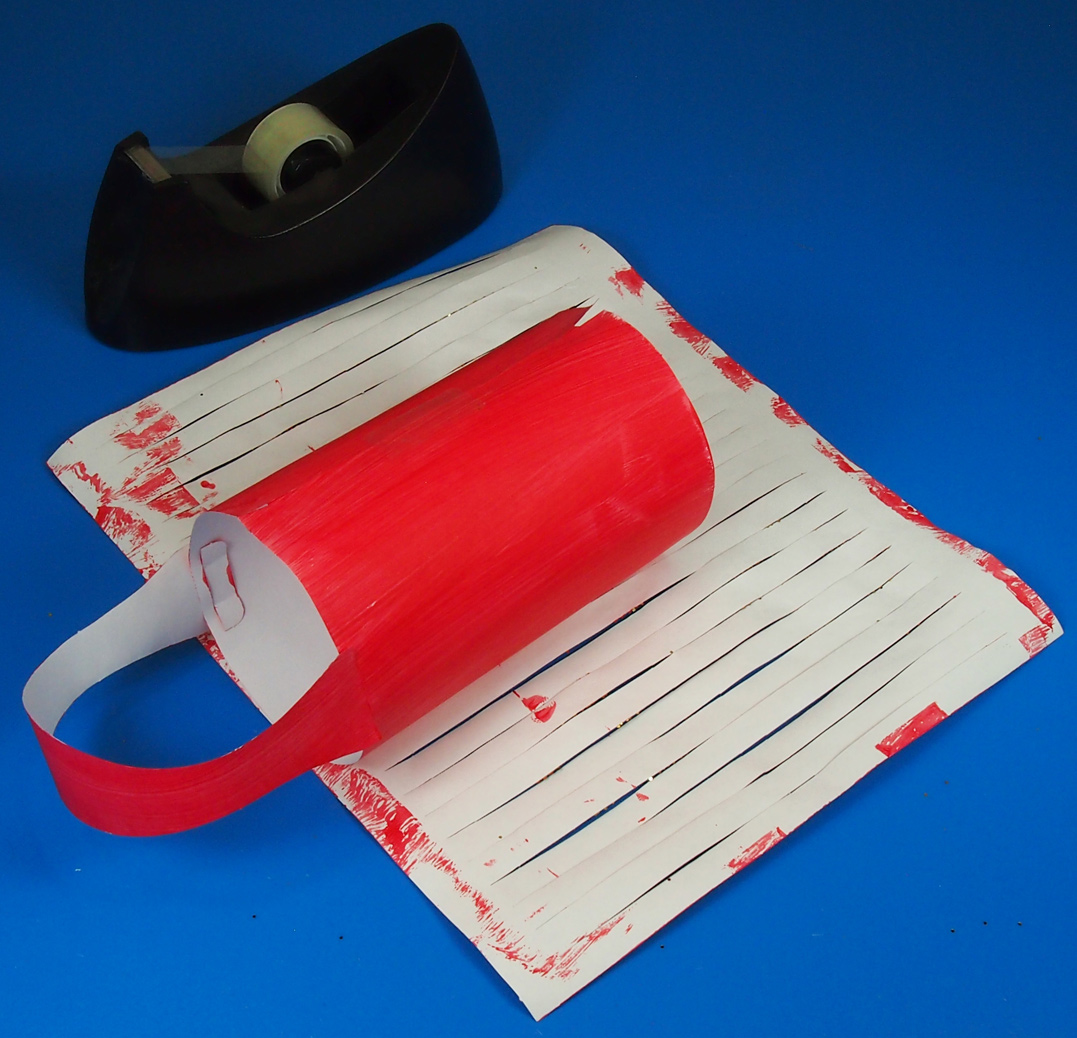
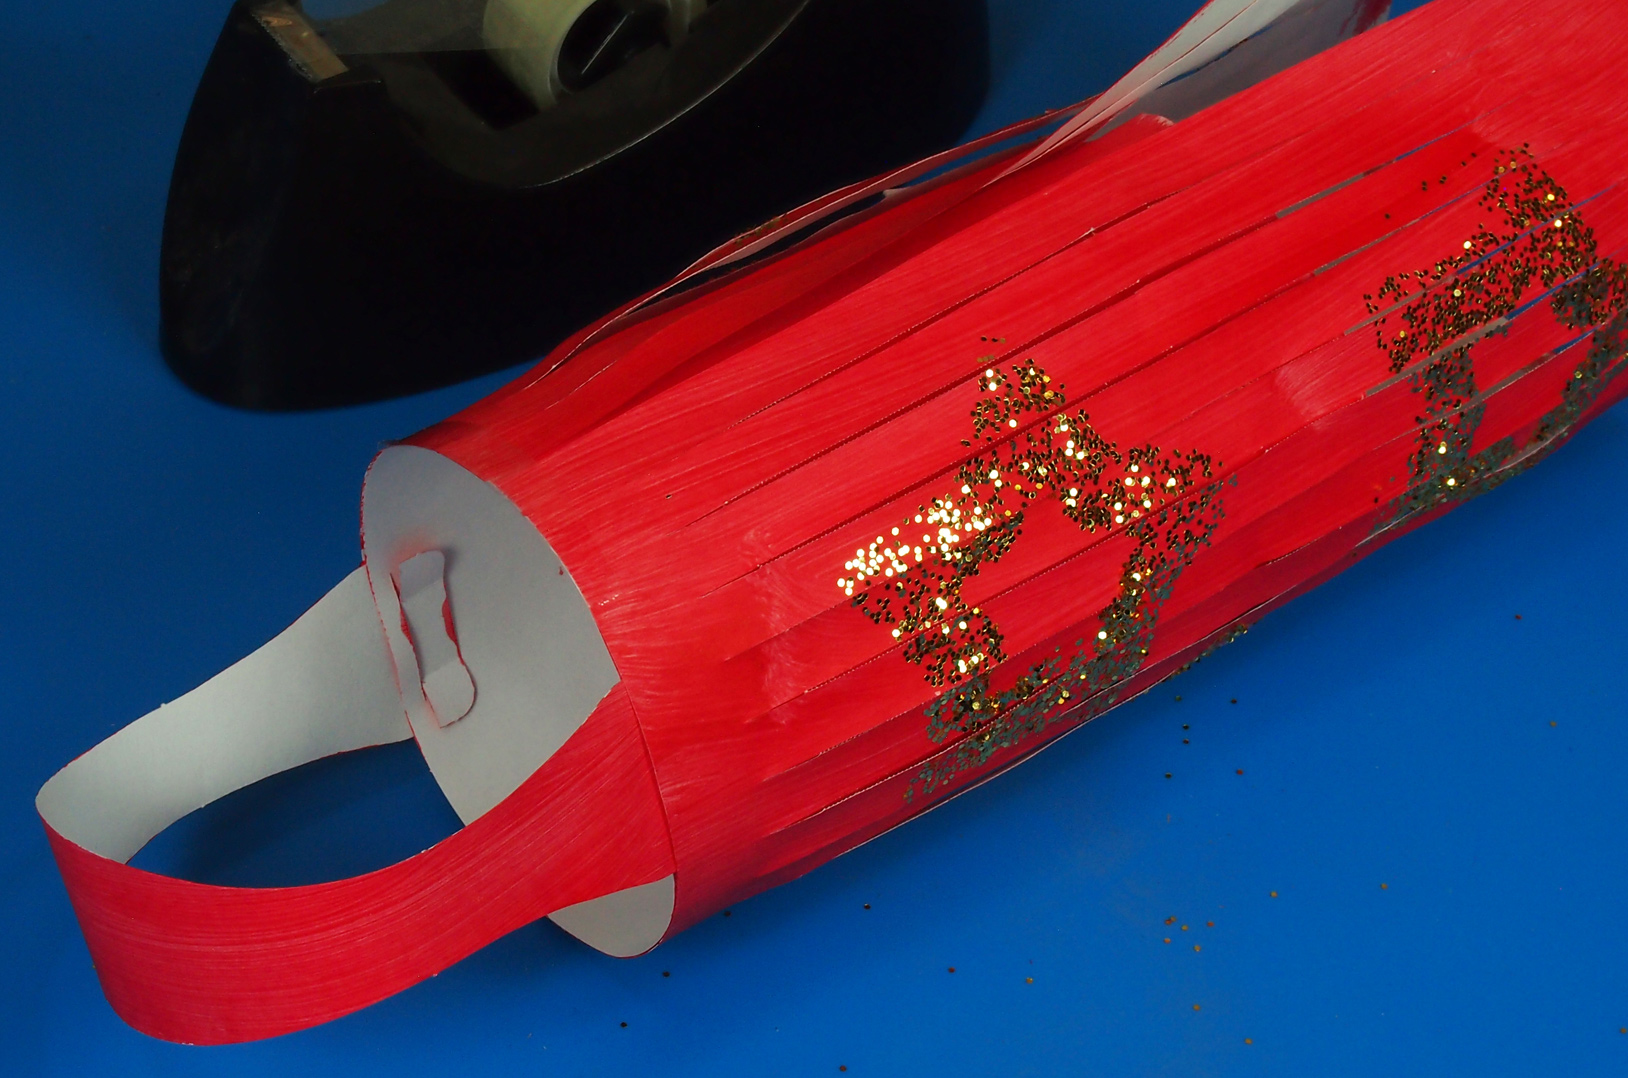 Wrap the glitter-stamped piece all around the tube and secure the edges together with tape.
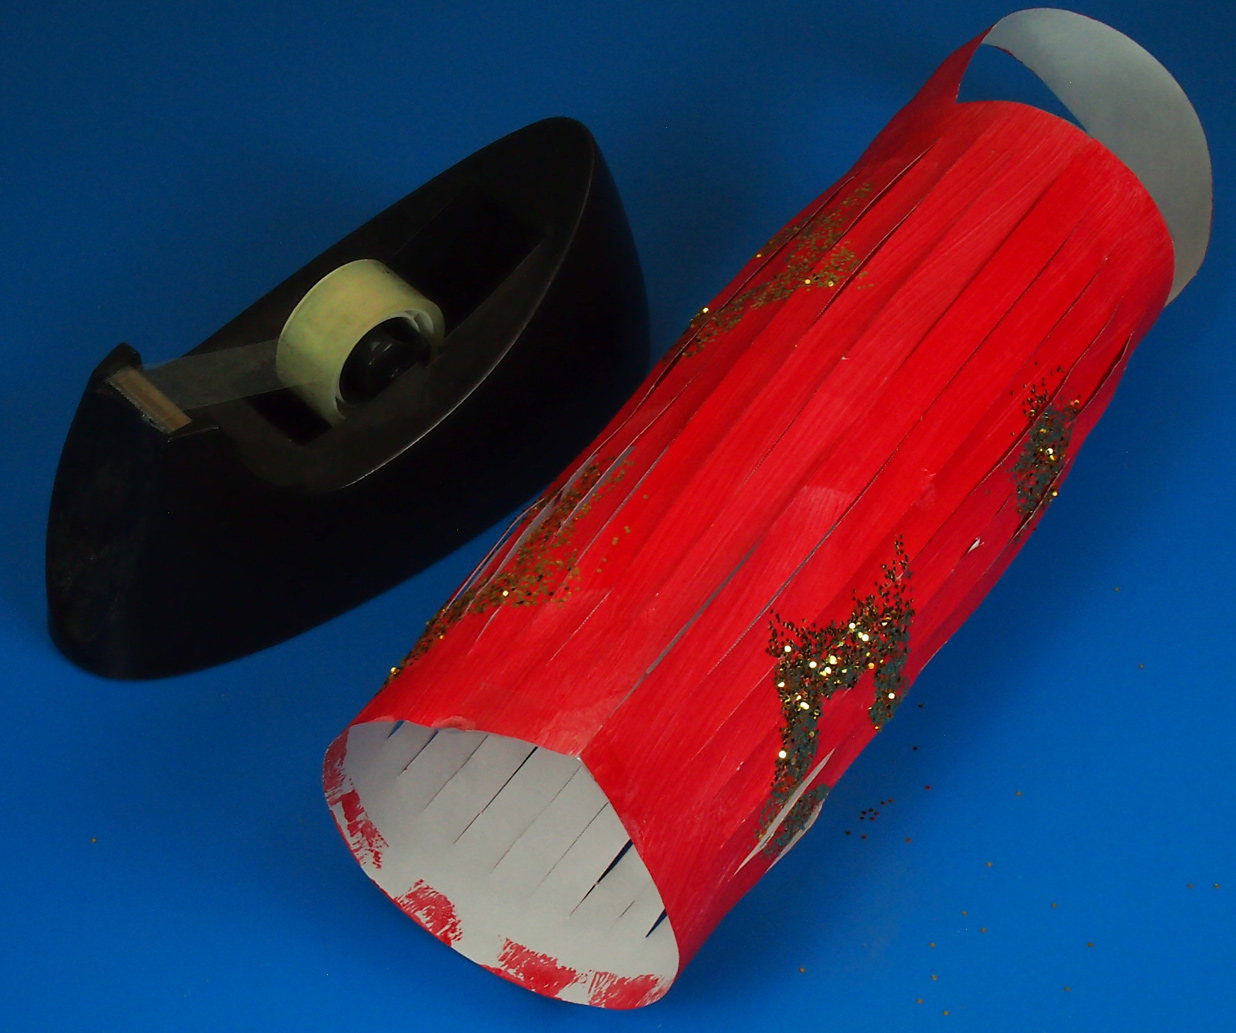 Now, flip the lantern over. To create the bowl effect, you need to match the bottom edge of the square piece with the bottom edge of the inner tube. This will cause the strips to fan out.
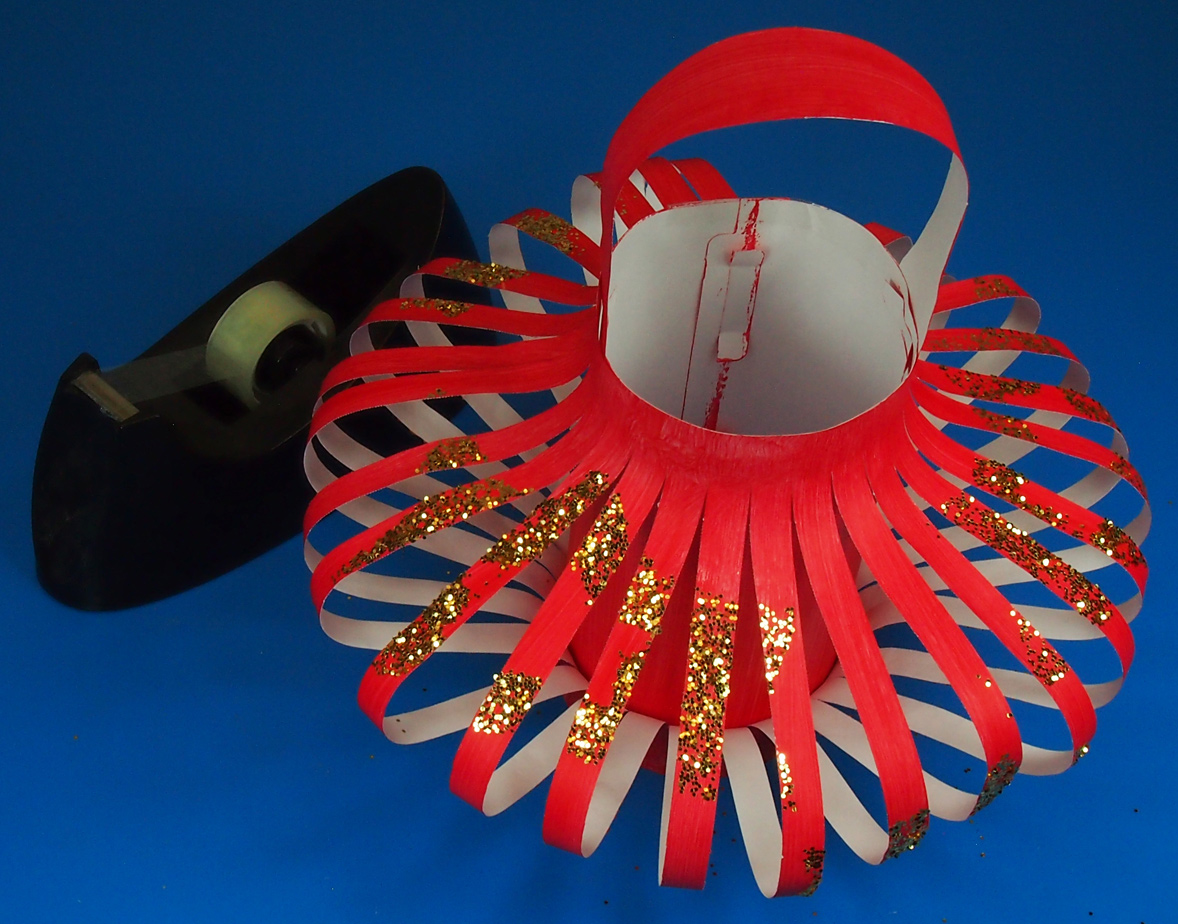 Tape the bottom edges together.
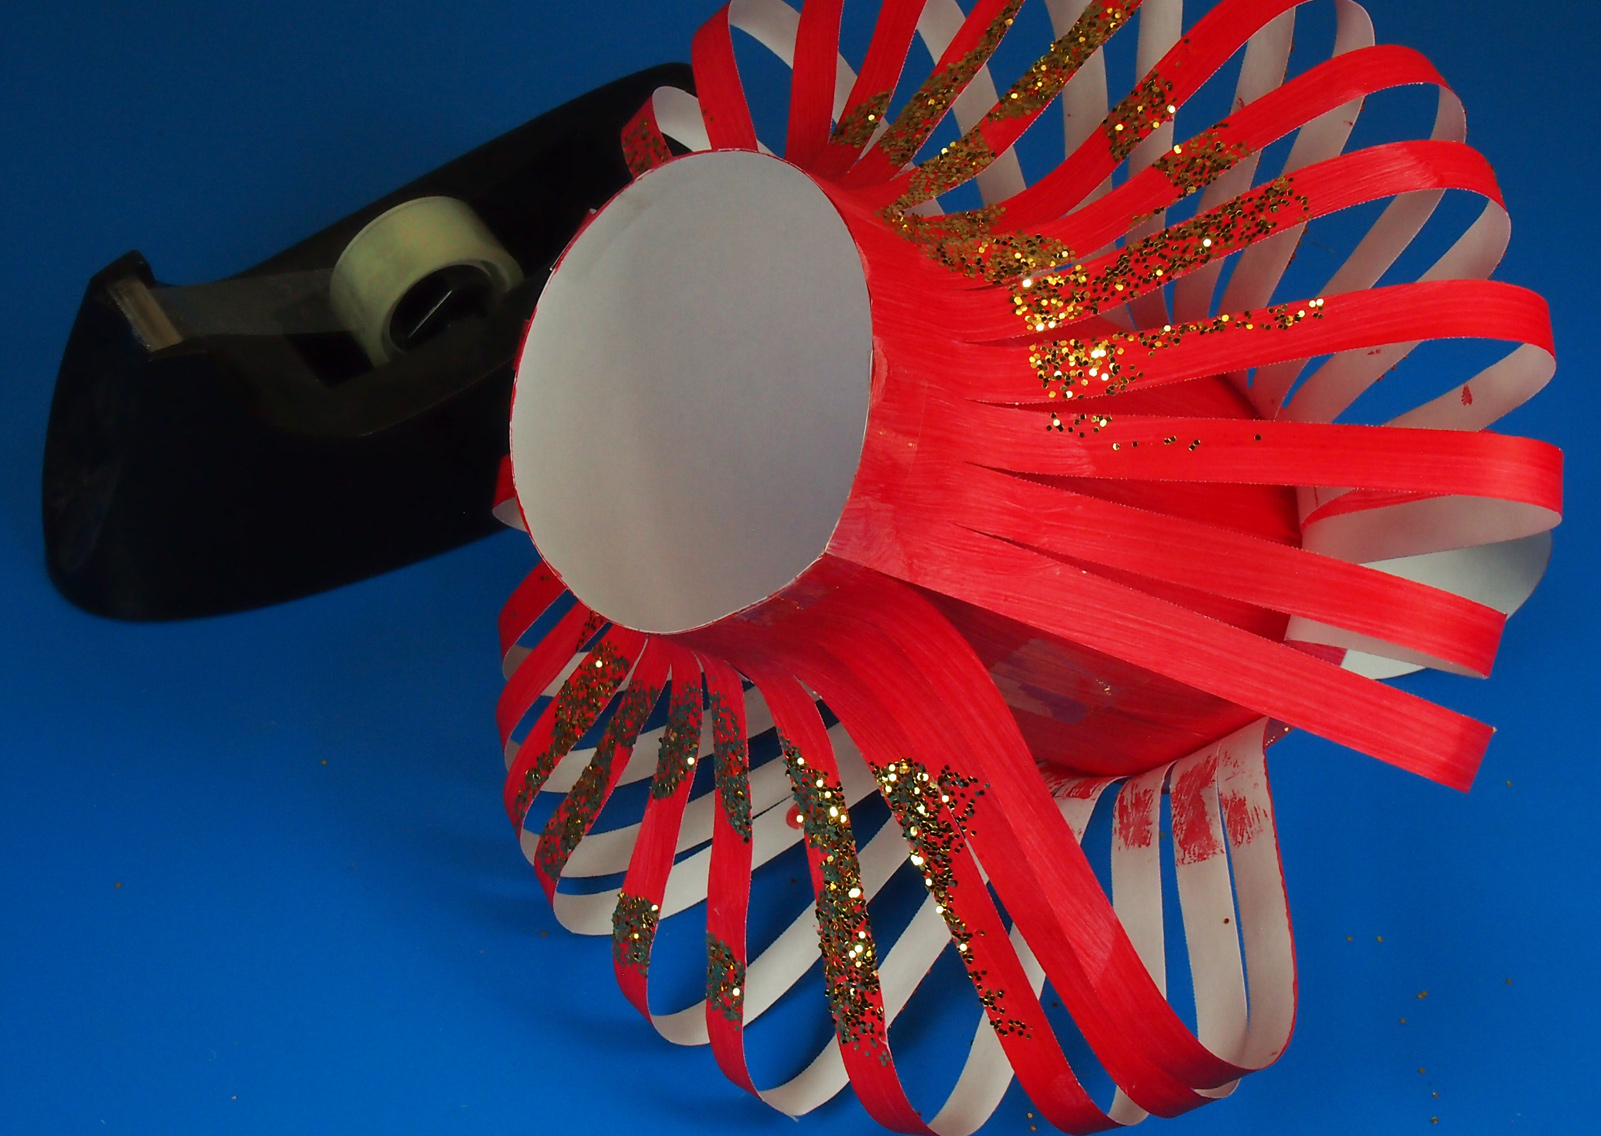 If needed, separate and fan out the individual strips.
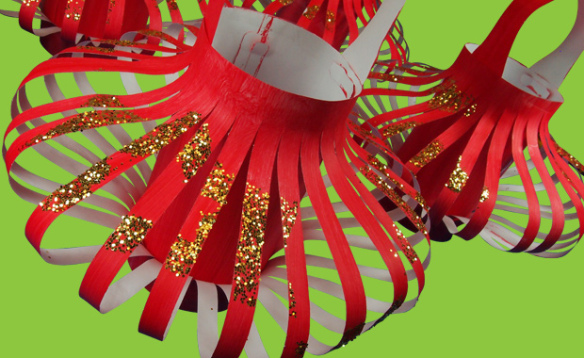
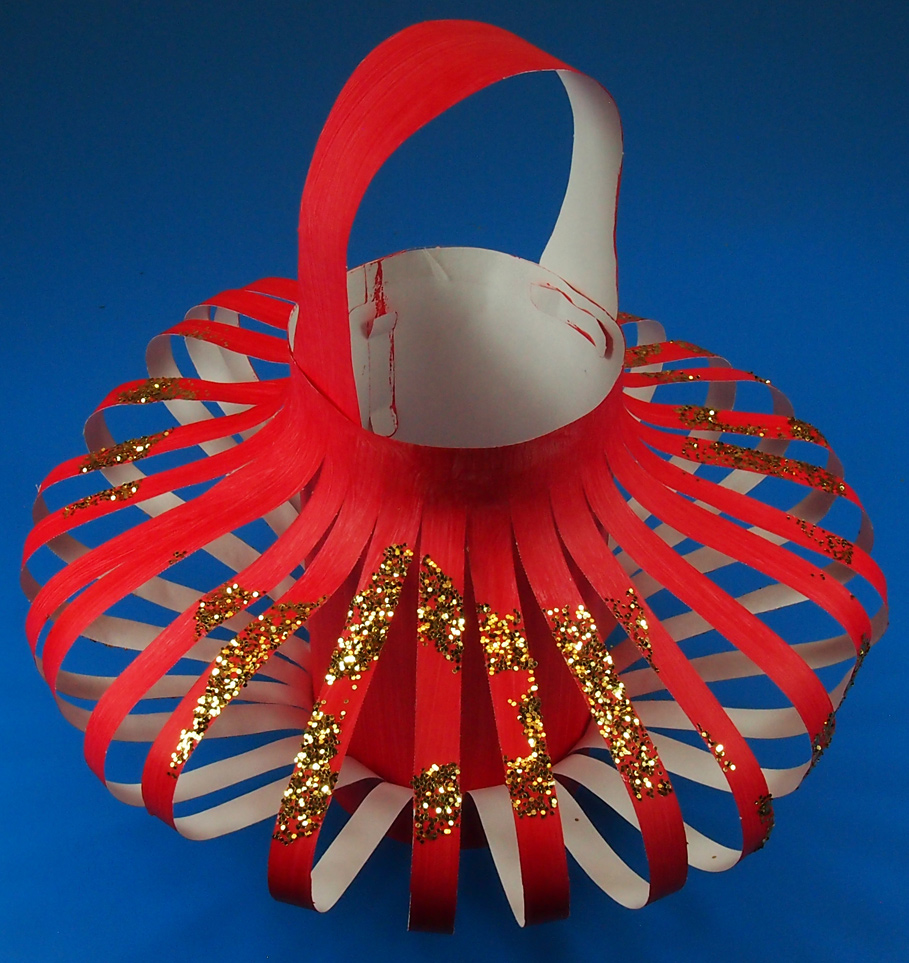 A beautiful, glittery take-home gift or, use string to hang the lanterns together from the classroom ceiling.