Posts Tagged ‘activities for kids’
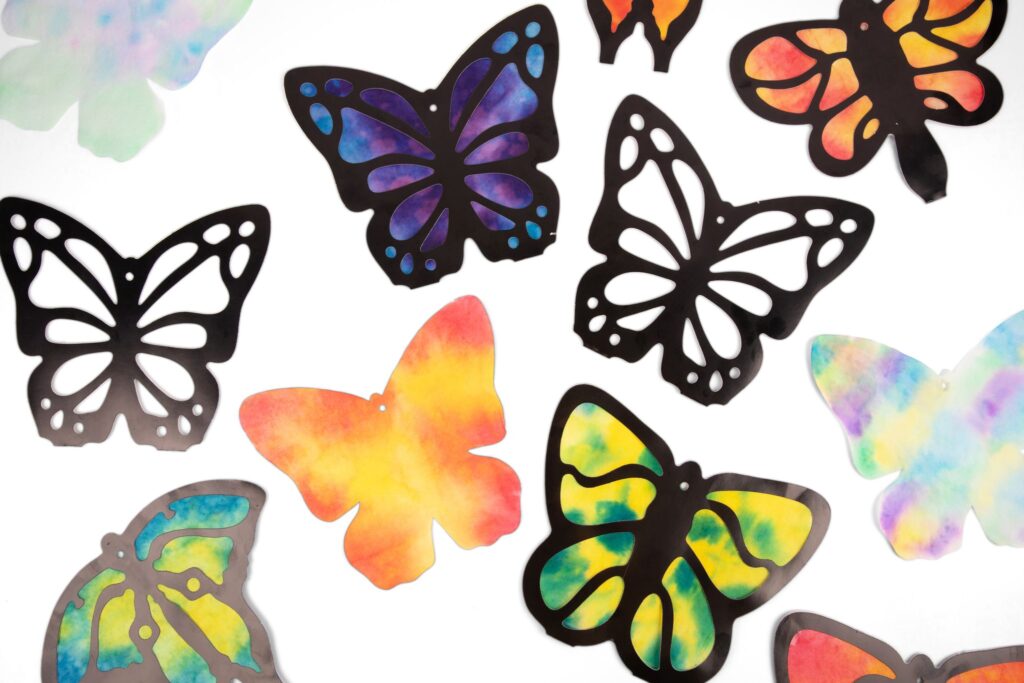
Expert’s Guide to Rubbing Plates: Texture, Pattern and Endless Possibilities

There’s something incredibly satisfying about watching texture appear like magic beneath your fingertips. Rubbing Plates are one of those tried-and-true art techniques that deliver big creative impact with minimal prep—and they’ve been a classroom favorite for good reason. At Roylco, we’ve spent decades designing high-quality Rubbing Plates that spark imagination and hands-on discovery. Whether you’re…
Read More5 Reasons Why Arts & Crafts Are Crucial For Early Development
Dinosaurs and unicorns are alive. Superheroes and insects work together to fight evil. Yep, you heard that right! Welcome to the world of arts and crafts – a magical world where children can put on their capes of creativity and curiosity, unlocking the secrets of their own potential. Arts and Crafts are the forefront of…
Read MoreThe “Helping Hands” Good Deeds Display
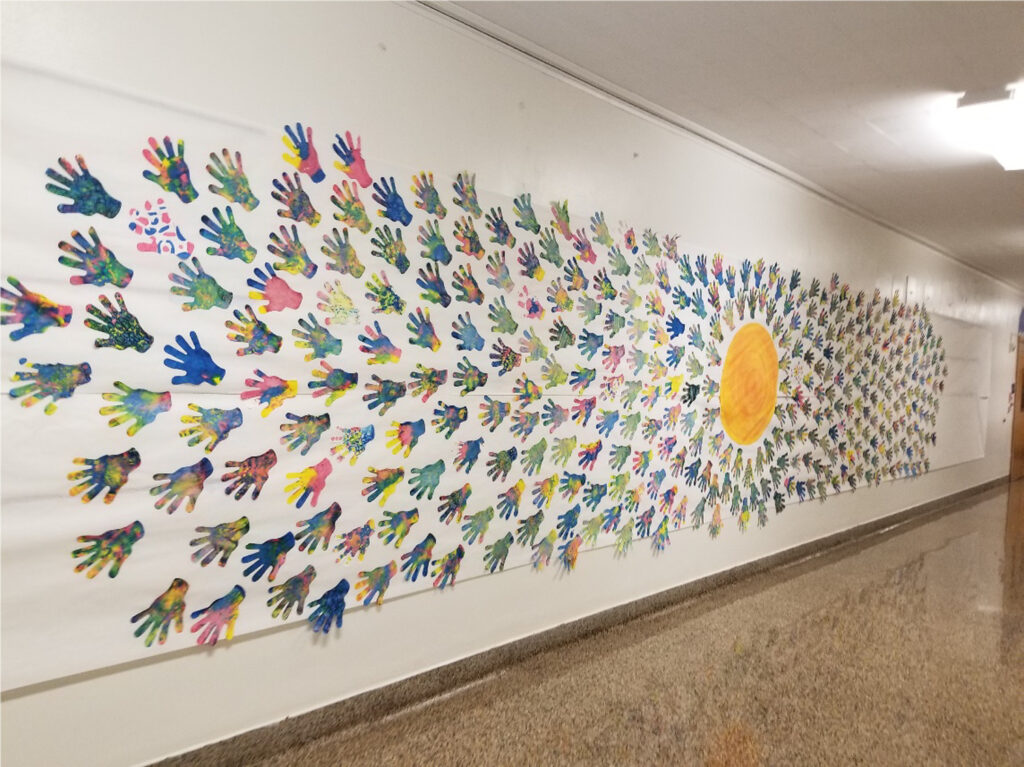
Special Post Contribution: By Amy Klossner Here are the photos of the project our school completed using Color Diffusing Hands. They were just perfect. We read the book Ordinary Mary’s Extraordinary Deed, before painting the hands with liquid watercolors. It’s a story about a little girl who does one good deed and that person does…
Read MoreLet’s make a mandala fractions t-shirt!

Age: 4+ Duration: 30 minutes (or more, if you’re really having fun) Learning Outcomes: A mandala is a spiritual symbol that represents the universe. So, this craft will give us an opportunity to start a conversation about the people who create these symbols. Also, we’re going to focus on the mathematical component of these intricate…
Read MoreDinosaur Print Papers
Our printed papers are renowned for their bright, colorful patterns! We’ve separated them into themes, such as this one: Dinosaur Print Papers. Use them to decorate your R16035 Collage-a-Saurus dinosaurs! We first set out the R16035 Collage A Saurus for … Continue reading ![]()
Spotlight on… Hidden Difference Puzzle Cards
Find all the differences between the colorful character cards in our Hidden Difference Puzzles! The puzzles are great for encouraging critical thinking through comparison and contrast. The Hidden Difference Puzzle Cards each come in a set of 4, with 12 … Continue reading ![]()
Spotlight on… Classroom Tunics
Keep track of your numbers and letters with Classroom Tunics! Every student can take part in the learning fun when they’ve donned their dry-erase pullover. The R49620 Dry Erase Classroom Tunics fit nicely onto students’ shoulders. The tunic is designed … Continue reading ![]()
Craft Spotlight: Mix and Match Emotion Masks®
How are you feeling today? Pretty good or what?! Our art campers were feeling their very best while playing with our hilarious R4959 Mix and Match Emotion Masks®! The Mix and Match Emotion Masks are a unique set of masks … Continue reading ![]()
Craft Spotlight: Wild Weaving Mats
Weave wonderful animal mats using pre-cut printed strips. Create patterns while developing fine motor skills! The animal mats are made extra-large so you can hang the finished decorations up on a jungle-themed wall mural. They are pre-cut with slots to … Continue reading ![]()
Art Camp – Register Today!
Last year’s summer camp was such a great success… We’re doing it again this year! The event will take place between July 14-16 in Waterloo, Ontario. To register for this event, see details below!! You are invited to attend… Roylco’s 2nd Annual Summer Art Camp! July 14-16 2014 9AM – 2PM Waterloo, Ontario, Canada FREE…
Read More