Now that we’ve rung in the New Year, we are excited to share our ideas with you over the next little while. Stay tuned for blog posts in a range of subjects, using tools that you already have in your classroom!
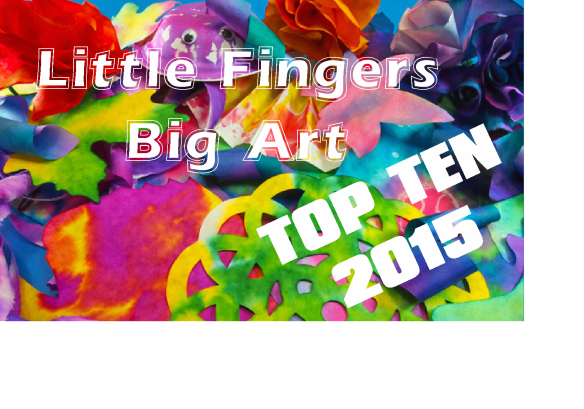
We hope that you’ve enjoyed a year of posts from Little Fingers Big Art. Here’s a recap of 10 of our favorite posts:
1.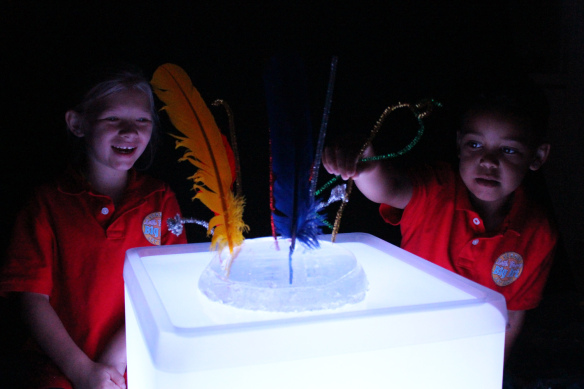
Use jelly on the Light Cube for a great sensory activity!
2.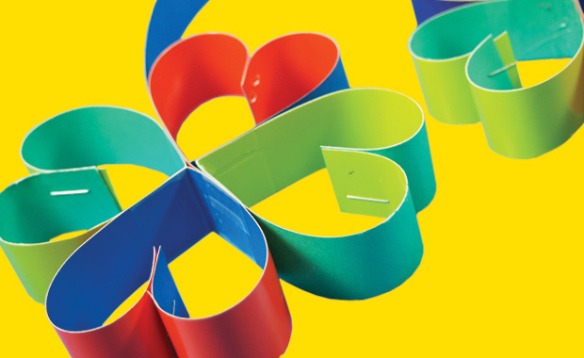
Make lucky four leaf clovers for St. Patrick’s Day, coming up in March!
3.
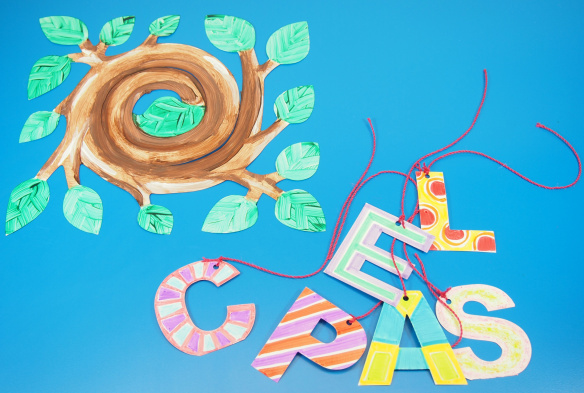
Combine letters in a Word Mobile to generate literacy creativity in students!
4.
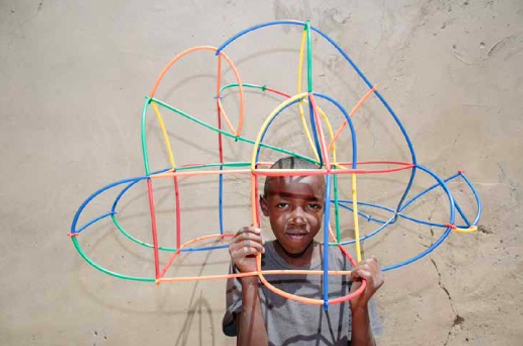
5.
Check out this neat step-by-step tutorial on how to make 3D wall art!
6.
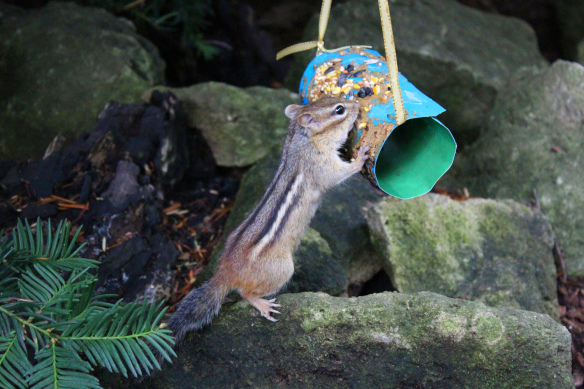
Use our Tube Crafts to make a birdfeeder… or critterfeeder!
7.
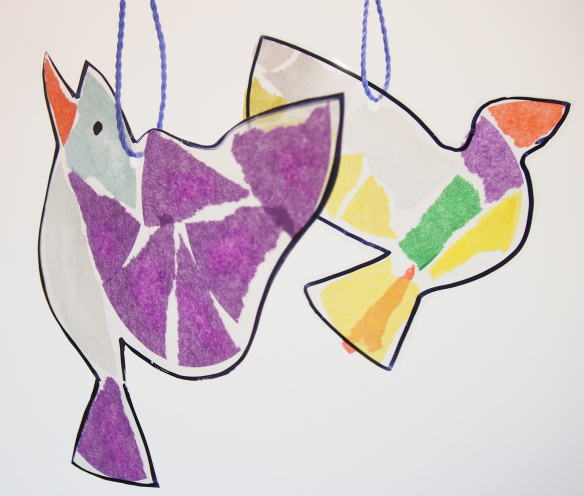
Make beautiful tissue paper birds–a great fine motor skills activity!
8.
9.
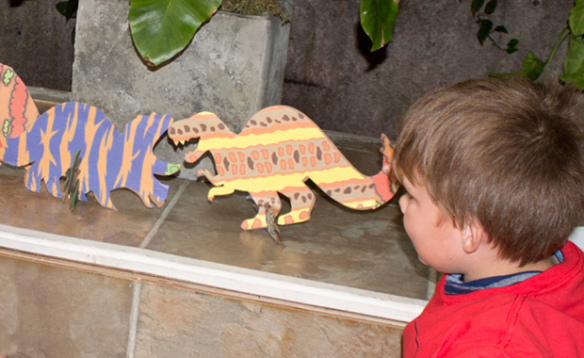
Imagine what dinosaurs really looked like with our Collage-A-Saurus and Dinosaur Paper Sheets!
10.
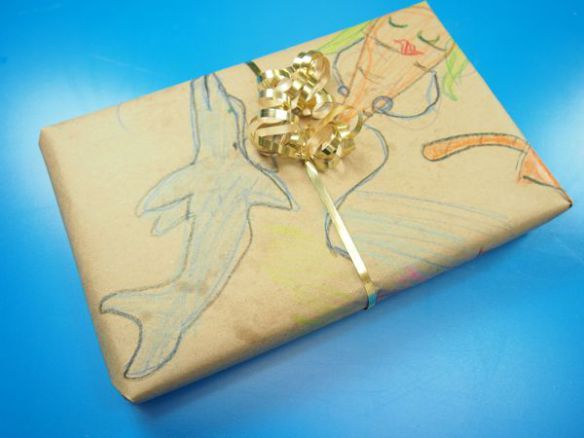
Turn old doodle paper into wrapping paper for someone’s birthday or for Christmas time!
These are our top ten for the year! Share your favorite post online with your friends.
Leave us a comment to let us know what kinds of posts you would like to see more of!

Like us on Facebook, Share this post with your friends, or Subscribe to this blog today to receive original craft project updates every week!

![]()