Let’s Make A Window Cling!

BP- Window Cling Rubbing Plates 4 Large

Age: 4+

Duration: 30 minutes (or more, depending on your design preferences), plus drying time.

Learning Outcomes:

We’re going to be mixing ingredients, painting and decorating with our creations.  We can learn about the subjects related to our rubbing plates, nature, science, etc. And, we can even have a discussion about sunlight and color as we enjoy our window clings.

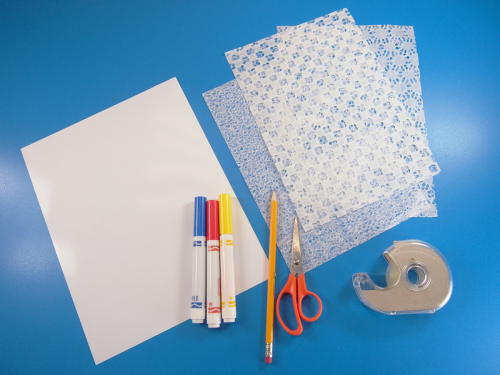
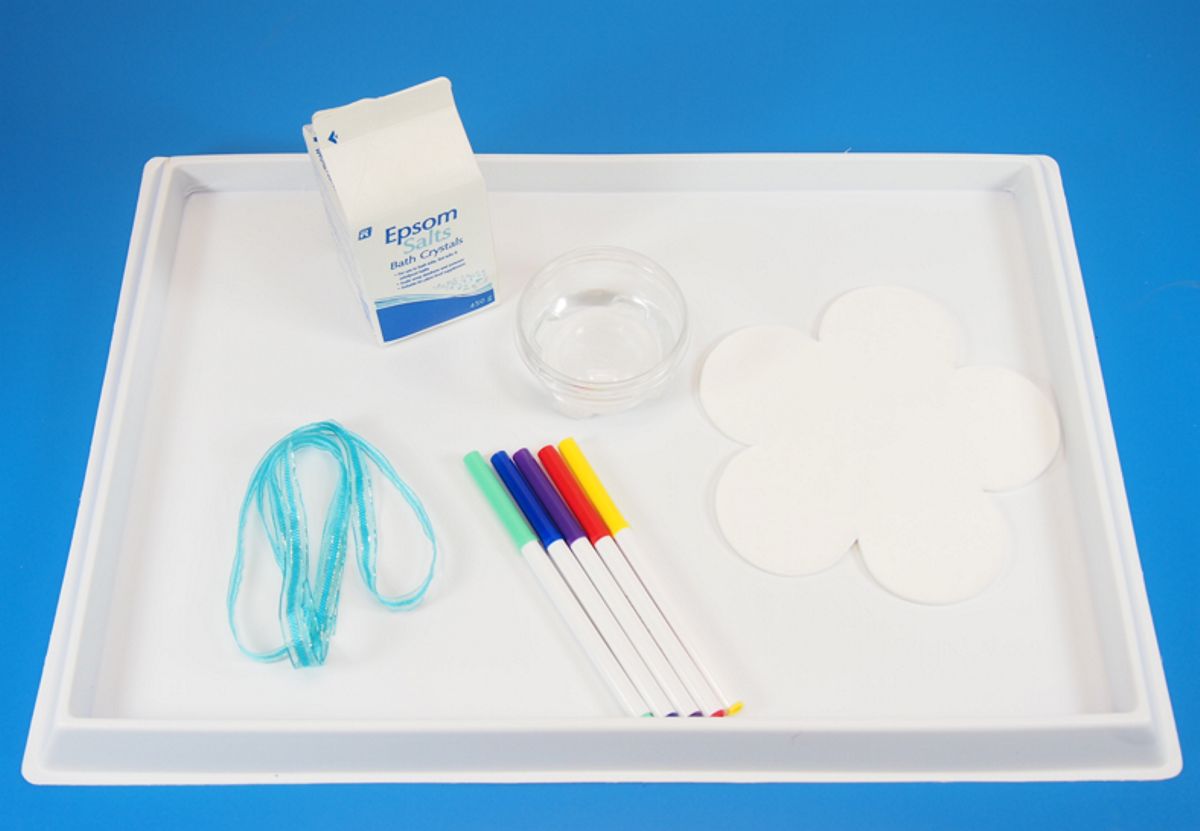
Here’s what you need:

Any of our Rubbing Plates will work perfectly for this project.

Non-Toxic White Glue

Dish Soap

Food Coloring (liquid or gel)

Glitter (optional)

Brush (foam or bristle)

Sandwich Bag (optional – for detailed application of color)

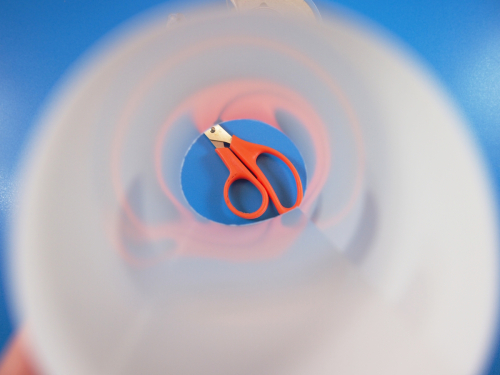
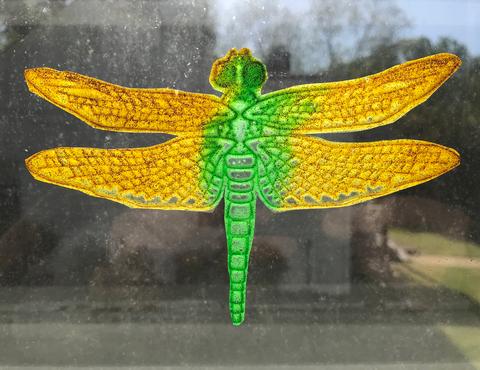
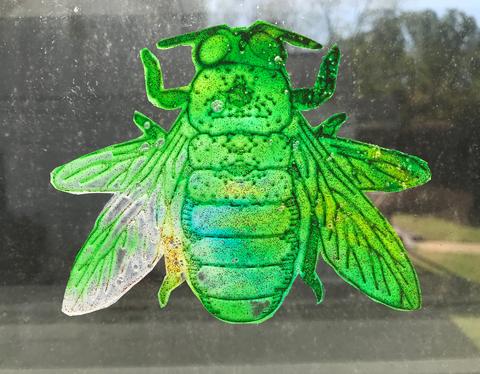
If you’ve worked with our rubbing plates before, you’re going to love this project. It’s easy — and fun to mix, make, and use! I’m using the Insect Rubbing Plates (R5803), but our entire line of Rubbing Plates can be used in this way.

We’re going to create a very cool window cling using non-toxic white glue, some dish soap, and food coloring (you can use liquid or gel food coloring — both work great).

Kids as young as 4 will enjoy this project, with some help and guidance. Kids 4+ will need minimal help but will probably have an excellent time.

Here’s how you do it:

Step 1:

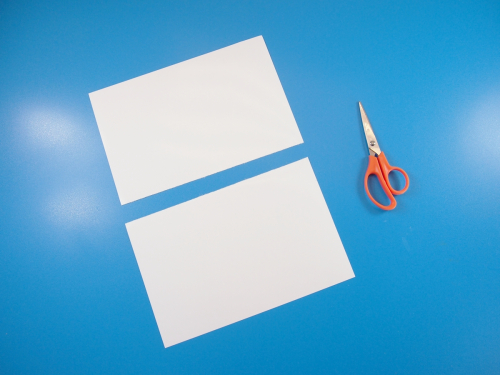
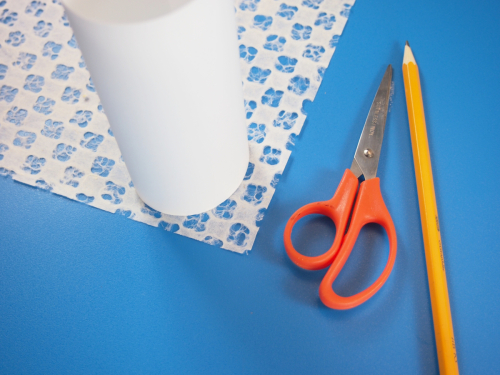
Anytime you’re working with glue things can get a little messy. You’ll be doing yourself a favor if you put some wax or parchment paper down on your work surface. This will also help to keep your rubbing plates from sticking to stuff.

Step 2:

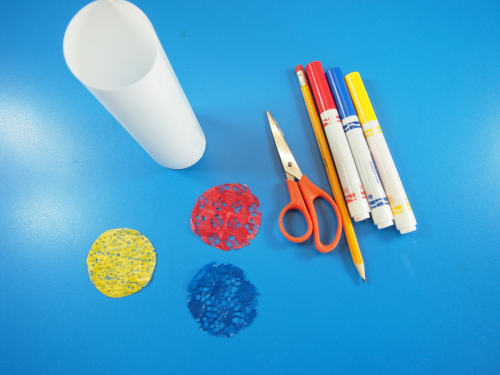
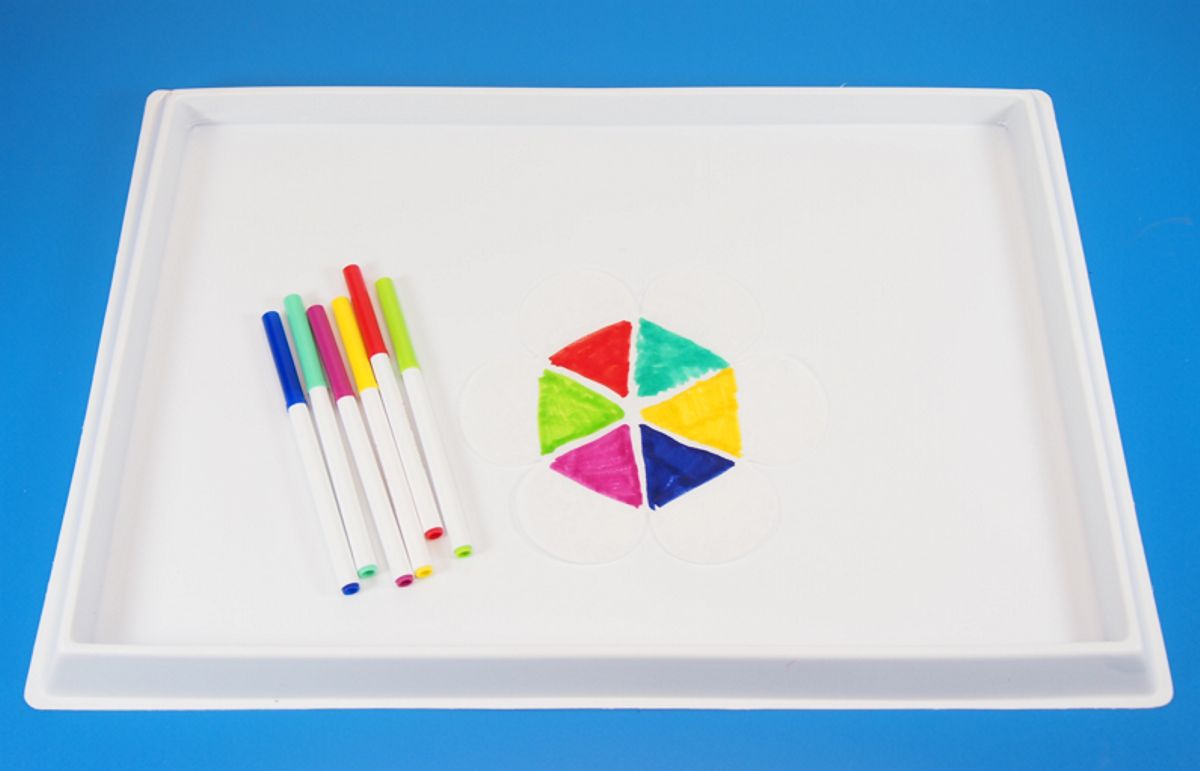
Time to mix some colors! All these materials are safe, so it’s okay to use a cup or a bowl from the kitchen to mix your ingredients.

Start with about 2 tablespoons of white glue. Add a couple of drops of dish soap. It’s okay if your measurements are not super precise.

Next, add the food coloring. A little is plenty. For darker colors, add more. If you don’t have the color you need, try mixing the colors you have. You could also leave the color out to create a translucent appearance (perfect for bug wings).

Consider this:

If you want to use more than one color, you’re awesome! It might be a good idea to prepare all your colors during this step.

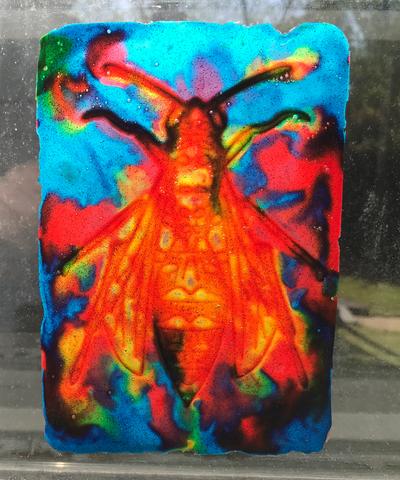
Also, glitter doesn’t work great everywhere — but it works great here! Add some glitter to your color during this step, and it will really add a nice, sparkly effect to your window cling. It will be so pretty when the sun is shining through!


Step 3:

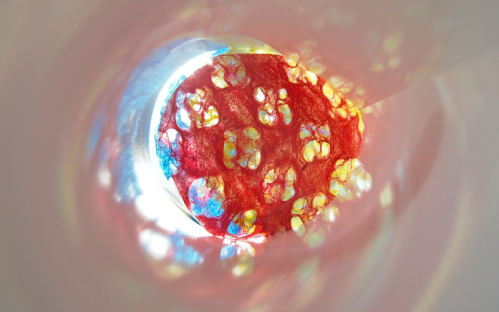
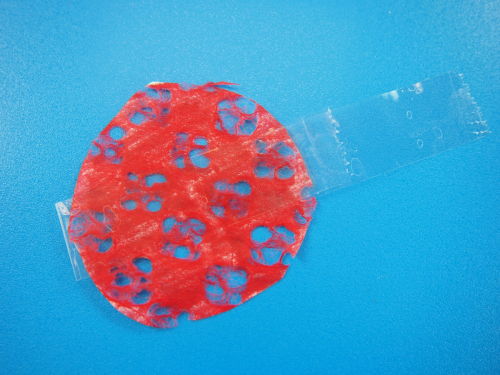
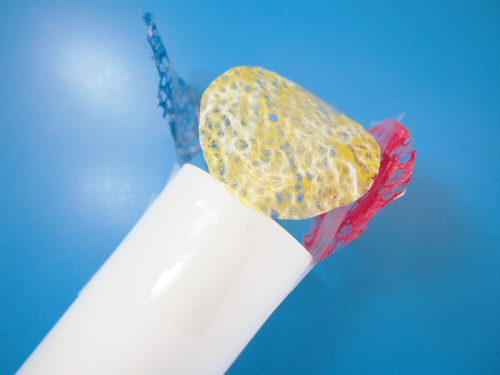
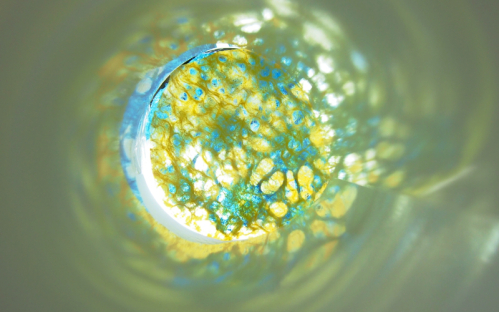
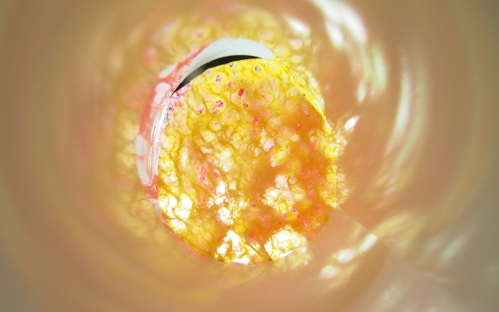
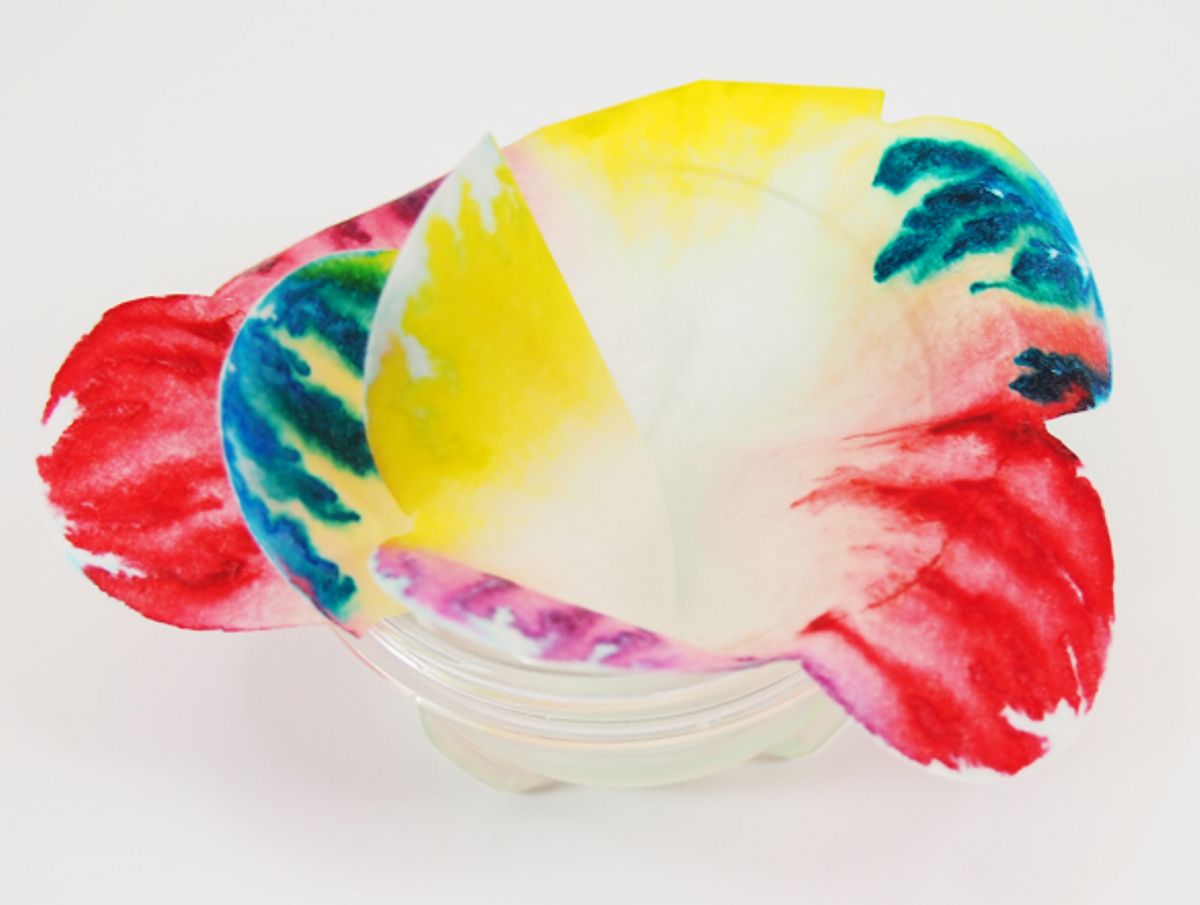
Before you begin, make sure to use the side of the rubbing plate on which the pattern is sunk (not raised). It’ll help to keep the color in place.

A foam, or bristle brush, will work great for covering the bug with your mixture. For more precision, try using a pastry bag. Just pour the mixture into a sandwich bag, pushing it down to the corner, then snip a tiny hole in the point.

Really precise images will take some practice. You learn the best amount of glue as you go. But, keep in mind, the thinner the coverage, the more fragile your window cling will be.

Step 4:

We need to let it dry. Depending on how much glue you used, it could take up to 12 hours to dry.

Step 5:

Removal. You know how when you get some glue on your finger, and after it dries you peel it off, and somehow that makes you really happy? This step is like that — times 10.

Watch the edges. The glue can get under the plate, so make sure to peel any away from the back.

AHHhhh… that was fun.

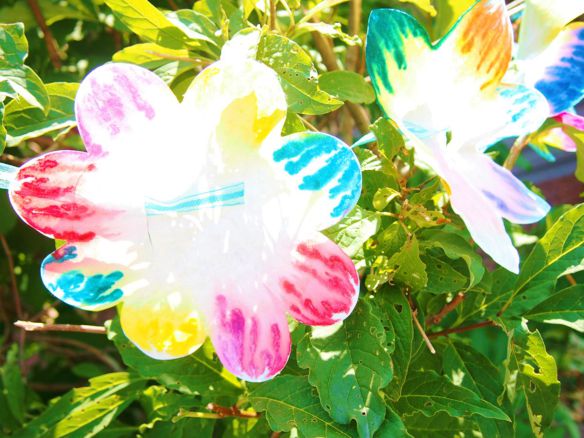
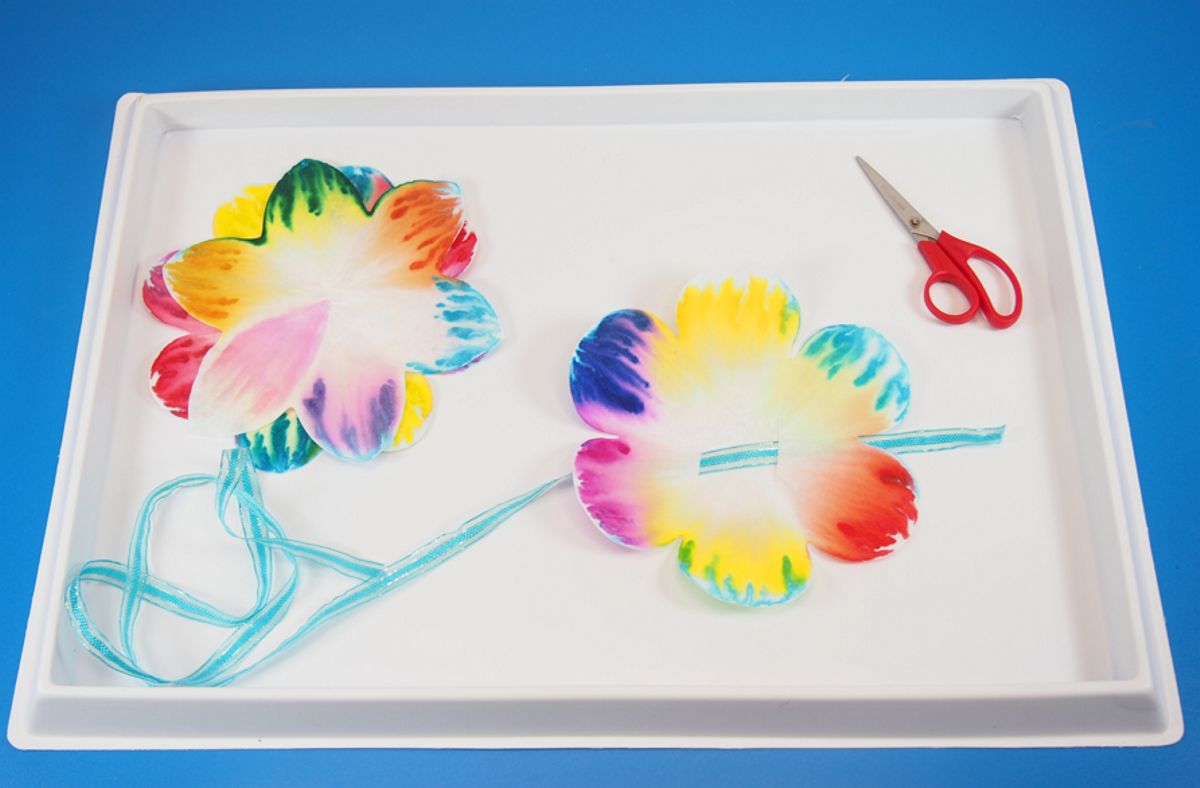
Now you have a window cling!

Consider this:

Trim the edges for a more elegant design.

Step 6:

The time has come to display your creation! Find a good spot in the window and give it a quick wipe with a damp paper towel. Be sure to dry it. Now, use your wet paper towel to dampen the flat side of your window cling. Press it firmly onto the window.

You did it!

Roylco Window Cling Tie Dye Look

Roylco Window Cling Blue and Green Bug

Roylco Window Cling Green Cut Out Bug

This is a great way to add a fun, science and nature theme to any environment —classroom, bedroom, kitchen, office — anywhere you want to hang up some inspiration.

Use your rubbing plates as many times as you like to create more window clings. Experiment with colors, color placement, backgrounds, trimming… get creative and make it your own!

Roylco Sketch Art of Kid on Tricyle

Lace Paper Kaleidoscope

OLYMPUS DIGITAL CAMERA

Introduce your students to the swirling, colorful, mesmerizing power of a kaleidoscope using simple materials and our R22054 Lace Paper.

Age: 5+

Duration: 10-15 minutes

Learning Objectives: Explore the properties of kaleidoscopes through light and color. Make beautiful artwork. Learn about color mixing principles. Create a fun project that will keep students entertained for hours!

You’ll Need:

Line-03

OLYMPUS DIGITAL CAMERA

R22054 Lace Paper is another addition to our line of textured papers. This special paper has the feel of our Color Diffusing Paper but features a variety of woven patterns.

OLYMPUS DIGITAL CAMERA

You will need to cut your sheet of high gloss paper in half. This will allow you to make more than one kaleidoscope!

OLYMPUS DIGITAL CAMERA

Roll one half of the high gloss paper into a cylinder and secure with tape. This will form your kaleidoscope tube.

OLYMPUS DIGITAL CAMERA

Make sure that the glossy side is rolled on the inside of the kaleidoscope tube. You can see the highlighted surface on the inside of the tube! This is what we want to achieve.

OLYMPUS DIGITAL CAMERA

Stand the cylinder onto the R22054 Lace Paper. Trace around the outside circumference of the tube and cut out the resulting tracing.

OLYMPUS DIGITAL CAMERA

Color in the Lace Paper cut circles with markers. Use different colors. I used primary colors, but you can use any that you like.

OLYMPUS DIGITAL CAMERA

Pull a strip of tape that’s triple the length of the circle. Lay one of the lace circles flat across a strip of tape that’s facing sticky side up.

OLYMPUS DIGITAL CAMERA

Fold the one side across the middle of the circle, leaving a bit of length on one side. This will be the handle for each of the circles on the kaleidoscope.

OLYMPUS DIGITAL CAMERA

Tape the circle against the edge of the kaleidoscope tube. Do this for all your other lace circle pieces.

As you look through the opposite end of the kaleidoscope, fold the circles over top of each other in various combinations. Observe beautiful intertwining patterns!

Check out the different kinds of lovely color combinations using different layers of the kaleidoscope circles:

OLYMPUS DIGITAL CAMERA

OLYMPUS DIGITAL CAMERA

OLYMPUS DIGITAL CAMERA

Line-03

Like us on FacebookShare this post with your friends, or Subscribe to this blog today to receive original craft project updates every week!

Chromatography Flowers

OLYMPUS DIGITAL CAMERA

Find out what colors of ink are used in your markers! Chromatography is used to break a solution into its component parts. In other words, the colors of markers are often made by combining several other colors together. To split these colors back apart, we need to use chromatography! In this post, we’ll show you how this amazing technique can be used to decorate our Color Diffusing Flowers with crazy effects!

Age: 5+

Duration: 10 minutes (+15 minute drying time)

Learning Objectives: Learn about the properties of colors through chromatography. Learn what chromatography is and how certain effects are produced using simple materials. Develop a basic understanding of the science behind color mixing. Explore fundamental scientific concepts, such as physical (compared to chemical) changes in mixtures.

You’ll Need:

R2440 Color Diffusing Paper Flowers

• Epsom Salts

• Plastic cup

• Warm water

• Markers (washable brands)

Optional:

• Ribbon

• Scissors

Line-02

Chromatography is a great method to introduce young kids to science… or even to try out for yourself! Basically, the materials used in chromatography help to split a mixture back into its original parts. The Epsom Salts in water attach onto certain molecules in the ink and push them apart. Therefore, it’s a great means of exploring color mixing and how colors are put together to make new ones.

We made a very similar experiment in one of our YouTube videos. Check it out at the link!

OLYMPUS DIGITAL CAMERALet’s start with our materials! As you can see, we’ll need to select a type of flower, some markers and get our basic chromatography equipment ready. Because markers are made with various shades, you won’t have to worry about staying away from primary colors.

Note: I’ve included yellow just to add a colorful range to our chromatography flower, but as I’ve found, yellow is the only color that won’t separate as well as the others.

OLYMPUS DIGITAL CAMERAThere are several different types of flowers to choose from. Select your favorite flower type, then count how many petals are on each flower. Choose a similar number of marker colors per petals on each flower, or double up on some colors. Start at the center of the flower and draw a triangle pointing inwards, with the base facing the petal side. Color in the triangle.

OLYMPUS DIGITAL CAMERAMix one teaspoon of Epsom salts in one cup of warm water. This solution is what you will use to start the chromatography process! I used a wide, flatter cup to help with dipping the flower evenly into the solution.

OLYMPUS DIGITAL CAMERA

Pinch your flower at its center until you form a small handle underneath. This will scrunch the flower a little bit, but it’s important to make this “handle” prominent enough that it will reach the surface of the Epsom salt solution.

OLYMPUS DIGITAL CAMERANow dip the handle part at the center of the flower into the Epsom salt solution. See how the petals stick out from the center? The petals will hold the flower in place so it doesn’t collapse into the cup. You can even curl the petals outwards so that they hold the weight of the flower out from the center.

P7229867 - CopyLook at what happens over time! Not only does the whole flower get completely covered in ink, but the various colors separate into other colors!

OLYMPUS DIGITAL CAMERAHere, I’ve tried another type of flower. You can see the gradual changes that take place in a matter of minutes!

OLYMPUS DIGITAL CAMERAThe solution is creeping up!

OLYMPUS DIGITAL CAMERAYou can start to see a change in coloration here.

OLYMPUS DIGITAL CAMERANow, the ink has completely covered the surface of the flower and is separating the ink into individual lines of color. See the small patch of purple near the center of the flower? You can see some light pink being separated from the darker purple parts.

OLYMPUS DIGITAL CAMERATa-da! When the Color Diffusing Flower is fully saturated in water, remove from the cup and set on top of a dry container. Leave to dry for about 15 minutes.

OLYMPUS DIGITAL CAMERAI’ve set out all the dry flowers here for viewing. Look at the separation in colors! You’ll see the most differences coming from colors such as teal, indigo, magenta and orange.

OLYMPUS DIGITAL CAMERAHere’s a closeup of some separate colors that went into creating this soft blue color!

OLYMPUS DIGITAL CAMERACheck out this indigo color! You can see tinges of light blue at the bottom, dark blue in the middle and magenta at the top!

A good exercise for kids is to guess which colors might have gone into making certain colors before they use their designs with chromatography.

OLYMPUS DIGITAL CAMERATo make your designs extra special, combine them into a pretty garland!

OLYMPUS DIGITAL CAMERAFold your flower in half, then cut two small slits near the center, at about 2″ apart.

OLYMPUS DIGITAL CAMERAUnfold your flower. Next, weave one end of a length of ribbon through the first slot and back out through the second slot.

OLYMPUS DIGITAL CAMERARepeat for the remaining flower shapes!

OLYMPUS DIGITAL CAMERA…And hang them up! Combining science with art is lots of fun!

Line-02

Thanks for checking out this post! Like us on FacebookShare this post with your friends, or Subscribe to this blog today to receive original craft project updates every Monday, Wednesday and Friday!