Light Cube Jelly Play

2015-01-15-FeatureImage

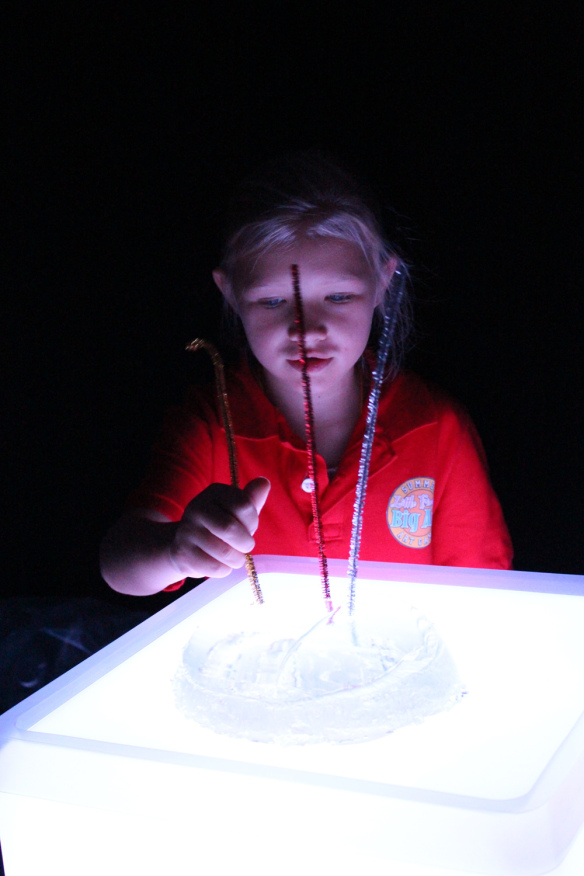
Kids love experimenting with new and weird materials. No wonder, then, that we had the perfect opportunity to play with giant gelatine blocks over the Light Cube–the kids were so intrigued! Using feathers to decorate the gelatine was an added fine motor activity that you can incorporate in your own gelatine block play! We detail more about this process below.

IMG_0102

Gelatine blocks are great because they are transparent, meaning that they are clear enough to be seen through. Some gel blocks can be thicker depending on how you mix up the quantities (we will discuss more about how to make your own gel block below!) This is a great opportunity for teachers to talk about the differences between opaque (not see-through), translucent (somewhat see-through) and transparent (see-through) objects!

IMG_0104

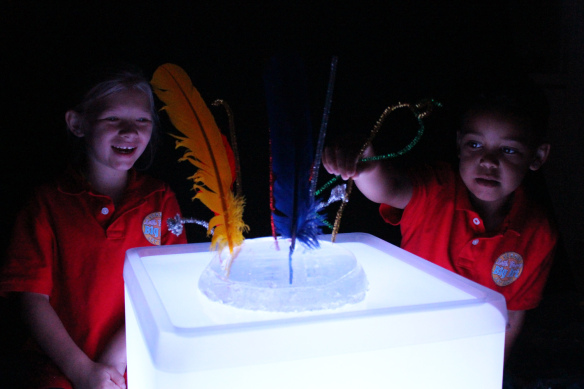
The gel block has great texture and movement too! On the Light Cube, it looks even better because it glows with the light underneath.

IMG_0112

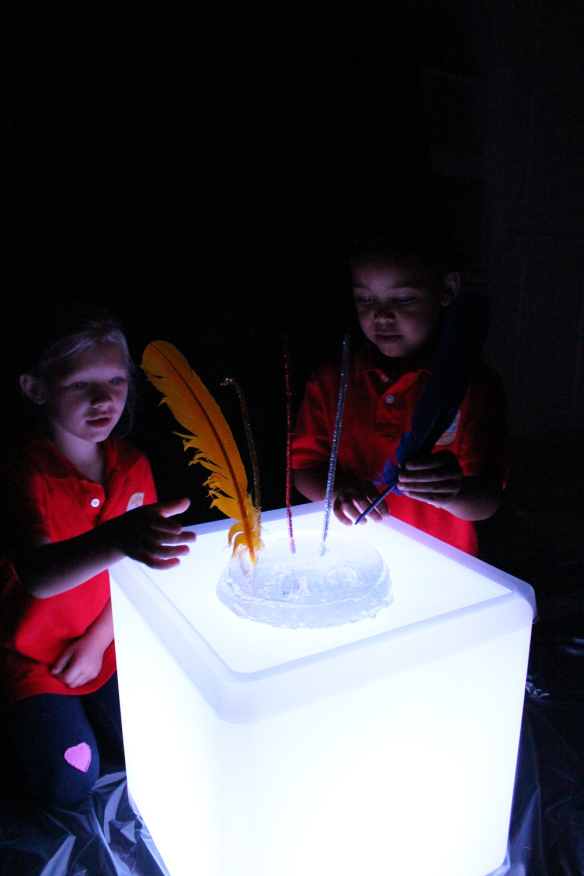
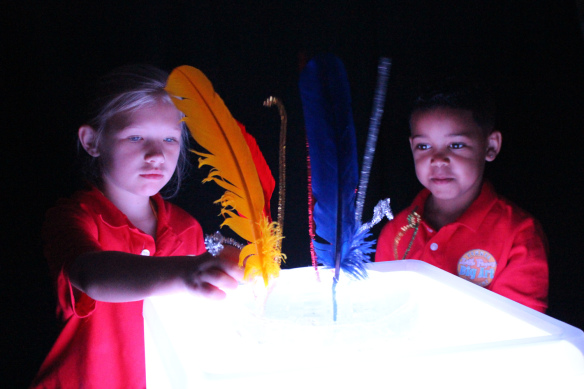
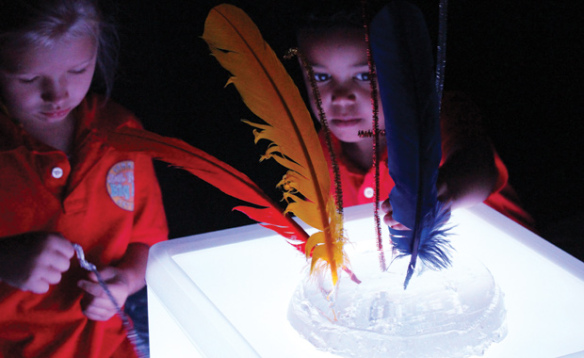
We asked the campers to “decorate” the gel block with fancy additions such as pipe cleaners and feathers. We used shimmering, glittery pipe cleaners to help bounce the light around even more.

IMG_0115

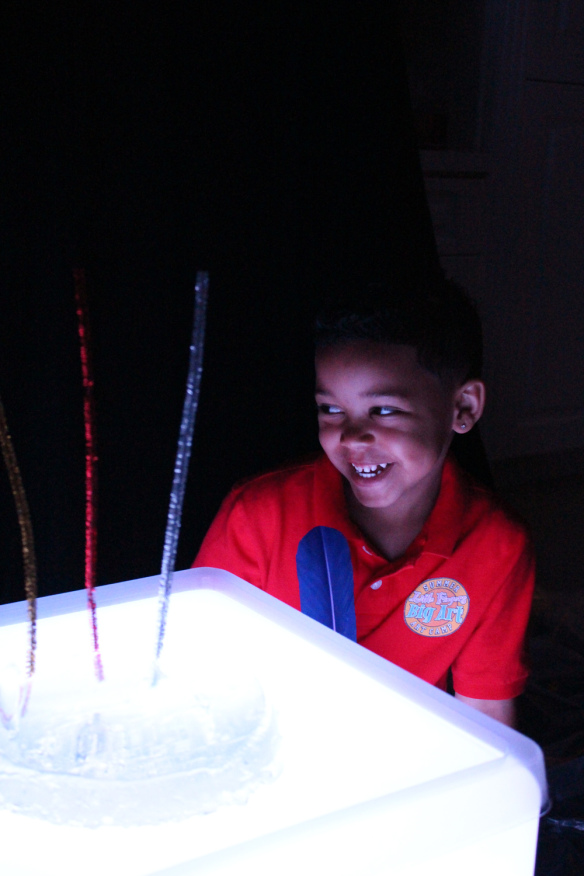
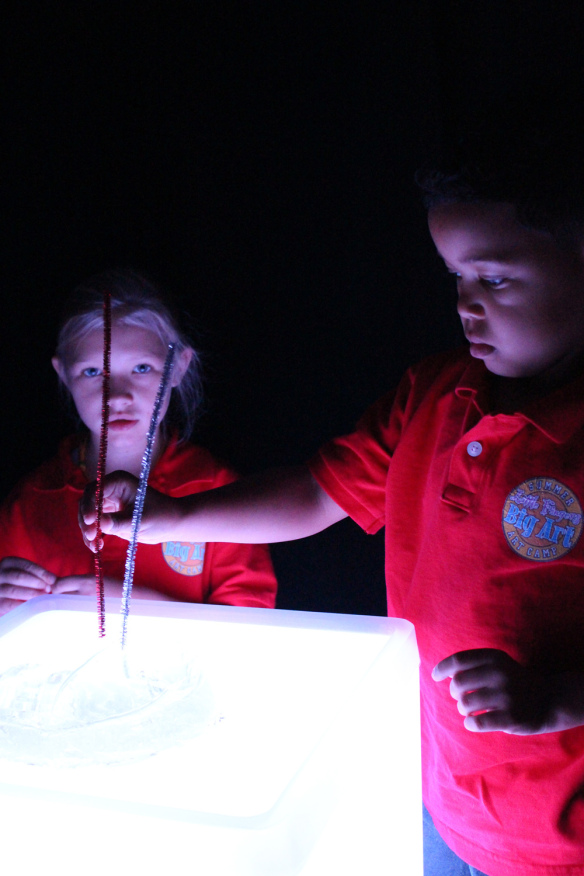
Both campers were really excited to see that the gel block acted like a stand for the feathers and pipe cleaners. It was soft enough to press the materials through but also firm enough to keep the materials in their spots without letting them tip over!

IMG_0118

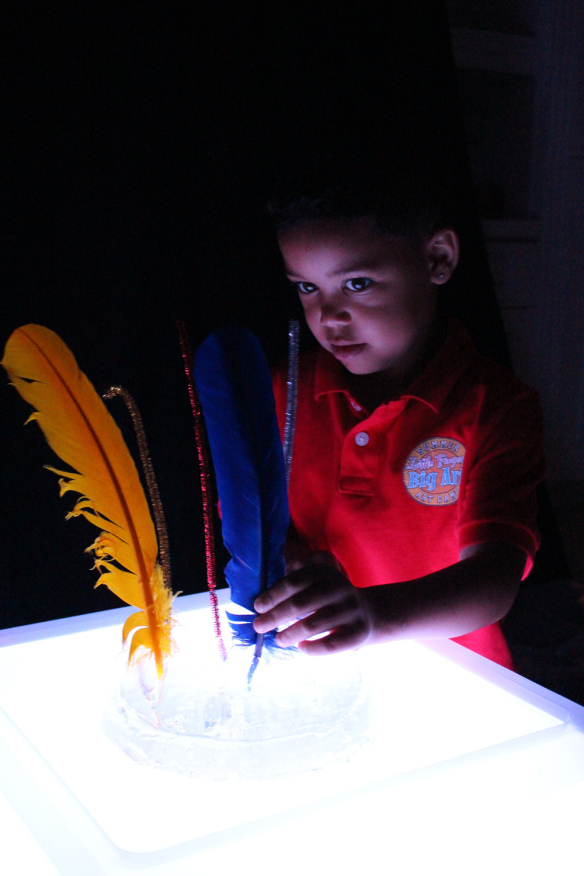
Since we had the Light Cube set to a white glow, it made the colors of the feathers pop out! Look at the contrast between the yellow and the blue. These are complementary colors, meaning that they are placed directly across one another on the color wheel. Another cool lesson for students: learning about color groups!

IMG_0124

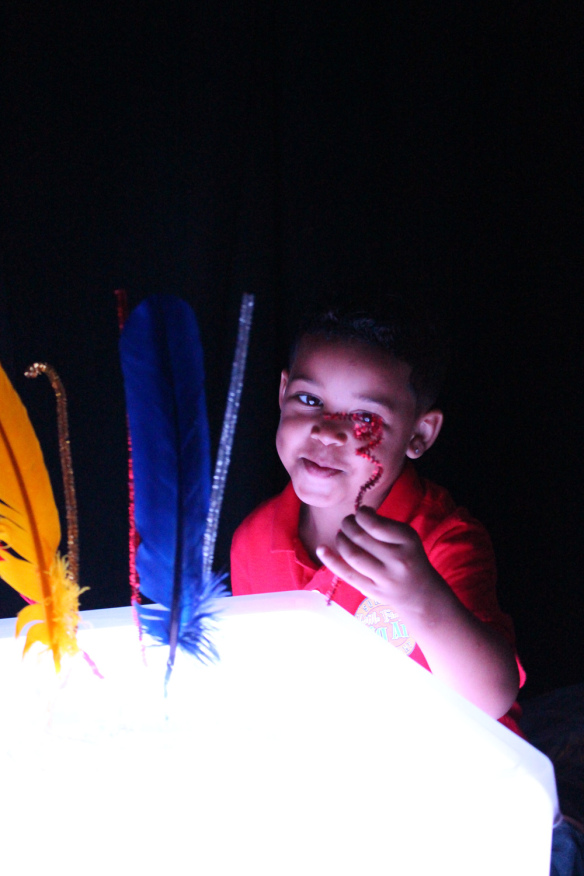
Once we got started, it was hard to stop! Fabian here decided to curl one of the pipe cleaners into a spiral shape and jut it into the gel block for fun.

IMG_0138

To make your gelatine block just like ours you will need the following:

• Knox® Gelatine (find a box of packets at any baking supplies or supermarket near you!)

• Heat-safe bowl or large mold, depending on your preference

• Hot or boiling water

• Cold water

• Measuring cup

• Baby oil

• Whisk

First, measure the cup capacity of the mold you are using. Simply use a measuring cup to keep track of how much water you use to fill the mold. Once you have a definite number, divide it in half. One half of the water cup capacity will need to be boiled while the rest will need to cool in the fridge. You can pour out half of the water into a kettle or sauce pan and heat it up until boiling. For every cup of water used to fill the mold, you will need to use 1 package of the Knox® Gelatine powder. While you are waiting for the water to boil, spread some baby oil onto the mold. This will help loosen the gelatine out of the mold when it is set. Pour the hot/boiled water into the mold and mix in with the gelatine powder using the whisk. When the gelatine is fully mixed into the water and there are no remaining clumps, pour in the remaining half of the water that was cooling in the fridge. Stir the mixture with the whisk. Place the gelatine mold into the fridge to set for 3 hours or leave overnight.

In the morning, pop out the gelatine mold. You can use a long spatula to ease the block out of the mold. Flip the mold over to set it on top of a tray. Place the tray onto the Light Cube and turn on the white glow to get started on your own neat sensory-fine motor play activity!

IMG_0139

We love the campers’ priceless reactions to the activity–they spent more time on it than we’d planned!

Line-07

Like us on FacebookShare this post with your friends, or Subscribe to this blog today to receive original craft project updates every Monday, Wednesday and Thursday!

Light Cube Reading Light!

light box cube reading house

Welcome back to 2015! We hope everyone had a wonderful holiday break. We are excited to kick off the New Year with a feature post on our Educational Light Cube! Here’s a cool idea: use it as a soft glowing lamp for your classroom reading fort!

light box cube reading house

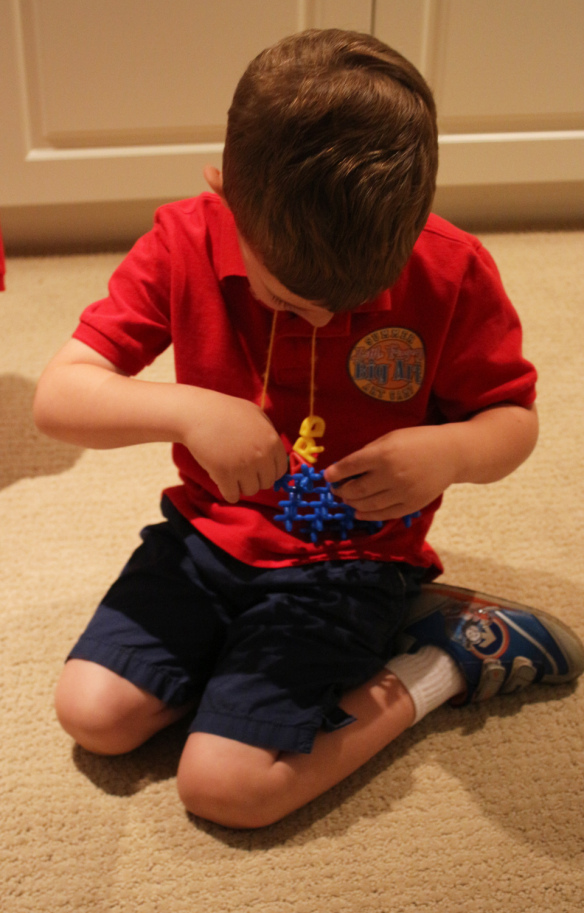
We first started building our fort using Straws and Connectors. Here, Ed is separating the Connectors from each other.

light box cube reading house

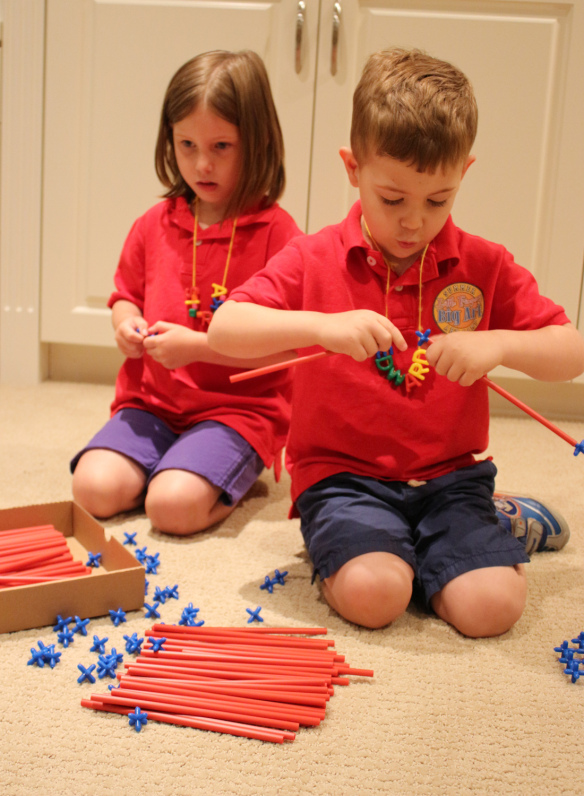
We taught the campers how to connect the Connectors together with the Straws. This was the starting point for building the reading fort. The diagram for building this reading fort can be found here!

light box cube reading house

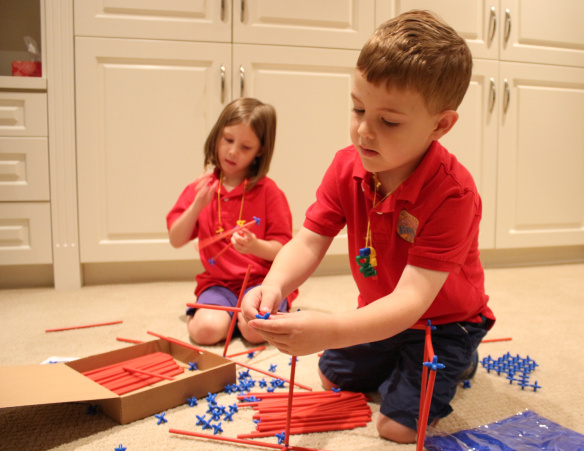
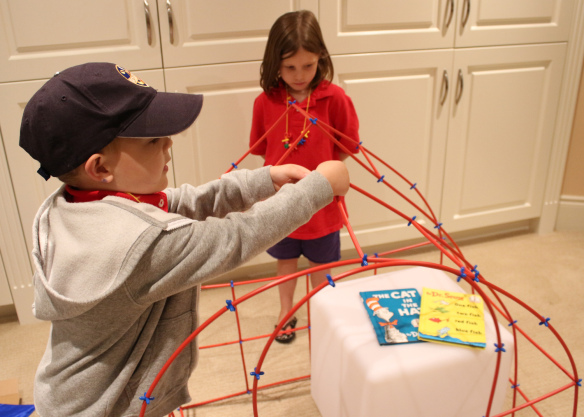
We all worked together to build the fort, starting with the base and working our way up.

light box cube reading house

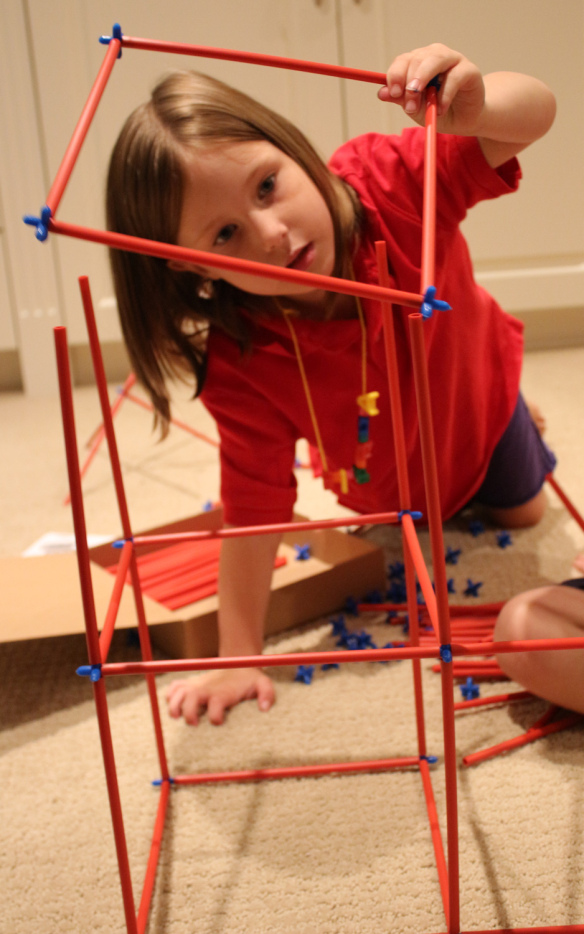
The best part is guessing what the final sculpture will look like! It’s one thing to see it on paper but another to see it in real life. Suddenly, we all got excited and started building faster.

light box cube reading house

After we built the base, we joined the roof together with a point at the top.

light box cube reading house

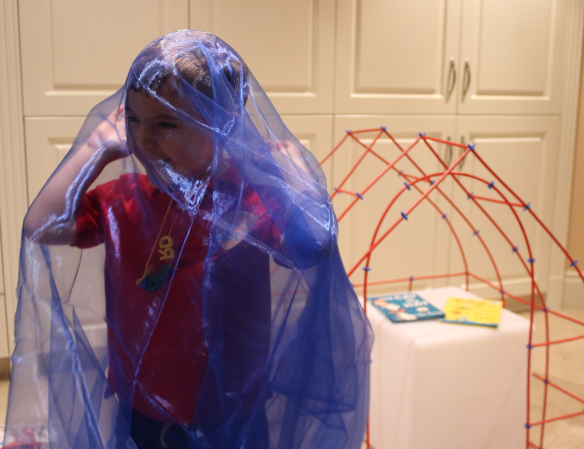
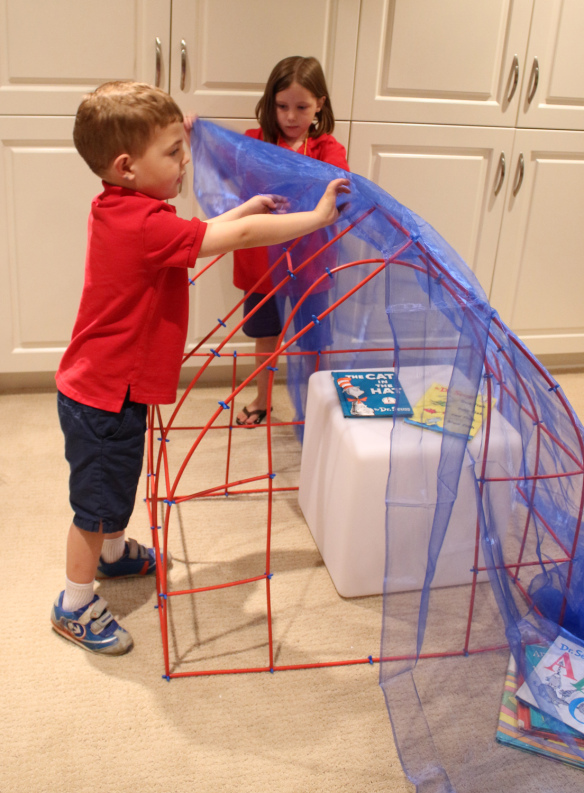
The Straws and Connectors pack comes with a large blue veil that can be draped on top of the Straws and Connectors structure to make it enclosed. Ed got excited to put the veil on top of the structure but he soon realized he needed some help!

light box cube reading fort

This is what teamwork is all about! Here comes Sierra to help Ed out.

light box cube reading fort

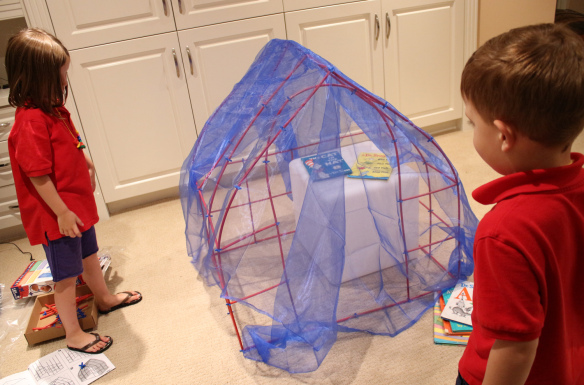
Almost finished…! Now to turn on the Light Cube to complete our reading fort.

light box cube reading fort

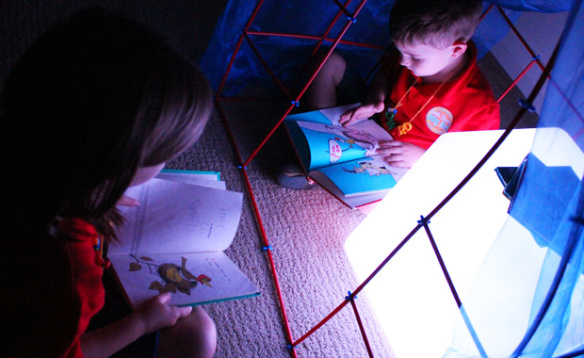
The soft glow of the Light Cube made reading enjoyable and calming at the same time. Both of the campers became so immersed in their reading, they forgot about all the crafting going on outside. This is a perfect project for your classroom that your students will love to build, and later, use for themselves. The reading fort is also a great place to store the Light Cube when not in use for sensory explorations or when you would like to center excitable students’ attention on quieter projects.

Line-03

Like us on FacebookShare this post with your friends, or Subscribe to this blog today to receive original craft project updates every Monday, Wednesday and Thursday!
Project Spotlight: Straws and Connectors

2014-11-24-FeatureImage

What’s so great about our Straws and Connectors? Besides the colors, the simplicity of combinations, and the potential for lessons about geometric structure? Learn more below!

IMG_8539

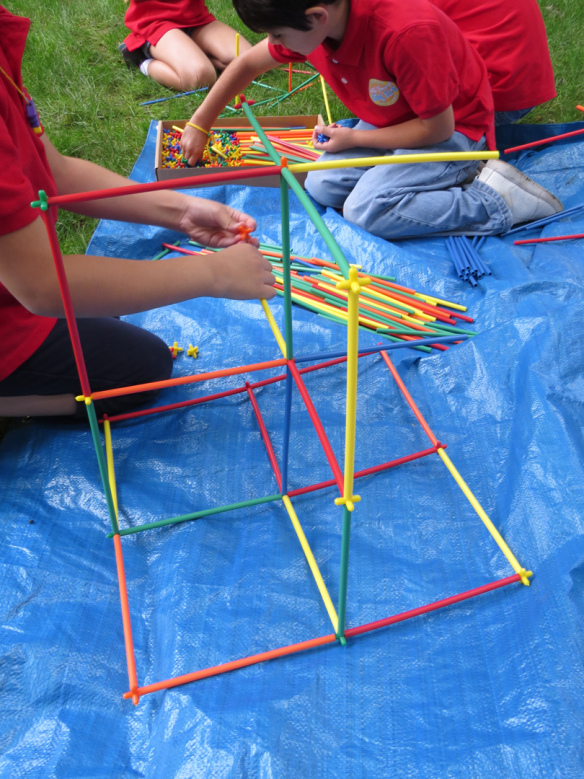
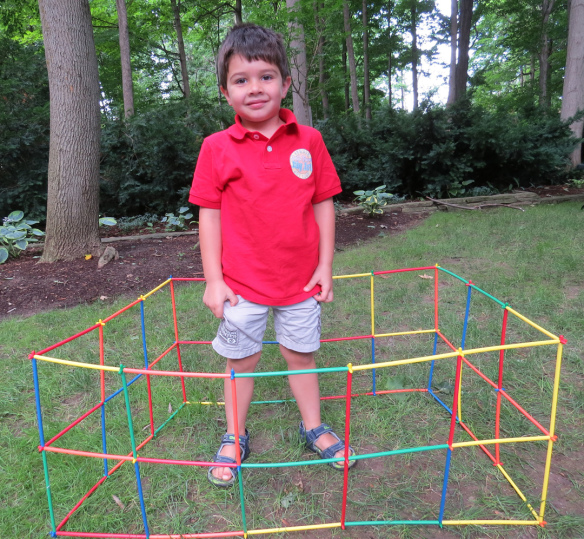
There are two simple components in the Straws and Connectors pack: the straws, which come in a variety of bright and fun colors, and the connectors, which feature 6 prongs to position the straws in any direction.

IMG_0155

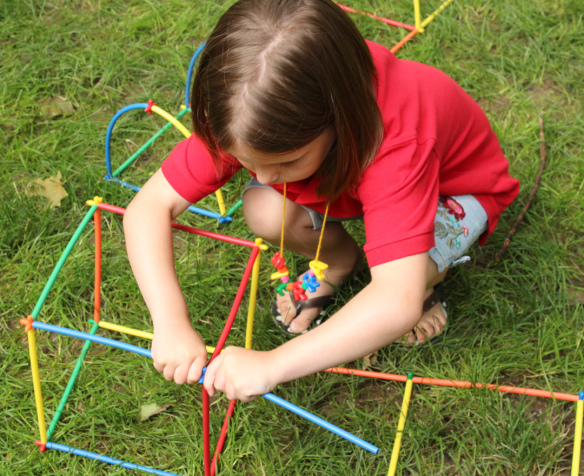
The most basic shape that students can easily construct is a square using the straws and connectors. Add on more straws and connectors to fill in the structure and turn the square into a cube!

IMG_0162

Explore more three-dimensional shapes and talk about their properties as students build them.

IMG_8551

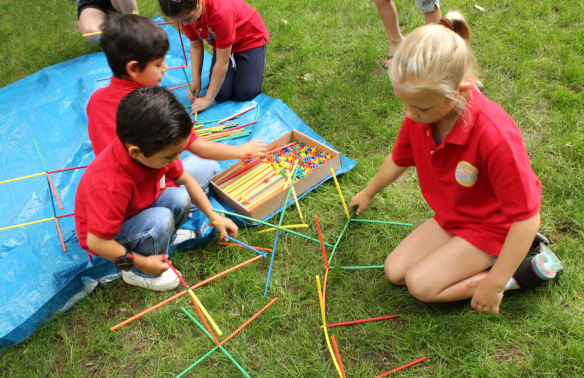
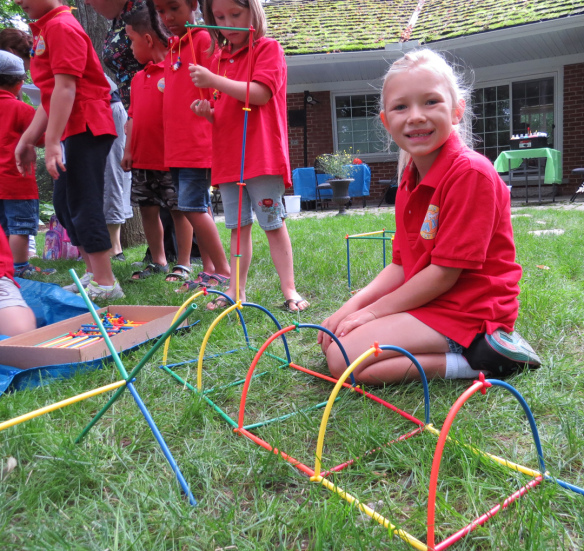
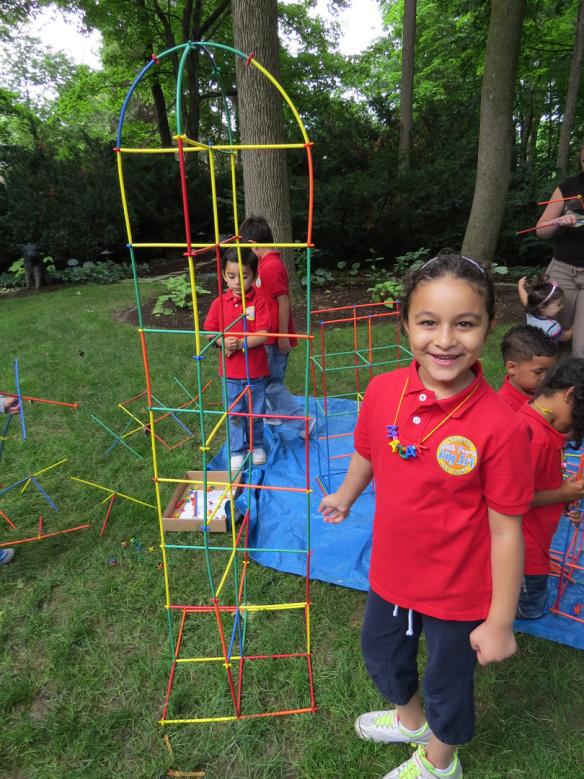
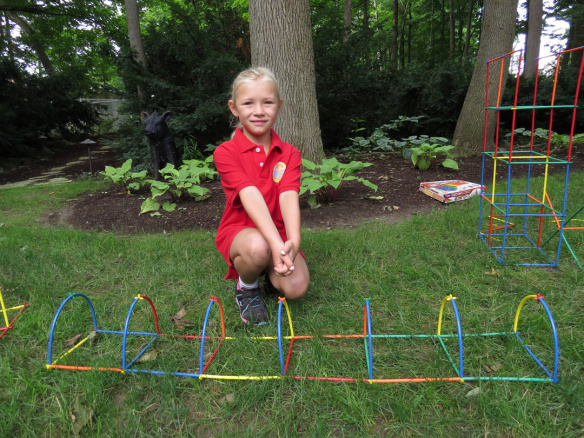
The straws are long enough that they can be bent to make curves in the structure, so you are not simply limited to making square structures. It’s a great cooperative material as well! Students can work on separate pieces and combine them all together to make a larger sculpture. This way, children use their skills in coordination, cooperation and critical thinking to create a finished piece.

IMG_8575

We challenged our students to build their own projects separately from each other. Students first had to brainstorm their ideas and then bring their projects to life. Can you guess what this project will be?

IMG_0192

You can see how this art camper continued creating curves in her structure. This perfectly illustrates just how versatile our Straws and Connectors are!

IMG_0245

This art camper made a boat!

IMG_0225

And this is a rocket!

IMG_0237

Straws and Connectors are a perfect gift to your children this holiday season! Give your students the ability to exercise multiple motor functions while creating sculptures they can truly be proud of!

See more about the R6085 Straws and Connectors here:

What else can you make with the Straws and Connectors?

Do you have a Straws and Connectors pack? If so, what kinds of structures did you make with them? We’d love to read your comments below!

Line-06

Like us on FacebookShare this post with your friends, or Subscribe to this blog today to receive original craft project updates every Monday, Wednesday and Friday!

Amazing Animal Paper Halloween Costume

animal paper diy costume

Make a simple, quick and cute Halloween costume from our R15256 Amazing Animal Paper! Our step-by-step photos will show you some easy tricks for cutting out and assembling the paper costume. 

Age: 5+

Duration: 10 minutes

Learning Objectives: Gain fine motor development through tracing and scissor skills. Use simple concepts, such as hand tracing and folding, to make an effective paper costume. Incorporate recognizable animal patterns into costume creations.

You’ll Need:

R15256 Amazing Animal Paper

• Tape

• Scissors

• Pencil

Line-07

Make this a quick paper costume for your students who will be celebrating Halloween in your classroom this year. This will make it easier for you to get through your day on Halloween without worrying about managing all your students in costume. The best part is that the costume is made from accessorizing, so all your students can look like their favorite animal without the need to fully dress up.

OLYMPUS DIGITAL CAMERA

Our full range of Amazing Animal Paper features a variety of different animal skins and patterns.

OLYMPUS DIGITAL CAMERA

Choose 2 sheets of your favorite animal skin paper. You will need only 1 sheet to make your animal hat, and another sheet to make your animal paws.

OLYMPUS DIGITAL CAMERA

Select 1 sheet of paper and fold in half horizontally. Unfold, and cut along the fold line so that you separate the sheet of paper into two halves.

OLYMPUS DIGITAL CAMERA

Take one of the paper sheet halves and fold it horizontally in half.

OLYMPUS DIGITAL CAMERA

Unfold and cut along the fold line to separate the half sheet into another 2 halves. This will form 2 strips of paper.

OLYMPUS DIGITAL CAMERA

Place the paper strips side by side. Tape the edges together.

OLYMPUS DIGITAL CAMERA

Join the opposite edges together and wrap around your head to test the length. Once you are satisfied with the fit, tape the edges to secure. This will form the base of your headband.

OLYMPUS DIGITAL CAMERA

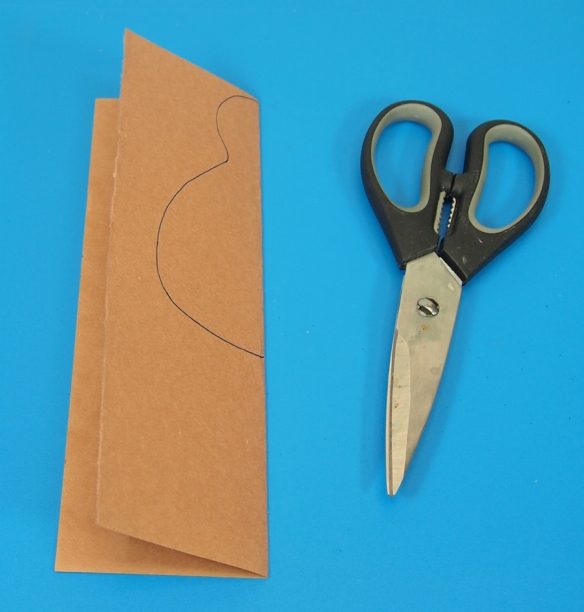
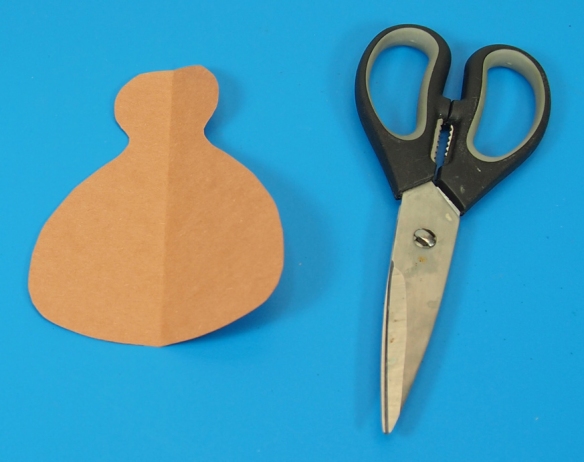
Take the discarded half of the paper sheet and fold vertically in half. Draw an animal ear shape. I’ve drawn two triangle-shaped ears to look like jungle cat ears.

OLYMPUS DIGITAL CAMERA

Tape the ears to the sides of the headband. This will be your Amazing Animal hat!

OLYMPUS DIGITAL CAMERA

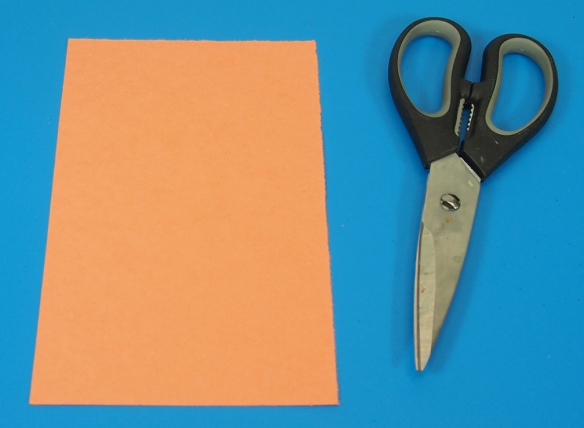
Now to make the paws! Take your second sheet of paper and fold vertically in half.

OLYMPUS DIGITAL CAMERA

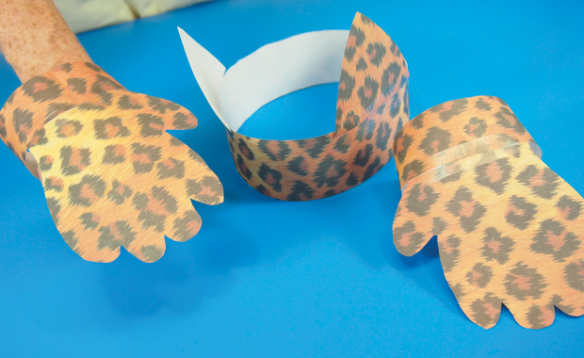
Trace your hand from the edge of the paper. I suggest you try to make the hand look more like a paw by widening the shapes of the fingers.

OLYMPUS DIGITAL CAMERA

Cut out the traced paws.

OLYMPUS DIGITAL CAMERA

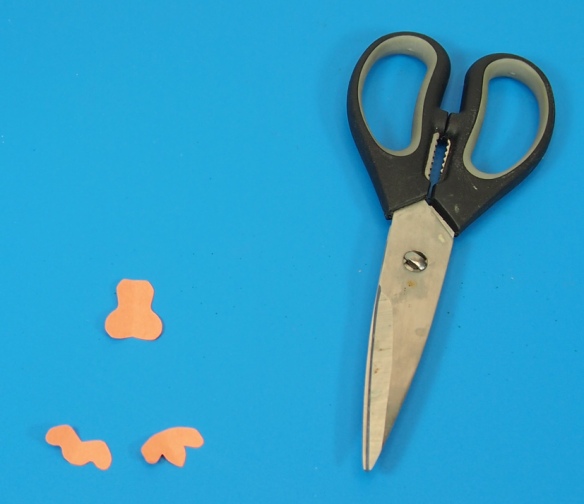
Use the remaining scrap piece to cut out two wristbands.

OLYMPUS DIGITAL CAMERA

Tape the bottom of the paw to the wristband.

OLYMPUS DIGITAL CAMERA

Wrap the wristband around and tape the edges together.

OLYMPUS DIGITAL CAMERA

Now your costume is ready to be worn! Slip the paws onto each hand and wear your headband ears to transform into your favorite jungle animal! Tip: You can use face paint to add on a nose, whiskers and freckles on students’ faces to add another element to their animal costumes.

Line-07

Like us on FacebookShare this post with your friends, or Subscribe to this blog today to receive original craft project updates every Monday, Wednesday and Friday!

Project Spotlight: MRI Scan

2014-10-14-FeatureImage

Merge the upcoming Halloween celebration with a unit on human anatomy! The R59254 MRI Scan kit is perfect for introducing children to organs and tissues of the body. See how our art campers used critical thinking skills to put the body together! 

IMG_0012

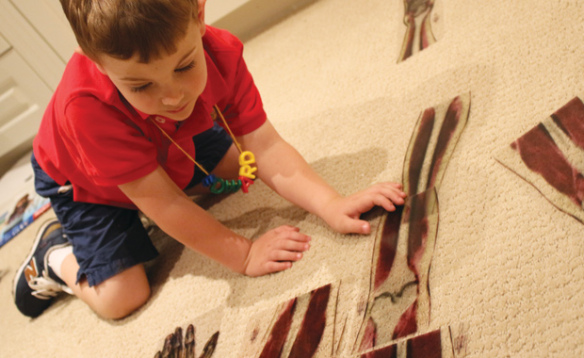
The images are printed on clear plastic mylar sheets that can be placed on top of a lightbox or illuminated with a flashlight. Each piece forms a part of a 5′ (1.5m) MRI scan that can be assembled using the placement guides. The placement guides are miniature images of the full MRI with red markings that indicate where to arrange each piece in the overall scale.

IMG_0049

You can get students to set up the full body MRI while working in teams or individually.

IMG_9835

It may take some time to place the parts in all the correct order, but practice makes perfect! To help your students assemble the pieces properly, ask them to consider how their own bodies look like.

IMG_9842

The MRI pieces each fit perfectly on top of our R5911 True to Life Human X-Rays® which makes it a great resource for figuring out the placement of organs in relation to our large bone sections. You can describe the skeleton as a kind of support for all the organs in our body, and that it helps to hold everything together.

IMG_9857

You can use our additional 2 organ overlays to get a further detailed look at various body systems, such as the circulatory, respiratory and digestive systems.

IMG_9847

Once you have arranged all the pieces correctly, you can talk about muscle mass and how muscles are held together to the bones in our body.

In your learning unit, include a lesson on health and physical education. Talk about the benefit of building bone mass and muscle strength and include a few additions to your morning exercise routines to stimulate your students’ minds and bodies!

Line-14

Like us on FacebookShare this post with your friends, or Subscribe to this blog today to receive original craft project updates every Monday, Wednesday and Friday!
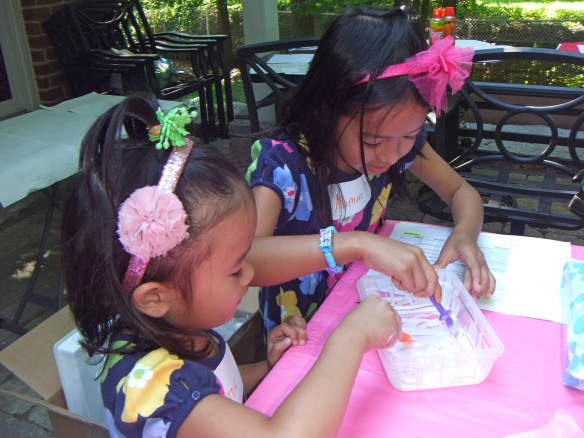
Craft Spotlight: Big Huge Fingerpaint Fish!

2014-10-06-FeatureImageDecorate giant paper fish with fingerpaint, glue and glitter! Our art campers painted and collaged several Big Huge Fingerpaint Fish paper projects. Check out their process below!

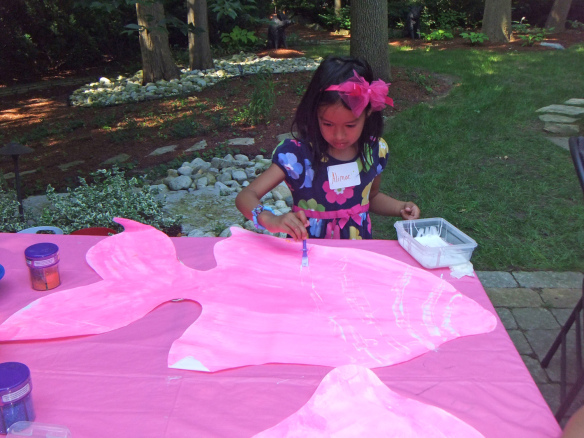
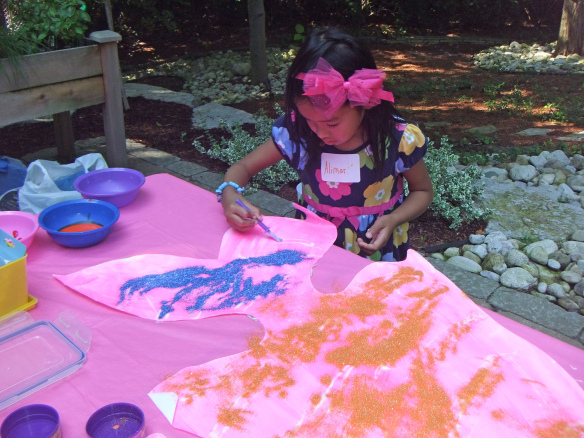
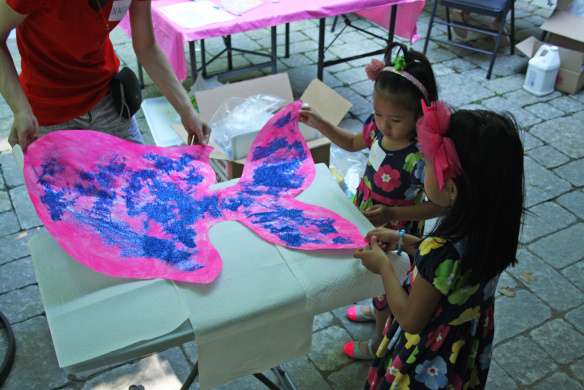
_DSC0126The R75402 Fingerpaint Fish is 3 feet long and about 2 feet at its widest point, making it a great canvas for group art projects!

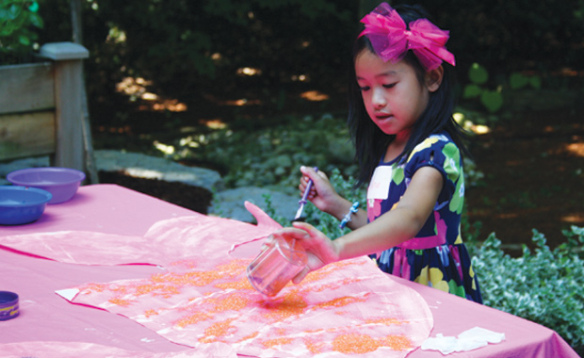
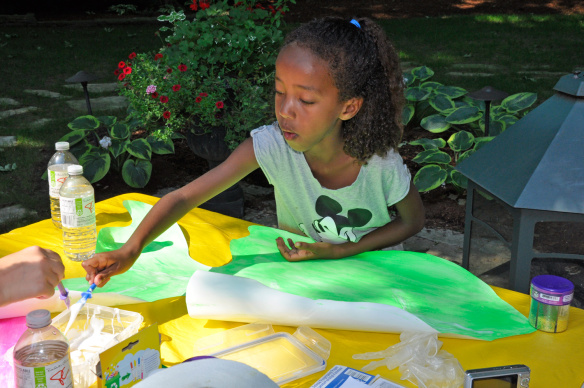
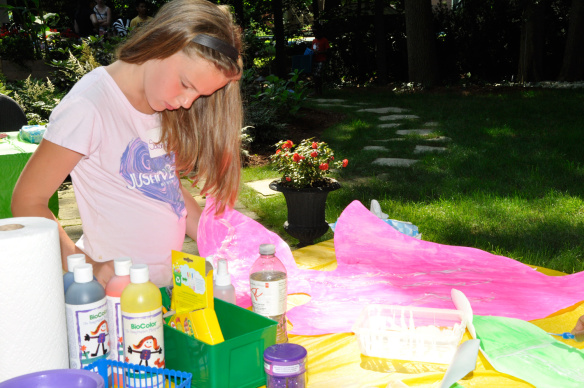
_DSC0127First we painted the Fingerpaint Fish fully on one side as a base for the next layer of art collage material. Use thick tempera paint or fingerpaint to saturate one side of the painting shape.

DSCF7054

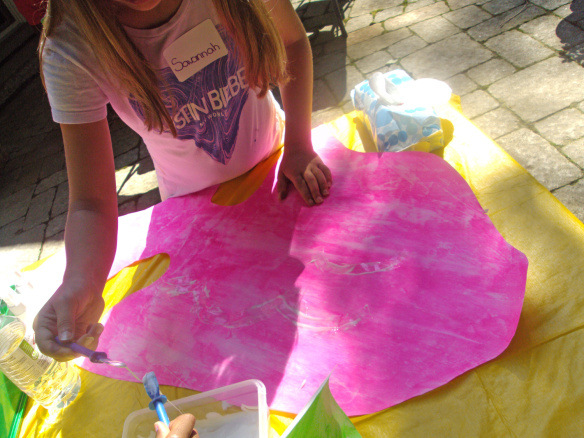
Next, we provided the campers with a container of glue. Use regular dollar store containers to keep glue intact between groups of students. You can place the lid back onto the container to keep the glue from drying out.

DSC05290We used R5725 Goo Spreaders to scoop up the glue and spread it across the Fingerpaint Fish.

DSCF7037We asked our art campers to imagine they were drawing on fish scales or body patterns with the glue. Why would we paint the fish with glue? Good question!

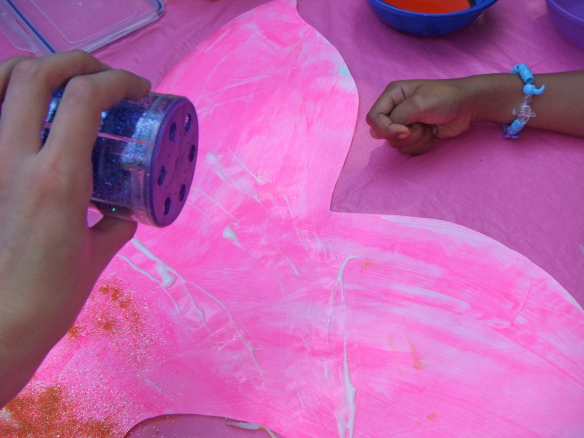
DSCF7053So we could add glitter!

DSCF7058Using glitter, the fish scales become bright and colorful!

IMG_7321After we doused the fish with glitter, we helped each other tilt the fish sideways to help the excess glitter slide off.

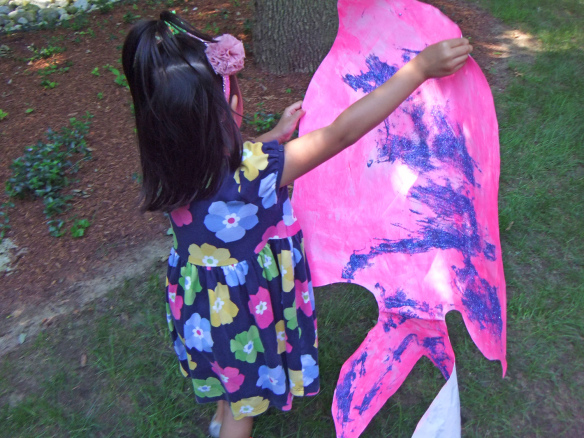
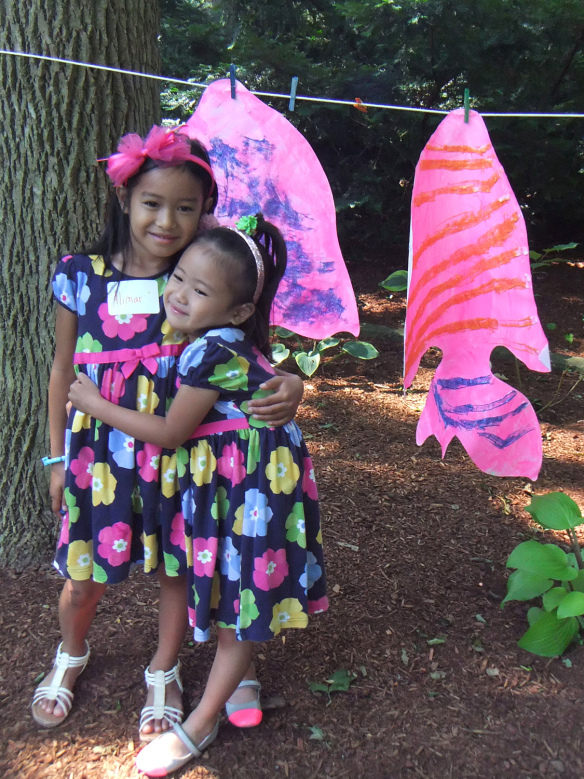
DSCF7063Next, we hung up the fish to dry.

DSCF7065What a great art project! Not only did the art campers get to work on their art cooperatively, but they explored new patterns and fun techniques to decorate their fish projects.

Line-10

Like us on FacebookShare this post with your friends, or Subscribe to this blog today to receive original craft project updates every Monday, Wednesday and Friday!
Craft Spotlight: Project Leaves with a Thanksgiving Turkey project!

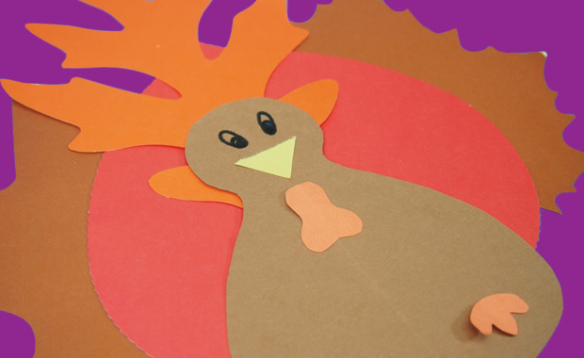
2014-09-22-FeatureImageIt’s never too early to start thinking about seasonal crafts for the classroom, no matter what time of year! Prepare for Thanksgiving with our true-to-life sized R51080 Project Leaves in a variety of colors and shapes. Use the Project Leaves to create the tail feathers and simple construction paper cutouts to make the turkey head and body. 

Project Leaves feature different colors on each side of the leaf shapes. You can use the shapes to talk about the changing seasons or adapt your fall science unit to include lessons about leaf identification.

R51080

Encourage students to engage with nature while appreciating the science behind it! Students can draw the veins within the leaf shapes to learn about leaf development. Trace out the shapes of the leaves onto sheets of paper, then cut them out and paste into a leaf collage!

Use leftover or traced Project Leaves to make a Thanksgiving turkey decoration! Learn more below.

Age: 4+

Duration: 10 minutes

Learning Objectives: Combine various leaf shapes together into a pleasing arrangement to make the turkey tail feathers. Use scissor skills to make a cut and paste project.

You’ll Need:

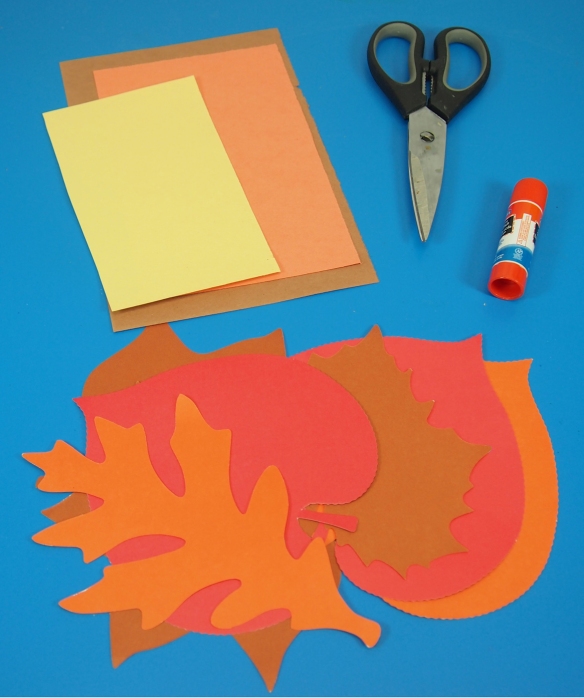
R51080 Project Leaves

• Gluestick

• Brown, orange and yellow construction paper

• Marker

• Scissors

Line-07

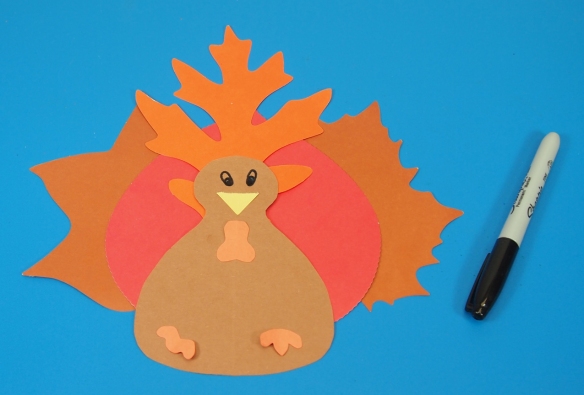
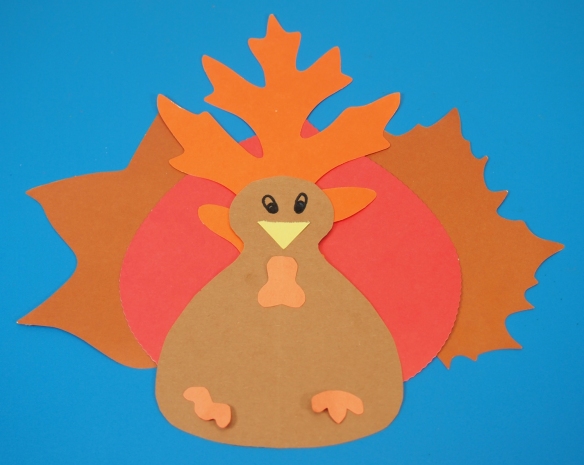
Celebrate Thanksgiving with a turkey decoration that all your students can take home!

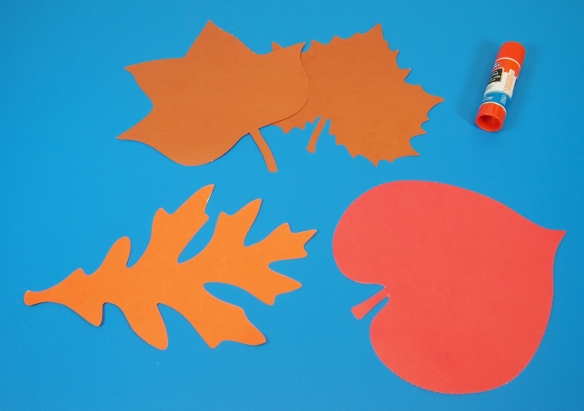
P1010327Select 3-4 Project Leaves to make up the turkey’s tail feathers. Alternatively, you can trace the outline of the Project Leaves onto sheets of construction paper and cut them out. You’ll want to choose colors that work with the look of the craft.

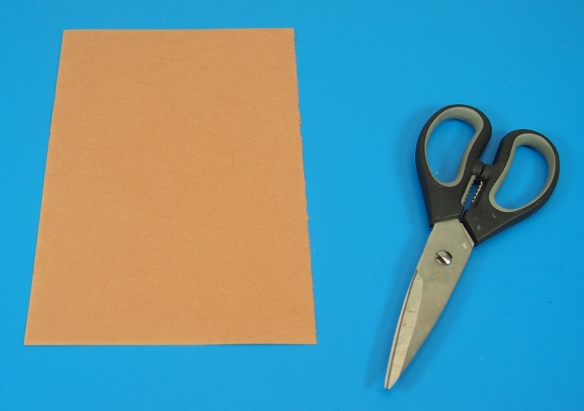
P1010328Select the construction paper you will use to make the body. To save on construction paper, you can cut a sheet in half and divide between two students.

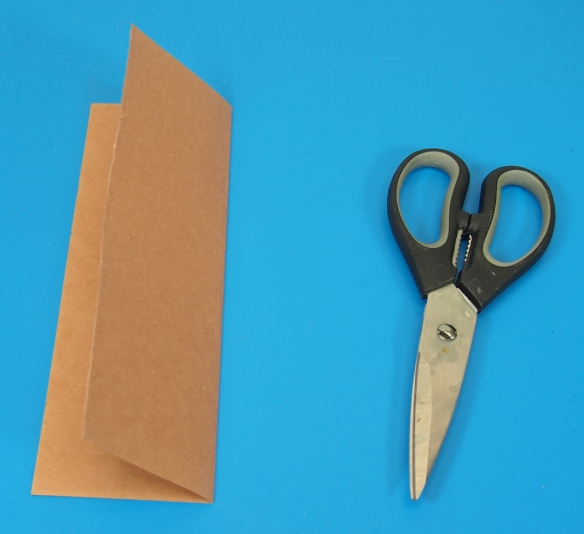
P1010330Fold the sheet in half lengthwise.

P1010331Draw a backwards B shape from the fold line. This will be the turkey’s body.

P1010332Cut along the drawn lines and unfold the resulting piece.

P1010333Next, pull out a light-sand colored sheet of construction paper.

P1010336Cut out a little turkey wattle and little turkey feet.

P1010337Finally, get a sheet of yellow construction paper. 

P1010338Cut out a turkey beak.

P1010340Paste the turkey beak, wattle and feet onto the turkey body.

P1010351Make your selection of Project Leaves for the turkey feathers.

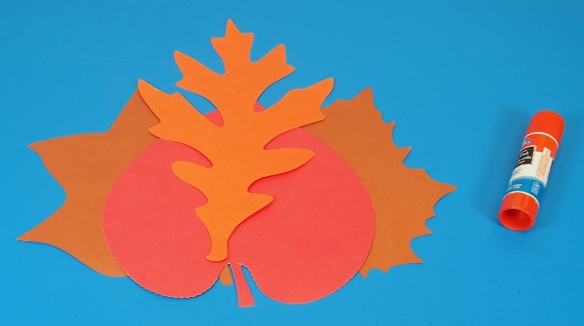
P1010352Align two of the leaves together. You will need to angle them outwards.

P1010353Place the third leaf in the middle of the two leaves. This helps to round out the look.

P1010354Finish off with your decorative leaf shape. Place it right on top. Now you’ve easily layered the turkey back feathers!

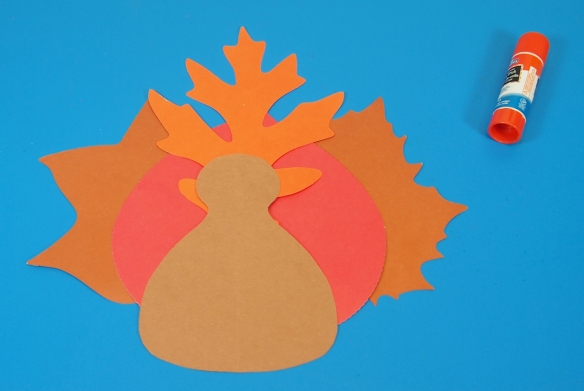
P1010355Paste the turkey body on top of the leaf arrangement.

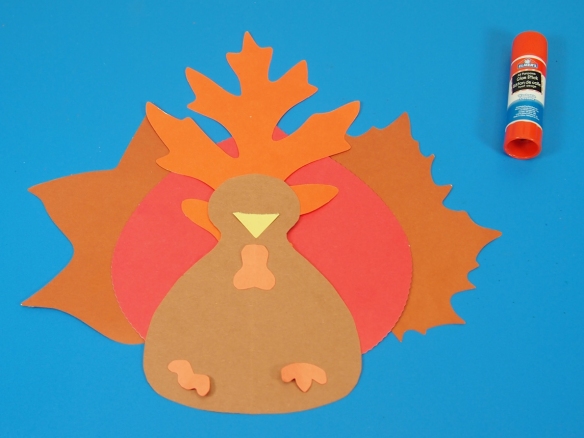
P1010356Paste the turkey features on top.

P1010357Finish off with eyes for your turkey. Draw them in with permanent marker or pen.

P1010358Now get ready for a big celebration! Paste the turkeys along a banner and hang up on a wall or arrange your turkeys in a Thanksgiving display!
Line-07

Like us on FacebookShare this post with your friends, or Subscribe to this blog today to receive original craft project updates every Monday, Wednesday and Friday!
Guest Post! The Museum uses our Rolly Scrolly Paper!

THEMUSEUM in Kitchener, Ontario, Canada hosted their amazing “Unwrapping Egypt” exhibit this summer. Museum-goers could visit the exhibit and become immersed in the culture and beautiful history of Ancient Egypt. We at Roylco were lucky enough to participate in some of the children’s programming with our Rolly Scrolly Paper! Check out this special hieroglyphics project with a written commentary from the senior education interpreter!

Brent from THEMUSEUM gives his impressions of the project below! All photos are courtesy of THEMUSEUM unless otherwise noted.

To view the full blog post at the museum’s website, please visit the link here!

Brent says:

“Our current exhibition, Unwrapping Egypt, features a complete reproduction of the artifacts found in the tomb of King Tutankhamun. They’re adorned in marvellous colours and, more importantly, feature hieroglyphics, the pictorial symbols of the written ancient Egyptian language. To connect what campers have seen in our exhibition space, we decided to put their transcribing skills to the test using Roylco’s R15406 Rolly Scrolly Paper…

There are cool things written on scrolls, and they can be rolled and unrolled in such a way that is relatively unique. While children this age may have difficulties reading and writing, they are quite adept at applying intuitive thought processes to emulate what scripts might look like. Roylco’s Rolly Scrolly paper is a perfect medium to allow children of this age to express intuitive thought.

Our campers from 7-9 are able to recognize patterns with symbols more readily, and are intrigued by the discovery of novel patterns connecting what they’ve seen in the exhibit space.

This activity was a tremendous success in achieving our goal to awe, enlighten, and inspire our campers.”

Visit the whole blog post here!

Thank you so much to Brent for providing us with this awesome commentary!

Image and original post © THEMUSEUM

We’d love to see more ideas like this one! If you’ve got a brilliant craft idea or have made a version of one of our crafts that you would like to share with us, send an email to us with photos, descriptions or a link to your work. We will create a feature post and link back to you with full credit. Contact us through the contact form for more details. We’d love to hear from you!

Thank You 2013 Art Camp Kids!

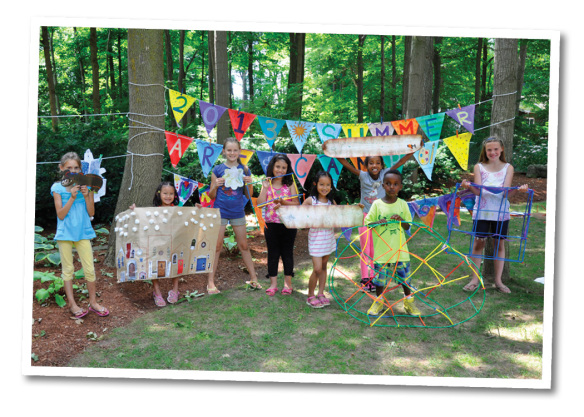
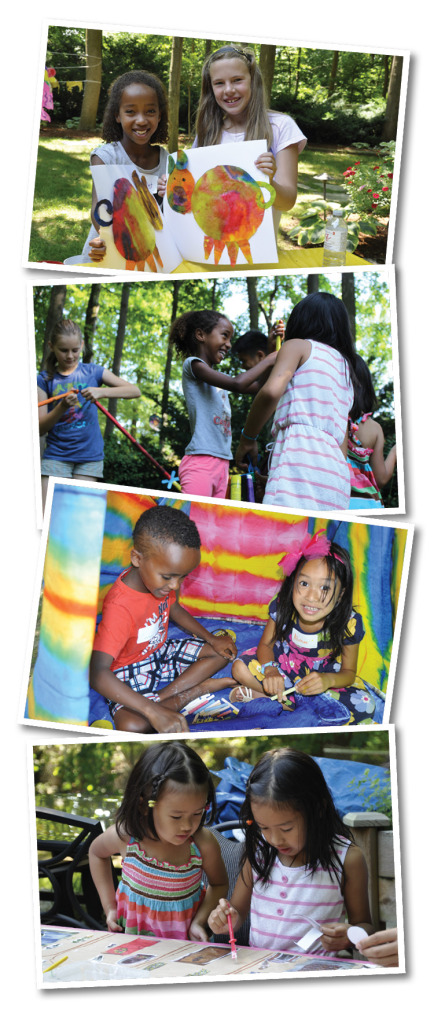
Group ShotToday’s post is a little bit different than our regular series of posts! The folks at Roylco enjoyed a fantastic summer art camp in 2013 thanks to our brilliant art campers. Using our classroom materials, the group completed a variety of amazing projects. We would like to say, “Thank you!” to all of our campers and showcase some of our favorite moments from the camp!

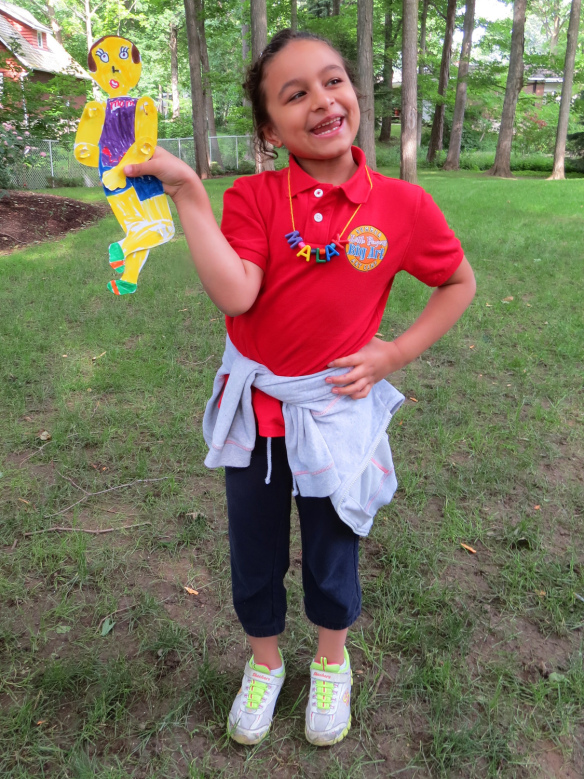
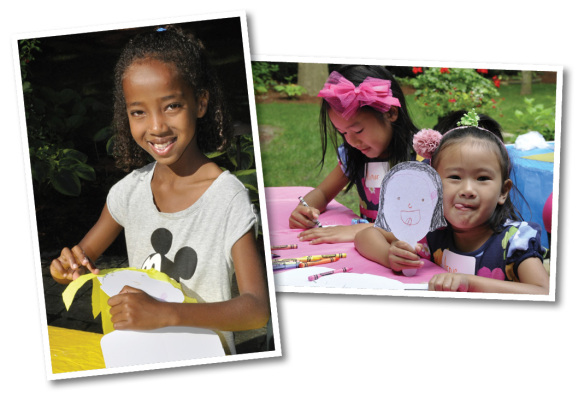
drawing, coloring, all about meGetting to capture smiles like this was definitely one of our favorite moments. Using our “All About Me” products, our art campers were able to express the best of their own creativity with representations of themselves!

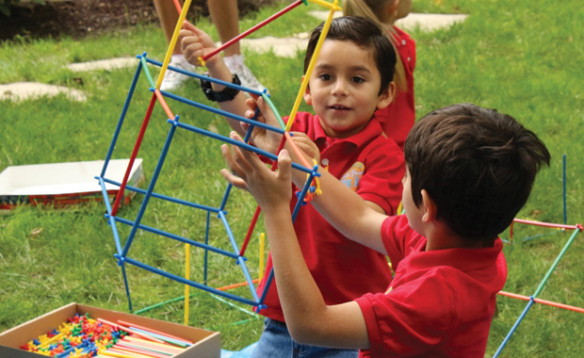
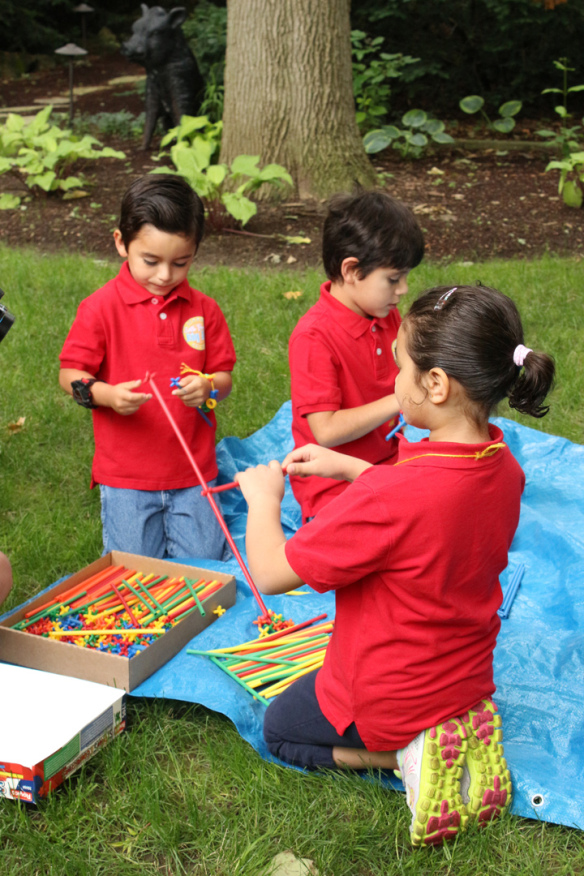
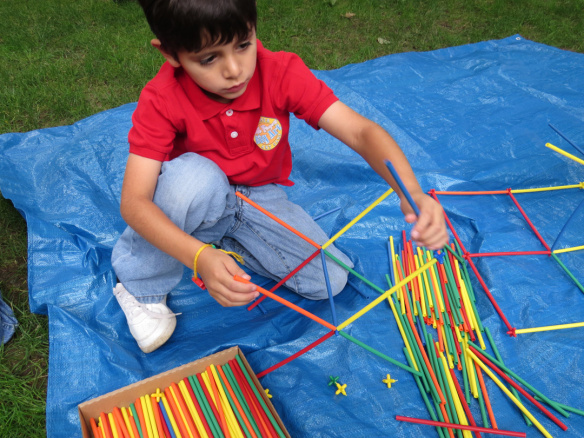
color diffusing, straws and connectors, architecture paperThese were some of our favorite moments: getting to see the Art Campers working together and having fun while learning new concepts. The kids learned a variety of skills, everything from building, stacking, painting, gluing, molding, sorting and more!

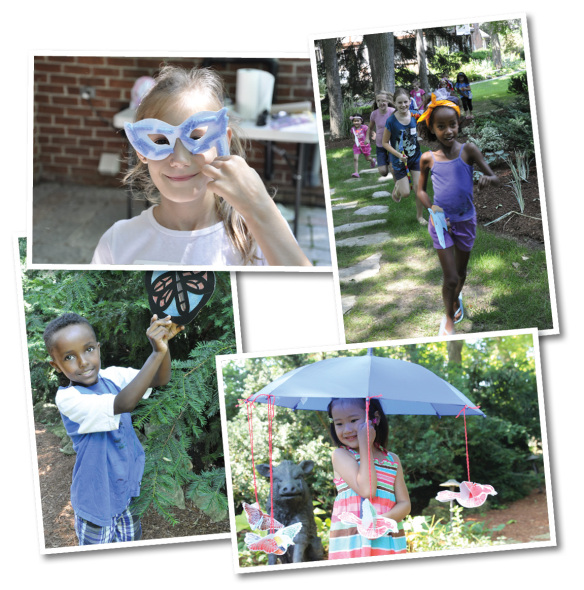
hanging stained glass, umbrella, masks, animal hop

The best was when we let the campers take their own initiatives with their crafts. Let’s have an animal foot race! Or, let’s find a good place to hang our stained glass frames. It’s an endless lesson in fun and excitement.

art campWe had wonderful hot summer days to enjoy our good company! That, combined with good spirits and creativity turned our summer art camp experience into a dream.

color reveal birds

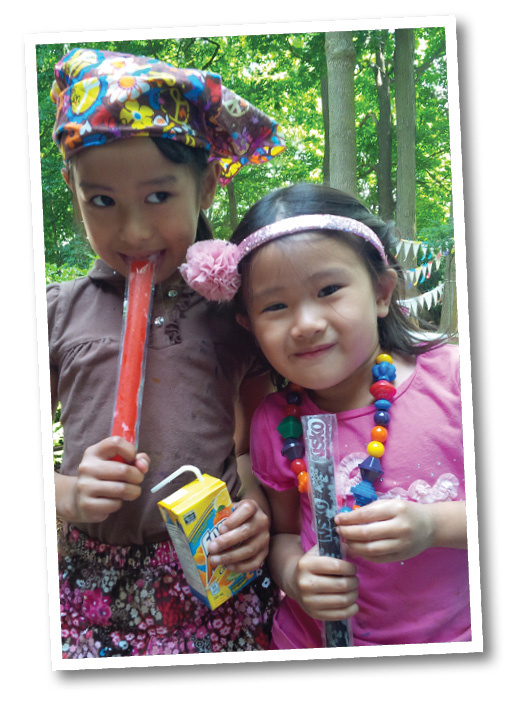
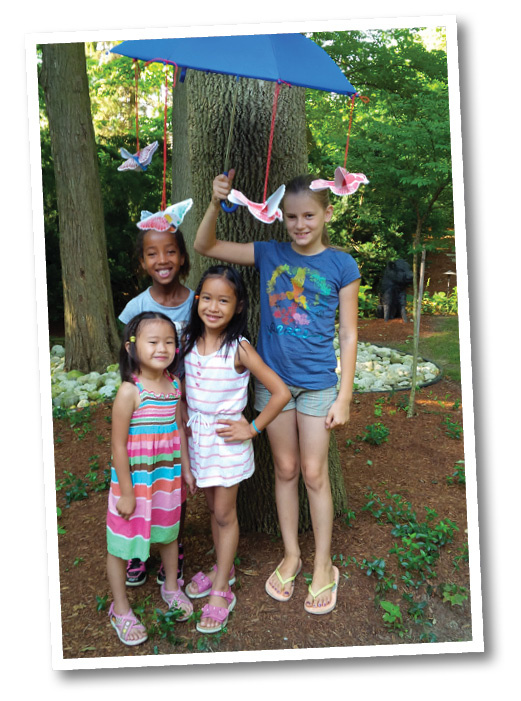
We all loved to pose for photos with our new friends!

Kids NamesWe have to give a shout-out to our best buds at the 2013 Art Camp! Everyone did an amazing job and had a blast together. Thank you so much, art campers!

Line-12Like us on FacebookShare this post with your friends, or Subscribe to this blog today to receive original craft project updates every Monday, Wednesday and Friday!