Nature Stencil Glitter Puppets

finished craft.jpg

These adorable puppets will brighten up a winter classroom!

Age: 4+

Duration: 10 minutes (plus drying time)

Learning Outcomes: Exercise fine motor skills. Talk about different animals and plants. Create beautiful puppets for imaginative play and to use as props for reports.
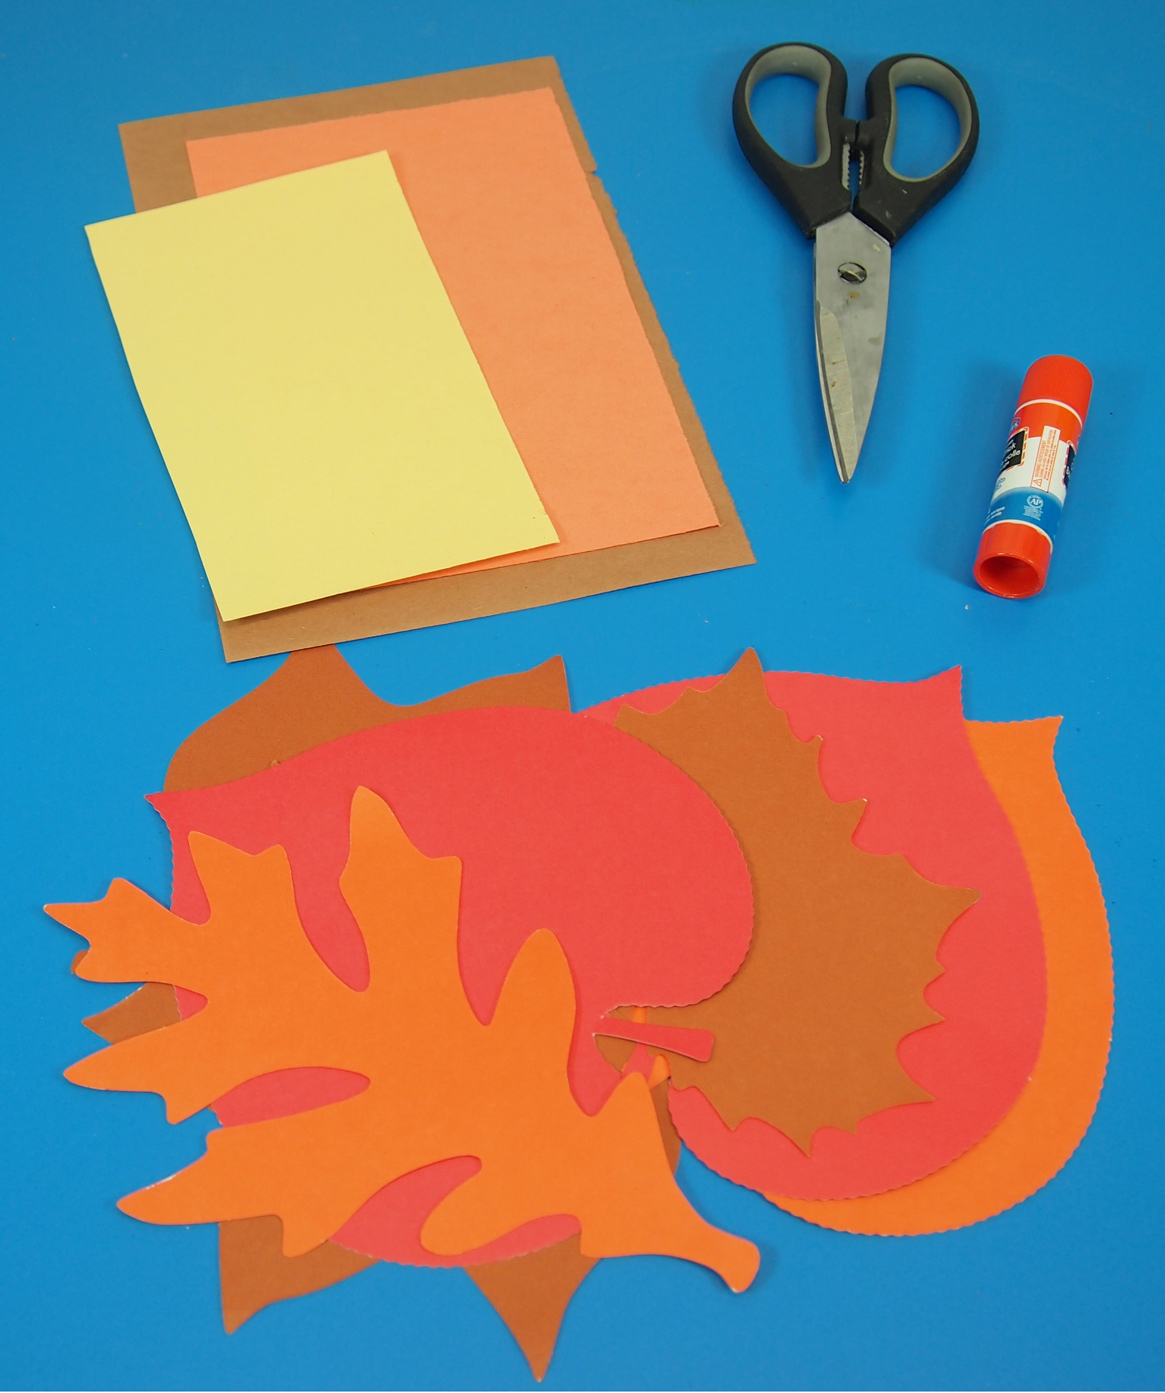
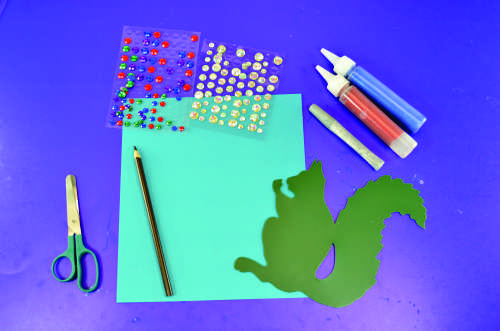
You’ll Need:

Line-12

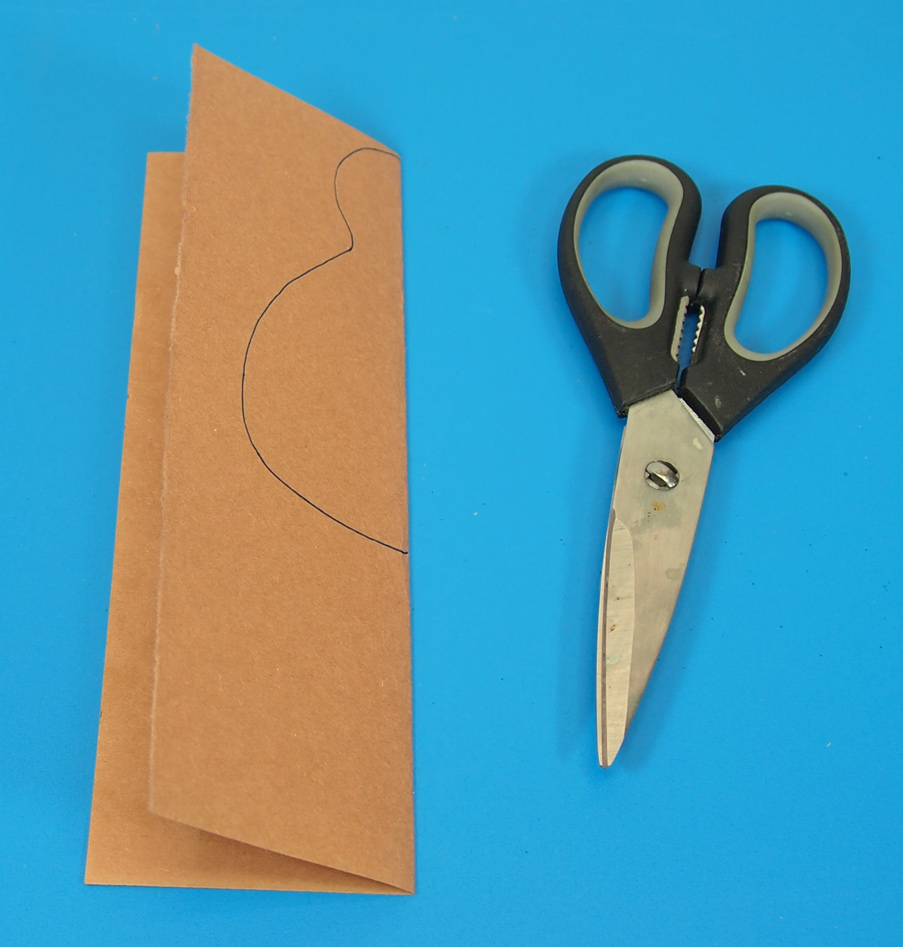
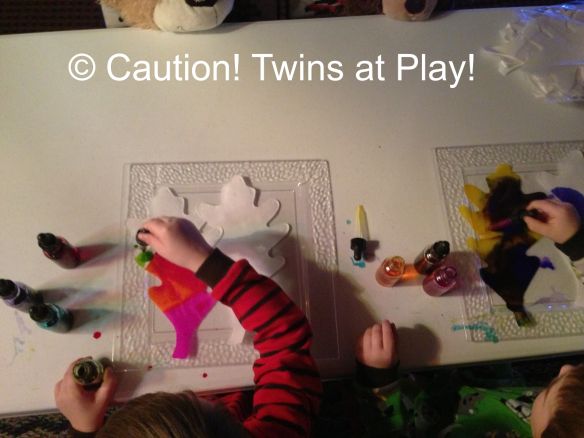
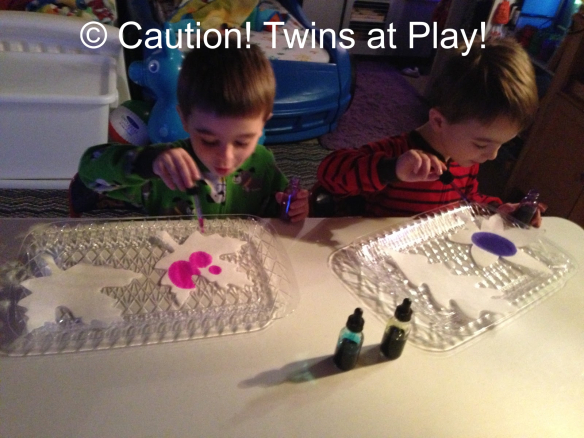
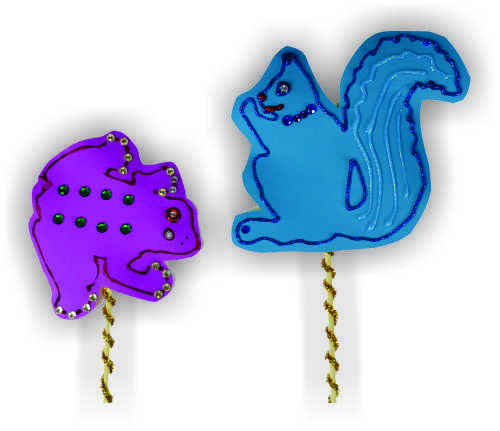
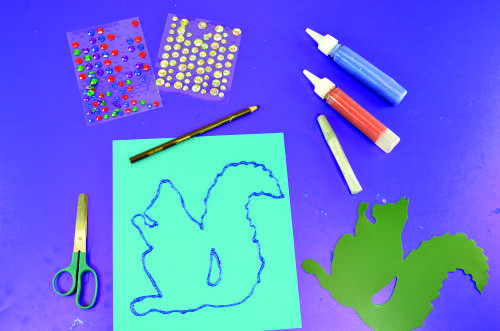
Today we’ll walk you through the process of creating an adorable glitter puppet! This is a great activity to bring some color to your classroom in the middle of a long term. Start by choosing a stencil or template to use for your puppet. What’s the difference between a stencil and a template, you ask? Stencils are shapes you trace around the inside of. Templates are shapes that you trace around the outside of. Either one will work for this project! We will use a squirrel template to demonstrate this process.

step 1

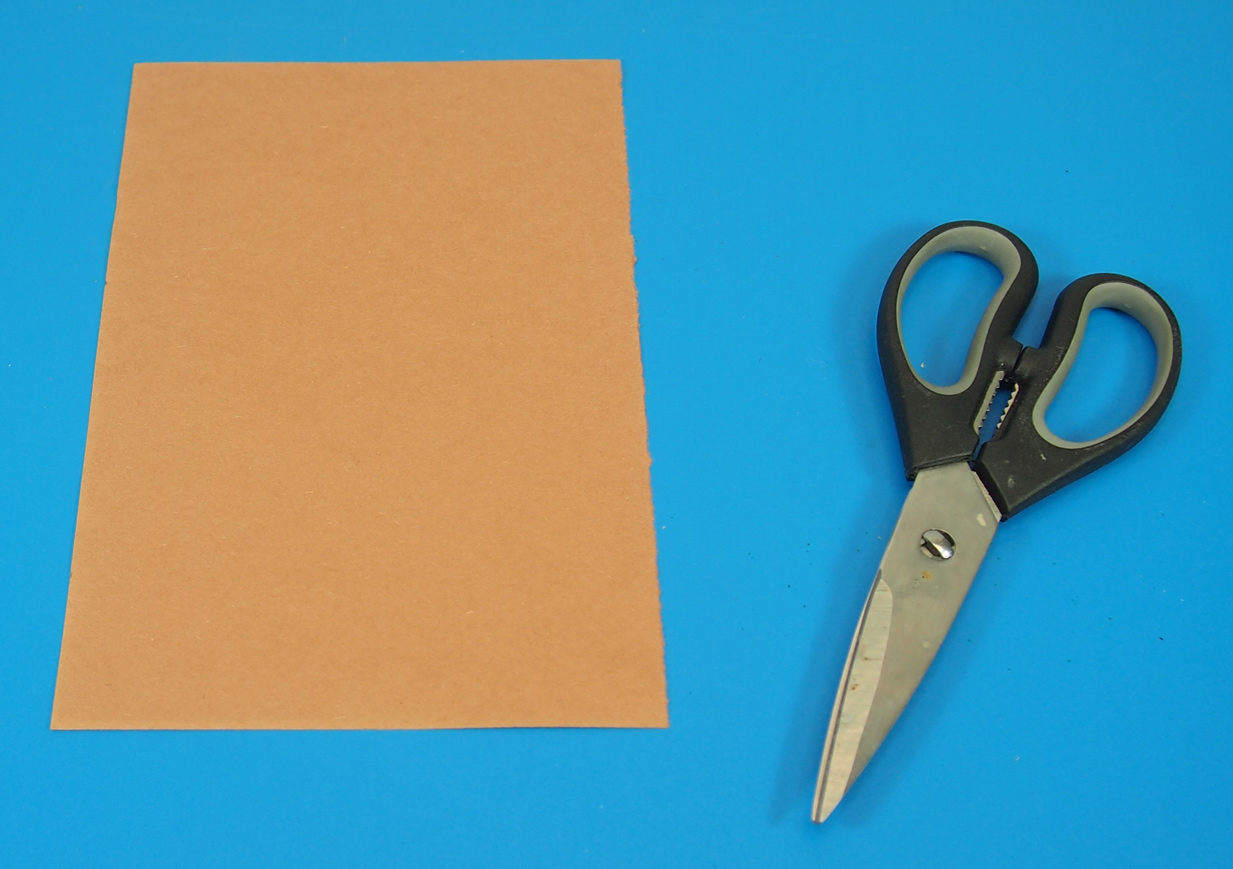
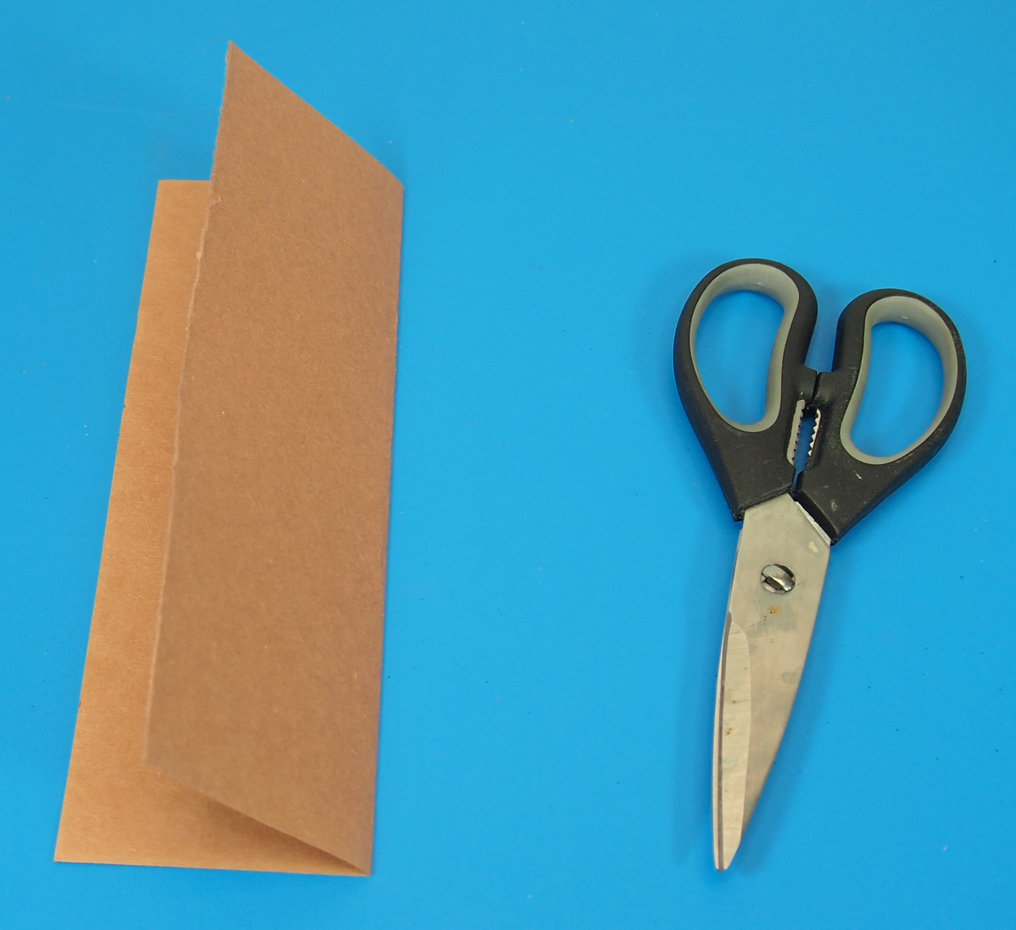
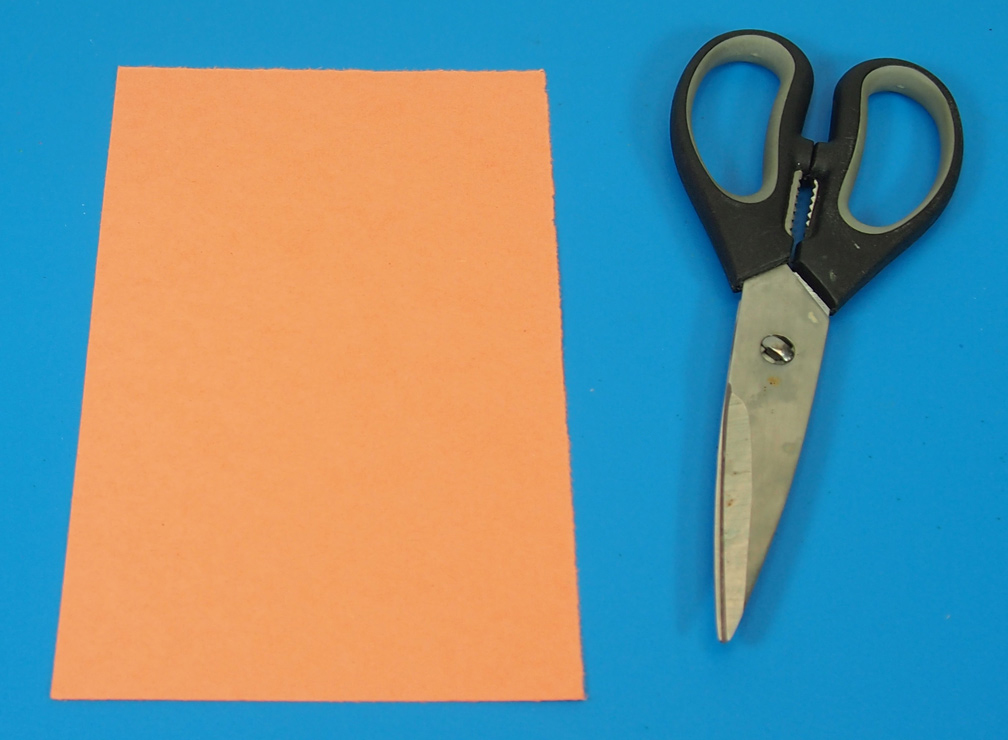
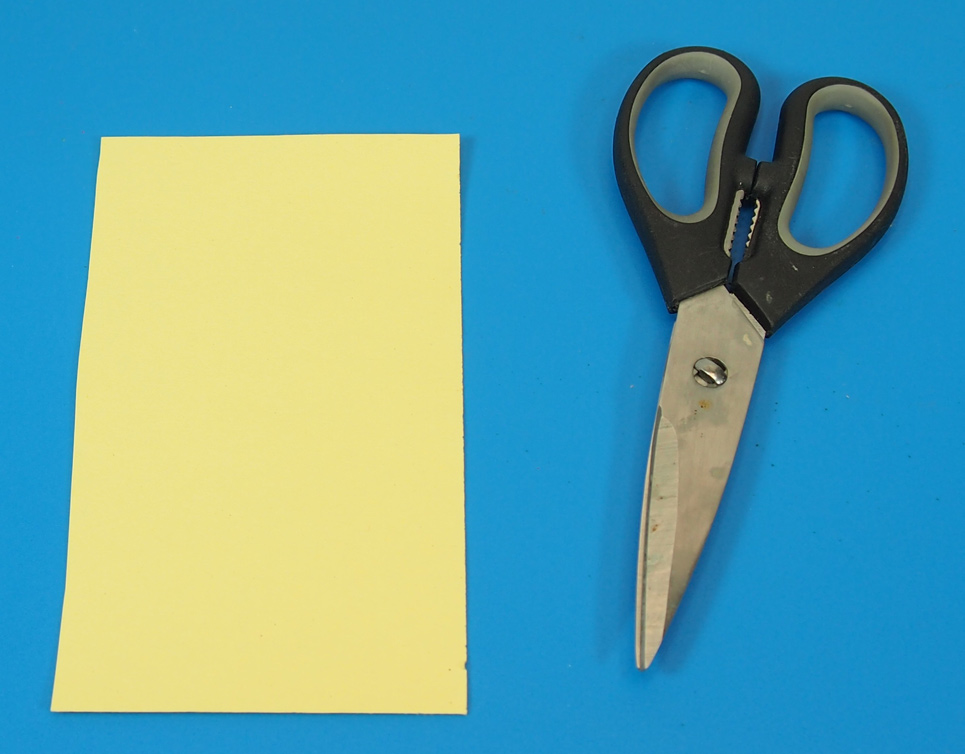
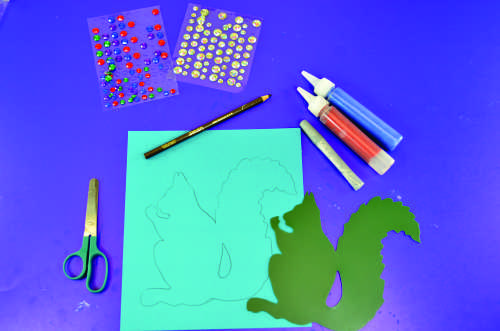
Start with a sheet of double color card, and lay your template in the center of the sheet. Carefully trace around the template using a pencil.

step 2.jpg

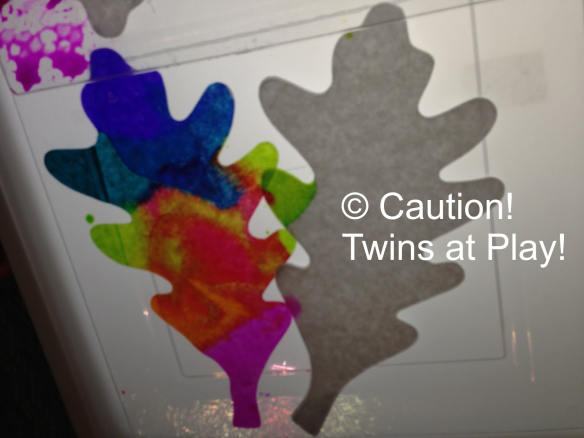
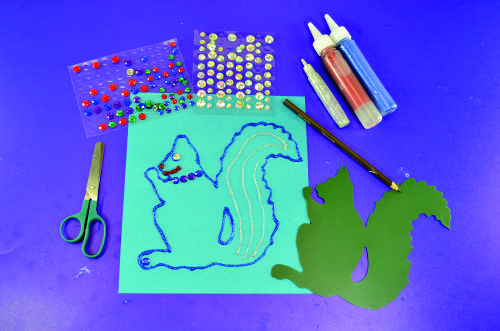
Now it’s time to add some pizzazz to your soon-to-be puppet! We started by carefully going over the pencil outline with glitter glue.

step 3.jpg

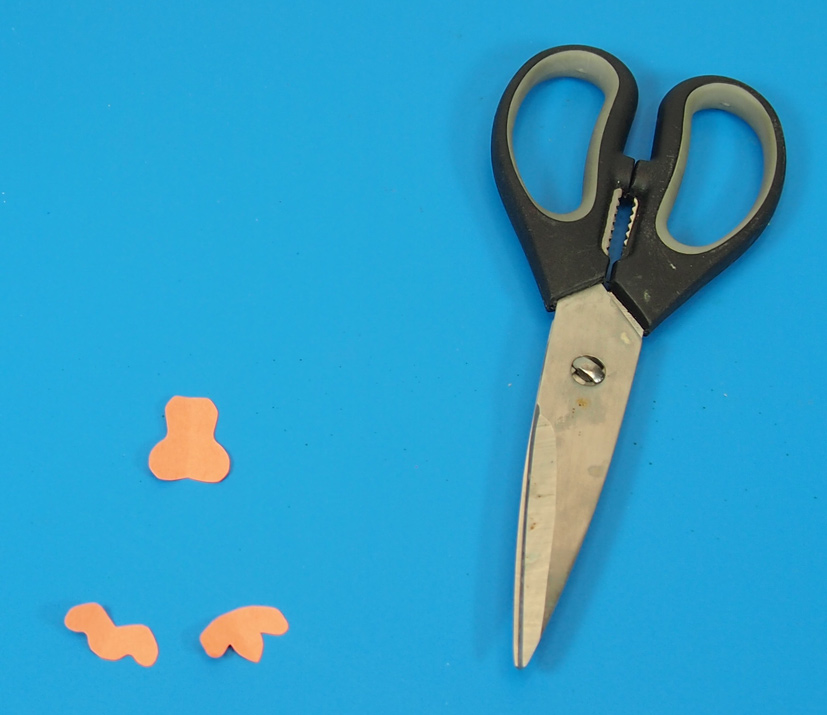
Once the glitter outline is done, add details like tail swirls! You can also use the self-adhesive gems to create eyes and other small details.

step 5.jpg

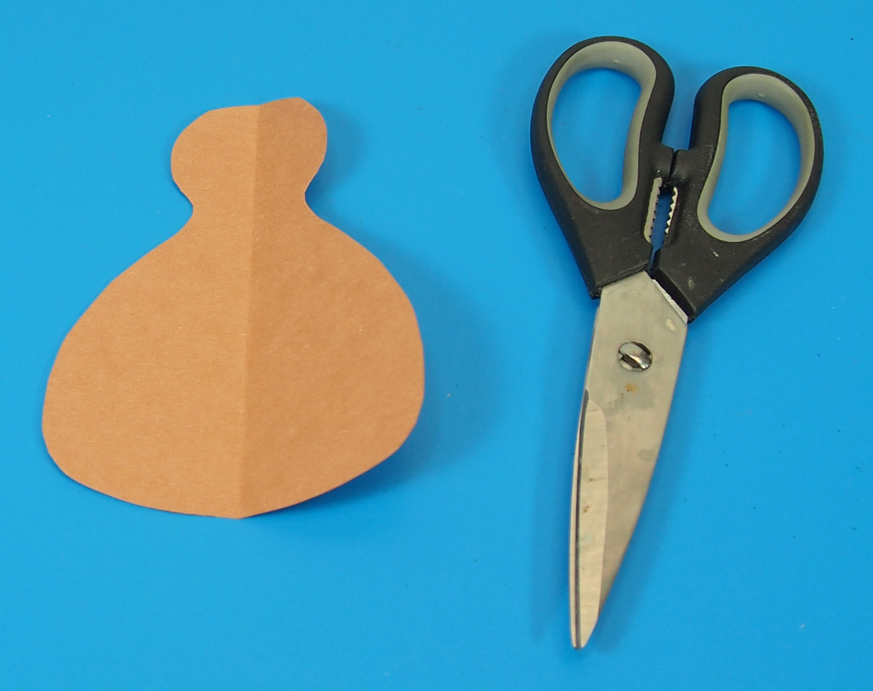
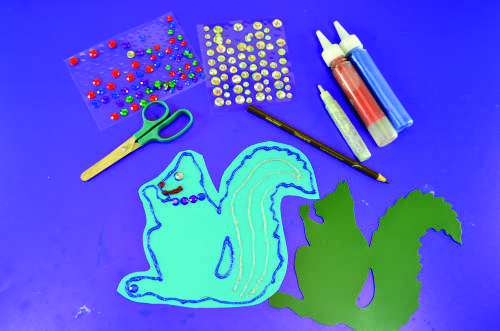
Once you are happy with your glitter and gem decorations, set your card aside to let the glitter glue dry. After the glue has dried, carefully cut your puppet out!

step 6.jpg

To finish off the puppet, carefully wrap a dowel with a glitter chenille stem. Then tape the dowel to the back of your puppet!

Bundle Savings

Get all the Roylco items used
in this project and save 15%!

$25.48 USD
bundled price
Add Bundle
to Cart

Line-20

Like us on FacebookShare this post with your friends, or Subscribe to this blog today to receive original craft project updates every week!


Craft Spotlight: Project Leaves with a Thanksgiving Turkey project!

2014-09-22-FeatureImageIt’s never too early to start thinking about seasonal crafts for the classroom, no matter what time of year! Prepare for Thanksgiving with our true-to-life sized R51080 Project Leaves in a variety of colors and shapes. Use the Project Leaves to create the tail feathers and simple construction paper cutouts to make the turkey head and body. 

Project Leaves feature different colors on each side of the leaf shapes. You can use the shapes to talk about the changing seasons or adapt your fall science unit to include lessons about leaf identification.

R51080

Encourage students to engage with nature while appreciating the science behind it! Students can draw the veins within the leaf shapes to learn about leaf development. Trace out the shapes of the leaves onto sheets of paper, then cut them out and paste into a leaf collage!

Use leftover or traced Project Leaves to make a Thanksgiving turkey decoration! Learn more below.

Age: 4+

Duration: 10 minutes

Learning Objectives: Combine various leaf shapes together into a pleasing arrangement to make the turkey tail feathers. Use scissor skills to make a cut and paste project.

You’ll Need:

R51080 Project Leaves

• Gluestick

• Brown, orange and yellow construction paper

• Marker

• Scissors

Line-07

Celebrate Thanksgiving with a turkey decoration that all your students can take home!

P1010327Select 3-4 Project Leaves to make up the turkey’s tail feathers. Alternatively, you can trace the outline of the Project Leaves onto sheets of construction paper and cut them out. You’ll want to choose colors that work with the look of the craft.

P1010328Select the construction paper you will use to make the body. To save on construction paper, you can cut a sheet in half and divide between two students.

P1010330Fold the sheet in half lengthwise.

P1010331Draw a backwards B shape from the fold line. This will be the turkey’s body.

P1010332Cut along the drawn lines and unfold the resulting piece.

P1010333Next, pull out a light-sand colored sheet of construction paper.

P1010336Cut out a little turkey wattle and little turkey feet.

P1010337Finally, get a sheet of yellow construction paper. 

P1010338Cut out a turkey beak.

P1010340Paste the turkey beak, wattle and feet onto the turkey body.

P1010351Make your selection of Project Leaves for the turkey feathers.

P1010352Align two of the leaves together. You will need to angle them outwards.

P1010353Place the third leaf in the middle of the two leaves. This helps to round out the look.

P1010354Finish off with your decorative leaf shape. Place it right on top. Now you’ve easily layered the turkey back feathers!

P1010355Paste the turkey body on top of the leaf arrangement.

P1010356Paste the turkey features on top.

P1010357Finish off with eyes for your turkey. Draw them in with permanent marker or pen.

P1010358Now get ready for a big celebration! Paste the turkeys along a banner and hang up on a wall or arrange your turkeys in a Thanksgiving display!

Line-07

Like us on FacebookShare this post with your friends, or Subscribe to this blog today to receive original craft project updates every Monday, Wednesday and Friday!

Craft Spotlight: Fall Leaves Projects

Feature-Image-fallleaves

We’re well into the autumn season, fast approaching winter! Lengthen the season’s stay with some bright and colorful autumn crafts for your classroom. Check out our spotlight below on our R15334 Crafty Leaves, R15335 Spring and Autumn Leaves and R15656 Autumn Paper Bits!

Our autumn craft projects feature golden colors, patterns and natural die-cut leaf shapes for intriguing artwork! Use the leaves to decorate base materials, such as a paper tree trunk. Mix up the arrangements of the leaves on paper to make animal and people figures!

In this video, I show you how to layer and glue together the Crafty Leaves to make a bird in flight! This craft uses simply the Crafty Leaves, glue and a bit of imagination. Find leaves that appear to fan out like feathers on wings. Other leaves can be used to make the body of the bird. A tiny brown leaf was used for the head (but you can use the chestnuts for the bird’s head too!)

Use the gorgeous patterns in our Spring and Autumn Leaves as decorations for picture frames! I took our R52107 Craft Collage Boards and popped out the center so I could use the outside piece as a frame. Peel off the backing to adhere the leaves to the sticky side. I used three colors of the Spring and Autumn Leaves pack, including orange, red and green with the addition of yellow! Arrange the leaves along the sticky side of the frame. You can use both sides of the Spring and Autumn Leaves (one side is printed with flat color while the other side is gussied up with cute patterns!)

Create a lovely autumn tree and talk about the effect of the changing seasons on the tree’s leaves. Demonstrate this with our Autumn Paper Bits! Cut out a tree from brown construction paper. Glue down the leaves around the tree boughs. Make several different trees and paste only green leaves on one tree, orange and red leaves on the second, and leave the last tree blank. Illustrate buds or small twigs on the final tree to show how trees look like in wintertime!

Line-16

If you have some of these projects in your classroom craft closet, send us photos of your students’ artwork! We’ll make a feature post and show the blogging world your class’s artistic talent! Email us at subscriber@roylco.ca!

Crafty Leaves Wreath

Image of Roylco Crafty Leaves Wreath

Feature-Image-craftyleaveswreath

Just in time for fall! Send students home with gorgeous wreaths for decoration, made from our R15334 Crafty Leaves and a wreath template! A great way to start off the school year. Read more for our weekly craft challenge (send us photos of your projects)! 

Age: 5+

Duration: 10 minutes

You’ll Need:

• R15334 Crafty Leaves

• Wreath Template

• Scissors

• Glue

• Pencil

This is a pretty simple craft and can be done in less time than recess! Wreaths are great to make for decoration, or as a gift.

P8123064

Print out your template onto 8½ x 11″ (21.5 x 28) paper and cut around bold lines. Cut across the dotted line as well.

P8123070

Fold an 8.5 x 11″ sheet of card paper. Place your template along the fold line. Trace the outline of the template (along the bold lines) onto the card paper and cut out.

P8123072 

Unfold the card paper to reveal your wreath base!

P8123073

Next, pop out the leaves from the backing. Pick out leaves that you feel will arrange nicely on the wreath.

P8123076

Curl up the ends of the leaves using the blunt edge of a pair of scissors.

OLYMPUS DIGITAL CAMERA

Looking like realistic leaves now!

P8123078

Arrange the leaves onto the wreath template and glue them down. Tip: Pop out the acorns and chestnuts and place at three or four points around the wreath.

P8123080

Ready to hang!

CRAFT CHALLENGE:

Go outside and find some natural objects to add to the wreath: acorns or acorn caps, feathers or twigs! Use a hot glue gun to adhere the found objects to the wreath.

Line-04Show us your wreath ideas! Send photos of your work to subscriber@roylco.ca for publication in our next post. We’d love to hear from you!

Caution! Twins at Play! uses our Color Diffusing Paper Leaves!

IMG_0087

Kristen from Caution! Twins at Play! posted photos of her twins Graham and Parker painting our R2442 Color Diffusing Paper Leaves! They used liquid watercolor to color the leaves and painted onto clear plates to keep the table surface clean.  

This post, called “water color” was published on December 30, 2012. Kristen took many beautiful photos of her sons’ artworks. Check out the blog post for more images!

IMG_0076

Here you can see twins Graham and Parker having a blast as the liquid watercolor seeps throughout the leaf cutouts.

IMG_0091

It’s a good idea to make sure your work surfaces are covered before you start painting the leaves as the paint will inevitably seep through the bottom. Kristen mentioned that she would have liked to use this on her light panels but didn’t have the proper cover to protect it.

Look forward to our handy Light Table kits that we’re producing next year! We feature a variety of materials and resources that can assist with educational light table sessions.  

IMG_0094

Kristen is an advocate for using the light table for many educational subjects and she believes wholly in the value of presenting children with alternative learning ways. Light tables illuminate the objects that are placed on them and present a whole new perspective on objects’ appearances.

Thanks to Kristen for her post!

Images and original post © Caution! Twins at Play!.

This post was not sponsored for a review. At LittleFingersBigArt, our mission is to present to our readers and viewers the newest and most creative craft ideas that fans of Roylco have made on their own. Our goal is to allow you and other educators and parents to reuse our products in fun ways so that children always get the best educational experience from them!

We’d love to see more ideas like this one! If you’ve got a brilliant craft idea or have made a version of one of our crafts that you would like to share with us, send an email to subscriber@roylco.ca with photos, descriptions or a link to your work. We will create a feature post and link back to you with full credit. We’d love to hear from you!

Line-02

Craft Spotlight: Color Diffusing Paper Projects

Feature-Image-colordiffpapercollage

This week’s Craft Spotlight showcases our lovely Color Diffusing Paper products! Check out an amazing selection of our fabric-like paper in a variety of different projects. The Color Diffusing Paper is perfect for exploring concepts like diffusion and color mixing!

This post will introduce you to our Color Diffusing products through specially-made videos! The videos feature detailed methods of incorporating the Color Diffusing projects into your educational art program!

To start, we have our R2442 Color Diffusing Leaves! These leaves are specially die-cut in the shapes of leaves to encourage thinking outside the box with your nature art.

Color the leaves with all the colors of the rainbow! Use liquid watercolor on the leaves then spritz the paper with warm water to diffuse the colors throughout. Tip: Don’t use more than three colors on a single Color Diffusing Paper project. Mixing more colors will run the risk of turning the project muddy!

Next up is our R2440 Color Diffusing Paper Flowers! The flowers inspire the same level of creativity as our leaves, but can serve as an optional classroom decoration.

Explore new color combinations! Try a different color on each petal of the flower.

Finally, check out our R2445 Color Diffusing Butterflies!

In this video, we used markers to color in our butterflies. When you spray water onto the butterflies, the marker ink will spread throughout the butterfly cutout.

If you’ve used one of our products, send us photos of how you’ve incorporated it into your arts/crafts routine to subscriber@roylco.ca! We’d love to hear from you! 

Line-12