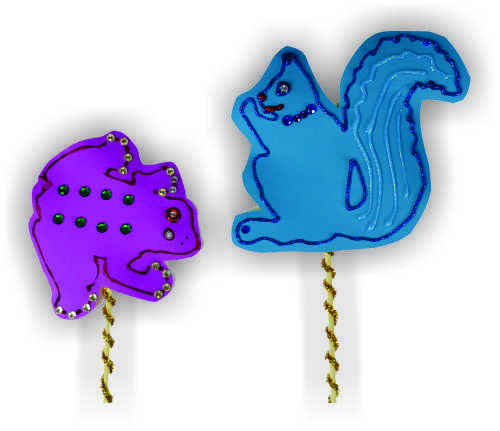
These adorable puppets will brighten up a winter classroom!
Age: 4+
Duration: 10 minutes (plus drying time)
Learning Outcomes: Exercise fine motor skills. Talk about different animals and plants. Create beautiful puppets for imaginative play and to use as props for reports.
You’ll Need:
- R22052 Double Color Sheets
- R5615 Nature Stencils
- Glitter Glue
- Self-adhesive Gems (available at crafts stores)
- Pencil
- Scissors
- Dowl
- Glitter Chenille Stems
- Tape

Today we’ll walk you through the process of creating an adorable glitter puppet! This is a great activity to bring some color to your classroom in the middle of a long term. Start by choosing a stencil or template to use for your puppet. What’s the difference between a stencil and a template, you ask? Stencils are shapes you trace around the inside of. Templates are shapes that you trace around the outside of. Either one will work for this project! We will use a squirrel template to demonstrate this process.
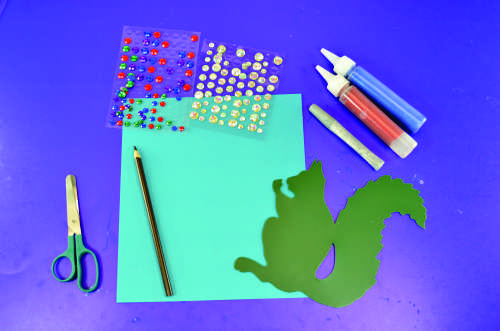
Start with a sheet of double color card, and lay your template in the center of the sheet. Carefully trace around the template using a pencil.
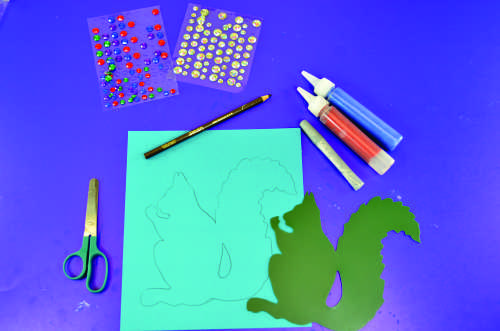
Now it’s time to add some pizzazz to your soon-to-be puppet! We started by carefully going over the pencil outline with glitter glue.
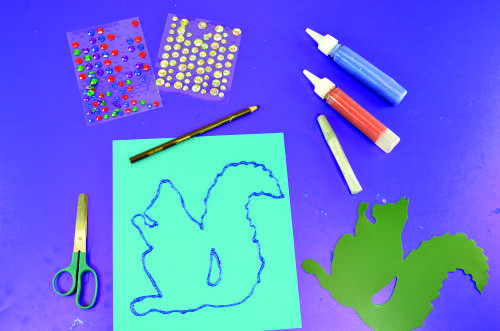
Once the glitter outline is done, add details like tail swirls! You can also use the self-adhesive gems to create eyes and other small details.
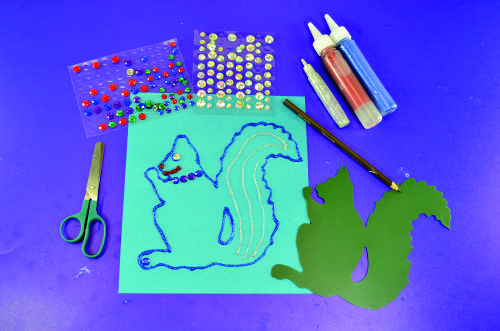
Once you are happy with your glitter and gem decorations, set your card aside to let the glitter glue dry. After the glue has dried, carefully cut your puppet out!
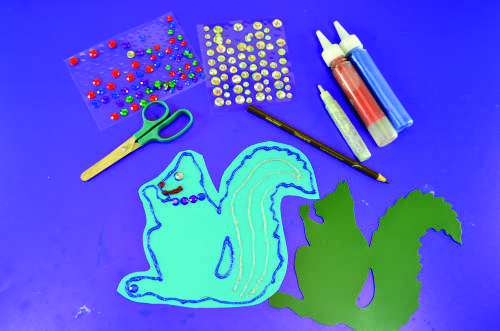
To finish off the puppet, carefully wrap a dowel with a glitter chenille stem. Then tape the dowel to the back of your puppet!
bundled price
to Cart

Like us on Facebook, Share this post with your friends, or Subscribe to this blog today to receive original craft project updates every week!
