Light Learning: Uppercase Letters

girl with letters on light cube.jpg

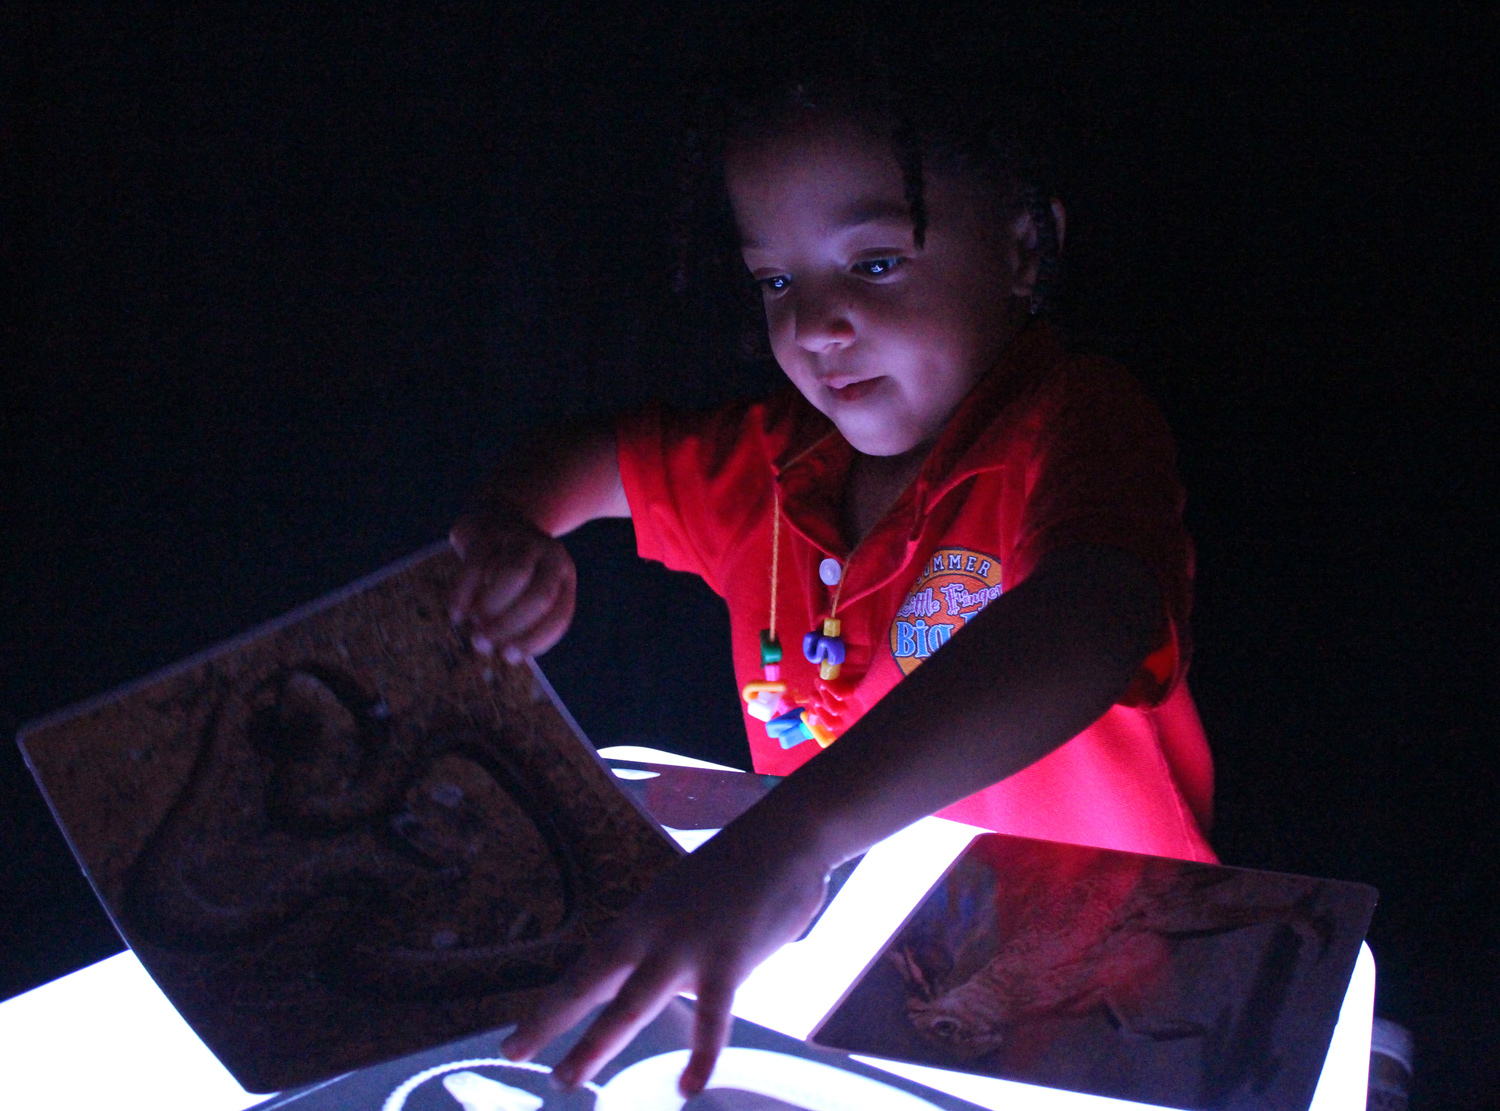
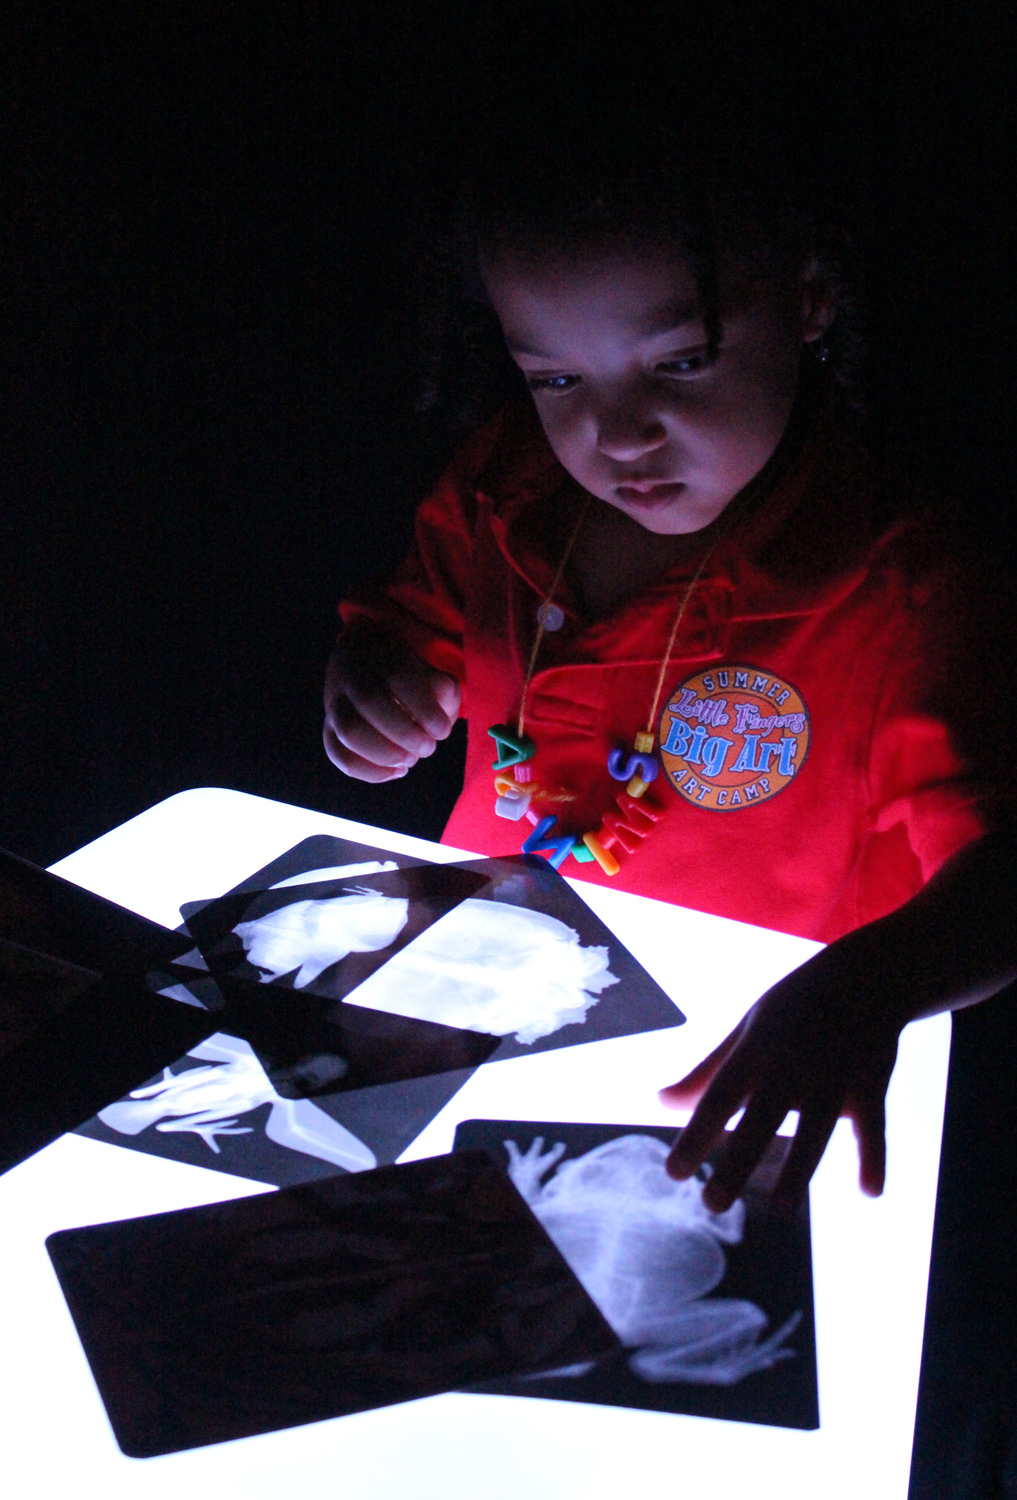
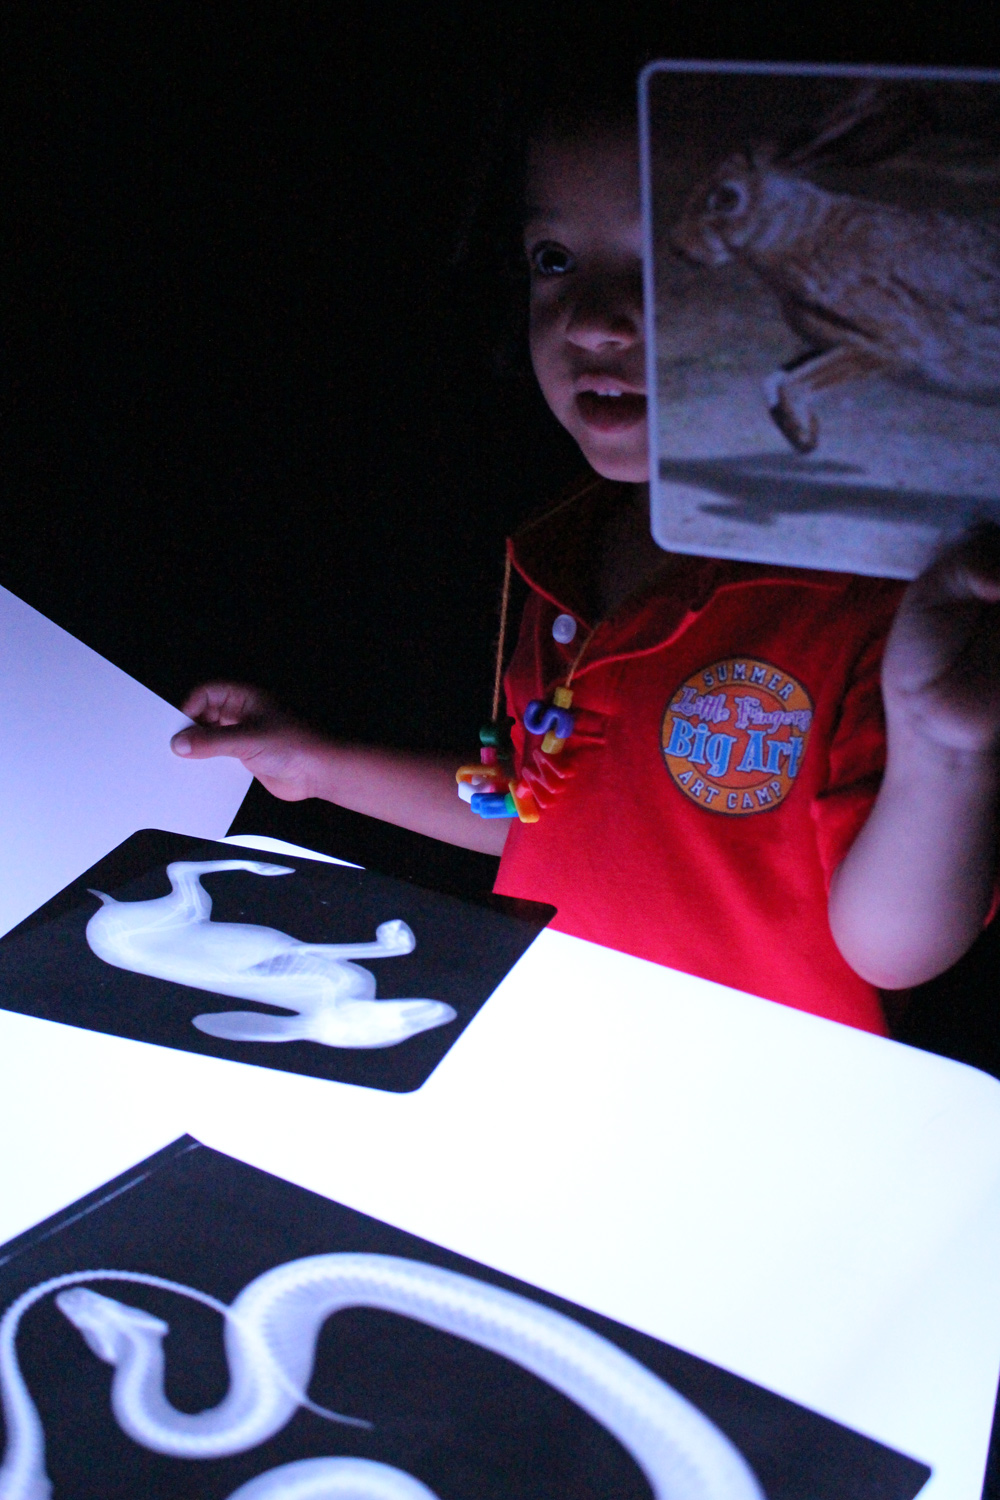
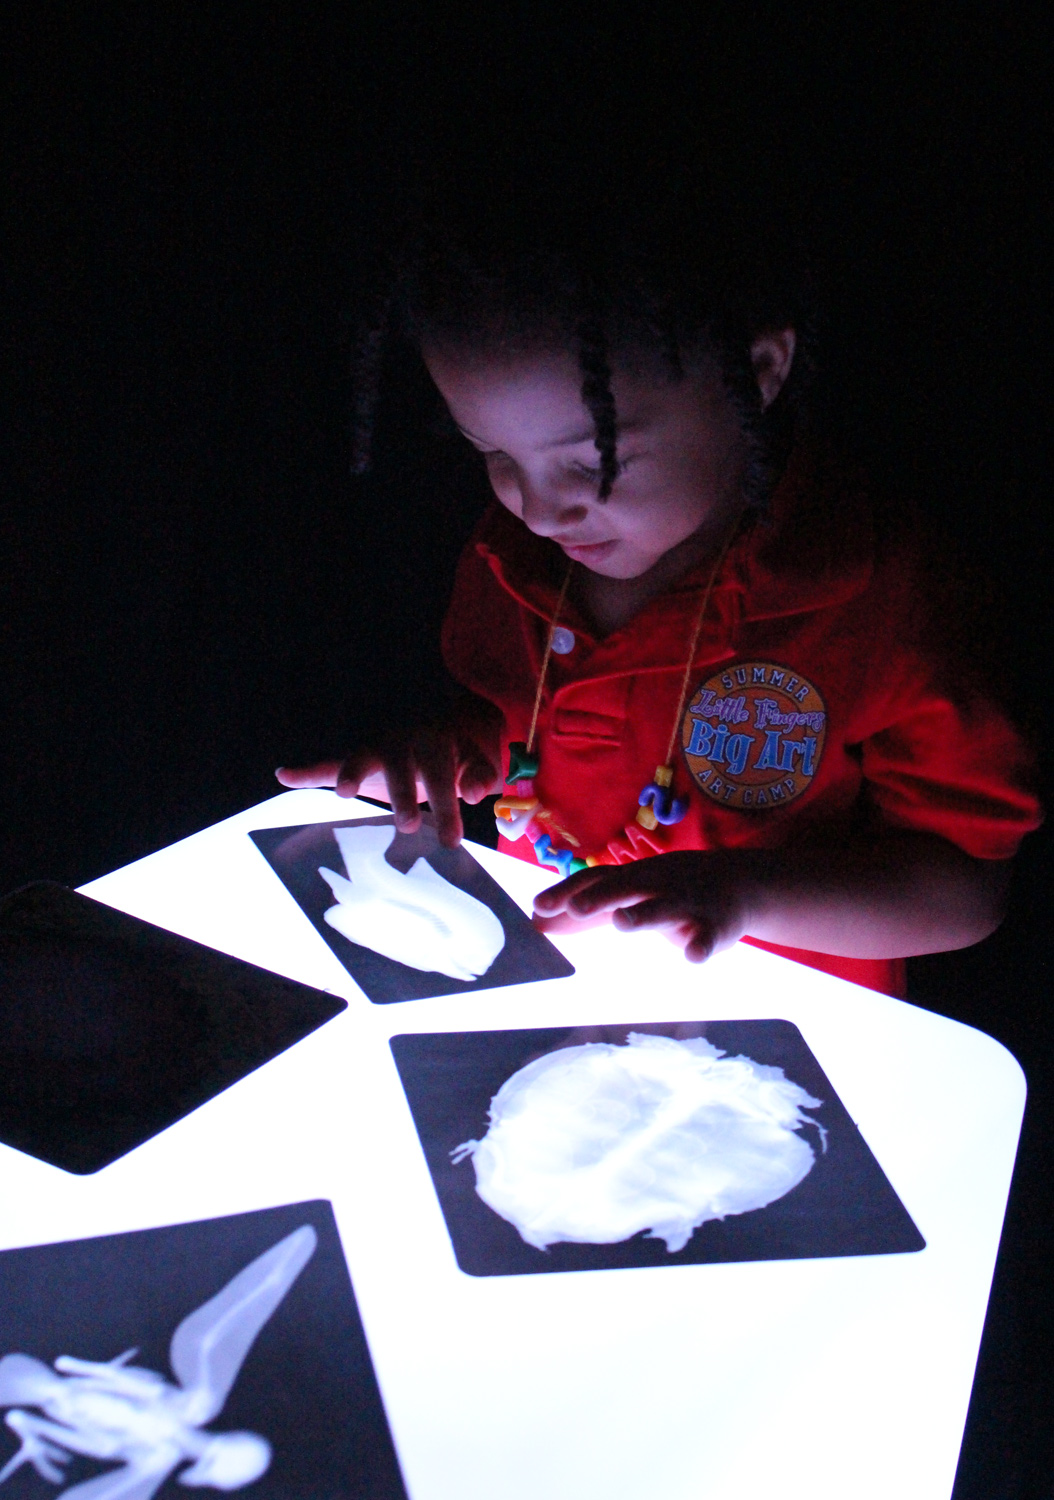
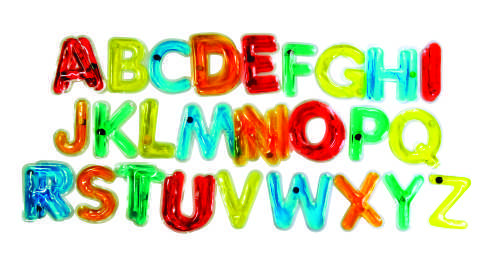
Make literacy visual and tactile with these colorful, squishy letters! They are perfect for light table play!

Appeal to the senses while learning the alphabet and spelling simple words! For students with fidgety fingers, these squishy letters make learning language tactile. The small disc inside each letter allows students to develop fine motor skills. Children will quickly learn how to propel the disc by tapping the letter in different areas. We have doubled up on commonly used letters (A, D, E, H, I, L, N, O, R, S, T, U).  All the vowels are red!

letter alpahbet in lines

Develop fine motor skills! Ask students to move the small discs all the way around a letter. O’s and I’s are great for beginners, while Q, H and K are great to challenge older students.

ABC

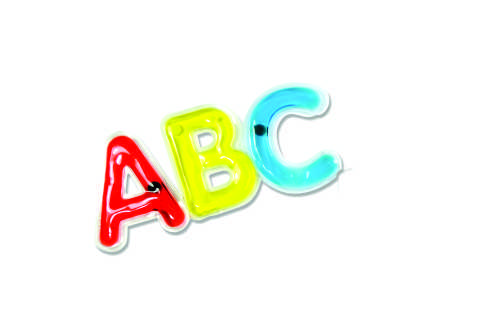
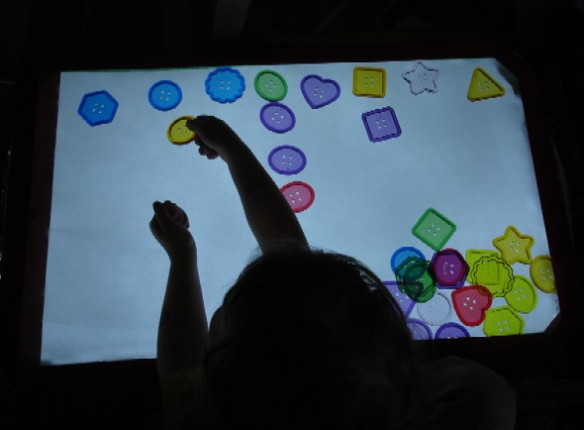
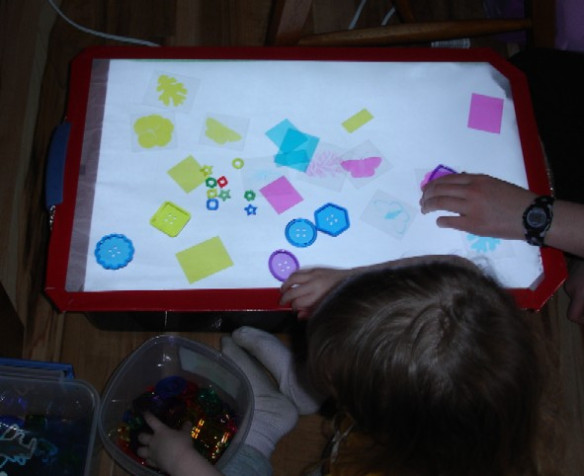
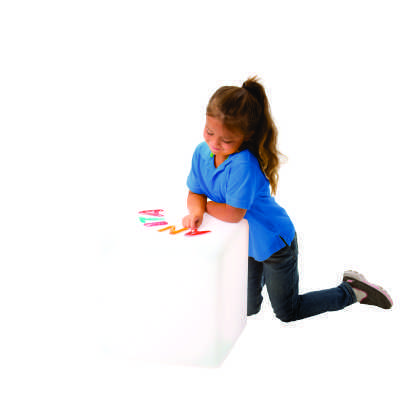
Make glowing words! Use a light table or Roylco’s R59601 Light Cube to spell out student’s names, sight words, vocabulary words or pets’ names. Play with colors! Layer letters on top of one another to make new color combinations. This is a great activity for light table play.  For very young light learners these letters are fun to sort by color!

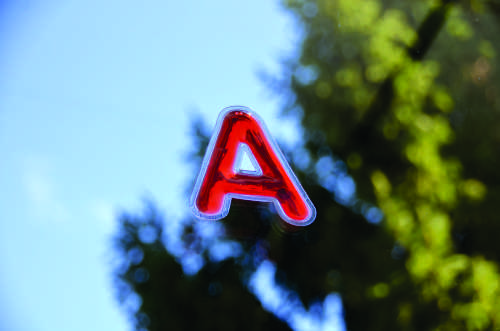
No light table? no problem! A small amount of water on one side of the letters makes them stick to the window. Take advantage of a sunny day and a big window to create a new way to play with light and language!

letter on window

Line-08

Like us on FacebookShare this post with your friends, or Subscribe to this blog today to receive original craft project updates every week!

Light Cube: Why are x-rays so cool?

2015-03-12-FeatureImage

Our R5910 Animal X-Rays give your students a whole new way to observe the details of animal skeletons… especially when placed on the Light Cube! Turn your Light Cube corner into a vet clinic!

IMG_9515

The R5910 Animal X-Rays are a great way to introduce students to learning about animal anatomy and how it is similar and/or different than human anatomy. We first asked our friend Jasmine to remove the provided image cards from the x-rays to see what types of animals we would be exploring. See everything from a snake to a rabbit, or a fish to a bird in this x-ray set!

IMG_9508

Children are naturally drawn to exploring x-rays because they offer a whole new way to look at animal bodies. Seeing the framework for bones that make up the legs, for instance, helps children to compare to their own bodies and make references to what is similar, and what is different.

IMG_9514

On the Light Cube, x-rays are even better seen. The Light Cube illuminates all the details in the white parts of the x-rays, showing off arrangements of miniature bones and how they all connect together.

IMG_9504

Ask students to compare and contrast the x-rays to their image counterparts. Where do all the parts go and how can you orient the skeleton to fit within the outline of the animal shape? Compare the bone structure to other animals in the Animal X-Ray pack. How do the legs look like? How are the heads shaped differently or similarly to each other?

IMG_9512

To make viewing the x-rays less intimidating for younger children, turn the Light Cube station into a veterinary office! Purchase a kid-friendly pair of stethoscopes and/or some plush animal toys that correspond with the x-rays provided. Ask students to diagnose how the animals are feeling using the stethoscopes and x-rays as veterinarian tools.

How cool is that?!

Tell us what kinds of activities you do with x-ray cards! What kinds of teaching methods do you employ and how do you incorporate fun into your learning activities?

Line-18

Like us on FacebookShare this post with your friends, or Subscribe to this blog today to receive original craft project updates every Monday, Wednesday and Thursday!

Two Big Two Little Uses our First Look Light Table Kit!

DSC06227Our R59260 First Look Light Table Kit gives you all the materials you need to explore light and color changing properties and add a new dimension to learning in virtually all educational subjects! Two Big Two Little posted up their experiences using our kit on their very own homemade light table!

This post was made on May 15, 2012 and is entitled, “DIY Light Table.” Click on the title to visit the Two Big Two Little blog!

In the post, Tricia shows you how to make your very own homemade light table and presents some interesting points on why a light table is the IT item in your learning classroom.

For starters, kids love color. When you overlap colorful translucent materials on a lighted surface, the colors ‘mix’ to create a new color, just as they would when mixing paint colors together… except you don’t have any major clean up afterwards!

DSC06211Check out some of the materials that Tricia’s children used on their homemade light table. Everything from beads (R2183 Fancy Stringing Rings) and See Through Buttons (featured in our First Look Light Table Kit).

Images and original post © Two Big Two Little.

This post was not sponsored for a review. At LittleFingersBigArt, our mission is to present to our readers and viewers the newest and most creative craft ideas that fans of Roylco have made on their own. Our goal is to allow you and other educators and parents to reuse our products in fun ways so that children always get the best educational experience from them!

We’d love to see more ideas like this one! If you’ve got a brilliant craft idea or have made a version of one of our crafts that you would like to share with us, send an email to subscriber@roylco.ca with photos, descriptions or a link to your work. We will create a feature post and link back to you with full credit. We’d love to hear from you!

Caution! Twins at Play! uses our Color Diffusing Paper Leaves!

IMG_0087

Kristen from Caution! Twins at Play! posted photos of her twins Graham and Parker painting our R2442 Color Diffusing Paper Leaves! They used liquid watercolor to color the leaves and painted onto clear plates to keep the table surface clean.  

This post, called “water color” was published on December 30, 2012. Kristen took many beautiful photos of her sons’ artworks. Check out the blog post for more images!

IMG_0076

Here you can see twins Graham and Parker having a blast as the liquid watercolor seeps throughout the leaf cutouts.

IMG_0091

It’s a good idea to make sure your work surfaces are covered before you start painting the leaves as the paint will inevitably seep through the bottom. Kristen mentioned that she would have liked to use this on her light panels but didn’t have the proper cover to protect it.

Look forward to our handy Light Table kits that we’re producing next year! We feature a variety of materials and resources that can assist with educational light table sessions.  

IMG_0094

Kristen is an advocate for using the light table for many educational subjects and she believes wholly in the value of presenting children with alternative learning ways. Light tables illuminate the objects that are placed on them and present a whole new perspective on objects’ appearances.

Thanks to Kristen for her post!

Images and original post © Caution! Twins at Play!.

This post was not sponsored for a review. At LittleFingersBigArt, our mission is to present to our readers and viewers the newest and most creative craft ideas that fans of Roylco have made on their own. Our goal is to allow you and other educators and parents to reuse our products in fun ways so that children always get the best educational experience from them!

We’d love to see more ideas like this one! If you’ve got a brilliant craft idea or have made a version of one of our crafts that you would like to share with us, send an email to subscriber@roylco.ca with photos, descriptions or a link to your work. We will create a feature post and link back to you with full credit. We’d love to hear from you!

Line-02