We’re well into the autumn season, fast approaching winter! Lengthen the season’s stay with some bright and colorful autumn crafts for your classroom. Check out our spotlight below on our R15334 Crafty Leaves, R15335 Spring and Autumn Leaves and R15656 Autumn Paper Bits!
Our autumn craft projects feature golden colors, patterns and natural die-cut leaf shapes for intriguing artwork! Use the leaves to decorate base materials, such as a paper tree trunk. Mix up the arrangements of the leaves on paper to make animal and people figures!
In this video, I show you how to layer and glue together the Crafty Leaves to make a bird in flight! This craft uses simply the Crafty Leaves, glue and a bit of imagination. Find leaves that appear to fan out like feathers on wings. Other leaves can be used to make the body of the bird. A tiny brown leaf was used for the head (but you can use the chestnuts for the bird’s head too!)
Use the gorgeous patterns in our Spring and Autumn Leaves as decorations for picture frames! I took our R52107 Craft Collage Boards and popped out the center so I could use the outside piece as a frame. Peel off the backing to adhere the leaves to the sticky side. I used three colors of the Spring and Autumn Leaves pack, including orange, red and green with the addition of yellow! Arrange the leaves along the sticky side of the frame. You can use both sides of the Spring and Autumn Leaves (one side is printed with flat color while the other side is gussied up with cute patterns!)
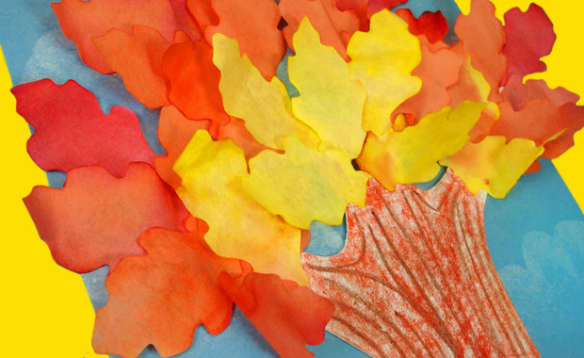
Create a lovely autumn tree and talk about the effect of the changing seasons on the tree’s leaves. Demonstrate this with our Autumn Paper Bits! Cut out a tree from brown construction paper. Glue down the leaves around the tree boughs. Make several different trees and paste only green leaves on one tree, orange and red leaves on the second, and leave the last tree blank. Illustrate buds or small twigs on the final tree to show how trees look like in wintertime!

If you have some of these projects in your classroom craft closet, send us photos of your students’ artwork! We’ll make a feature post and show the blogging world your class’s artistic talent! Email us at subscriber@roylco.ca!

![]()


