 Bring color and beauty to the classroom with these simple but beautiful tiles!
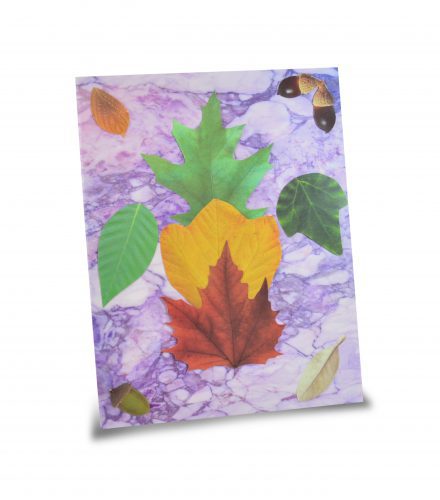
The middle of winter can feel long and dreary, so lighten up the atmosphere by creating art tiles! These tiles can be used to create a beautiful bulletin board, classroom door or hallway display. Alternatively, they make a simple but beautiful piece of take-home art.
Age: 4+
Duration: 5 minutes
Learning Outcomes: Explore colors and textures. Mosaic abstract shapes together. Practice fine motor skills.
You’ll Need:
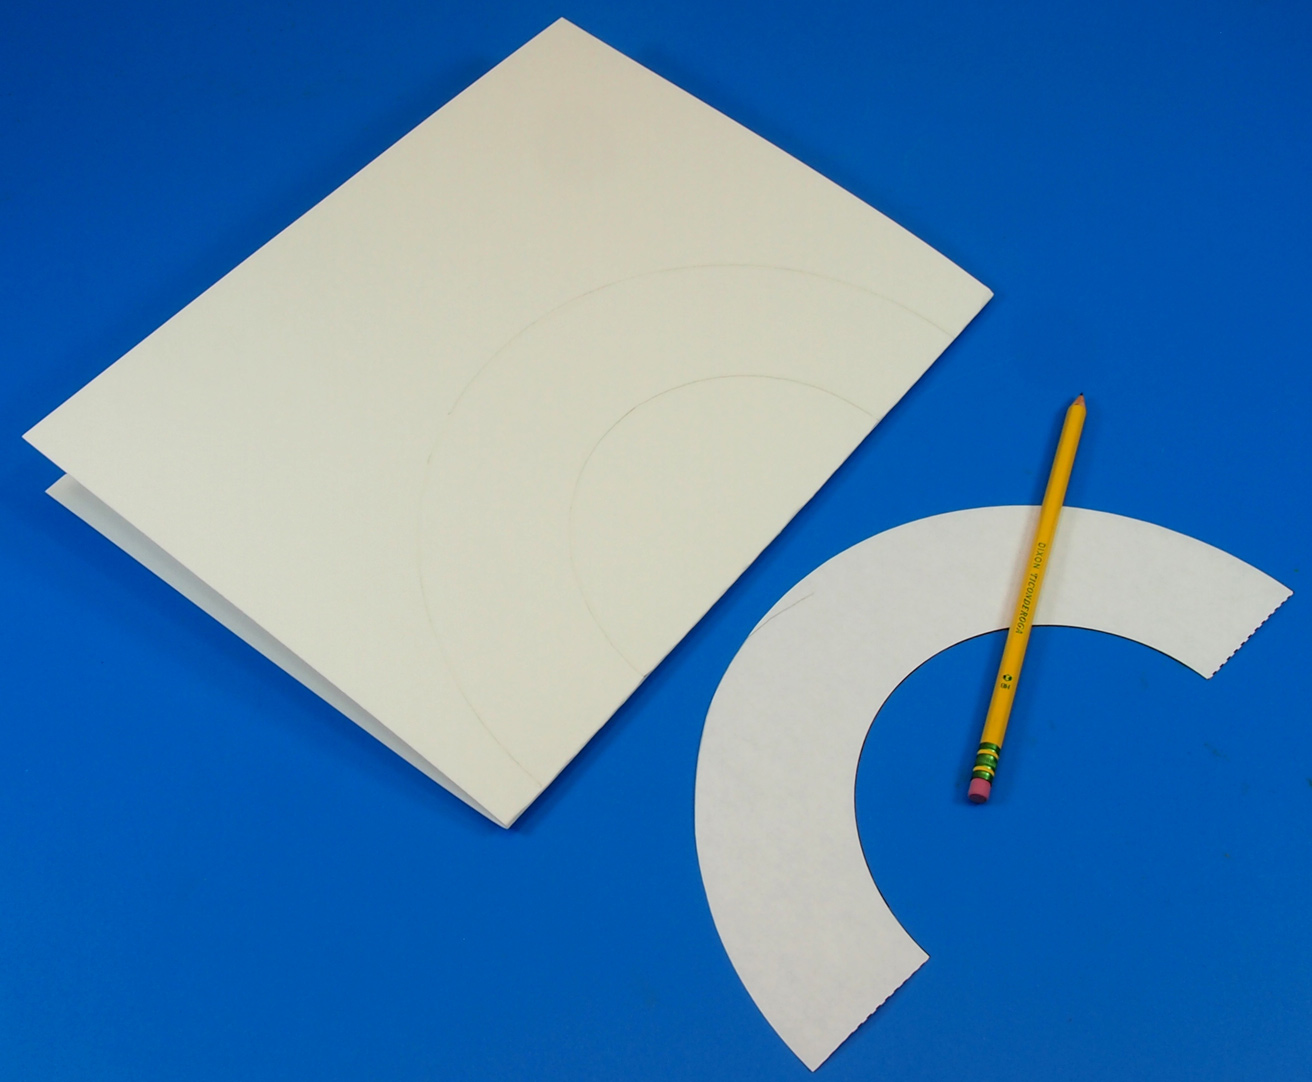
- R15410 Marble Sculpture paper
- R15334 Crafty Leaves
- Scissors
- Glue Stick

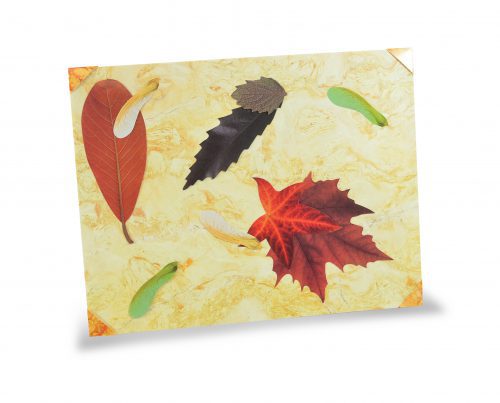
Start this activity with a sheet of Marble Sculpture Paper. If this is a take-home activity, kids can cut their tiles to whatever size and shape they want. If you plan to use this for a classroom art piece however, it’s easier if all the tiles are the same size. Scraps of the paper can be effectively used as corner frames (like in the yellow tile) if desired.
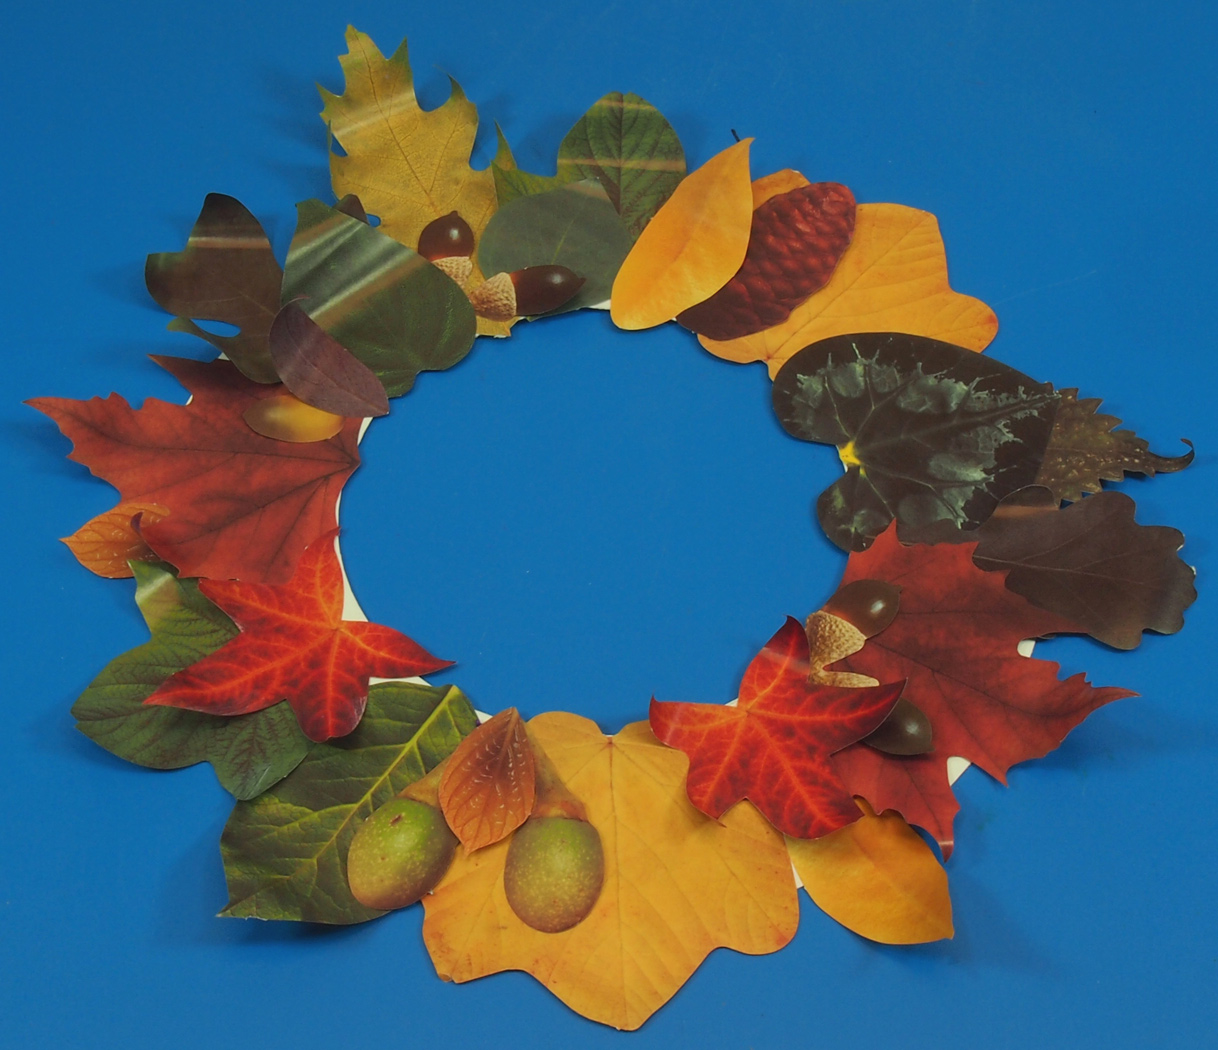
We suggest using a paint tray in the center of a group table to keep the crafty leaves from flying everywhere. Older students can pop out the die cut leaves on their own. For young students, you may want to pop the pieces out beforehand and let the kids choose and glue them.
Using a glue stick, glue the leaves onto the tiles. Kids can choose to make abstract patterns with their leaves like we did, or they might want to create animals. You can choose a theme for everyone to adhere to, or let the artistic moment dictate decisions.
Once students have completed their tiles, they can either take their artwork home, or it can be used to create a spectacular hallway or bulletin board mosaic!
bundled price
to Cart

Like us on Facebook, Share this post with your friends, or Subscribe to this blog today to receive original craft project updates every week!