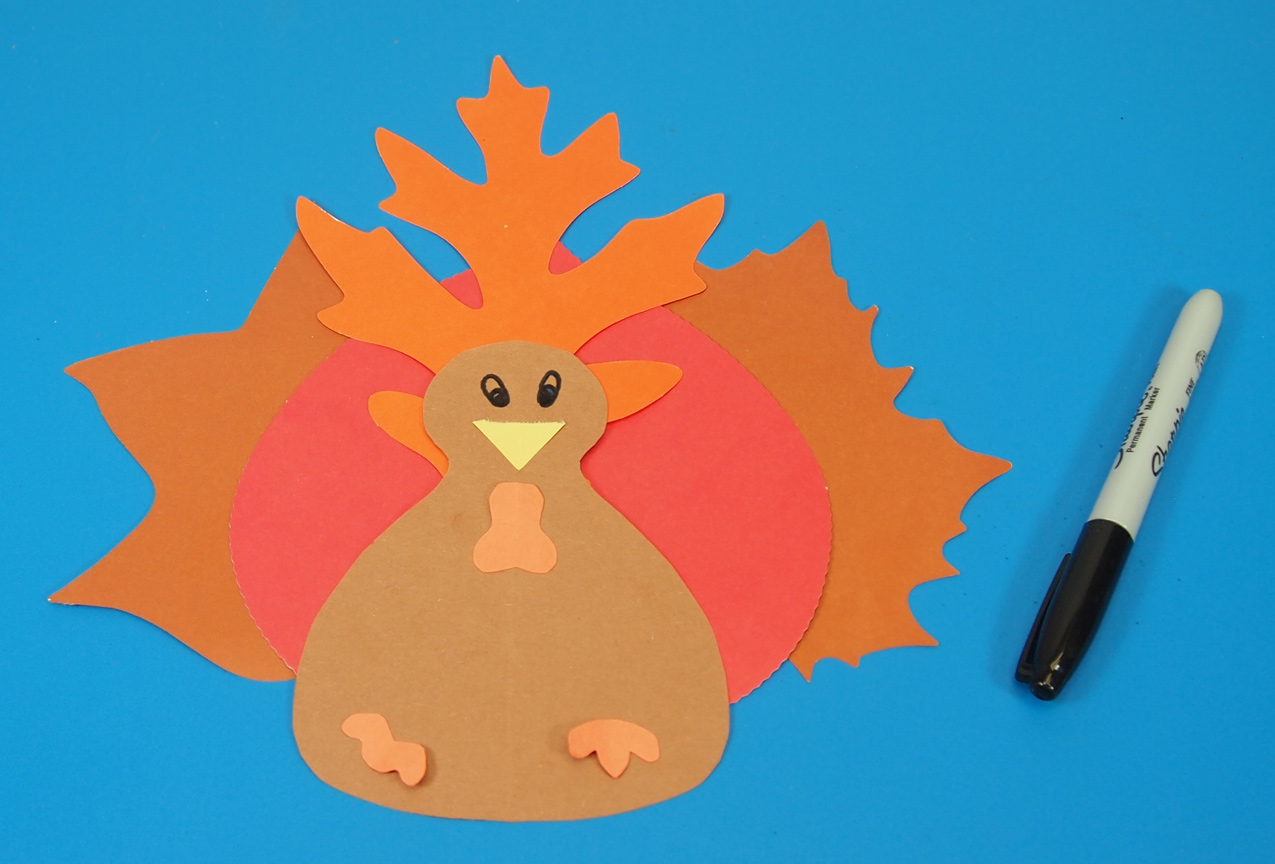
This craft perfectly combines early geometry with Thanksgiving cheer!
In order for creativity to flourish, students need a solid understanding of the fundamentals. What underpins the fundamentals is vocabulary. A student has to be able to describe their world and what they see before they can change it and create new things. This activity is a great way to connect the visual aspect of shapes to the vocabulary that students will use for their entire academic careers. Fold a single circle first into 2D then 3D shapes, while getting as detailed as your students are ready for. In the classroom, it might be useful to copy the circle onto an overhead transparency or a sheet of clear Mylar so you can demonstrate for the whole class as you take them through this lesson.
What’s great about this activity is that is can be used for a wide range of ages and developmental levels. Very young students practice their fine motor skills while they fold, and build their vocabularies by identifying the basic shapes they are making. For older and more experienced students, this activity is a great way to practice geometric
vocabulary while learning technical aspects of shapes like faces, vertices and angles. Even better, at every level this is a no-fail activity, so while students are practicing vocabulary, they are succeeding at the basic folds. The small success bolsters confidence, and motivates students to take risks.
Age: 4+
Duration: 15 minutes
Learning Outcomes: Practice and reinforce geometry and vocabulary. Create a cute Thanksgiving craft. Exercise folding skills and following directions.
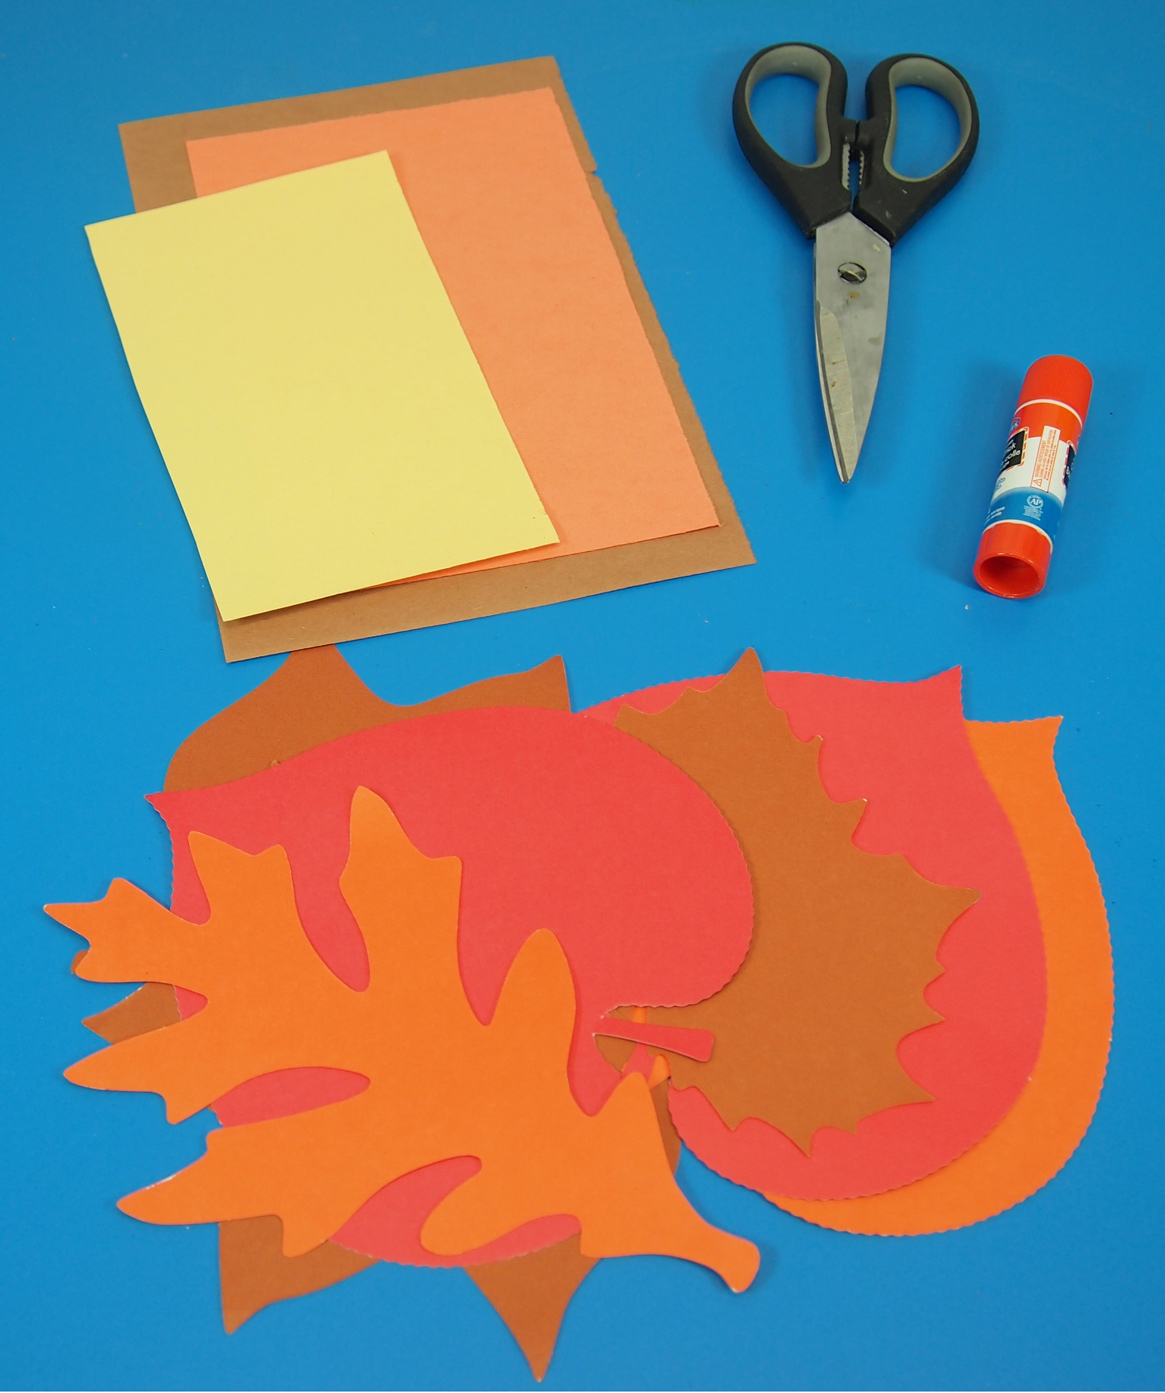
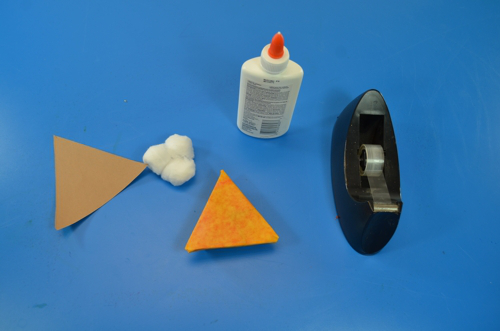
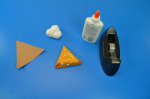
You’ll Need:
- R24908 Color Diffusing Circles
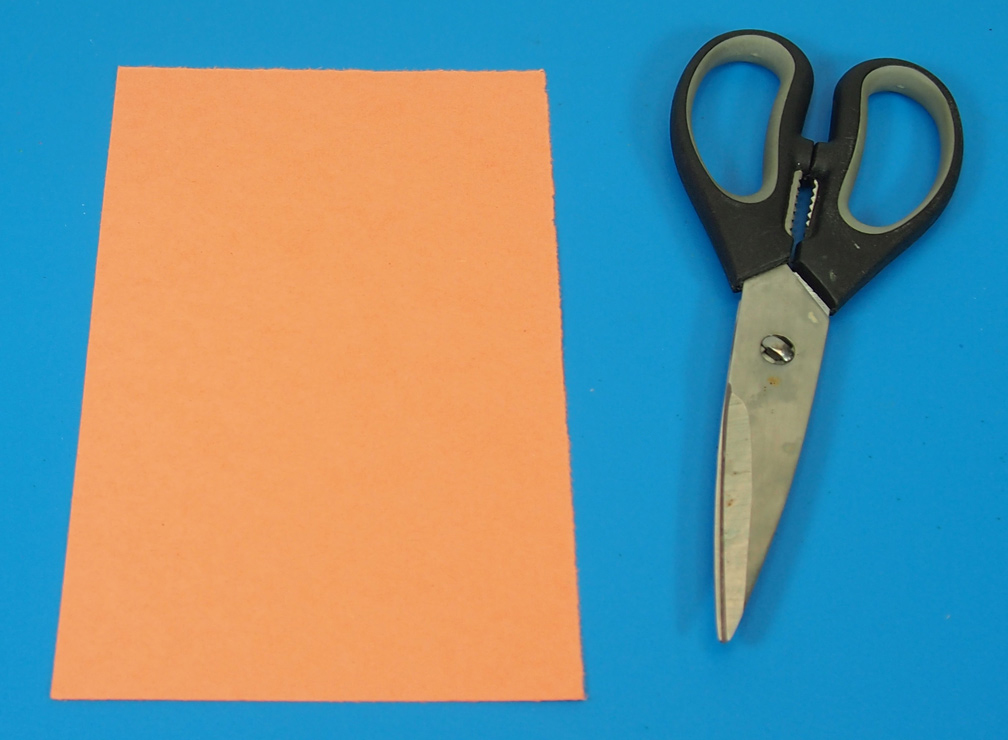
- Construction Paper
- Liquid Watercolor Paint
- White Glue
- Cotton Balls
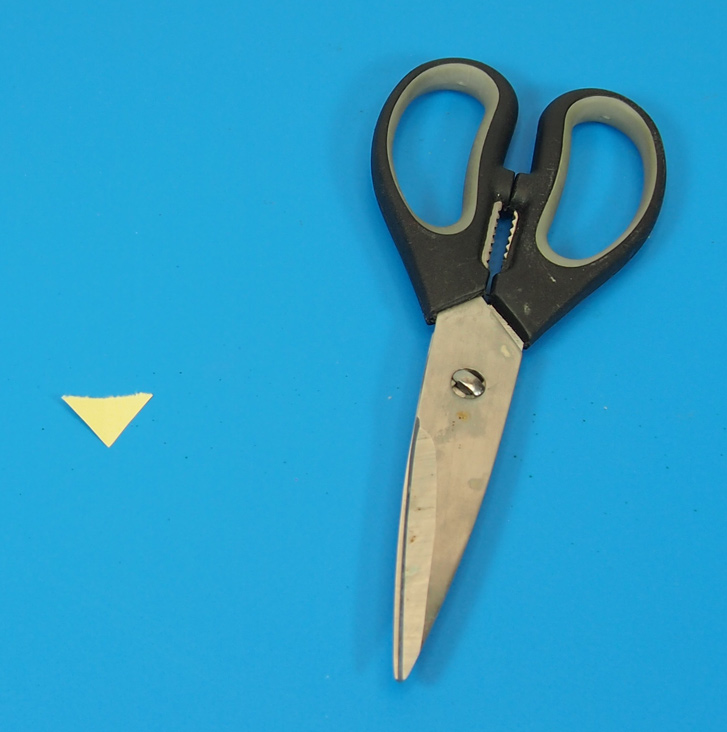
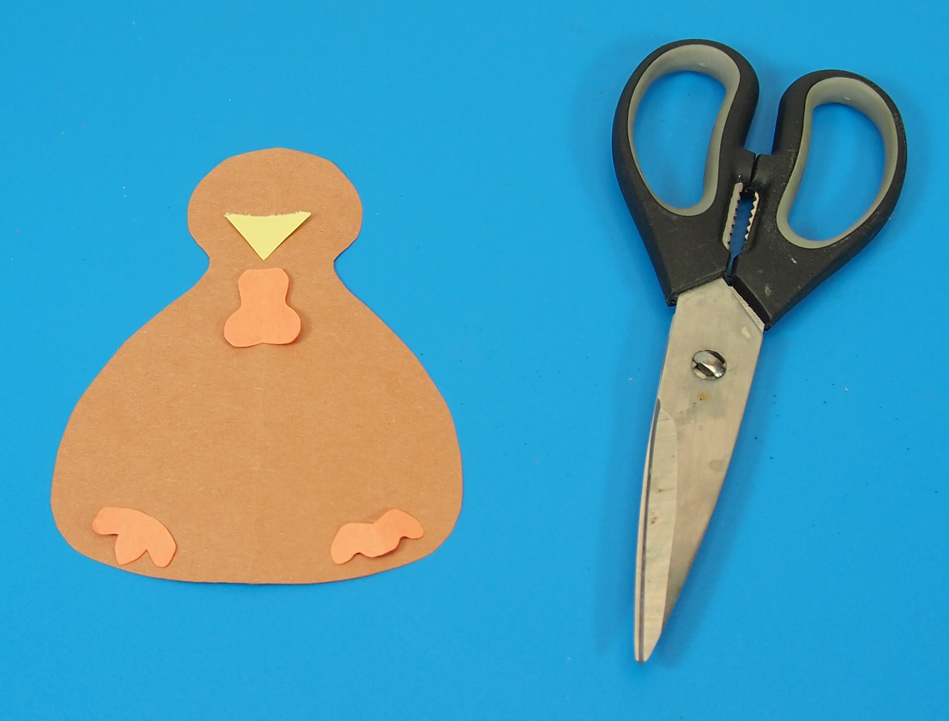
- Scissors
- Tape

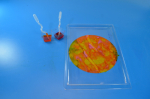
The first step for this adorable holiday craft is to decorate your base. Place a color diffusing circle on an art tray or cookie sheet for each student, and have the pipette liquid watercolors onto the circle. Be sure to cover the entire surface! Students can use a pre-mixed orange, or they can experiment with pipetting yellow and red separately. Leave the circles to dry.


Once the circles are dry, it’s time to fold them up! We have created a special video to demonstrate the process:
Use this opportunity to talk to your students about circles. Circles are a regular shape, with a single face. Challenge students to think of where circles are in the world. They might suggest bicycle or car tires, pizzas or the moon and sun. Older students can talk about the mathematical properties of the circle, like the diameter (the distance between two opposite points), radius (the distance from the center to any single point on the curve) and the circumference (the distance around the outside of the circle). Challenge your students to find the area of their circle, using the formula A = r2. A stands for area. Area is the amount of flat space a shape takes up.
This activity is great for a few different reasons. First, it’s easy to do; as a no-fail activity it’s entertaining to students of all ages and it boosts confidence. Second, it’s an easy-to-scale activity. You can fold a circle with four year olds or fourteen year olds, and the conversations can reinforce basic shape names or basic geometry. Some of the shapes we fold are uncommon, so reinforcing them in this activity is important.
Once students have achieved their 3D Icosahedron, tape the bottom so the shape holds. Now you have the base shape for your slice of pumpkin pie!
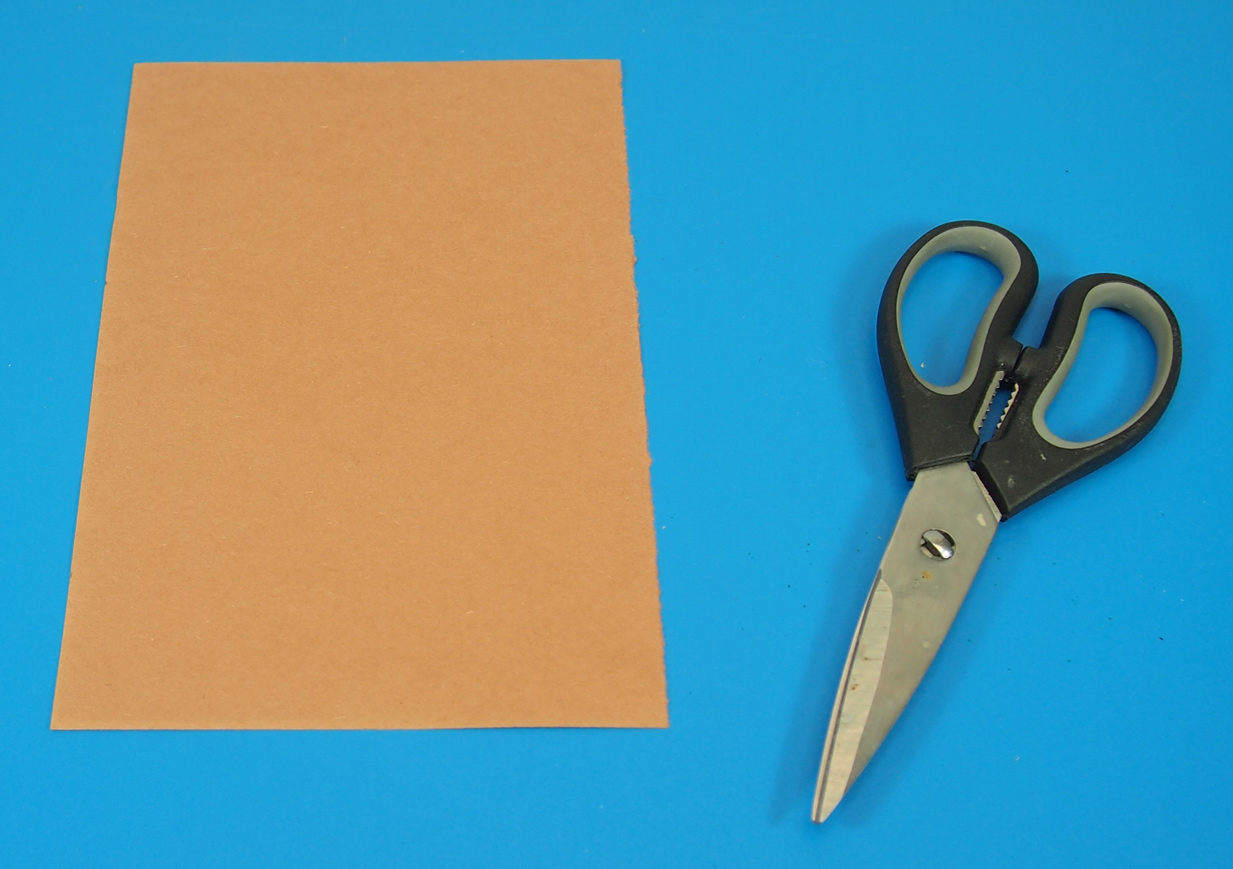
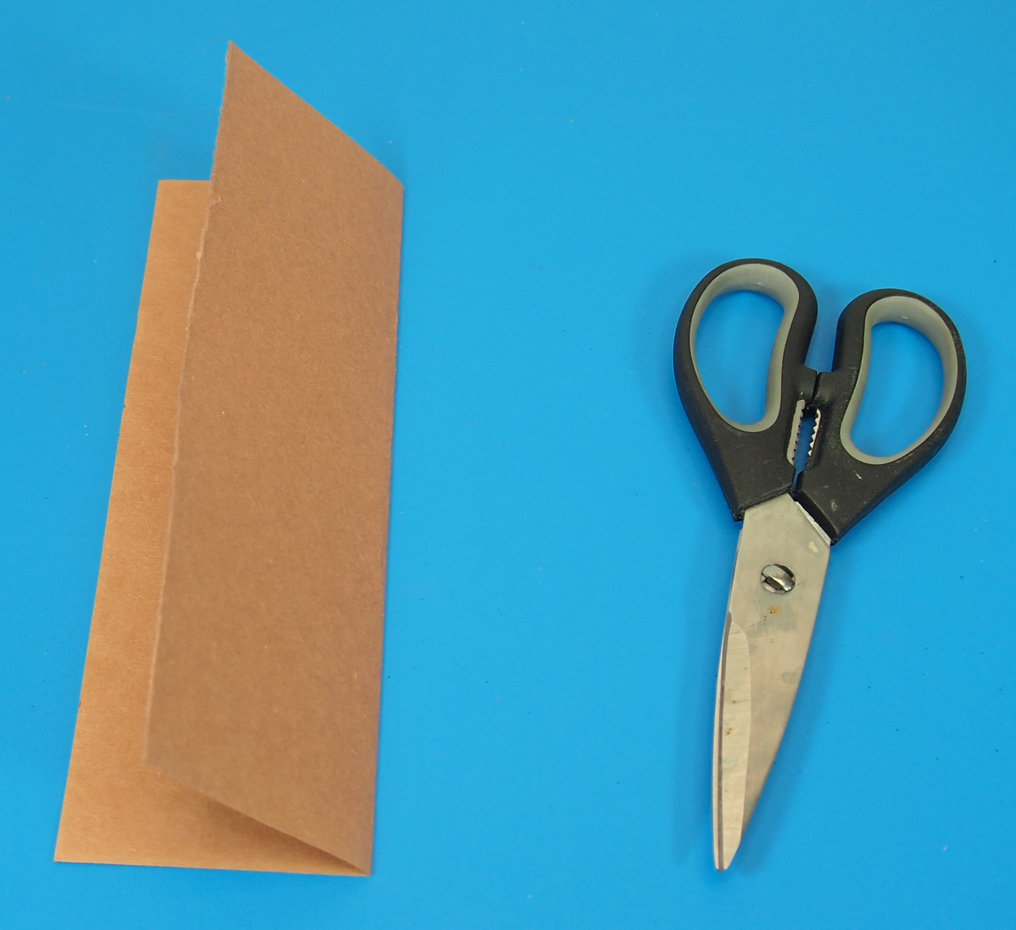
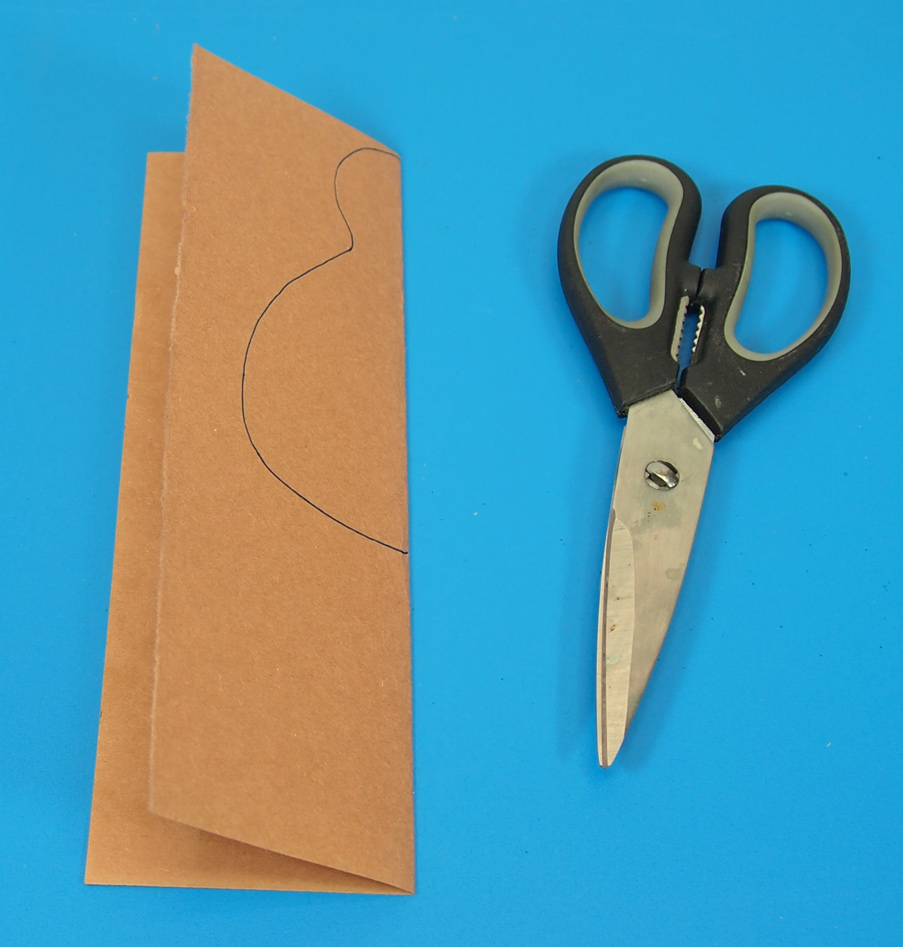
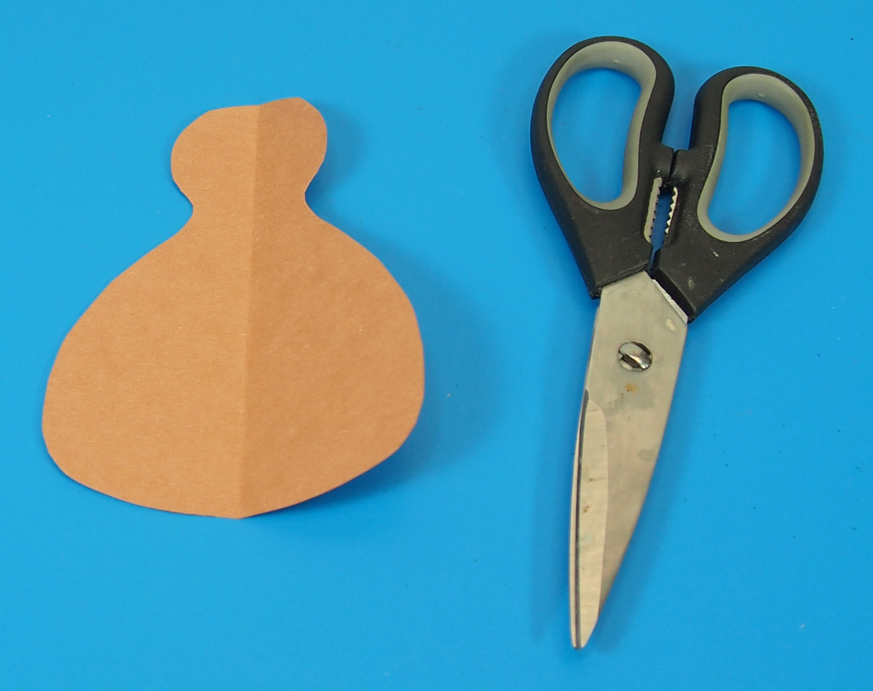
To decorate your slice of pie, start by adding a crust! Cut out a triangle of brown construction paper that is approximately 4 1/2″ high (from center base to point) and 5″ wide at the base. Glue the triangle to the base and one edge of your color diffusing icosahedron. Use scissors with wavy blades to trim the base of the triangle so it looks like the crimped edge of a pie crust!
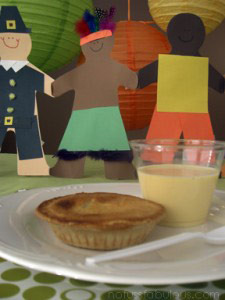
To top off your slice of pie, fluff up a cotton ball and glue it to the top. No pumpkin pie is complete without the whipped cream!

Like us on Facebook, Share this post with your friends, or Subscribe to this blog today to receive original craft project updates every week!

![]()