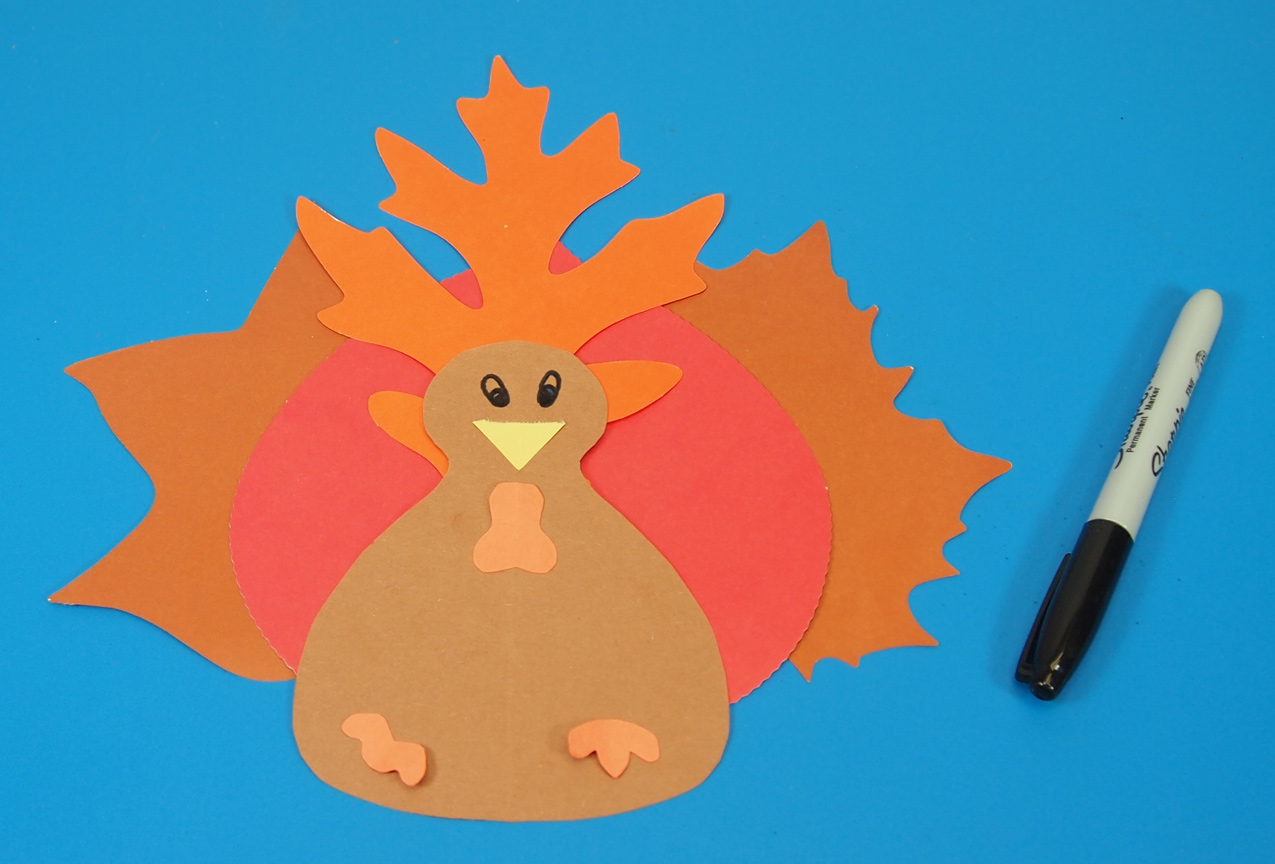

These adorable feathered friends make great centerpieces for any family dinner, and terrific classroom decorations!
Age: 4+
Duration: 15 minutes (plus drying time)
Learning Outcomes:
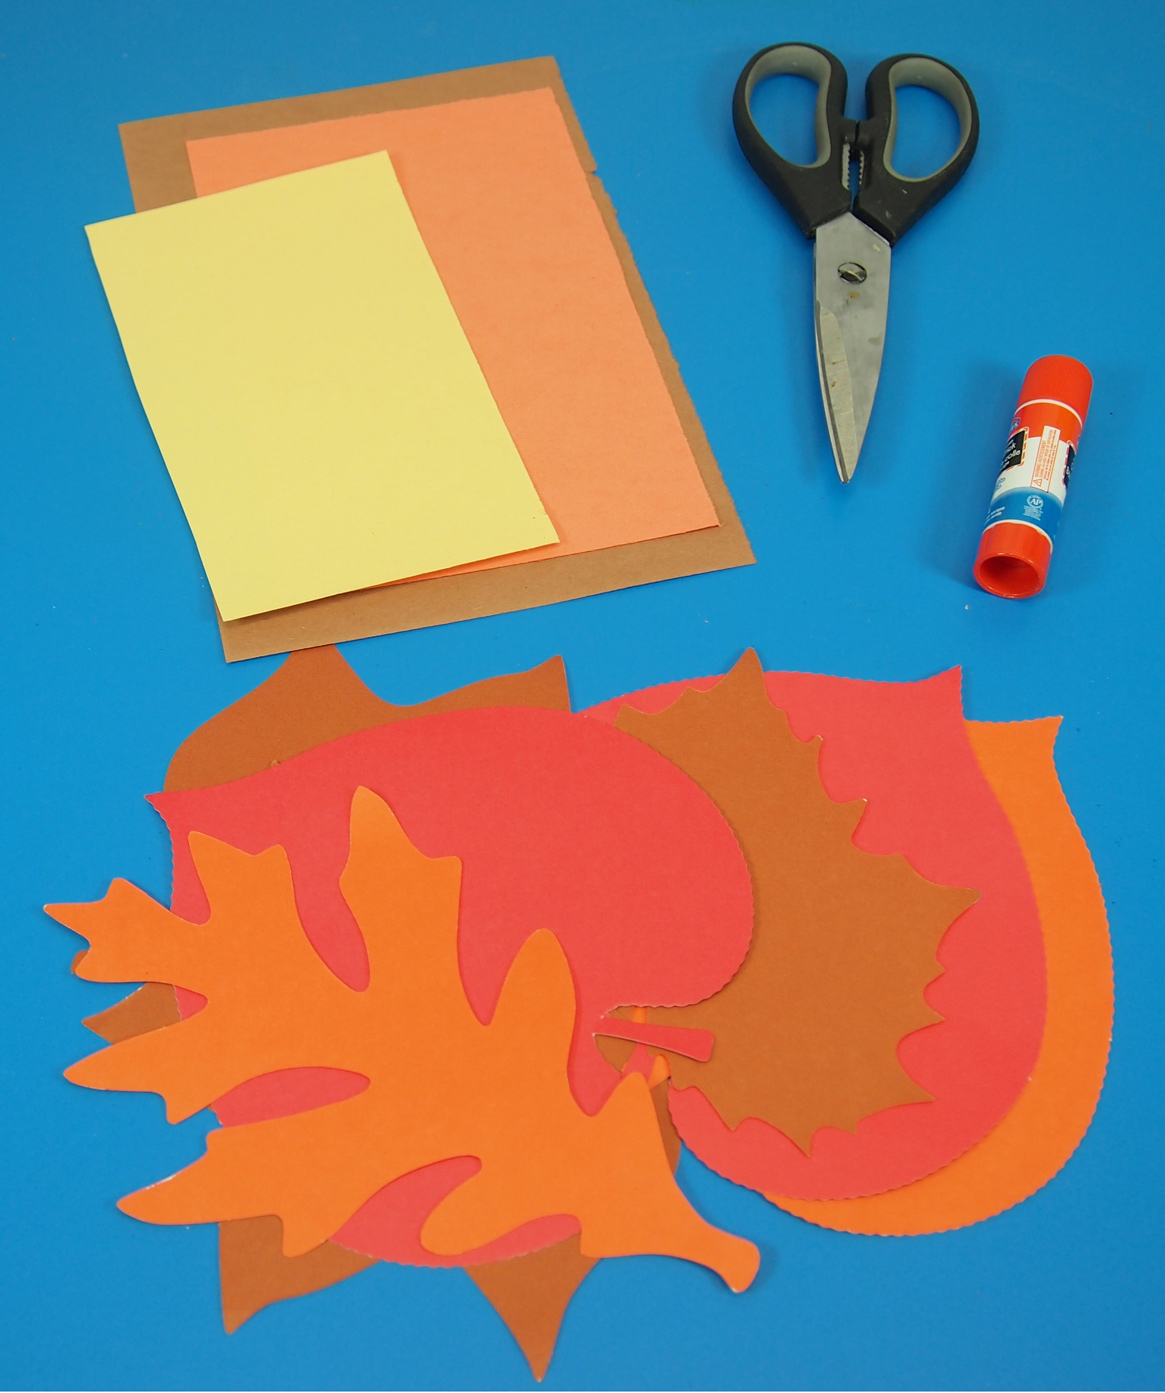
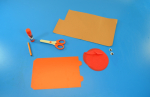
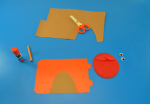
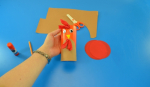
You’ll Need:
- R39301 Tube Crafts
- R2172 Tissue Circles
- R15213 Color Diffusing Sheets
- Liquid Water Color Paint
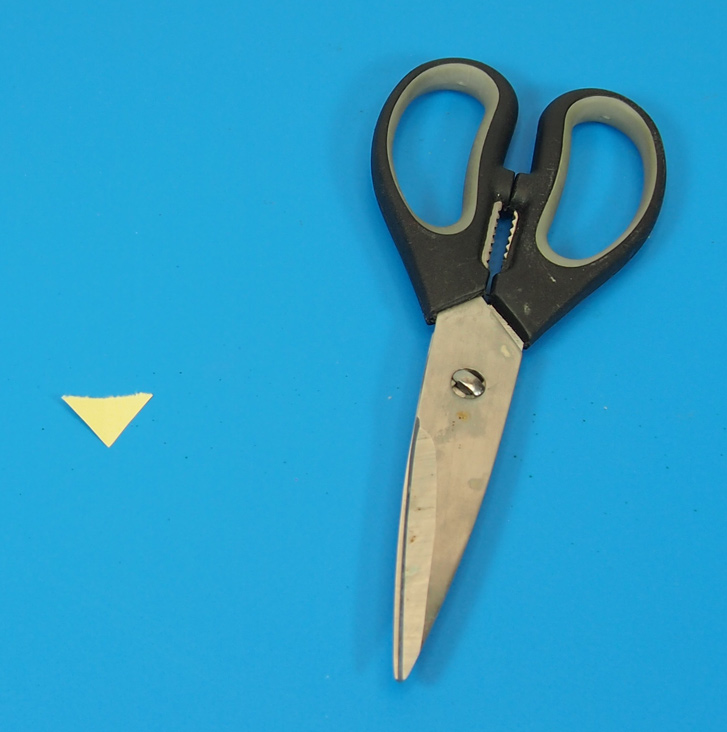
- Scissors
- Pencil
- Glue Stick
- Googly Eyes

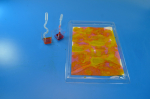
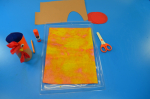
We have found that the best way to structure this craft is to start by preparing the color diffusing sheet that will be your turkey’s feathers, and then having students create their turkey’s bodies while the liquid watercolor paint dries. So begin with a sheet of color diffusing paper on a tray and use paint pipettes to cover the whole sheet in liquid watercolor paint.

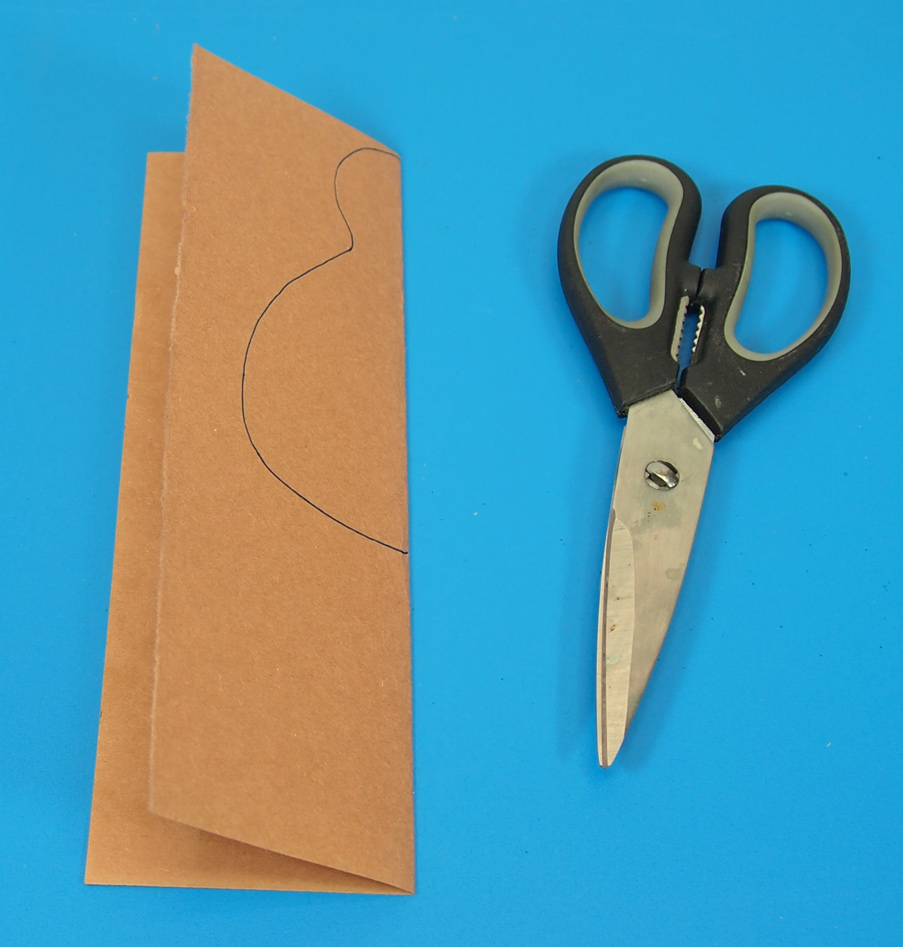
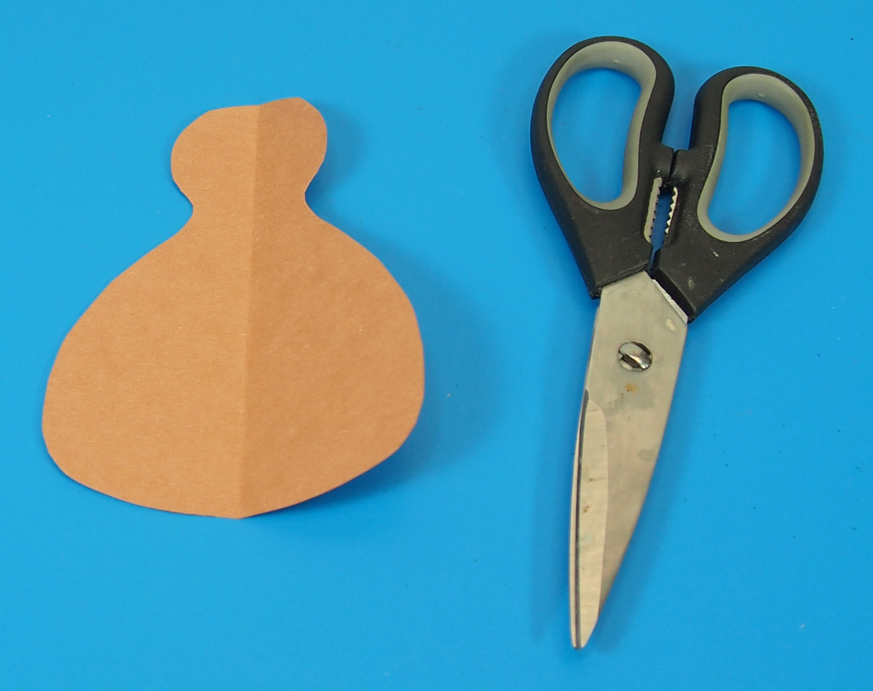
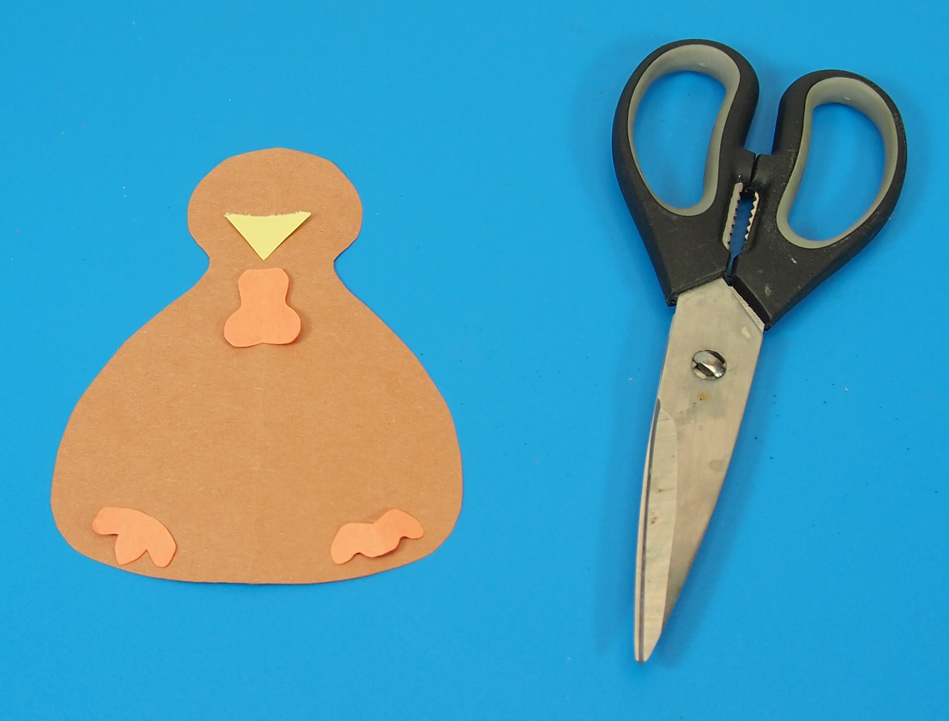
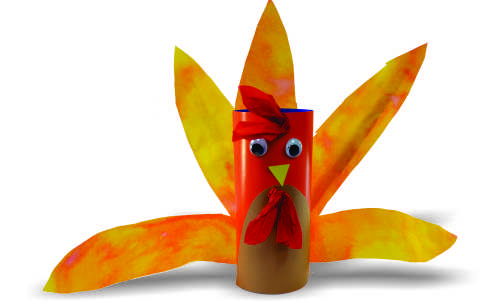
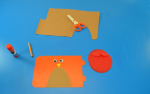
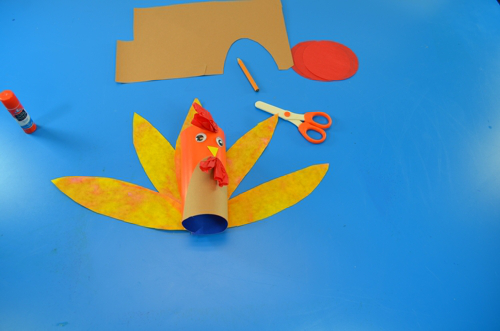
Set the sheets aside to dry while students create the bodies for their turkeys. Start with one of our card tube crafts flat on the table. Using construction paper, carefully cut out and glue down a belly for your turkey.
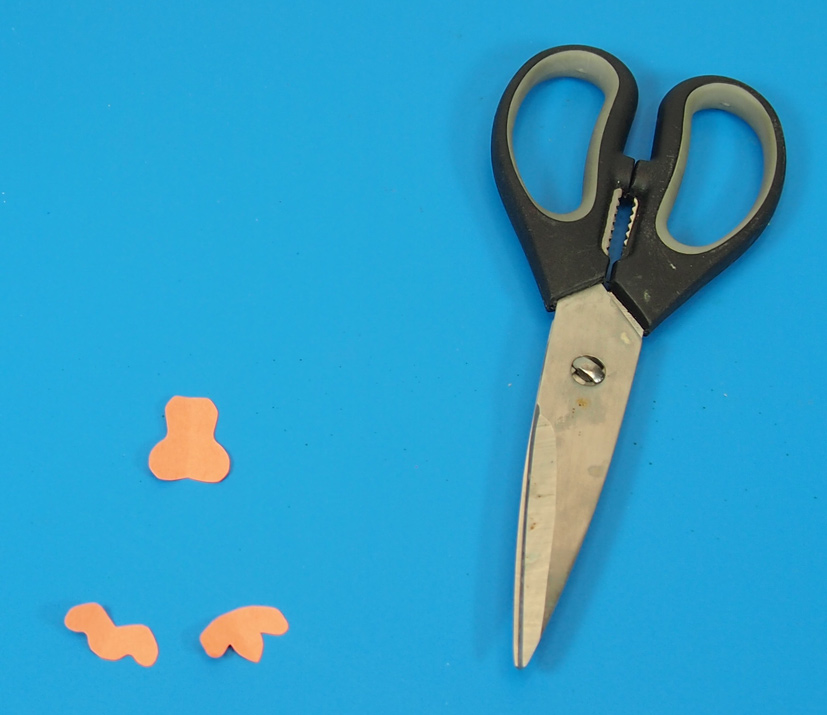
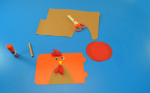
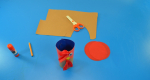
Now it’s time to give your turkey a face and some personality! Use a small triangle of yellow construction paper to make the beak. Glue googly eyes above the beak. Next, carefully crumple up a tissue circle to create your turkey’s wattle. Glue it underneath the beak. You can also crumple up a second tissue circle and give your turkey a jaunty set of red forehead feathers!
Once students are happy with the faces of their turkeys, carefully roll them up and insert the tabs into the slots. This will create a tube and allow your turkey to stand on its own!
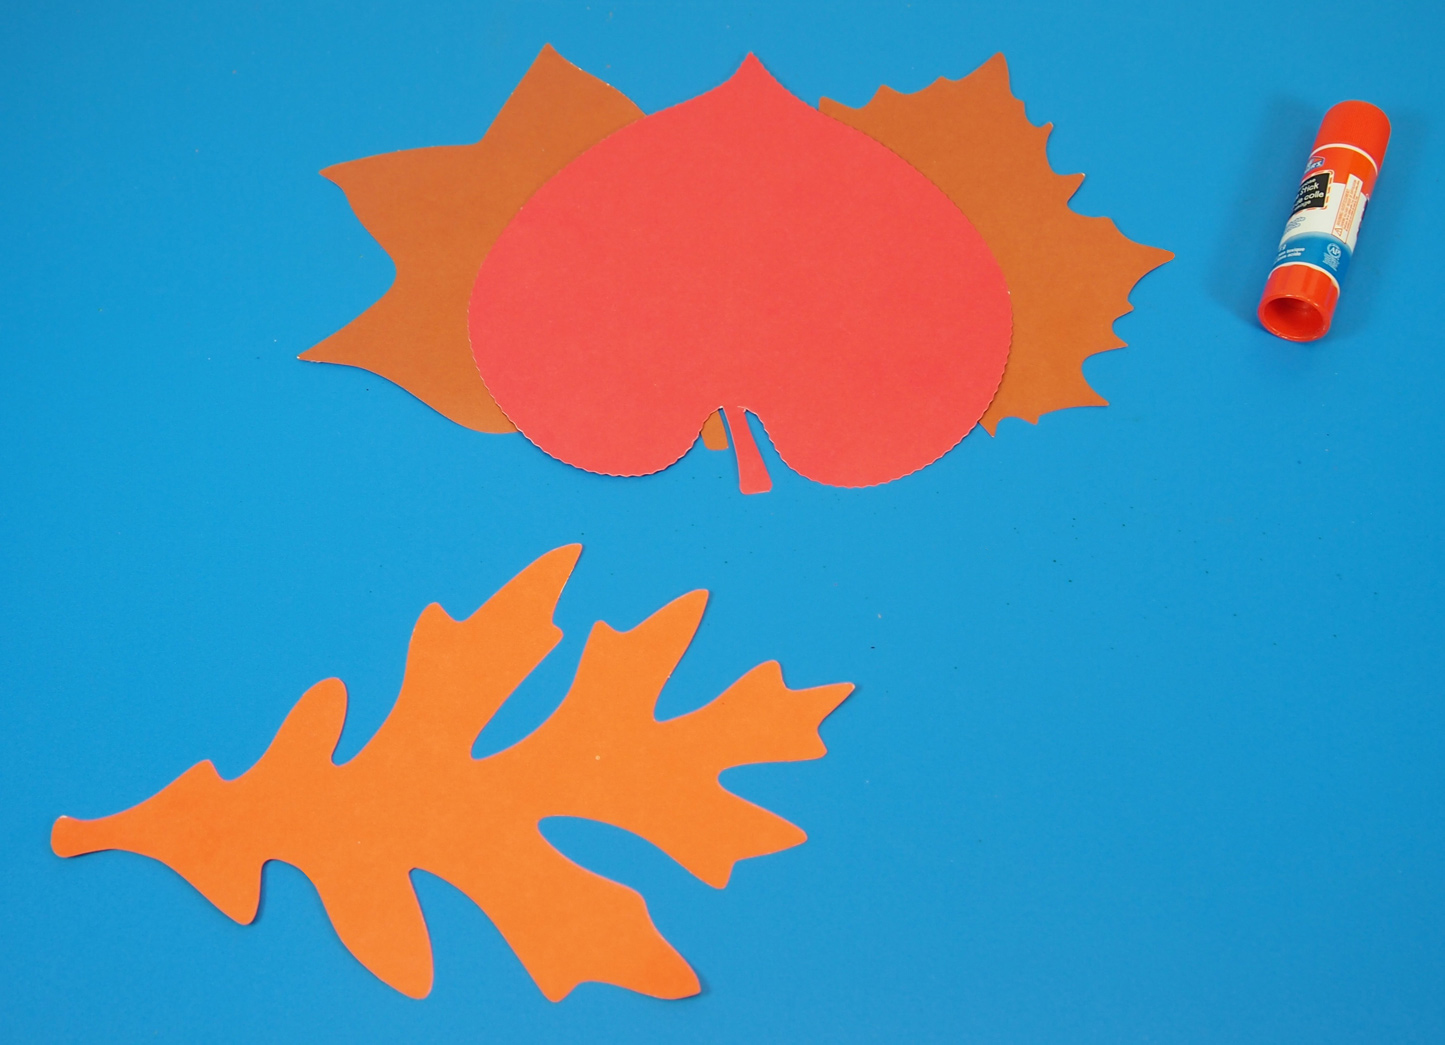
By now your color diffusing sheets should be dry enough to work with. Carefully cut feather shapes out of the sheet.
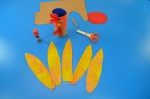
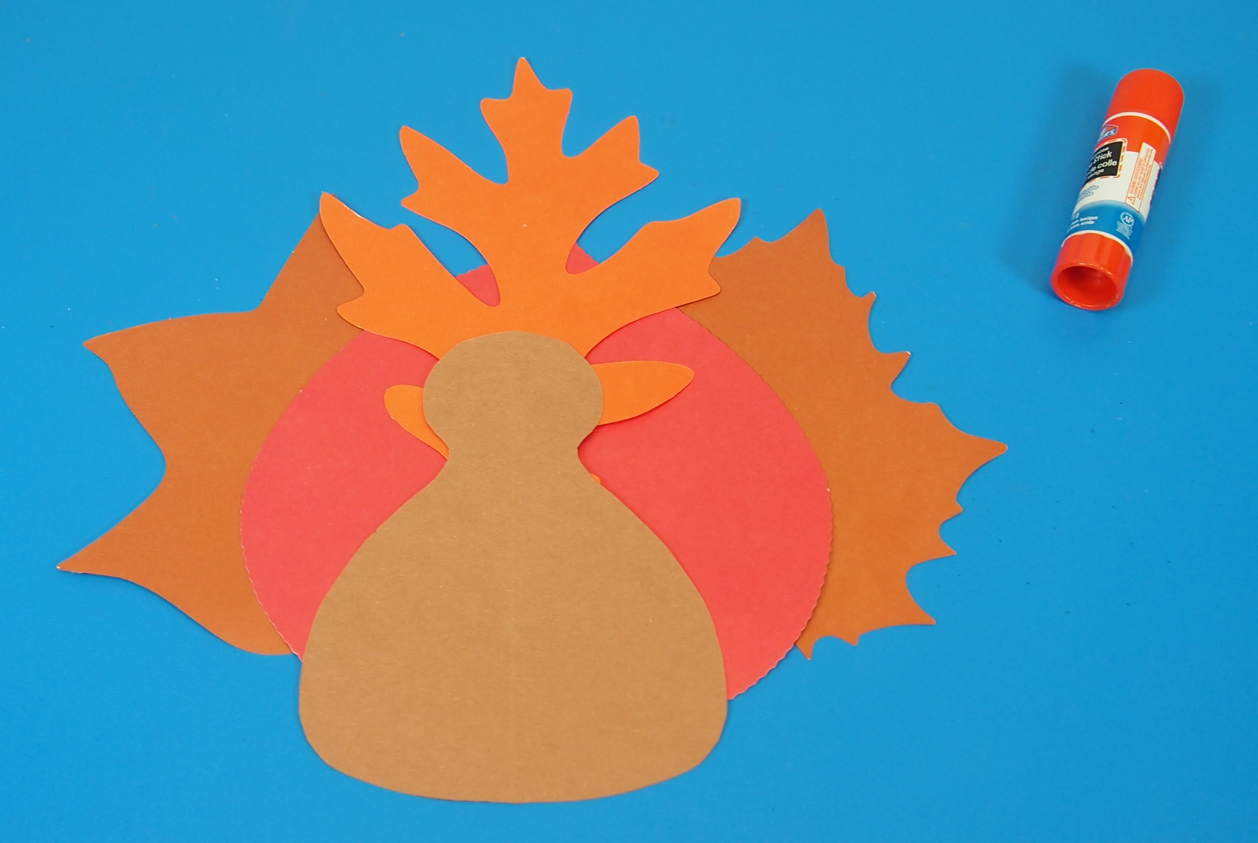
Use 5-6 feathers per turkey to give each one a beautiful tail fan of feathers! Carefully glue them to the back of your turkey.

Like us on Facebook, Share this post with your friends, or Subscribe to this blog today to receive original craft project updates every week!