Project Spotlight: Straws and Connectors

2014-11-24-FeatureImage

What’s so great about our Straws and Connectors? Besides the colors, the simplicity of combinations, and the potential for lessons about geometric structure? Learn more below!

IMG_8539

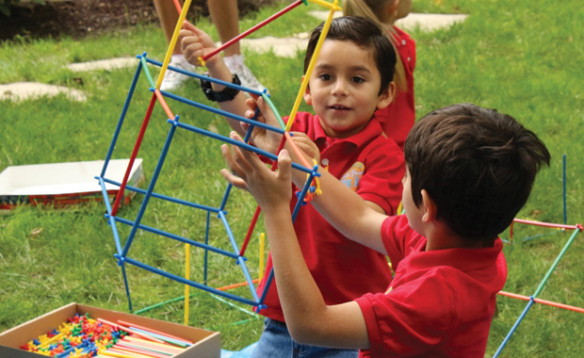
There are two simple components in the Straws and Connectors pack: the straws, which come in a variety of bright and fun colors, and the connectors, which feature 6 prongs to position the straws in any direction.

IMG_0155

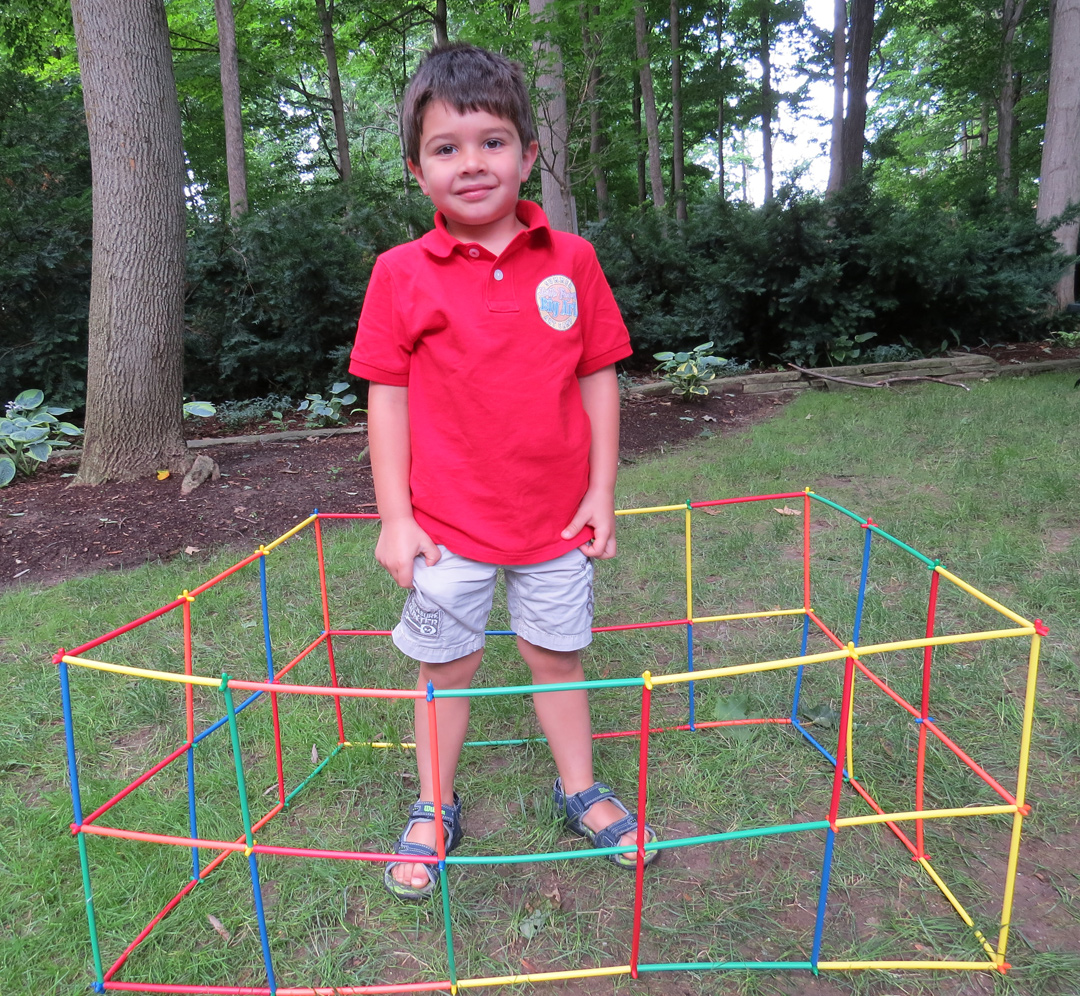
The most basic shape that students can easily construct is a square using the straws and connectors. Add on more straws and connectors to fill in the structure and turn the square into a cube!

IMG_0162

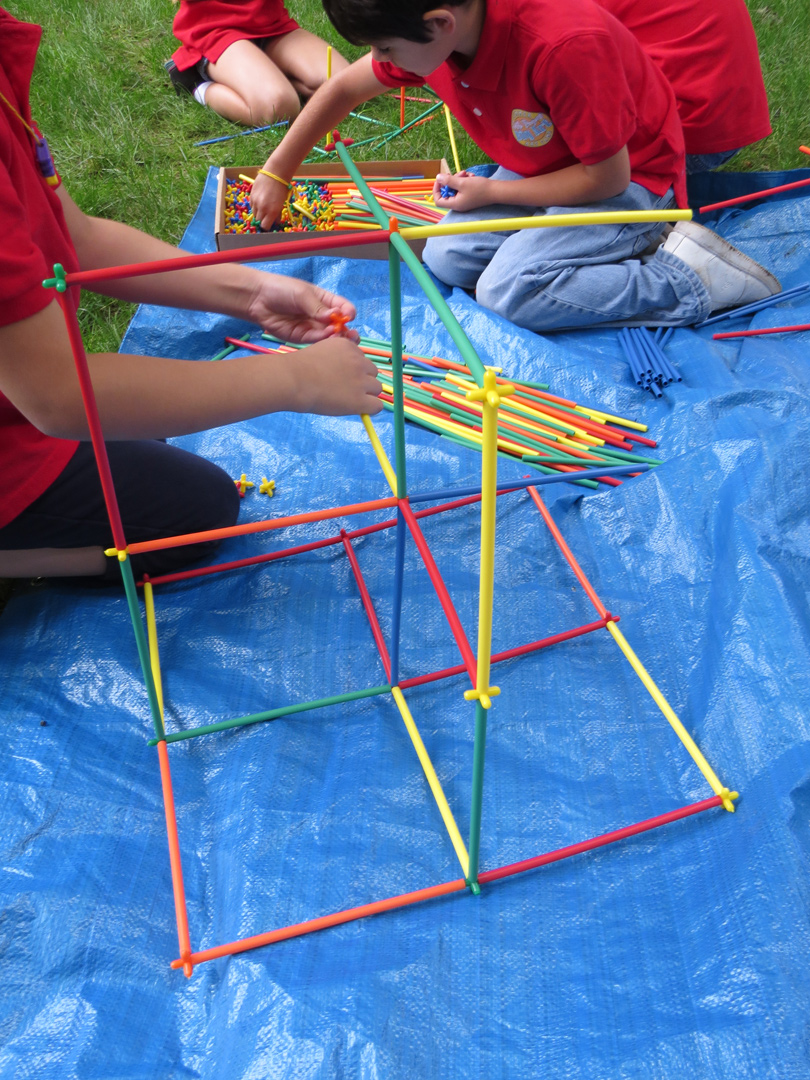
Explore more three-dimensional shapes and talk about their properties as students build them.

IMG_8551

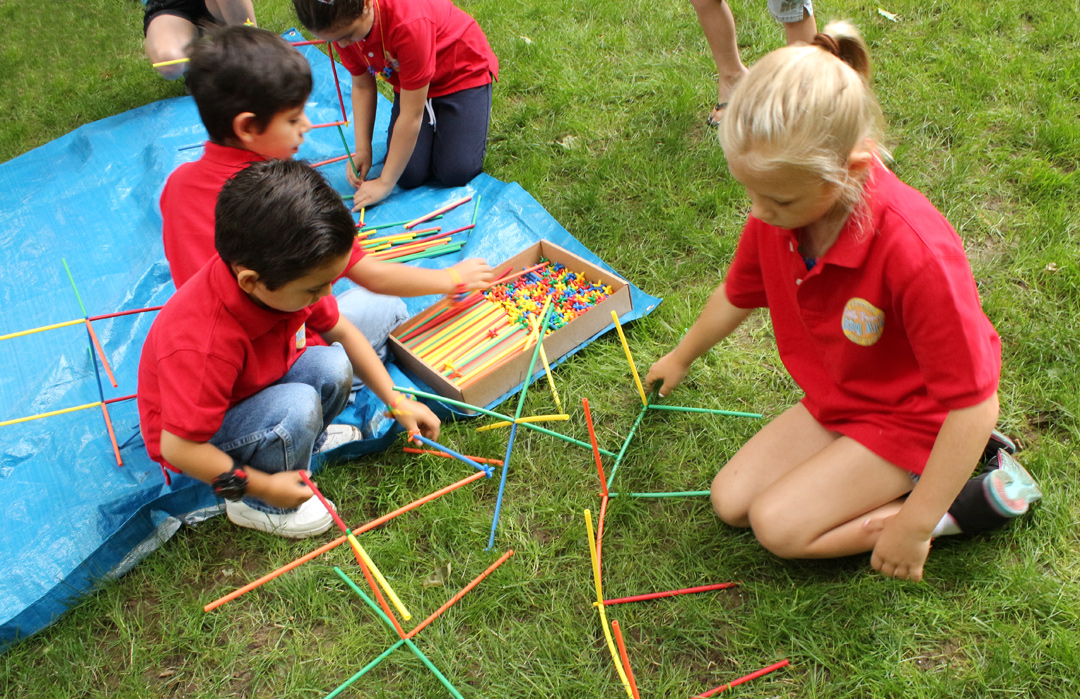
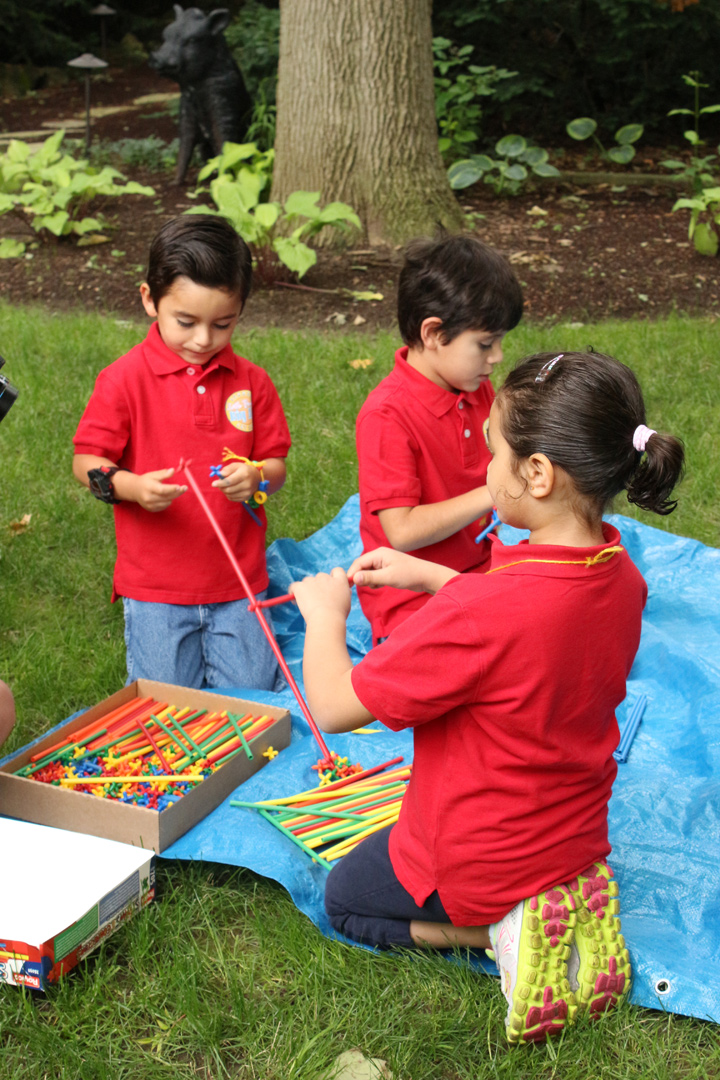
The straws are long enough that they can be bent to make curves in the structure, so you are not simply limited to making square structures. It’s a great cooperative material as well! Students can work on separate pieces and combine them all together to make a larger sculpture. This way, children use their skills in coordination, cooperation and critical thinking to create a finished piece.

IMG_8575

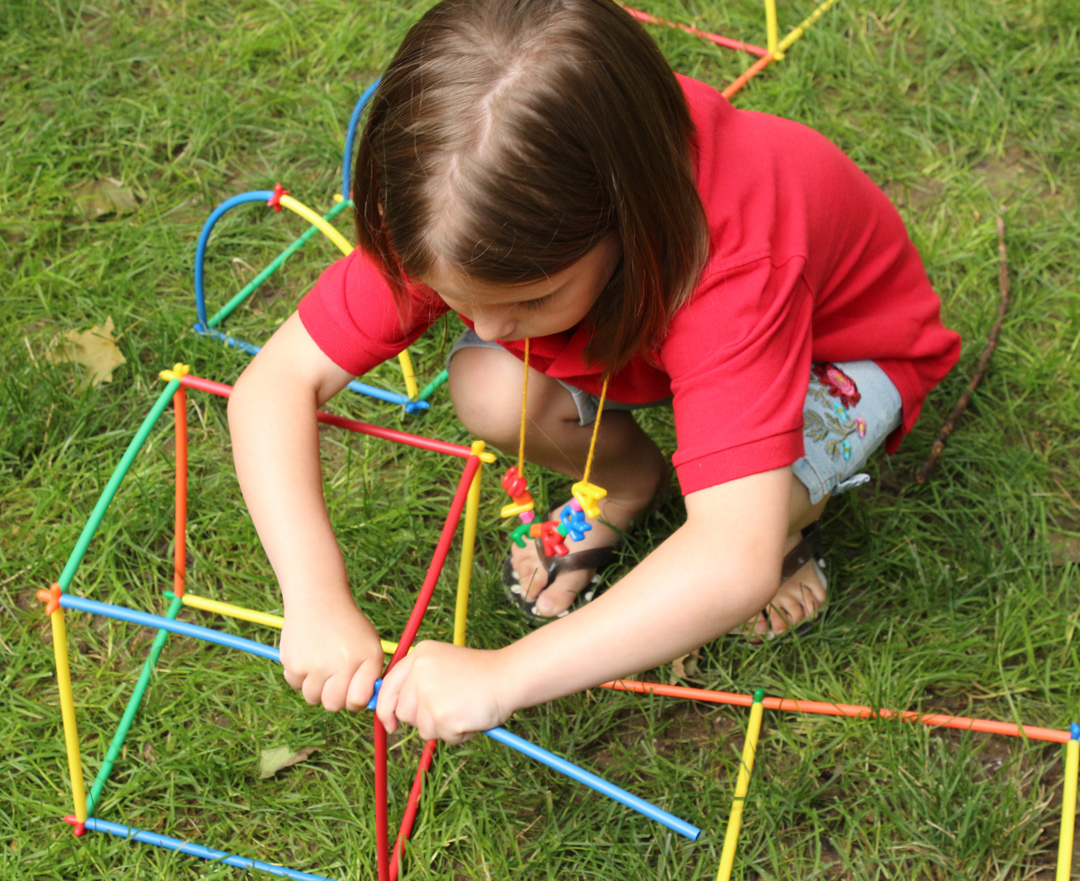
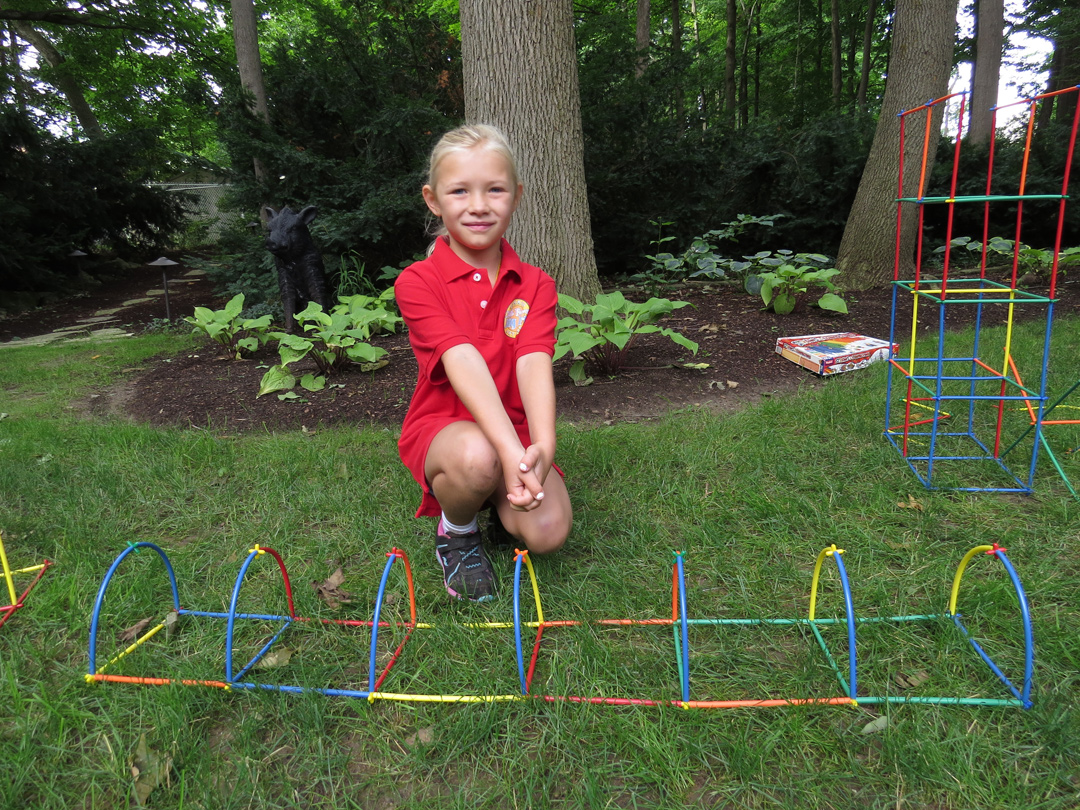
We challenged our students to build their own projects separately from each other. Students first had to brainstorm their ideas and then bring their projects to life. Can you guess what this project will be?

IMG_0192

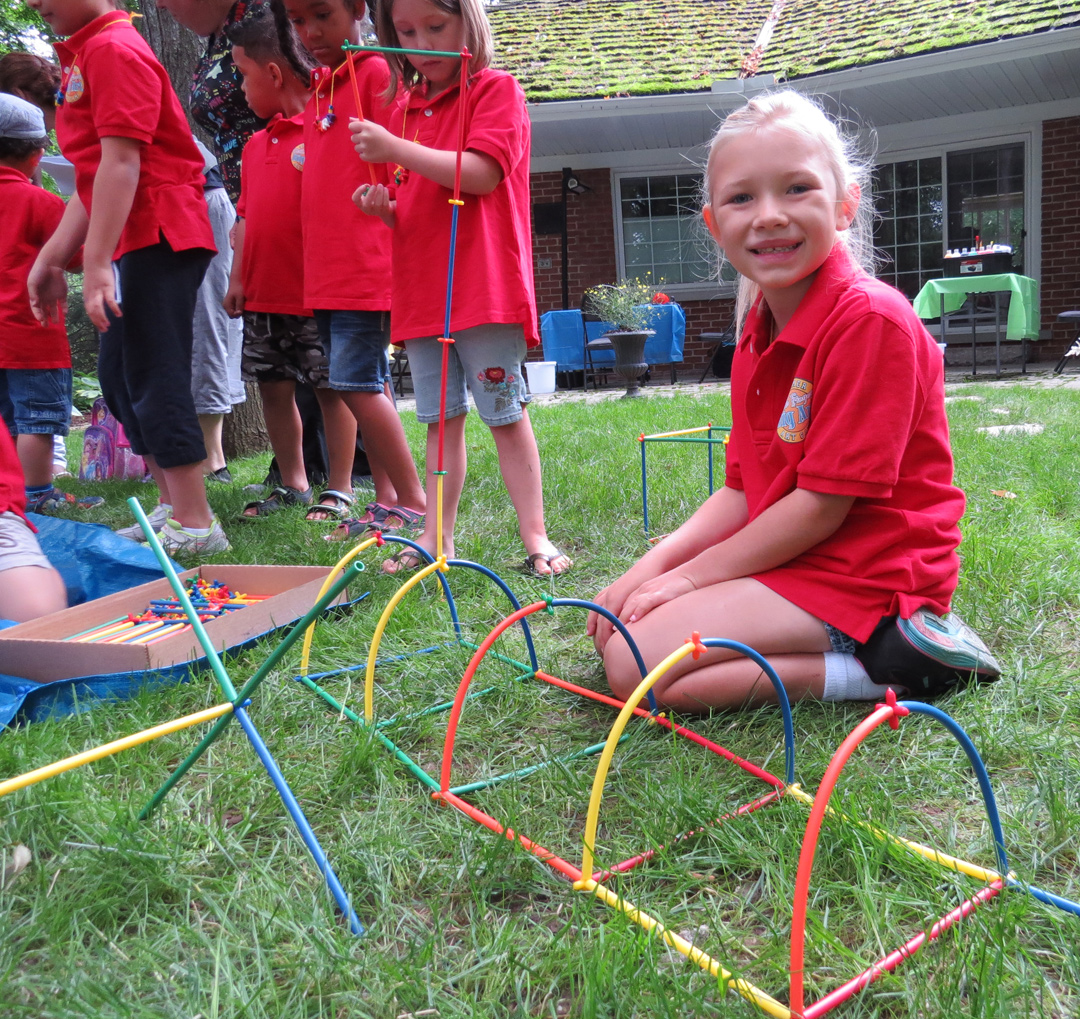
You can see how this art camper continued creating curves in her structure. This perfectly illustrates just how versatile our Straws and Connectors are!

IMG_0245

This art camper made a boat!

IMG_0225

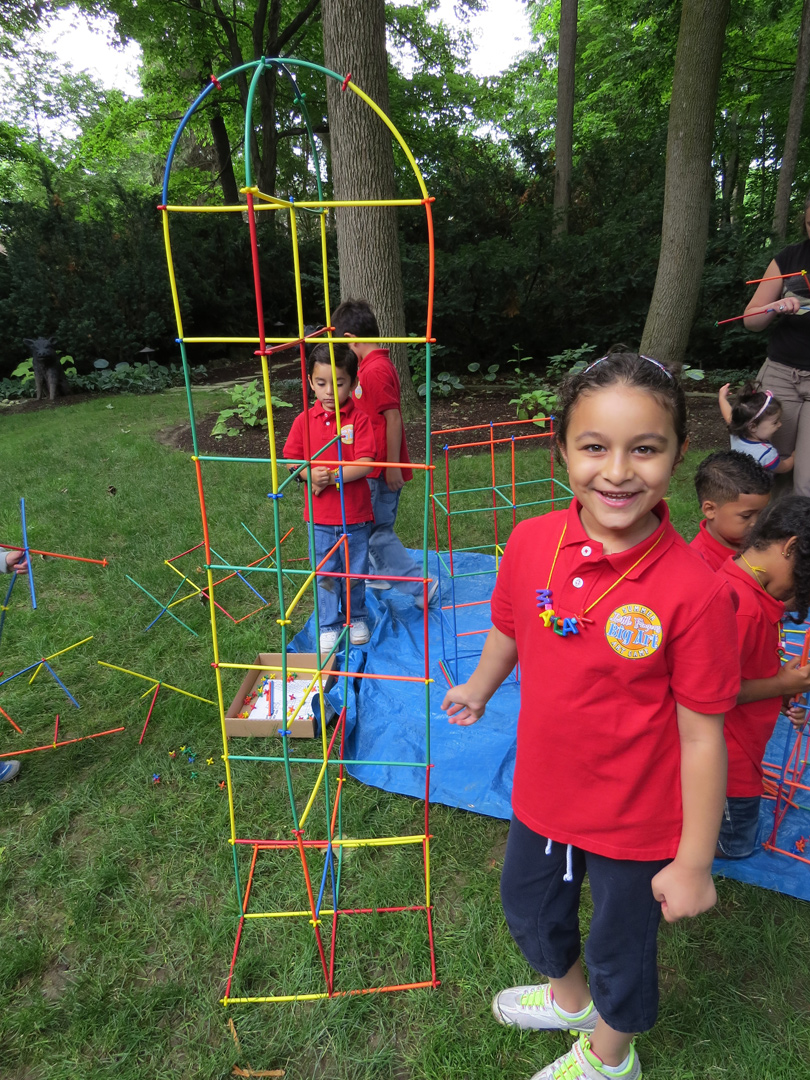
And this is a rocket!

IMG_0237

Straws and Connectors are a perfect gift to your children this holiday season! Give your students the ability to exercise multiple motor functions while creating sculptures they can truly be proud of!

See more about the R6085 Straws and Connectors here:

What else can you make with the Straws and Connectors?

Do you have a Straws and Connectors pack? If so, what kinds of structures did you make with them? We’d love to read your comments below!

Line-06

Like us on FacebookShare this post with your friends, or Subscribe to this blog today to receive original craft project updates every Monday, Wednesday and Friday!

Light Cube: Math Straws

2014-11-20-FeatureImageExplore mathematics on the Light Cube using simple items you can find at your local department store or dollar store! The Light Cube will focus students’ attention as they manipulate the materials to build skills in early numeracy!

IMG_0559In this edition of Light Cube lessons, we’ve decided to focus on counting and sorting. To do this, you will need a package of clear colorful straws, some transparent numbered stickers and 10 clear plastic drinking cups.

IMG_0565First, we tacked down our stickers to the Light Cube. The stickers we found are numbered 1-10 so you can explore counting in different quantities, or for advanced learning, develop skills in skip-counting. We’ve decided to skip-count by the number 2. This is a great starting point for discussing the differences between odd and even numbers.

You can additionally create your own stickers by using clear scotch tape and writing numbers on the tape with permanent marker. Paste down the tape onto the Light Cube. Tip: If you own a Light Cube tray, you can use write the numbers directly onto the tray with dry-erase markers.

Ask your students to pick out the same number of straws as the numbers indicated on the Light Cube. Place the straws you’ve picked out directly onto the Light Cube underneath each number.

IMG_0580

Once we had explored the basics of skip-counting, we moved onto bigger numbers. You can mix the digits to make these larger numbers. To contain the larger number of straws, use the clear cups.

IMG_0593To reinforce your students’ counting skills, mix up a random amount of straws into each cup and ask the student to correct to the proper amount. They must either add or subtract the straws.

To take students’ learning one step further, ask them to imagine that each straw has a certain value, such as 2. Therefore, each straw represents the number 2. If you have labeled a cup as the number 6, students will have to place 3 straws inside the cup to reach the right amount.

The glow of the Light Cube is a great base for exploring abstract mathematical concepts as students are focused on the materials they work with.

Line-04

Like us on FacebookShare this post with your friends, or Subscribe to this blog today to receive original craft project updates every Monday, Wednesday and Friday!

Project Spotlight: Paper Globes

2014-11-17-FeatureImage

Make beautiful paper globes with colorful paper designs, pre-cut and scored for easy assembly! Hang the globes up on a Christmas tree or decorate one of our mobile bases with the globes.

The Paper Globes feature 8 different color schemes. Each of the color schemes includes 1 solid color and 1 patterned circle. The patterns are all coordinated to work with the solid color circles. Mix and match to make your own combinations! See what works for you.

83459-Globe-2

Each circle is pre-cut with slots. Use the slots to easily slide the circles into each other. You can invert the sides to show through the opposite side of the paper circle you use. The best part about the Paper Globes is that they do not require gluing, so you can turn a craft session into a less-mess experience!

83459-Globes

Each pack of Paper Globes will make 16 globes in total. When you have created your globes, punch a hole through the top and tie a length of string or ribbon. With the holiday season approaching, it’s a good idea to consider decorating your tree with easy-to-make ornaments like these!

Alternatively, run a ribbon through the paper globes to make a decorative garland. Hang up the garland on a wall or decorate a ledge in your classroom!

Line-02

Like us on FacebookShare this post with your friends, or Subscribe to this blog today to receive original craft project updates every Monday, Wednesday and Friday!

Cassie Stephens uses our Japanese Carp Wind Sock Kit!

This art teacher helps infuse so much inspiration and creativity into her students’ work… it’s zany!! We LOVE the Japanese Carp Wind Socks Mrs. Stephens’ class made and we’d want you to have a look and share in the wonder!

The basic wind sock shape was used as the base for students to draw their designs on with markers.

Once students had finished their designs, they were instructed to put up their hand to get Mrs. Stephens attention. Mrs. Stephens would then spritz their designs with water to get the colors to mix around, much like the effects produced with our Color Diffusing Paper!

The windsocks were then wrapped and secured together with tape. The students hung them from the top edge of a window overlooking a beautiful courtyard. The image is astounding, but you’ll have to click the link to Cassie’s blog to see it!! Hint: It’s the perfect backdrop for this craft!

Thanks to Cassie for putting together this amazing project! See the full blog post here.

Line-13

Like us on FacebookShare this post with your friends, or Subscribe to this blog today to receive original craft project updates every Monday, Wednesday and Friday!

Educational Light Cube: Dimensional Art by Twins at Play!

The awesome sensory and light play blog Twins at Play delivers a new post about our Educational Light Cube! Check out this great combination of our Light Cube Building set and Constructa Clips on a beautiful illuminated surface and the coolest sculpture you’ve seen yet! 

© Kristen from Caution! Twins at Play! blog

This is what Kristen from Twins at Play had to say about her twins’ experiences with these products:

My twins and I have been enjoying making awesome shapes, sculptures, and art on the light cube with the Constructa Clips light table building kit! The kit comes with 48 red clips and 32 mylar shapes. The shapes are nice and sturdy but do bend a little for awesome building fun! The shapes are also great for color lessons! I love this kit, it is perfect for the light cube, light table, or even natural light play! They cast great color in sunlight!!

In the photos below, we used the clear plastic trays for the light cube to hang the clips from. Then we were able to build outward and downward with the constructa clips and shapes!  This was a really fun and unique building experience. This was also a very unique light cube/light table play experience.
We also used a plastic straw to create art sculptures. We used the 4 clip constructa clips to attach shapes and then we just put the straw through the whole in the center of the constructa clips. What a fun way to create art and building at the same time on the light cube!!

Thanks to Kristen @ Twins at Play for putting together this awesome post!

To see more about our R59601 Educational Light Cube, visit here!

R60165 Constructa Clips Light Table Building Kit can be viewed in-depth here.

Line-07

Like us on FacebookShare this post with your friends, or Subscribe to this blog today to receive original craft project updates every Monday, Wednesday and Friday!

Project Spotlight: Cross Weaving Mats

2014-10-27-FeatureImage

Honour the memory of our veterans’ sacrifices on Canada’s Remembrance Day, November 11, with the R16005 Cross Weaving Mats

Weaving mats help to encourage fine motor development through the act of passing the weaving strips under and over each of the successive slits cut into the colorful card crosses.

Make sure that the ends are taped off before you cut them. Once you have started on the next row, remember to start with the opposite direction. For instance, instead of starting your weaving over the slit, start under it and continue weaving over and under. This will vary up the appearance of the weaves and make it look like a checkered pattern.

Use about 4 strips per weaving strip.

The Cross Weaving Mats come in a range of different colors. Turn the card cross over to see another color on the flipside. As you weave, the colors of the weaving strips will also appear on the opposite side.

You can paste the Cross Weaving Mats up on a wallboard or attach the crosses together on a banner and hang up in the classroom as Remembrance Day decorations!

Line-19

Like us on FacebookShare this post with your friends, or Subscribe to this blog today to receive original craft project updates every Monday, Wednesday and Friday!

Educational Light Cube: Sorting Colorful Plastic Circles

2014-10-23-FeatureImage

View the beautiful effects of colorful mylar shapes on the Light Cube!Today’s lesson was to experiment with different printed shapes and colors that can be overlapped to create new appearances.

IMG_9487

These mylar shapes were made from tinted transparency sheets. You can find colored transparency sheets at your local dollar store… as page dividers! Cut out simple shapes such as triangles, circles and squares from these special plastic sheets.

Incorporate math lessons with your Light Cube exercise. Teach your students about geometric shapes and their properties! Ask students to describe the shapes to you.

IMG_9490

We asked our art camper Jasmine to combine the shapes together and see what kinds of new colors she could make. Each of the shapes were cut out of differently-colored transparency sheets. These colors, when overlapped, create new color combinations!

IMG_9492The sheets are transparent, meaning that you are able to see light through them. Place the sheets onto the Light Cube and turn on the strobing color function. Watch the transparent sheets change color as they reflect the light underneath.

Explore the meaning of transparent, translucent and opaque. Experiment further with other objects to see the differences between their transparencies.

Line-06

Like us on FacebookShare this post with your friends, or Subscribe to this blog today to receive original craft project updates every Monday, Wednesday and Friday!

Amazing Animal Paper Halloween Costume

animal paper diy costume

Make a simple, quick and cute Halloween costume from our R15256 Amazing Animal Paper! Our step-by-step photos will show you some easy tricks for cutting out and assembling the paper costume. 

Age: 5+

Duration: 10 minutes

Learning Objectives: Gain fine motor development through tracing and scissor skills. Use simple concepts, such as hand tracing and folding, to make an effective paper costume. Incorporate recognizable animal patterns into costume creations.

You’ll Need:

R15256 Amazing Animal Paper

• Tape

• Scissors

• Pencil

Line-07

Make this a quick paper costume for your students who will be celebrating Halloween in your classroom this year. This will make it easier for you to get through your day on Halloween without worrying about managing all your students in costume. The best part is that the costume is made from accessorizing, so all your students can look like their favorite animal without the need to fully dress up.

OLYMPUS DIGITAL CAMERA

Our full range of Amazing Animal Paper features a variety of different animal skins and patterns.

OLYMPUS DIGITAL CAMERA

Choose 2 sheets of your favorite animal skin paper. You will need only 1 sheet to make your animal hat, and another sheet to make your animal paws.

OLYMPUS DIGITAL CAMERA

Select 1 sheet of paper and fold in half horizontally. Unfold, and cut along the fold line so that you separate the sheet of paper into two halves.

OLYMPUS DIGITAL CAMERA

Take one of the paper sheet halves and fold it horizontally in half.

OLYMPUS DIGITAL CAMERA

Unfold and cut along the fold line to separate the half sheet into another 2 halves. This will form 2 strips of paper.

OLYMPUS DIGITAL CAMERA

Place the paper strips side by side. Tape the edges together.

OLYMPUS DIGITAL CAMERA

Join the opposite edges together and wrap around your head to test the length. Once you are satisfied with the fit, tape the edges to secure. This will form the base of your headband.

OLYMPUS DIGITAL CAMERA

Take the discarded half of the paper sheet and fold vertically in half. Draw an animal ear shape. I’ve drawn two triangle-shaped ears to look like jungle cat ears.

OLYMPUS DIGITAL CAMERA

Tape the ears to the sides of the headband. This will be your Amazing Animal hat!

OLYMPUS DIGITAL CAMERA

Now to make the paws! Take your second sheet of paper and fold vertically in half.

OLYMPUS DIGITAL CAMERA

Trace your hand from the edge of the paper. I suggest you try to make the hand look more like a paw by widening the shapes of the fingers.

OLYMPUS DIGITAL CAMERA

Cut out the traced paws.

OLYMPUS DIGITAL CAMERA

Use the remaining scrap piece to cut out two wristbands.

OLYMPUS DIGITAL CAMERA

Tape the bottom of the paw to the wristband.

OLYMPUS DIGITAL CAMERA

Wrap the wristband around and tape the edges together.

OLYMPUS DIGITAL CAMERA

Now your costume is ready to be worn! Slip the paws onto each hand and wear your headband ears to transform into your favorite jungle animal! Tip: You can use face paint to add on a nose, whiskers and freckles on students’ faces to add another element to their animal costumes.

Line-07

Like us on FacebookShare this post with your friends, or Subscribe to this blog today to receive original craft project updates every Monday, Wednesday and Friday!

Project Spotlight: Super Slick Craft Paper

SuperSlickCraftPaper-FeatureImage

Turn your regular craft paper designs into spectacular projects with R15314 Super Slick Paper! The paper is coated with a gloss to make the colors vibrant and the paper texture smooth and easy to work with. Super Slick Craft Paper is a great material to work with as the range of colors will inspire you to fold, cut and glue a variety of different projects!

To add interest to your projects, cut out basic shapes such as squares, rectangles, triangles and more! Arrange the shapes onto a sheet of construction paper and paste down. Make familiar objects or scenes such as the outdoors, cityscapes, vehicles, robots and more!

The Super Slick Craft Paper is standard 8½ x 11″ so you can fold it from corner to edge and cut off the bottom to make a square. The square can then be used for origami projects.

Our YouTube video below, we show you how to make your own pop art using two sheets of Super Slick Craft Paper. On the first sheet, fold and cut out a snowflake design while retaining the four corners. Paste on top of a separate sheet of colored paper.

Line-16

Like us on FacebookShare this post with your friends, or Subscribe to this blog today to receive original craft project updates every Monday, Wednesday and Friday!