Light Learning: Numbers

35043 LightLearning Numbers small.jpg

Appeal to the senses while counting and creating simple equations!


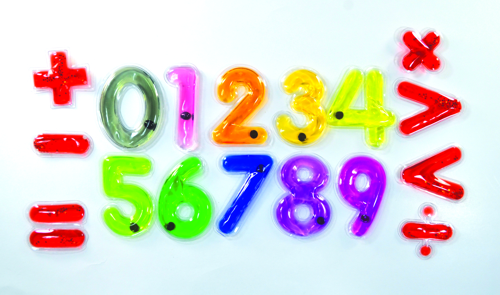
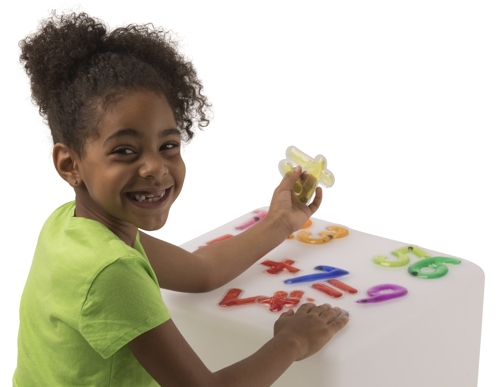
For students with fidgety fingers, these squishy numbers and math signs make math tactile. The small disc inside each number allows students to develop fine motor skills. Children will quickly learn how to propel the disc by tapping the number in different areas. We have chosen specific colors so students can represent the visible spectrum of light by lining up the numbers from zero, black (the absence of all light) through red, orange, yellow, green, blue and purple. Tip: All the math signs are red with sparkles!

Roylco_8564 Light Learning Numbers girl.jpg

Develop fine motor skills! Ask students to move the small discs all the way around a number. 0 and 1 are great for beginners, while 4 and 5 will challenge older students.

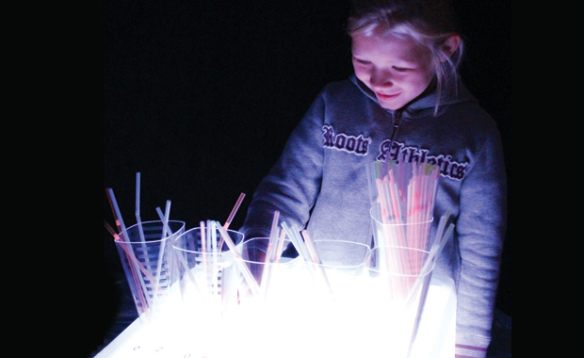
Make glowing equations! Use a light table or Roylco’s R59601 Light Cube to practice counting, using the < and > to demonstrate value differences, and basic math facts. Purchase a second pack to make really long equations!

Line-10

Like us on FacebookShare this post with your friends, or Subscribe to this blog today to receive original craft project updates every week!


Light Cube: Math Straws

2014-11-20-FeatureImageExplore mathematics on the Light Cube using simple items you can find at your local department store or dollar store! The Light Cube will focus students’ attention as they manipulate the materials to build skills in early numeracy!

IMG_0559In this edition of Light Cube lessons, we’ve decided to focus on counting and sorting. To do this, you will need a package of clear colorful straws, some transparent numbered stickers and 10 clear plastic drinking cups.

IMG_0565First, we tacked down our stickers to the Light Cube. The stickers we found are numbered 1-10 so you can explore counting in different quantities, or for advanced learning, develop skills in skip-counting. We’ve decided to skip-count by the number 2. This is a great starting point for discussing the differences between odd and even numbers.

You can additionally create your own stickers by using clear scotch tape and writing numbers on the tape with permanent marker. Paste down the tape onto the Light Cube. Tip: If you own a Light Cube tray, you can use write the numbers directly onto the tray with dry-erase markers.

Ask your students to pick out the same number of straws as the numbers indicated on the Light Cube. Place the straws you’ve picked out directly onto the Light Cube underneath each number.

IMG_0580

Once we had explored the basics of skip-counting, we moved onto bigger numbers. You can mix the digits to make these larger numbers. To contain the larger number of straws, use the clear cups.

IMG_0593To reinforce your students’ counting skills, mix up a random amount of straws into each cup and ask the student to correct to the proper amount. They must either add or subtract the straws.

To take students’ learning one step further, ask them to imagine that each straw has a certain value, such as 2. Therefore, each straw represents the number 2. If you have labeled a cup as the number 6, students will have to place 3 straws inside the cup to reach the right amount.

The glow of the Light Cube is a great base for exploring abstract mathematical concepts as students are focused on the materials they work with.

Line-04

Like us on FacebookShare this post with your friends, or Subscribe to this blog today to receive original craft project updates every Monday, Wednesday and Friday!