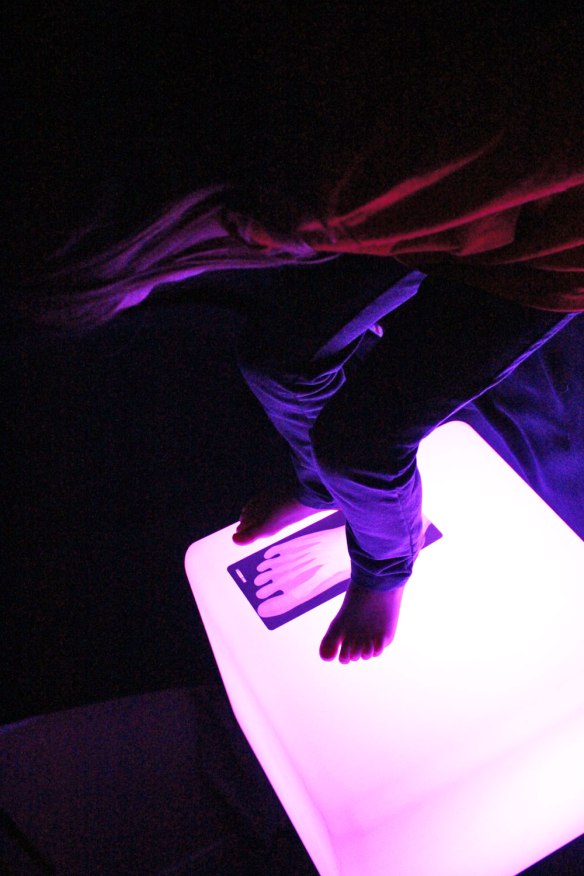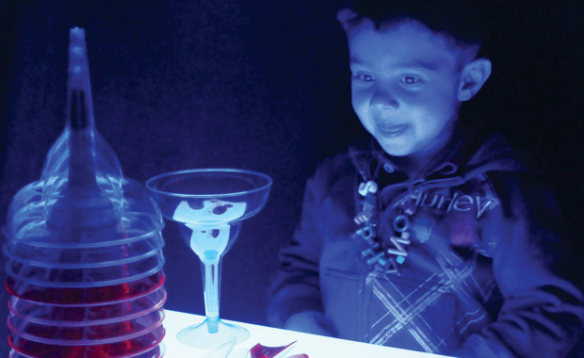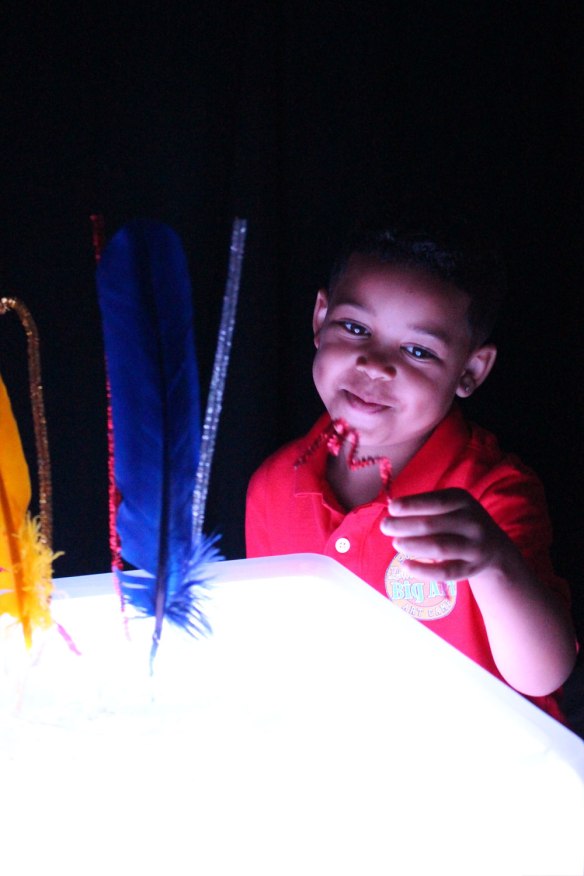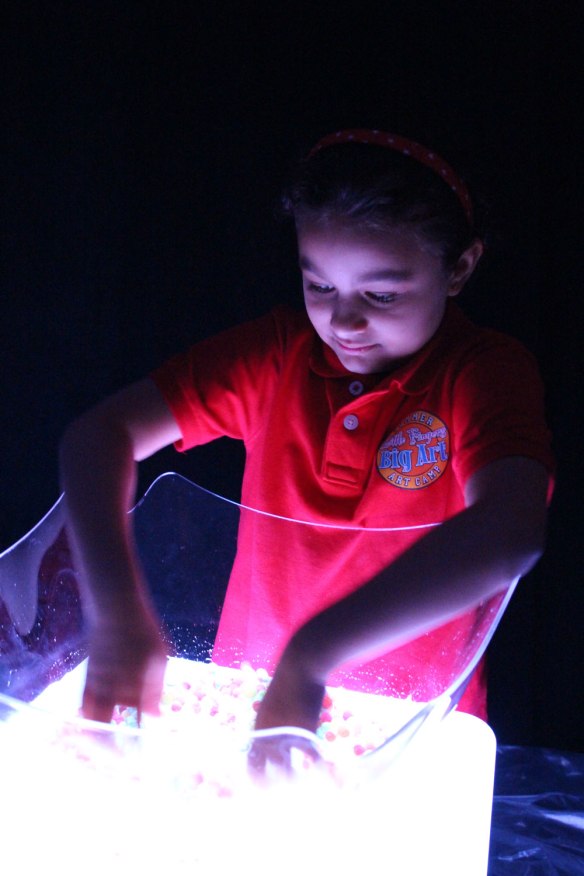
Big Alphabet Picture Stencils

big alphabet picture stencils

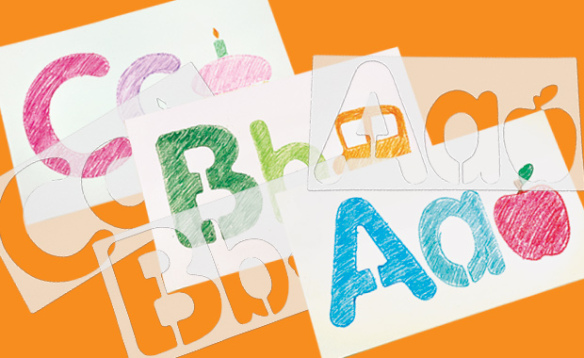
Teach literacy while exercising fine motor skills through tracing! Our specially designed Big Alphabet Pictures Stencils are the perfect compliment to early art and literacy learning.

The stencils feature an uppercase and lowercase letter along with an accompanying image that phonetically represents the letters. Place the letters down onto a sheet of paper. Show developing students how to hold the stencil down with one hand while using a pencil to trace the inner edges of the stencil.

Young students can use the resulting tracing to color in with markers or crayons. The stencils are intended to teach students about uppercase and lowercase letters. Uppercase letters are typically used at the beginnings of sentences, or to begin a person or city name. Lowercase letters are all the rest of the letters that come afterwards.

Older students can use multiple stencils to spell out their names. To help students develop their fine motor skills even further, place the stencils onto a bed of sand in your sensory tray. Ask students to trace the letters out with their fingers.

Line-03

Like us on FacebookShare this post with your friends, or Subscribe to this blog today to receive original craft project updates every Monday, Wednesday and Thursday!

Spotlight on… Dry Erase Blank Playing Cards

2015-04-27-FeatureImage

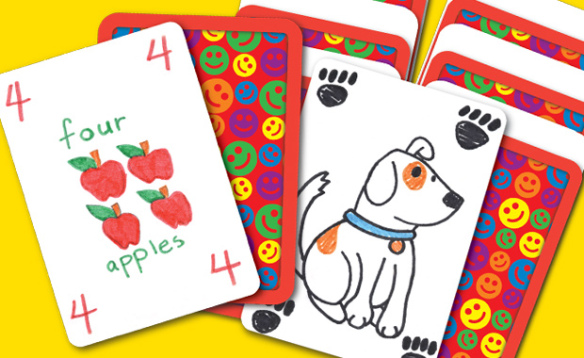
Play memory games, math games, traditional card games and more with our R49623 Dry Erase Blank Playing Cards

The cards are specially designed to be reusable because of the dry erase surface. Use dry erase markers to write numbers and letters or to draw illustrations. The writings and drawings will easily wipe off with a bit of paper towel or glass cleaner to restart the activity!

There are 60 cards in each pack, giving you enough value and quantity for group gameplay and re-use.

We will list two suggested activities for each type of playing card game based on 2 different subjects: math and literacy. These activities are based on card games that can be played from kindergarten to grade 2. We’ve added alternative suggestions to help challenge older students as well.

MATH

Explore numbers through quantity games and memory matching!

Pre-K to Kindergarten: Get a set of 10 playing cards. On one set of 5 cards, write each number between 1-5 on separate playing cards. On the second set of 5 cards, repeat the same process. You may draw little shapes or illustrations (such as squares or apples) to correspond with the number written on each card. Take the finished cards and shuffle them together, then place them face-down on a flat surface. Ask a student to pick the first card from the top of the deck, flip it over and say the number on the card out loud. Students can use the visual cues on each card to indicate the quantity. Instruct students to take each card they draw and place them face up onto a flat surface. If the next card they draw is different from the first, they must figure out if the card should be placed before or after the previous card. This will help students understand the placement of numbers along the number line. If they draw a card that’s the same as another card they’ve drawn, they must place the cards on top of the previous card to indicate that the numbers match. The game is over when all the cards have been flipped over and placed in their appropriate areas.

Grades 1-2: This game is for 2 players, but can be adapted for one. Create 3 sets of 10 playing cards with the numbers 1-10 written on each separate card. Shuffle the cards together and place face down in a deck. Take three more cards and write the addition (+), subtraction (-) and equal sign (=). Choose either addition or subtraction to be the main operation and place it face up in front of the students. Place the card with the equal sign to the right of the operation card. Ask each student to draw 4 cards from the deck. Whoever goes first must draw a ‘wild card’ from the deck and place it to the right of the equal sign. This number is the result that each player must try to match with an appropriate pair of cards from their hand. They can only choose two cards that must either add together or subtract from one another to match the wild card result. If the player cannot match any of the cards in their hand together, they must draw another card from the deck. The player to put down the first correct combination of numbers to match the result gets a point. Place used cards in a discard pile. Once all the cards have been drawn, or if a player has discarded all cards from his or her hand, the game is over. The player with the most amount of points wins!

LITERACY

Students can exercise their knowledge of letters and word combinations using the playing cards!

Pre-K to Kindergarten: Students in this grade level are just starting to learn about the letters of the alphabet. Write all the uppercase letters of the alphabet on separate playing cards. Write all the lowercase letters of the alphabet on a separate set of playing cards. Combine the set together and separately lay all the cards face down on a flat surface. The objective of the game is to find two matching pairs, the uppercase and lowercase letters. As the students flip over each of the cards, they must call out the name of the letter on the card. This will help students with letter retention. Once they have matched all the upper and lowercase letters together, the game is over!

Grades 1-2: Students in this grade level are able to put together short words to make simple sentences. To expand on this, write single words onto each of the cards. Use familiar words that your students have learned or are in the process of learning about. Include a variety of words such as nouns, verbs, adjectives, pronouns and articles. Mix up the cards and place them all face up on a flat table. Ask students to pick out a word and form their own sentence around it. Challenge older students to form a complete sentence using only the words on the playing cards! What kinds of cool sentences can you come up with?

You can form your own playing cards that are useful for playing games such as Go Fish, Concentration or Memory… and you never have to worry about how to work your lessons around a specific type of resource.

Line-09

Like us on FacebookShare this post with your friends, or Subscribe to this blog today to receive original craft project updates every Monday, Wednesday and Thursday!

Word Mobile

word mobiles

Inspire learning through literacy! Just in time for this month’s Literacy Day, we’re celebrating the power of words with our Word Mobile!

Age: 5+

Duration: 20-30 minutes assembly, 1-2 hours drying time (or overnight)

Learning Objectives: Learn letter recognition through coloring in die-cut letters. Explore word and letter games. Infuse art into literacy through painting and letter design. Create neat typographic patterns, colors and effects with letters.
word mobiles

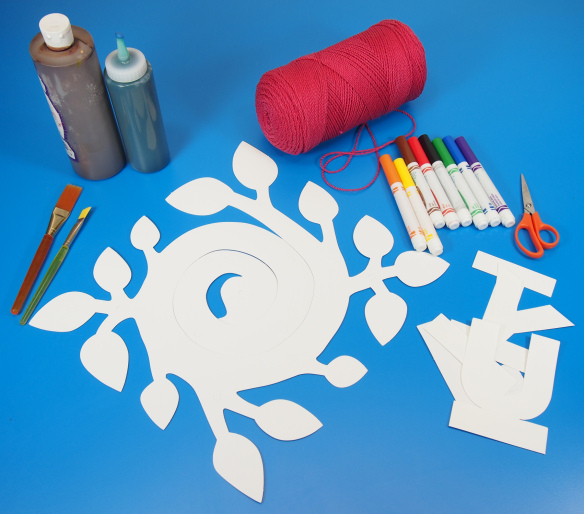
You’ll Need:

R51302 Nature Mobile Maker

R49702 Stand Up Letters

• Markers

• Scissors

• Paint

• String

• Hole punch

• Paint brush

• Paint tray

Line-18

word mobile

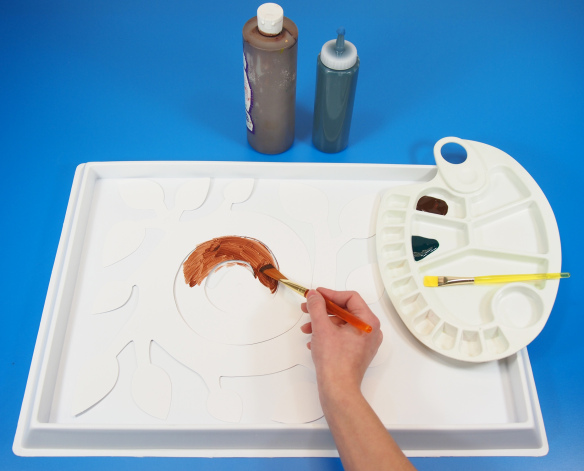
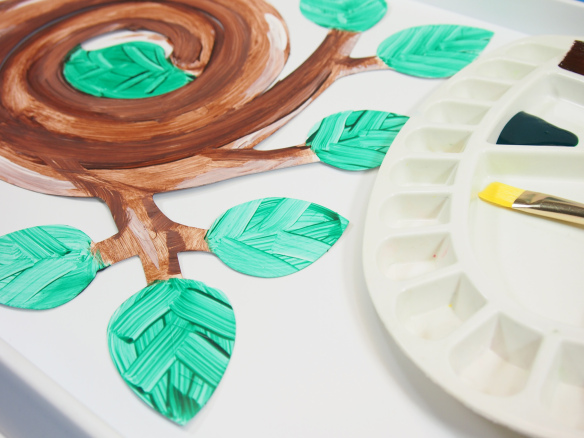
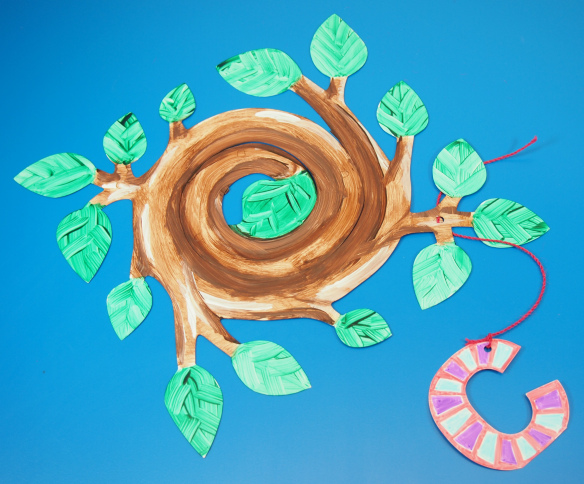
To start, pop out the Nature Mobile Maker from its card backing and place inside of a paint tray. Choose a bit of brown tempera paint to color in the branches of the nature-themed mobile. Make broad, even strokes throughout the length of the winding branch. Go back a second time with some added paint to darken the inside edge of the branch. Use a bit of white or light brown for highlights.
word mobile

To pain the leaves, use green paint. Dab a generous amount across each leaf to cover it completely. Use the flat end of the brush to swipe once across the middle of the leaf. Add vein details! From the middle line, flick the brush outwards diagonally to the opposite edge. This gives the leaves a very real, textured appearance.

Leave the mobile to dry for 1 hour.
word mobile

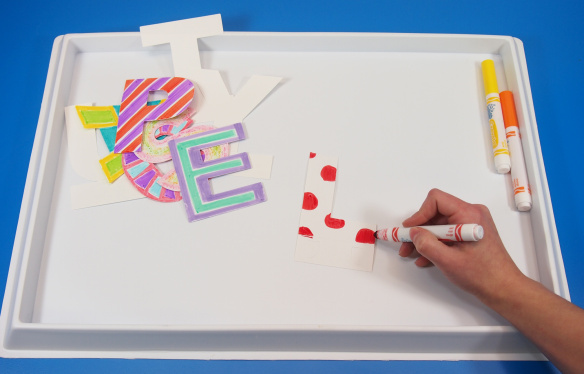
While you are waiting for the mobile to dry, pop out the Stand Up Letters from their card backings. Use markers to decorate both sides of each Stand Up Letter. Choose an assortment of vowels and consonants, as you can use the mobile for a literacy game that I’ll elaborate on at the end of this post!
word mobile

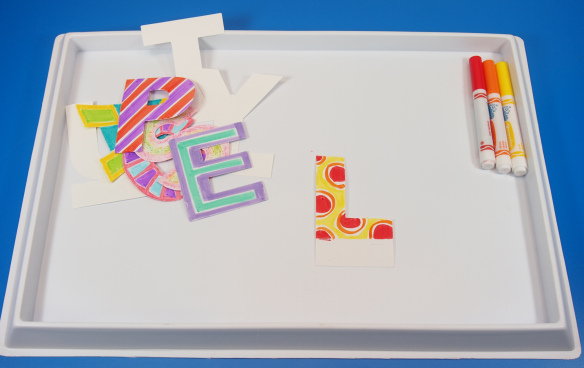
I’ve patterned the letter L with some pretty polka-dots. Make sure your patterns are bright and colorful so that they appear to catch your eye!
word mobile

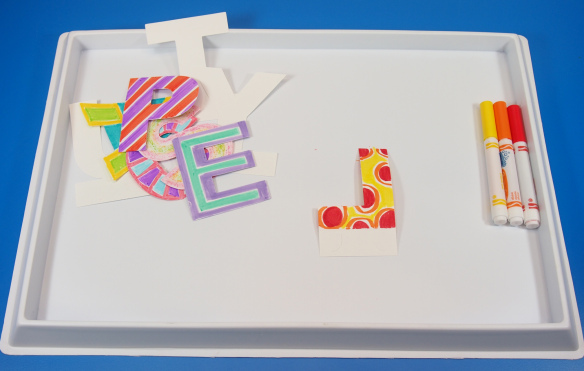
Don’t forget to color the opposite side too!
word mobile

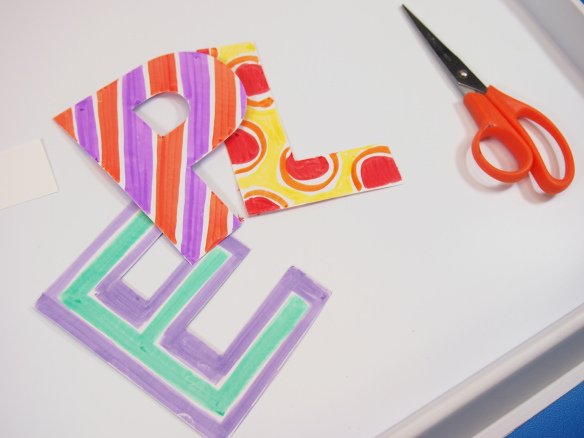
Prep your letters for the mobile. Cut each of the letters from their card stands.
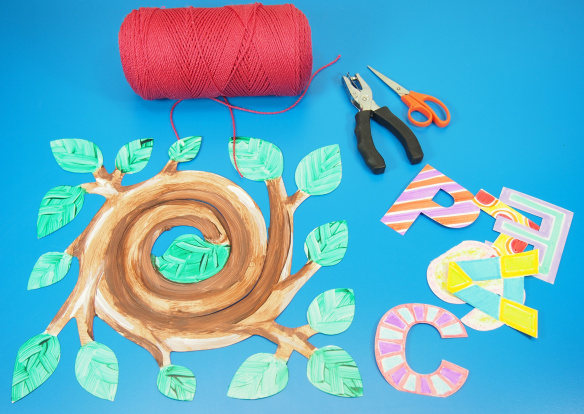
word mobile

By this time, our Nature Mobile Maker is finished drying. Let’s assemble the mobile!
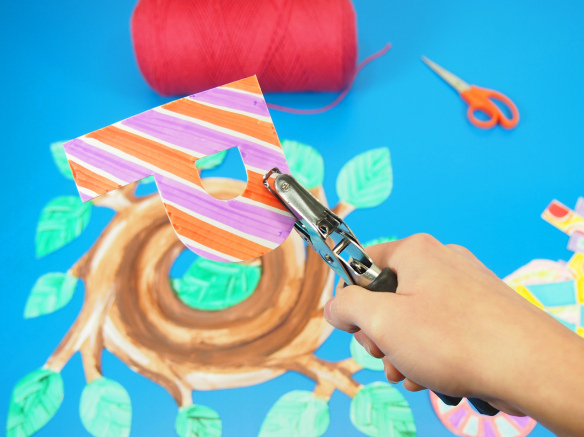
word mobile

Punch a hole through the top of each letter. You can position the hole anywhere you like to give the letters a bit of variation as they dangle.
word mobile

Cut varying lengths of string and attach to each letter.
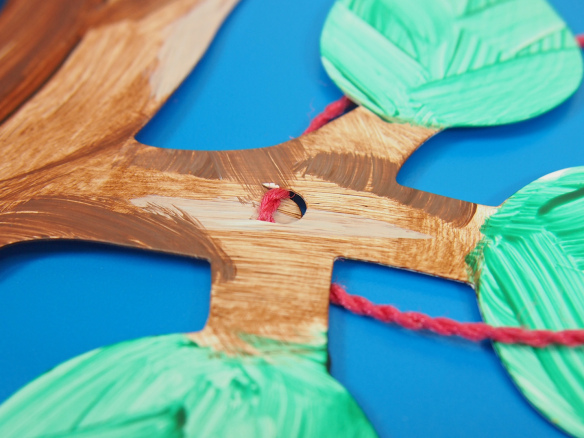
word mobile

To make use of the no-tie mobile feature, push down on the tabs cut into the center of each branch. Slide the top of the string through to the back, then press the tab back up to secure.
word mobile

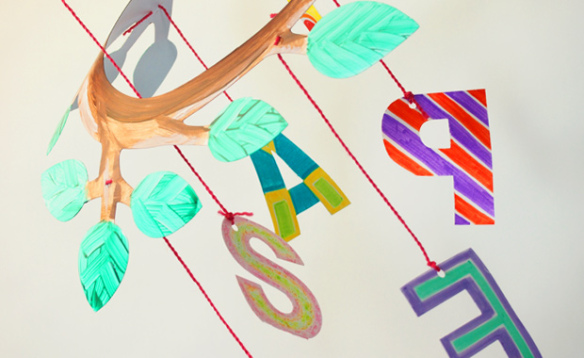
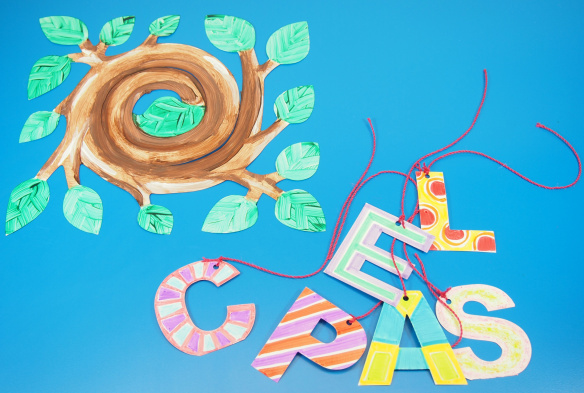
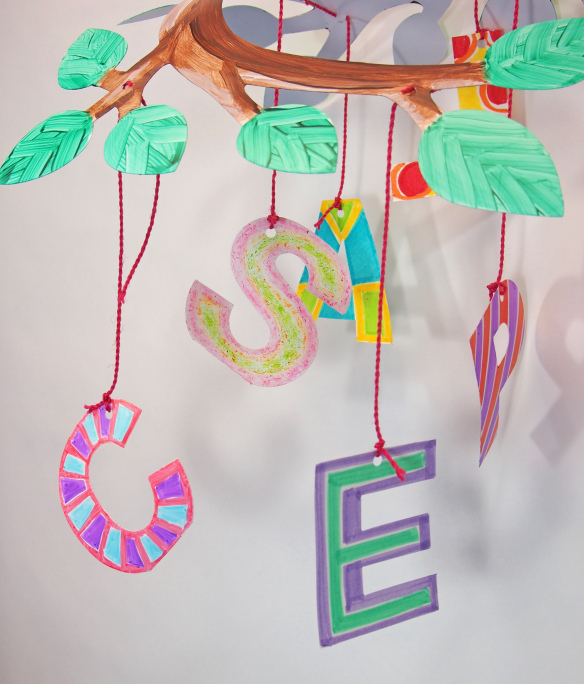
You want it to look something like this!
word mobile

Hang your mobile up from the ceiling above your students’ desks. As the letters twirl around, they will be easily visible from anywhere in the classroom! Depending on what kinds of letters are combined together you can ask students to do the following literacy exercises:

• Keep things simple for younger students. Ask them to identify which letters are vowels and which are consonants.

• Practice repetitive writing or exploring cursive writing by selecting one or two of the letters and writing them on a sheet of paper.

• Organize the letters to represent the first letter of each student in a group of desks.

• Older students can try to form different combinations of words from the letters attached to the mobile. For instance, the letters in the image above can be used to spell the word “SPACE”!

• Use the letters as starting points for writing acronyms or poems!

Line-18

Like us on FacebookShare this post with your friends, or Subscribe to this blog today to receive original craft project updates every Monday, Wednesday and Thursday!

Spotlight on… Poet Tree

2015-02-23B-FeatureImage

Say something nice for Poetry Day this March!

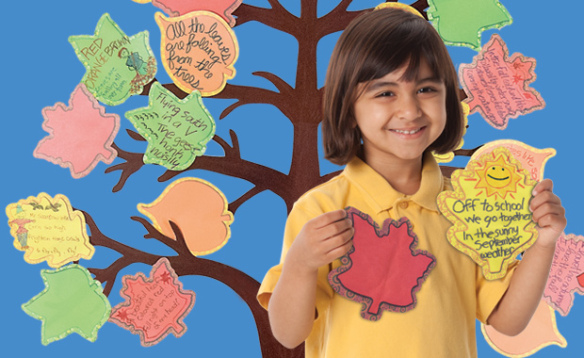
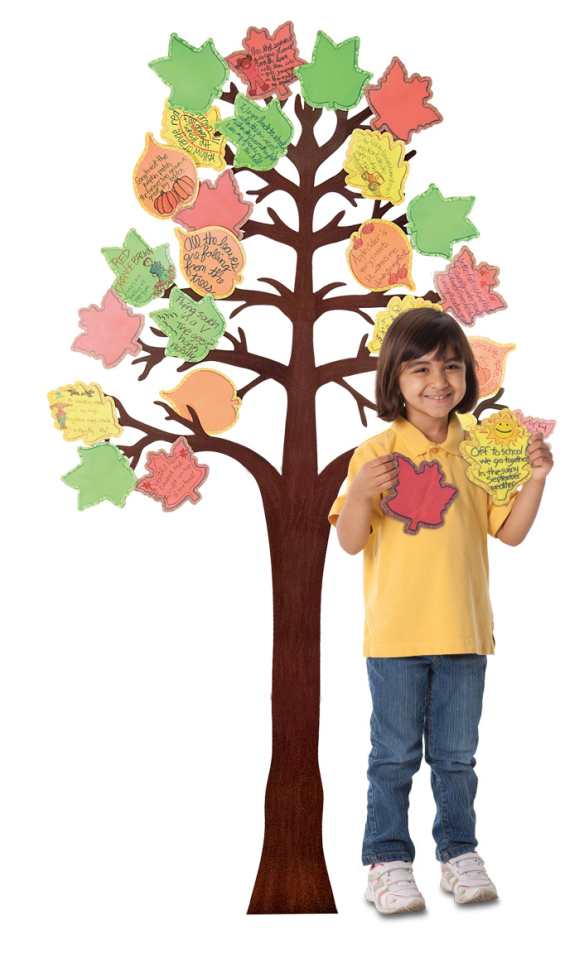
The R49132 Four Seasons Poet Tree comes with a full set: 32 beautiful leaf shapes in an assorted range of colors and a full sized classroom poetry tree on which to pin the leaves.

Mount the tree up on a wallboard in your classroom in a space that can be prominently seen. Tell students that the tree represents their knowledge of literacy. Anything that uses words in a descriptive way can be written onto the leaves and tacked up on the tree for everyone to see! This will fill up the tree to make it look bright, colorful and beautiful.

49132-Four-Seasons-Poet-Tree-art

For early years, focus on writing simple descriptive words and attaching those to the tree. For example, you could ask students to think of a word to describe how their day is going or what the weather is like outside. Use crayons or markers to add some color to your writing!

You can also use the tree as a base for introducing students to each other at the beginning of the school year. Give each student a leaf and tell them to write their name and birth date on it. Tack up the written leaves onto the tree and arrange them by succession according to students’ birthdays. This helps to keep track of everyone’s birthday, a bit like a birthday chart!

Older students can write a more sophisticated piece that relates to their current studies in literacy. If you were teaching your students how to write topic sentences for paragraphs, use the leaves as mediums for writing example topic sentences. Students can add to the topic sentence to make a complete paragraph!

Additionally, explore lessons in poetry with the use of descriptive words. You can introduce the students to this activity by asking them to write a random word that comes to their heads on the leaves provided. Place the words around the tree. Give each student scrap paper to write on. Ask them to observe the words on the tree and use the words as inspiration for descriptive writing. Perhaps students can write a short story or a poem about the words they see. There are so many different literacy exercises you can adapt to your classroom with the Poet Tree!

Line-06

Like us on FacebookShare this post with your friends, or Subscribe to this blog today to receive original craft project updates every Monday, Wednesday and Thursday!

Educational Light Cube: As Furniture?!

2014-09-25-FeatureImage

Yes, you heard right! Our R59601 Educational Light Cube can be used as a wonderful furniture addition to your classroom! The sturdy design makes it perfect not only as a table at the play center, but as a stool, a climbing base and more. 

We recommend placing the Educational Light Cube in a ‘quiet’ location, such as a reading area or playtime corner. It’s a good idea to have the cube fully charged before allowing students to use it as a furniture piece. Charge up the cube the night before to ensure that it has enough battery life (3-4 hours) to be used in the main classroom area. This eliminates the need to leave the AC adapter cord lying on the floor–if you have to have the Light Cube plugged in, tape down the cord or place a cord cover on top to prevent it from becoming a trip hazard.

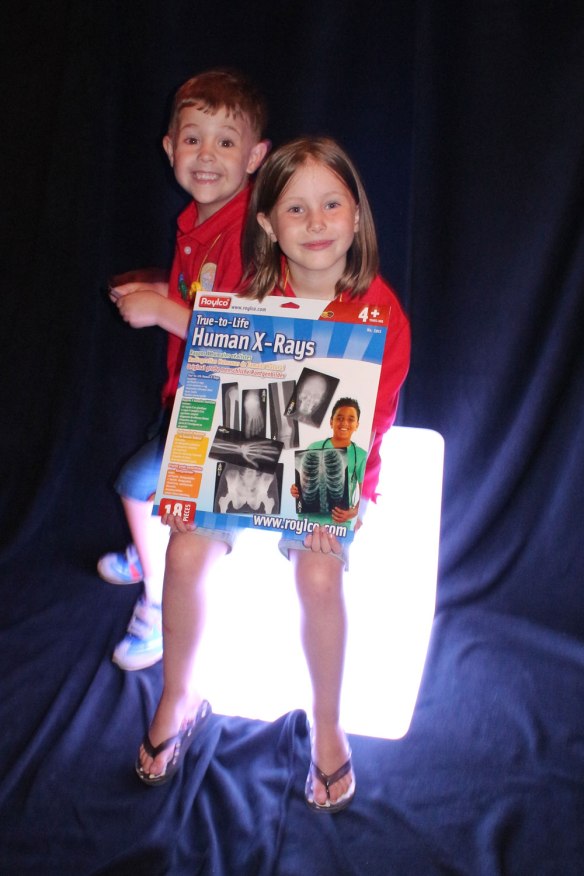
IMG_8738The Light Cube is a great complement to a variety of educational resources such as x-rays, overhead projection sheet activities and much more!

IMG_8745

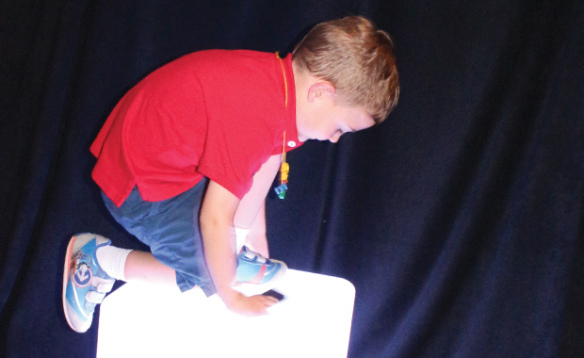
The Light Cube doesn’t stand too far off the ground and is sturdy enough to support the weight of a student on it. As a result, it can be used as a light platform. Plus, it is the perfect height–not too high, and not to low! Students can easily kneel at the Light Cube and get the full benefit of being able to experiment with light as they manipulate the materials on top.

IMG_9826

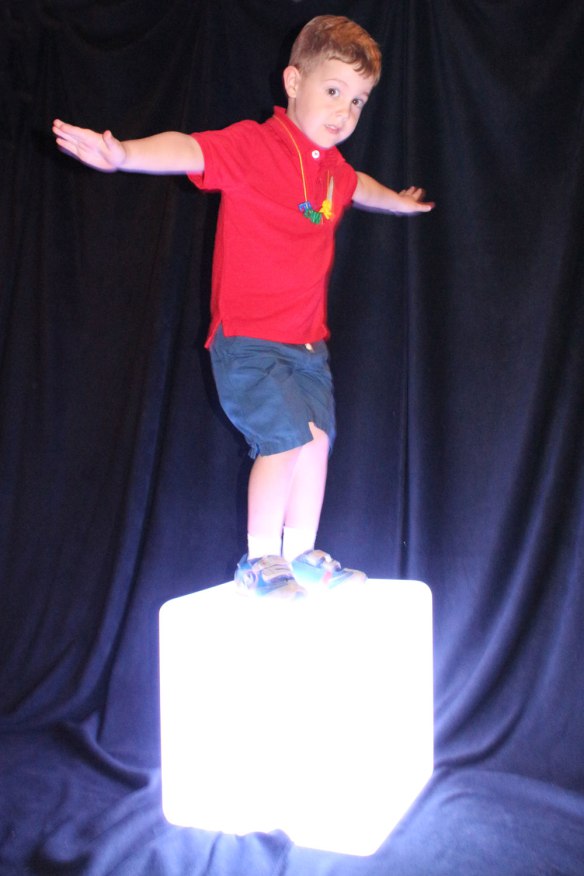
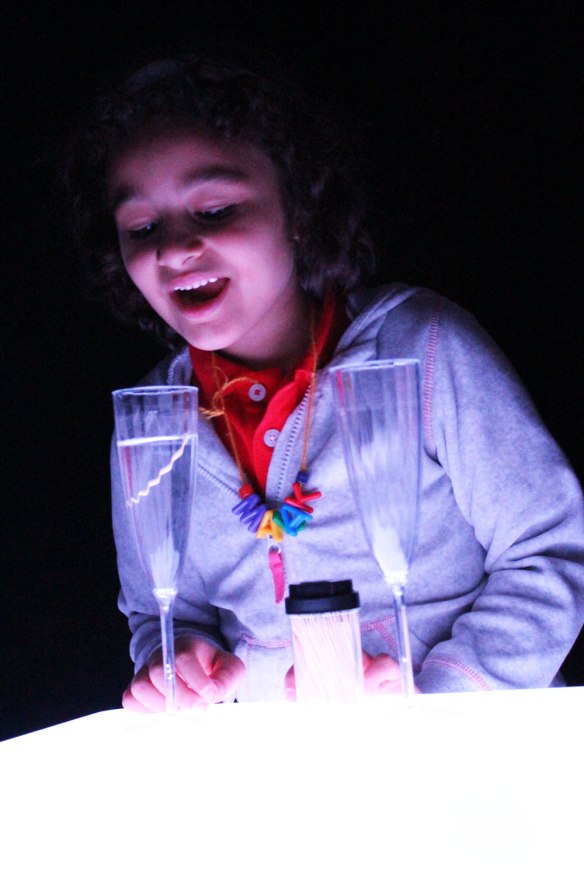
As students become more familiar with the Light Cube, they can extend their learning to incorporate gross motor as well as fine motor skills. Stand or sit up on the Light Cube to measure the size of your feet in comparison to an R5911 True to Life Human X-Ray foot, just like this student did! Or play Light games around the cube! Play memory games and hide various objects under cups, then shuffle them around. There’s tons of things to do on the Light Cube… just using it as a furniture piece alone is lots of fun!

Line-08

Like us on FacebookShare this post with your friends, or Subscribe to this blog today to receive original craft project updates every Monday, Wednesday and Friday!

Rose-Colored Masquerade Glasses

2014-09-17-FeatureImageSee the world through rose-colored glasses with R52023 Masquerade Glasses! 

Age: 4+

Duration: 15 minutes

Learning Objectives: Develop fine motor skills with tracing and cutting out mylar “lenses.” Use the Masquerade Glasses for dramatic play activities and for encouraging shy students to coax out their inner actor!

You’ll Need: 

R52023 Masquerade Glasses

• Pink markers

• Pink mylar sheets

• Glue

• Scissors

Line-10

The Masquerade Glasses are perfect for encouraging students to participate in dramatic play.

OLYMPUS DIGITAL CAMERAPick a few coordinating marker colors. If students need to work out their design for their Masquerade Glasses, give them scrap paper to doodle on. You can find the plastic sheet “lenses” at your local office depot store as transparency sheets that you would use for light projectors.

OLYMPUS DIGITAL CAMERAThe Masquerade Glasses need to be popped out from the card backing.

OLYMPUS DIGITAL CAMERA

You can use the insides of the eyes as embellishments for the Masquerade Glasses.

OLYMPUS DIGITAL CAMERAColor in your Masquerade Glasses with the markers.

OLYMPUS DIGITAL CAMERANext, you will need a transparency sheet. Test out several of your pink markers to see which will produce the best “pink lenses” effect. Simply rub the marker tip tightly across the transparency sheet. Lift the sheet up to your eyes and look through them to see if the lenses are clear enough to use. Use a lighter color if your chosen marker color blends too much and is too opaque.

OLYMPUS DIGITAL CAMERACut out a strip of the colored transparency sheet. You can color in an entire sheet and cut out smaller strips for each of the students.

OLYMPUS DIGITAL CAMERANow we can get ready to add the lenses to the glasses!

OLYMPUS DIGITAL CAMERATo do this, first flip your Masquerade Glasses upside-down!

OLYMPUS DIGITAL CAMERAPlace the strip of pink-colored transparency sheet on top so that it covers both of the eye holes.

OLYMPUS DIGITAL CAMERACut the transparency sheet down to two squares that fit directly over the eye holes.

OLYMPUS DIGITAL CAMERASpread some glue around the edges of the eye holes. Press a square sheet on top of each eye hole.

OLYMPUS DIGITAL CAMERAFlip over, and voila! Your pink-lensed glasses are ready!

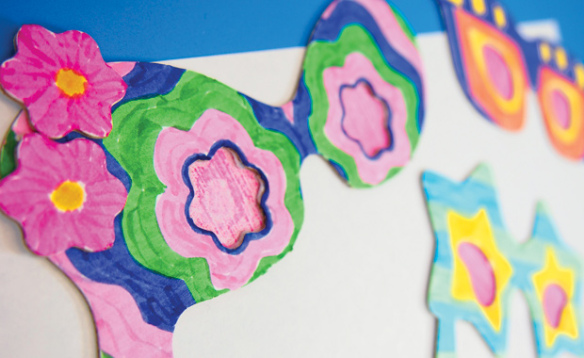
OLYMPUS DIGITAL CAMERAHere’s a look at the great variety of pink-lensed Masquerade Glasses you can make! Use the glasses to experiment with different lens effects. Try out different transparencies with a variety of marker types to see which works best in creating your own pair of cool “shades.”

Line-08

Like us on FacebookShare this post with your friends, or Subscribe to this blog today to receive original craft project updates every Monday, Wednesday and Friday!
Welcome to the Light Cube!

2014-10-09-FeatureImage

We at Roylco are excited to launch our new series of posts about our brilliant Educational Light Cube! Check us out every Thursday for a brand new look at our sensory-engaging light box… and all the amazing things you can do with it. Let’s get introduced!

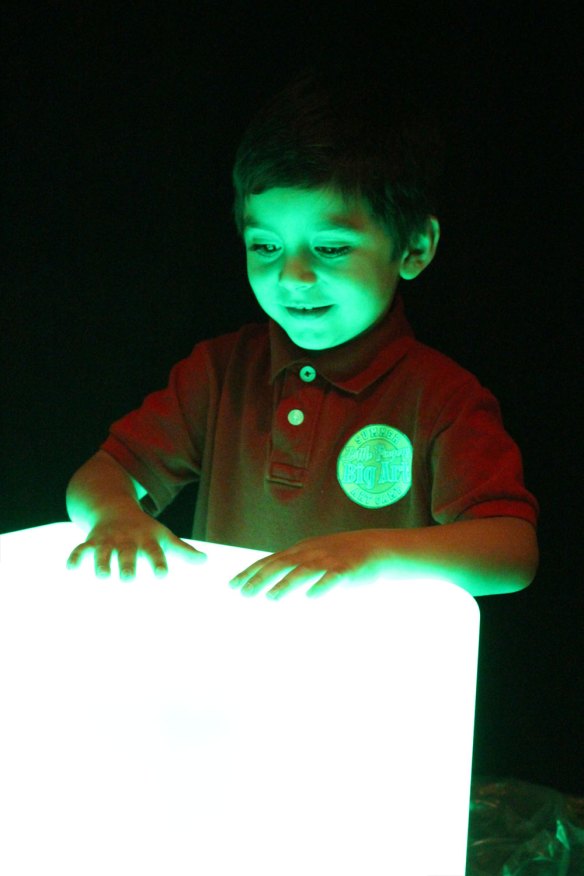
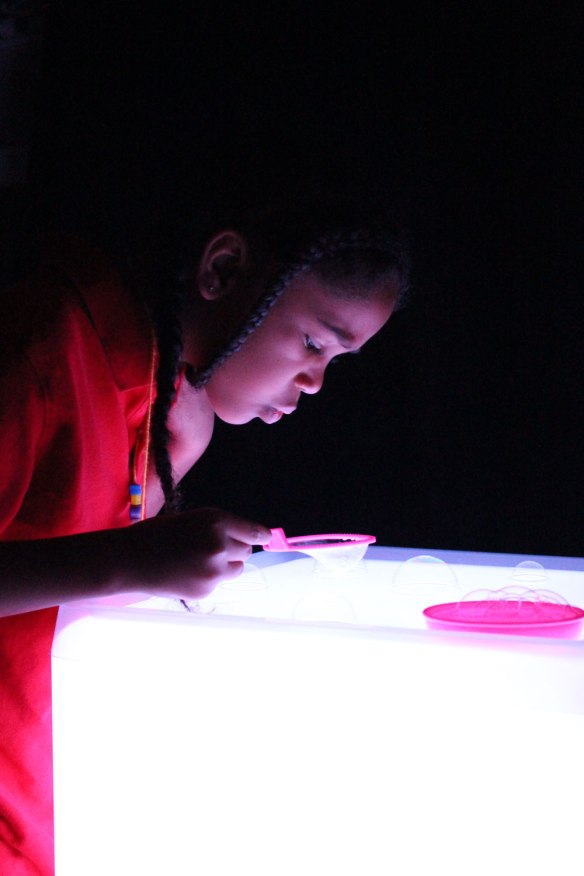
IMG_0123The R59601 Educational Light Cube is a sensory base that can be used for a variety of activities! Place different materials onto the Light Cube and turn the unit on. You will notice a bright, beautiful glow emitting from the Light Cube and illuminating the objects on the cube. This is a great way to engage children who would not normally respond to these materials in normal light conditions.

IMG_0247The cube has a water-resistant surface that can easily be cleaned with warm water and soap. This makes it a great base for water-based sensory activities and painting activities.

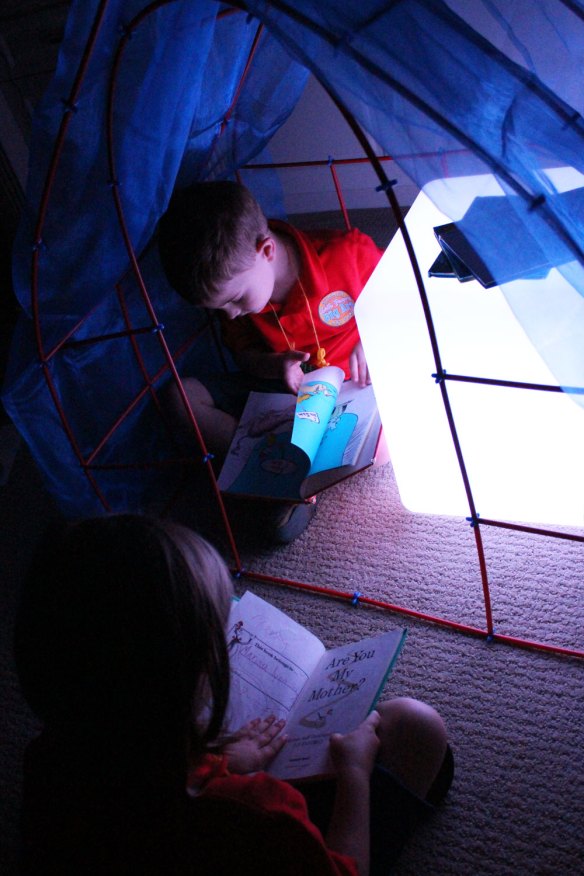
IMG_0385The Light Cube is portable, durable and a great addition to your classroom! Use it as furniture or to illuminate a low-light area, such as a reading fort.

IMG_0409Cycle through multiple light colors using the accompanying remote. There are 16 colors in total. You can make the colors strobe, flash, fade and smoothly transition between each one.

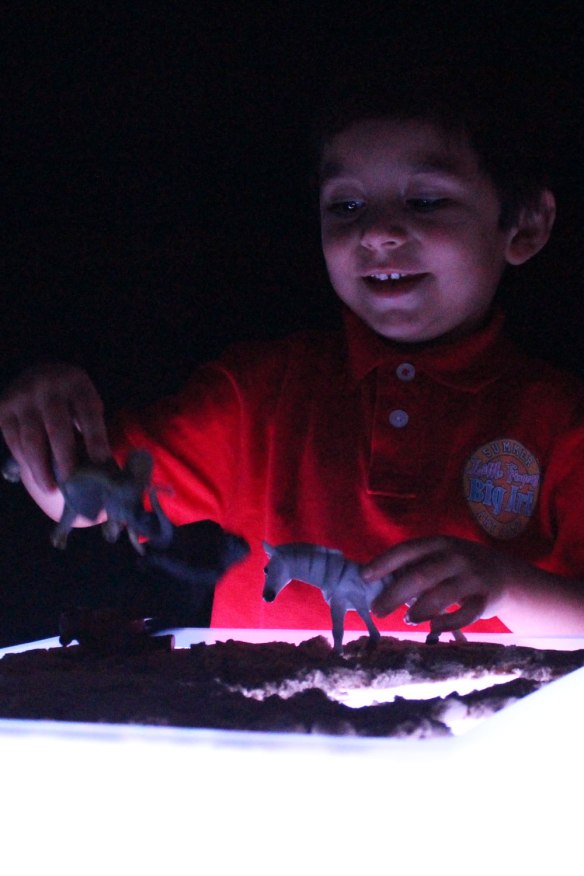
IMG_0463You can use the Light Cube to engage students in virtually any lesson plan using simple materials already in your classroom. Set up environments like this one, with animal figurines and gravel! Kids will love playing with the different sets.

IMG_0595Use the Light Cube to arrange math manipulatives on the surface. Students focus best when their attention is directed on one thing at a time, and the Light Cube does just that with its soft glow.

IMG_0632It engages students to experiment with different materials and view the effects of color-changing light!

IMG_0730

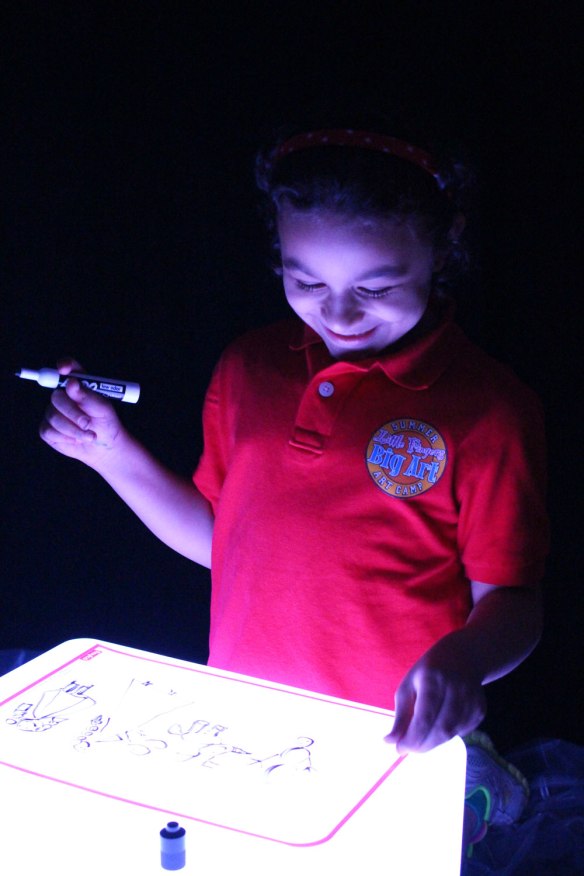
Practice writing skills!

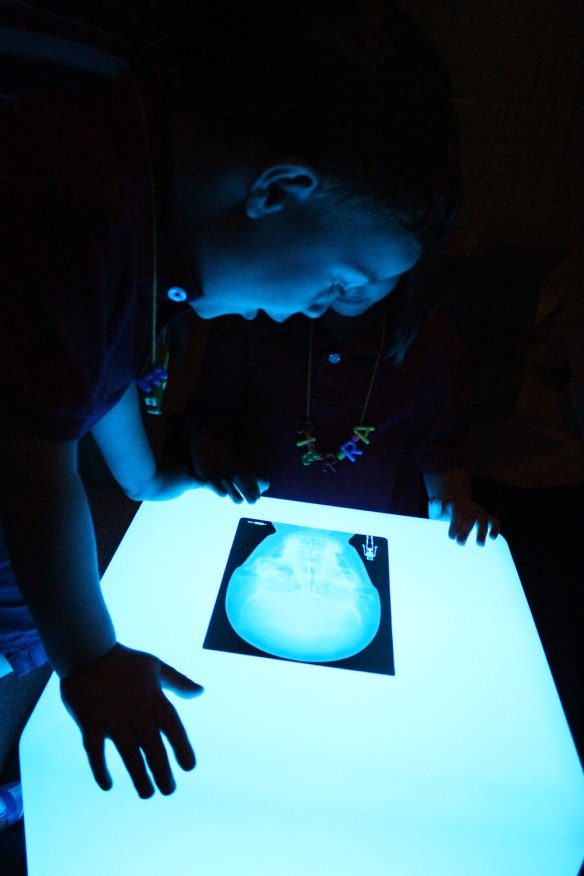
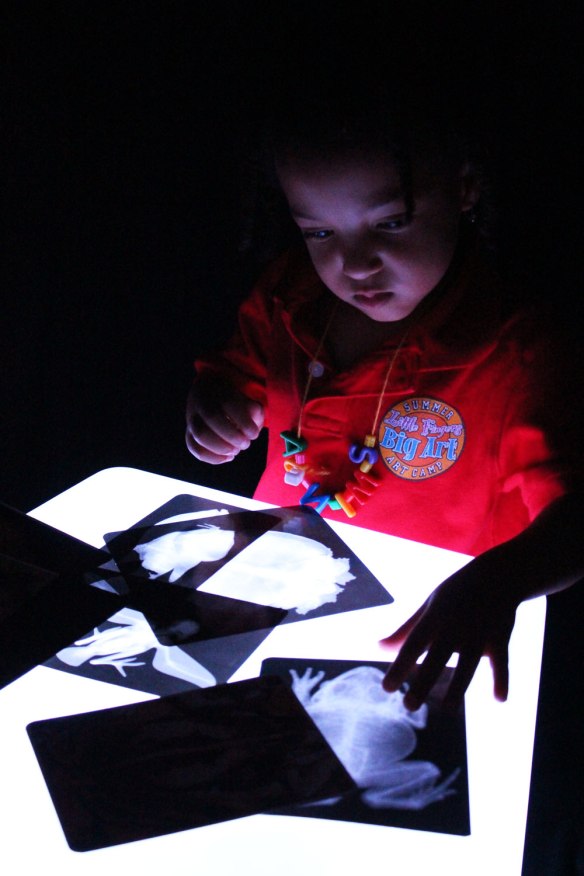
IMG_8785Observe new concepts on the Light Cube, such as human or animal anatomy using our range of x-ray products!

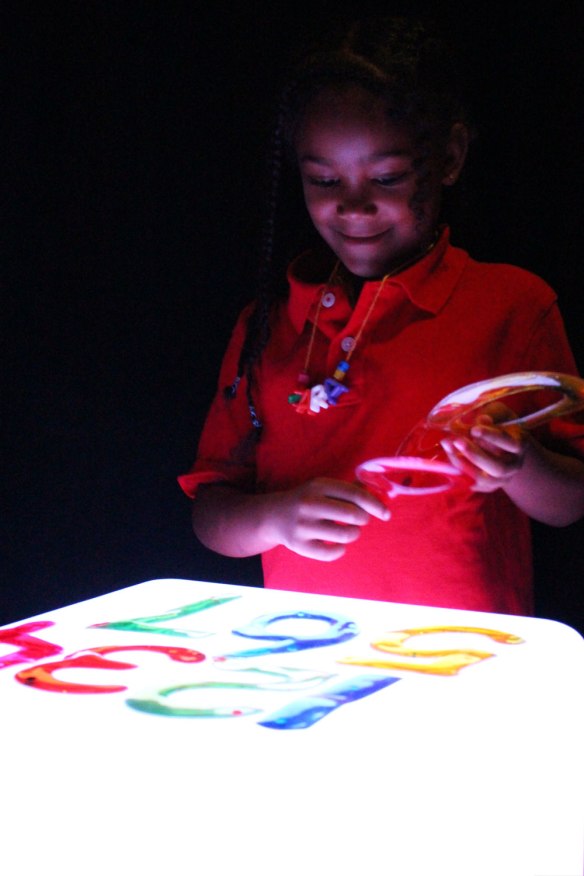
IMG_9303Test out new sensory materials such as gel-stickers! These materials feel great on little fingers, and illuminate well on the Light Cube.

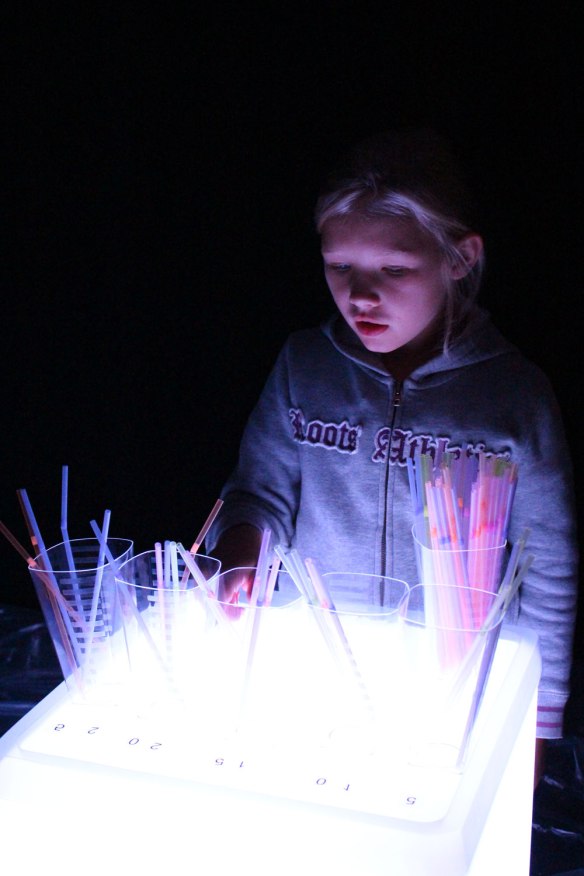
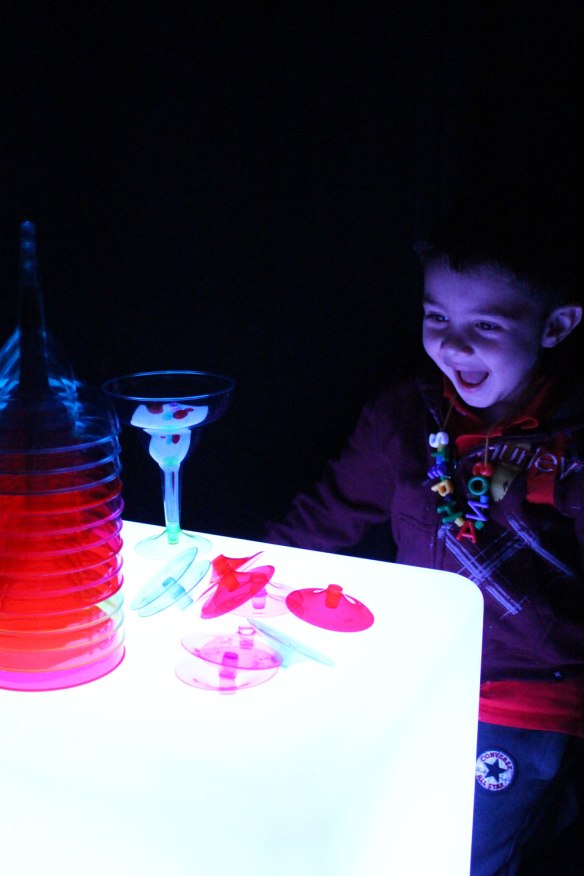
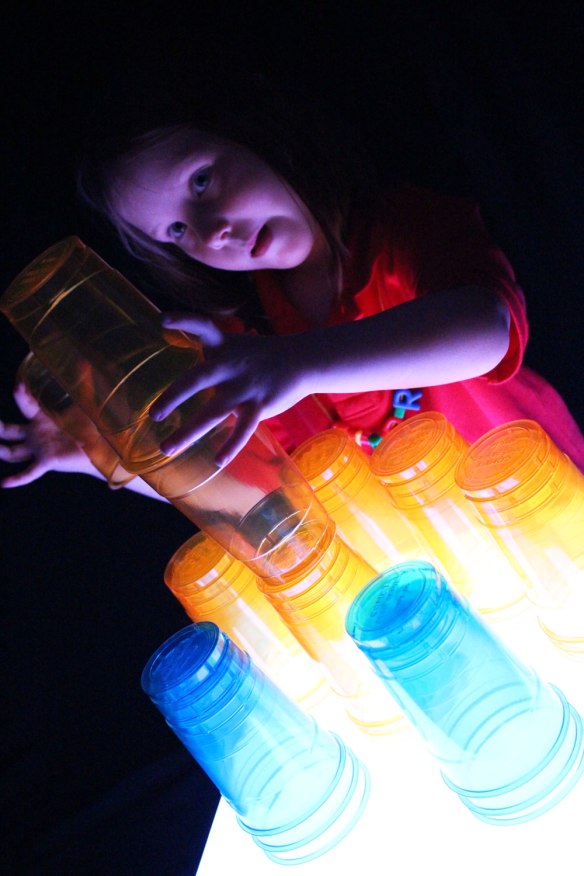
IMG_9355Stack ‘em up and knock ‘em down! Try out a range of building materials, such as clear plastic dollar store cups, to build your tallest colorful towers!

IMG_9484Keep your students engaged in light exploration with soft-glow lighting. Make a small fort for reading, playtime, math activities and more to amplify the effect of the Light Cube.

IMG_9508Explore what’s inside unique animal specimens!

IMG_9549Older students can join in the fun, too! Set up the Light Cube in a darkened area, and give your students tracing paper and pencils to work with. While using the Light Cube as a tracing light box, students can easily check their work and develop their own creative ideas.

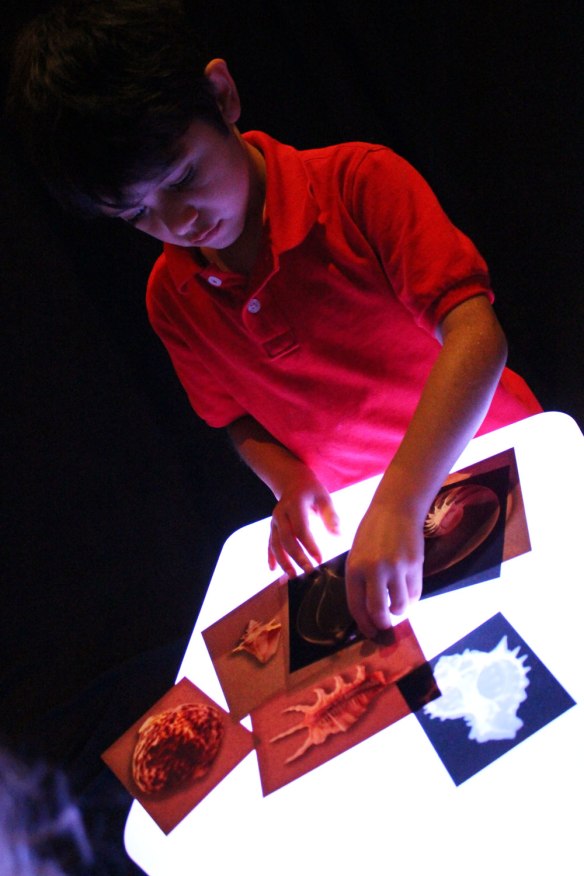
IMG_9615Match up transparent sheets that are printed with various images. Here, we’ve showcased our shell x-rays.

IMG_9745Students will love watching colors leap right off the Light Cube. They can use the materials to build fantastic structures or simply observe the effects of light on color.

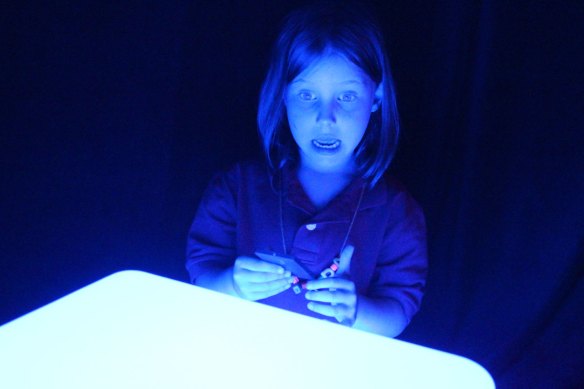
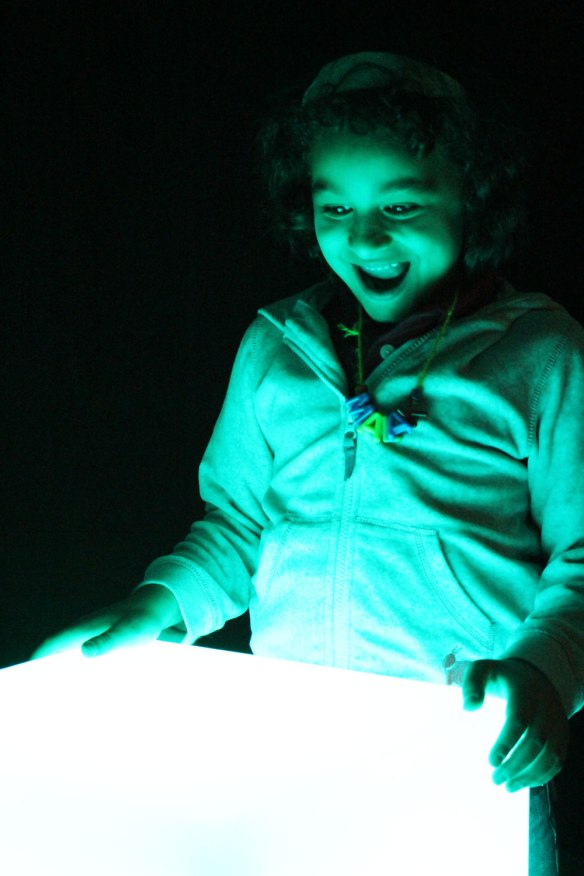
IMG_9813Turn on the strobing lights to get amazing responses like this one!

IMG_9915And this one! The Light Cube does it all… delight, entertain, educate and stimulate with its sleek design, bright, colorful lights and durable learning surface.

IMG_9931We’re sure you will delight in your very own Light Cube as well! Visit our Roylco Store for more details or contact your local toy/educator retail store to get your Light Cube today!

Line-20

Like us on FacebookShare this post with your friends, or Subscribe to this blog today to receive original craft project updates every Monday, Wednesday and Friday!

Craft Spotlight: My Very Own Puppet Theatre

2014-06-23-FeatureImage

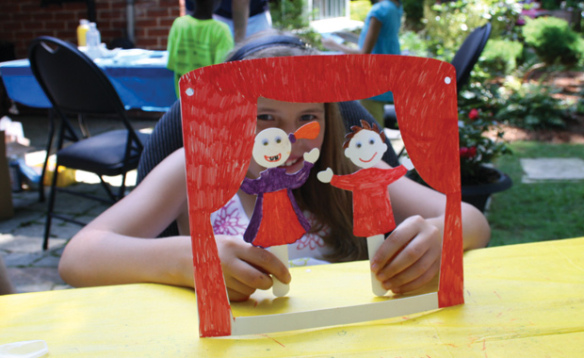
Play and perform with your personalized puppet theatre! The projects are die-cut to look like theatre curtains and come with two puppet cutouts to decorate and use as characters in your very own play!

R39201 My Very Own Puppet Theatre projects are each hole-punched on either side so they can be threaded with string and worn like a great big necklace.

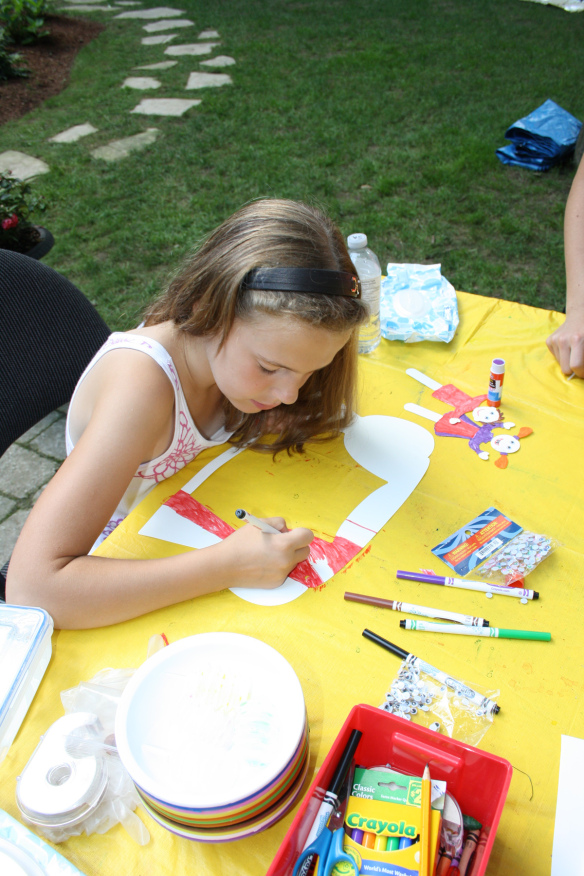
IMG_7717First pop out the puppet theatre from the backing. Color in the theatre with bright marker colors, like red or purple! Color in the puppet characters as well. The characters are cut with a handle so they are easy for kids to hold.
IMG_7727

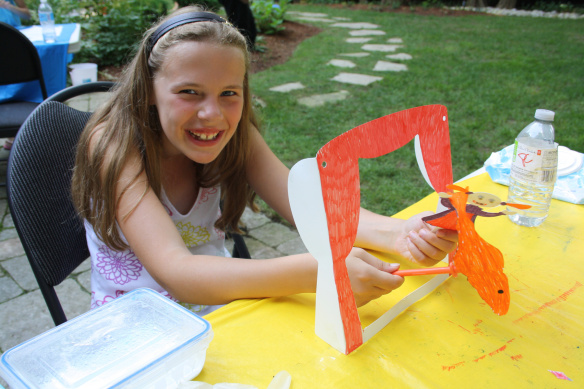
One of our art campers came up with an idea to make her own puppet character. She used card to cut out a fish shape, colored it in, then attached it to one of our Goo Spreaders! Your students can experiment with different ideas like this.

R39201

Kids can wear the puppet theatre and perform puppet plays anywhere! Read the Puppet Theatre full web guide here to discover curriculum connections and great activities for the classroom.

Line-05

hanks for checking out this post! Like us on FacebookShare this post with your friends, or Subscribe to this blog today to receive original craft project updates every Monday, Wednesday and Friday!

The Differentiated Kindergarten blog uses our Manuscript Letter Beads!

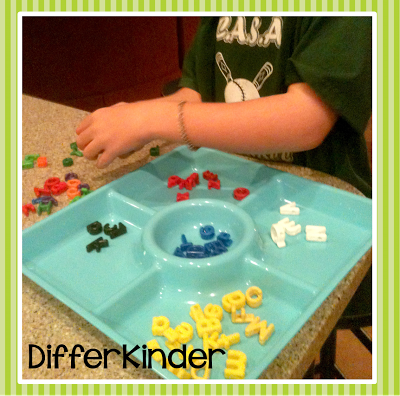
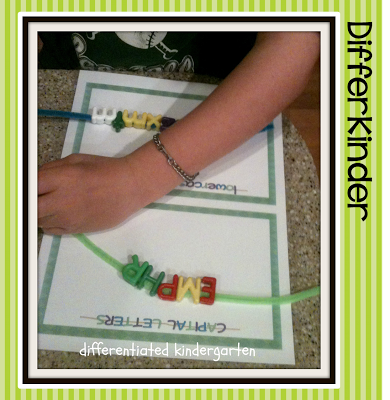
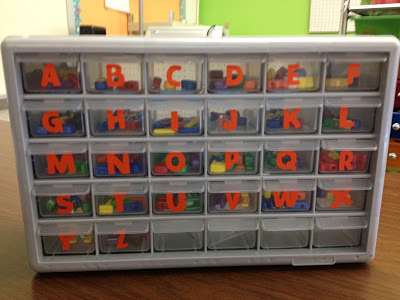
Students will love being able to see their numbers and letters up close! These sturdy, colorful beads can be strung on thread or sorted into trays just like the photo above. Use the beads to teach number and letter recognition using visual and tactile approaches. Like blogger Marsha states, the beads aren’t simply beads, because “the bead IS the letter”! 

Blogger Marsha published her post on July 12, 2013. The post is entitled, “Beads Glorious Beads!!!” Check out the full blog post here!

As the post shows, the Manuscript Letter beads come in two formats: Lowercase and Uppercase.

To order our products, visit our website here or click on the following links to locate our products:

• Manuscript Letters (Uppercase)

• Manuscript Letters (Lowercase)

Number Beads

The Manuscript Letters can be used for a variety of projects or in educational lesson plans. Great for introducing letter and number recognition, the Manuscript Letters and Math Beads come in a variety of bright and fun colors that students will love to work with.

String up the letters to make bracelets or necklaces! Tie a knot in between each new threaded letter to keep them from bunching up, or use pony beads to separate the letters when spelling multiple words.

Use the letters for Bingo games! Play a variation of Bingo called Lingo (Letter + Bingo)! Draw a 4 x 4 square grid and write a random selection of letters on it. Distribute the graph cards among students and provide a handful of letters for the students to use. When a random letter is called out, students must search through their letter supply to find the correct letter. The first person to call out Bingo must have a row of 4 letters with corresponding letter beads!

One of Marsha’s activities involved separating a handful of letter beads into consonants and vowels or lowercase from uppercase. To really increase students’ letter comprehension, you can ask them to make words from the jumbled uppercase or lowercase letters!

Marsha even designed a lovely little cubby area to store all the letters inside. You can customize the storage area to hold letters as well as numbers or to differentiate between upper and lowercase letters.

Thanks to Marsha for this insightful post!

Images and original post © This Little Class of Mine

This post was not sponsored for a review. At LittleFingersBigArt, our mission is to present to our readers and viewers the newest and most creative craft ideas that fans of Roylco have made on their own. Our goal is to allow you and other educators and parents to reuse our products in fun ways so that children always get the best educational experience from them!

We’d love to see more ideas like this one! If you’ve got a brilliant craft idea or have made a version of one of our crafts that you would like to share with us, send an email to us with photos, descriptions or a link to your work. We will create a feature post and link back to you with full credit. Contact us through the contact form for more details. We’d love to hear from you!

Line-05