Summer Birdcage Craft

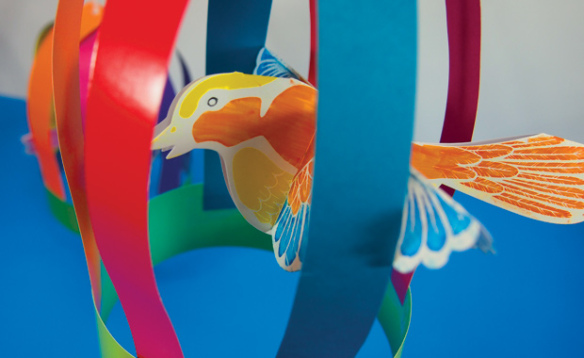
2014-06-18-FeatureImageA craft birdcage makes a great take-home craft and adds a nice finishing touch to the Color Reveal Birds project.


Age: 5+

Duration: 20 minutes

Learning Objectives: Practice scissor skills while cutting paper strips. Exercise fine motor skills through continuous coloring motions. Observe amazing changes in the appearance of artwork through special color reveal technology.

You’ll Need:

R75504 Color Reveal Birds

R22052 Double Color Sheets

• Scissors

• Ruler

• Pencil

• Markers

• Hole punch

• Tape

• Yarn

Line-19

The best part about making this birdcage is that you already have the main centerpiece–the bird–made up from the Color Reveal Bird project, so you don’t have to spend extra time looking for and cutting out templates to color in. Simply color in and wrap up in a colorful birdcage!

P6109512

In case you missed the earlier Craft Spotlight post, I’m going to show you just how to put together your Color Reveal Bird first.

P6109516

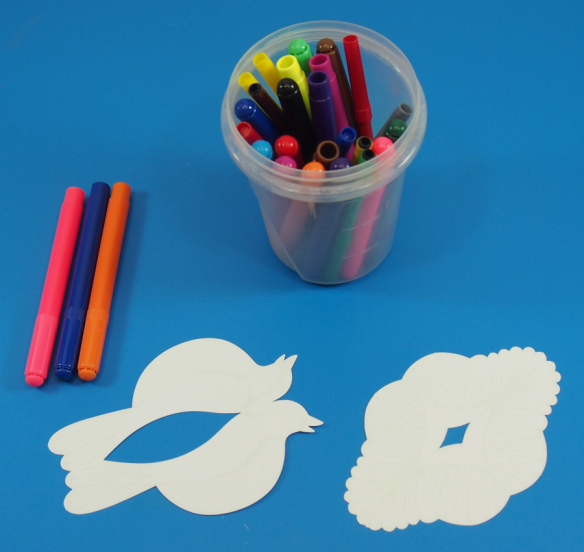
Choose your marker colors!

P6109523

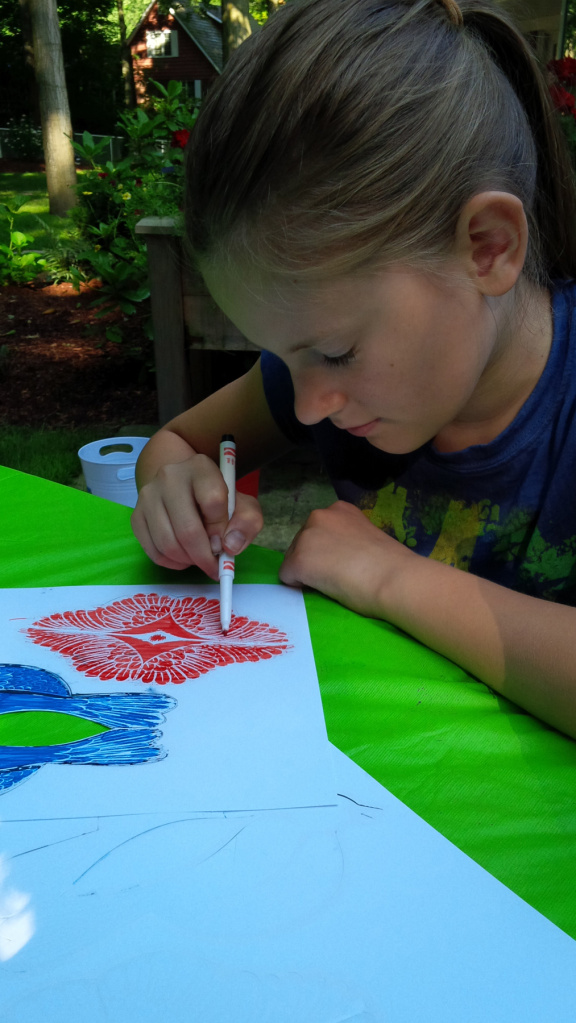
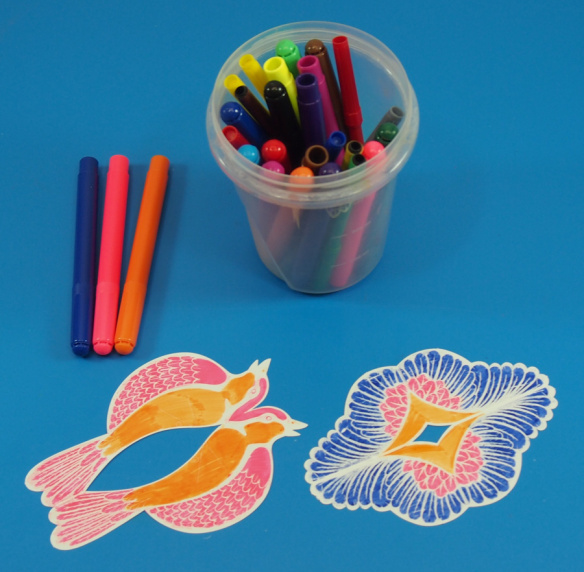
When you rub the marker across the surface of the bird body and wings, you’ll start to see a beautiful design appear!

P6109526

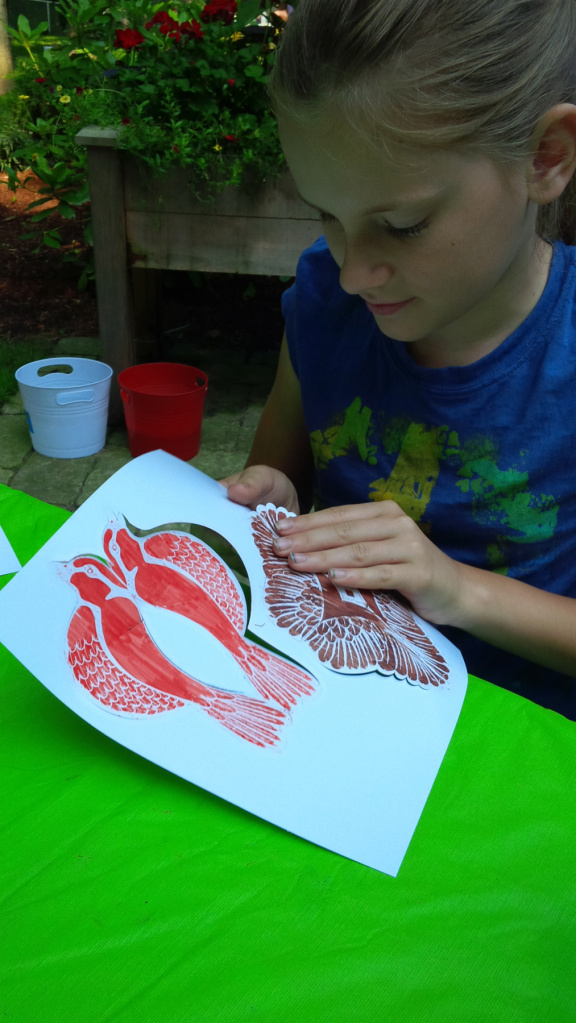
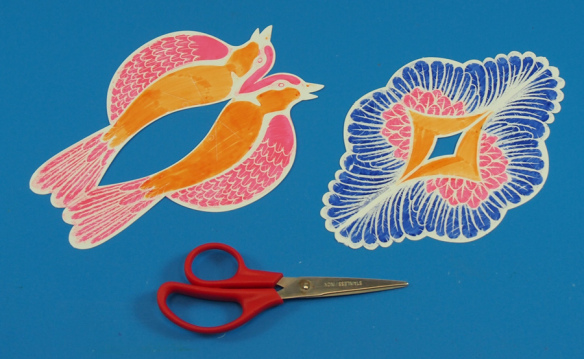
Once you have both pieces fully colored in, you can start to assemble them. For this step, you will need a pair of scissors.
P6109528

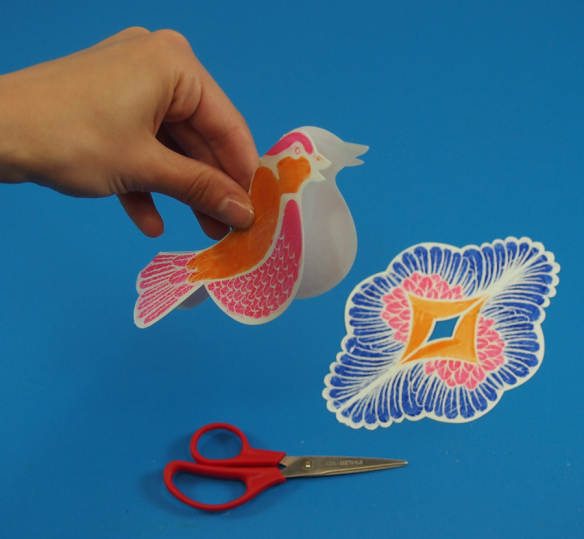
First, let’s fold the bird body and wings in half. Both pieces are scored along the middle so folding should be easy!

P6109533

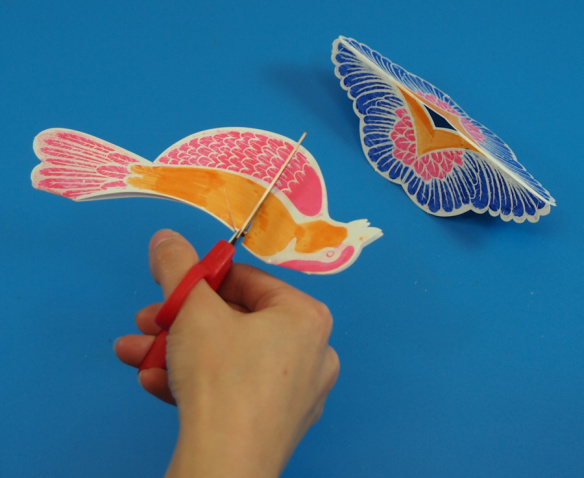
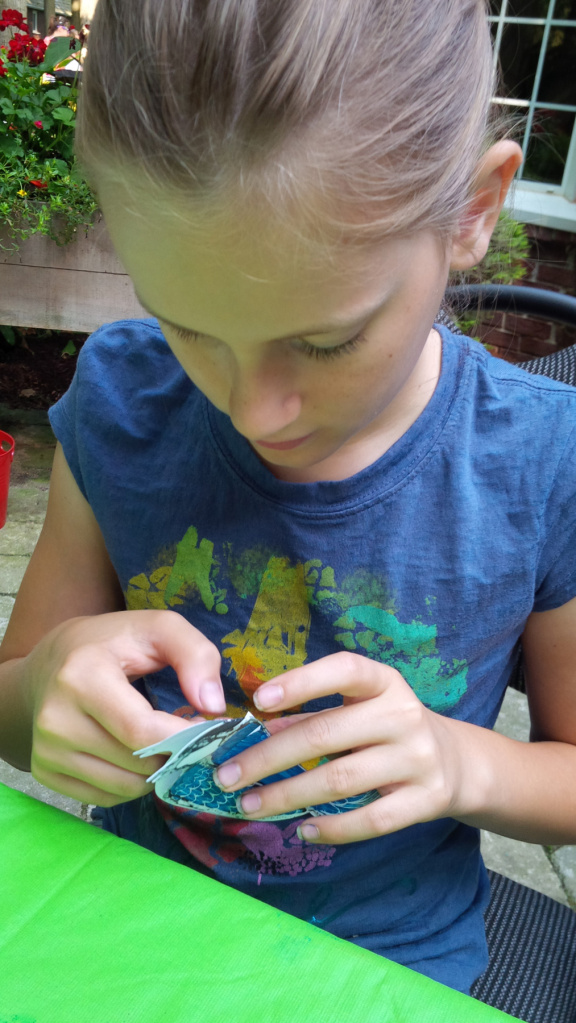
There are two triangle shaped slots on the bird’s back. The wings fit right into those slots, but you will need to loosen up the opening. Take your scissors and fit them right along the slot opening. Cut into the bird body at about an 1/8″ of the way down.
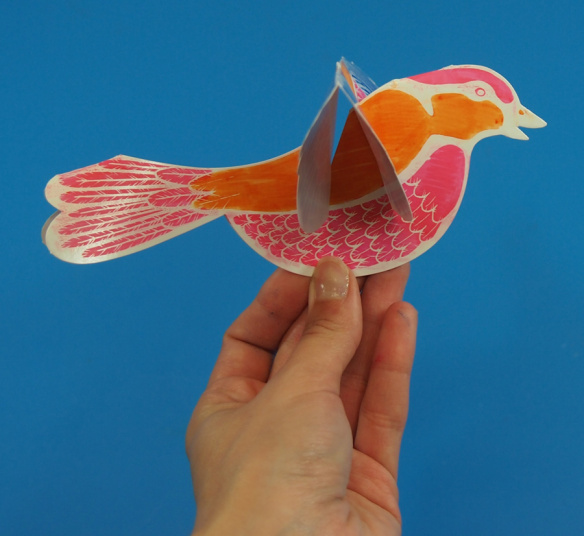
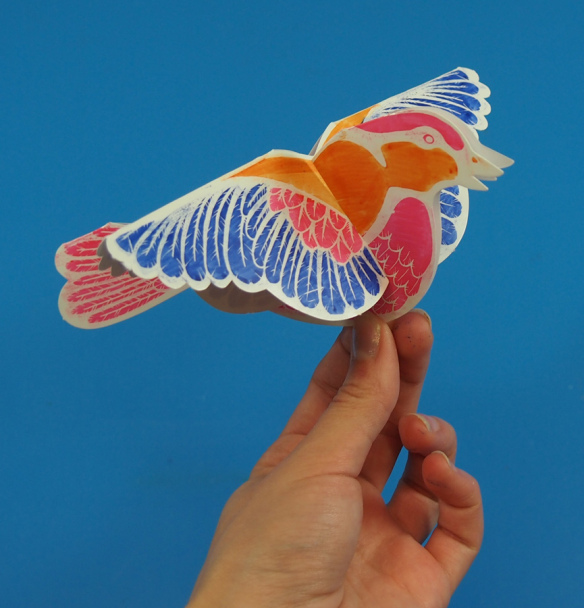
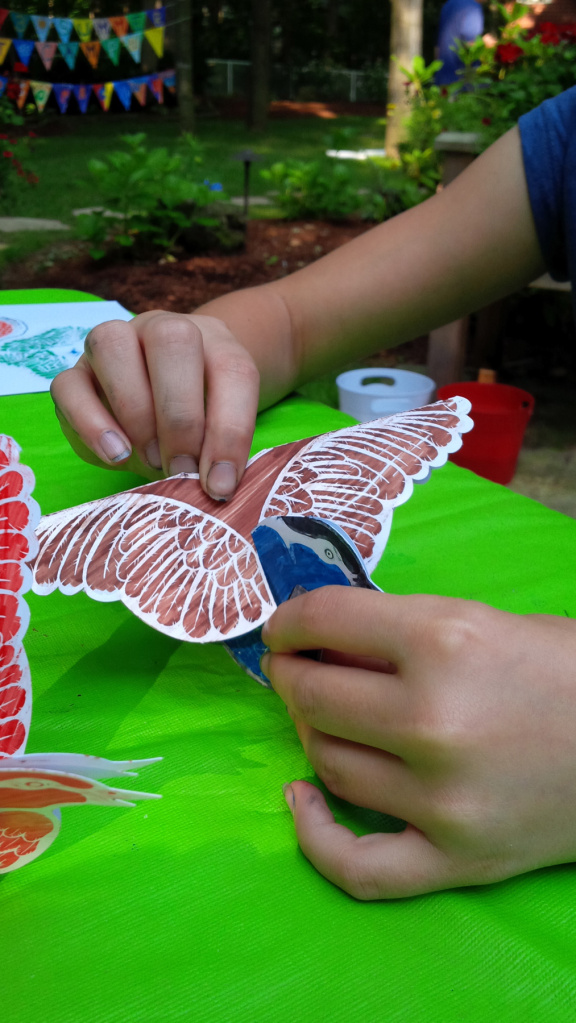
P6109537The wings fit directly onto the triangle slot. Turn the wings sideways as you slide them into the slot. Push the front of the wings into the forward slot, and the back of the wings into the rear slot.

P6109538

Here’s a front view of the Color Reveal Bird. It’s ready to fly off!
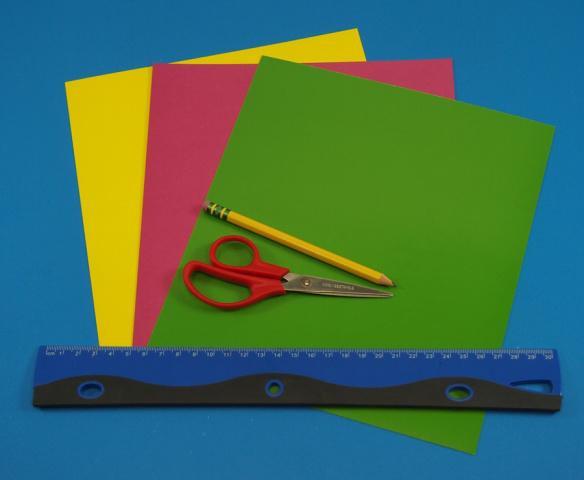
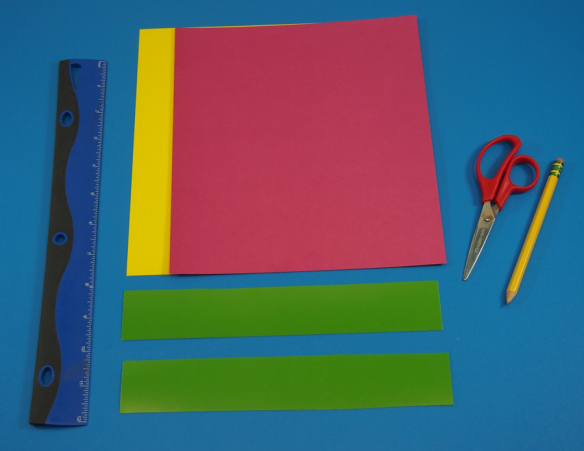
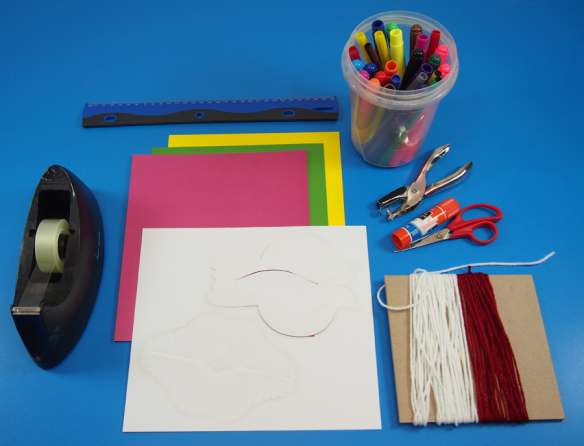
P6109542Now we will make the birdcage itself. Grab your materials and pick out colors for the decorative cage. The Double Color Cards are double-sided so the bars for the birdcage will show off a variety of colors.

P6109552

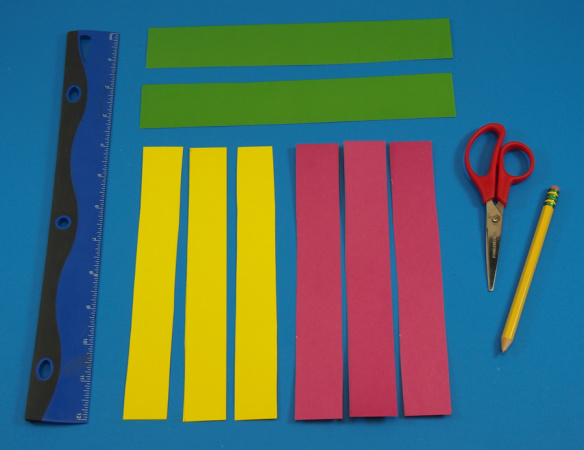
Cut out two 1 1/2″ (4 cm) thick strips along the long side. These will form the base of the birdcage.

P6109560

From the rest of the Double Color Card sheets, cut strips along the long side that are 1″ wide (2.5 cm). These will form the bars for the birdcage.
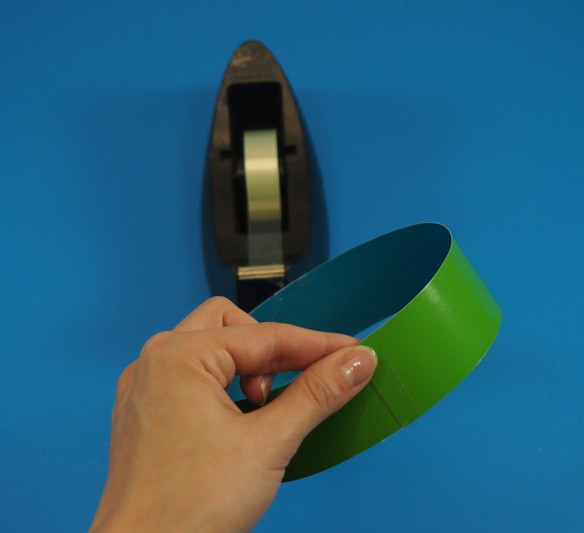
P6109568Take the two larger 1 1/2″ strips and join the ends together with tape. This will form a round base.
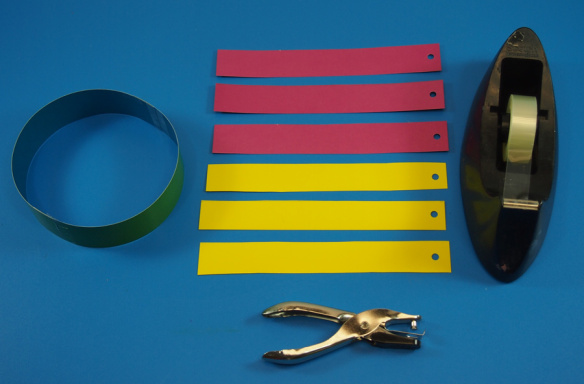
P6109574Hole punch each of the smaller 1″ strips at the top. These holes will help you to hang up the birdcage as well as the Color Reveal Bird inside.
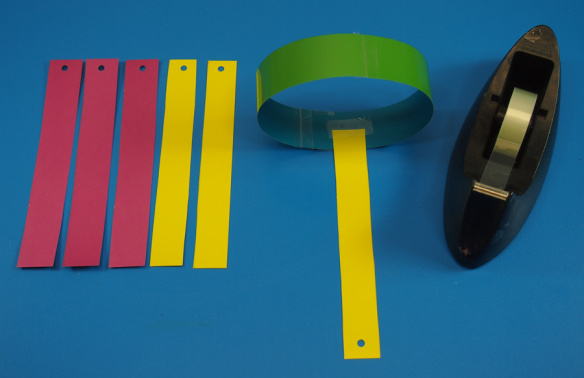
P6109577Now we are ready to assemble the birdcage! Tape the 1″ strips onto the birdcage base at the end opposite from the hole-punched end. Tape the end close to the top edge of the birdcage base for a longer set of bars, or closer to the bottom edge for a shorter set of bars.
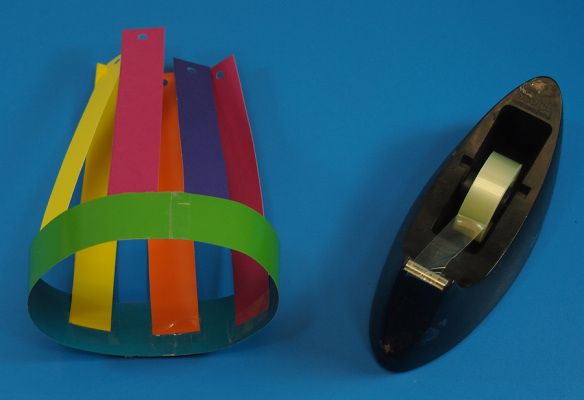
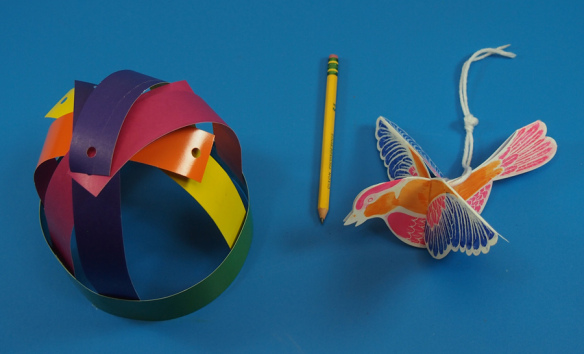
P6109580Repeat for the rest of the 1″ strips until you get something that looks like a funky hat!
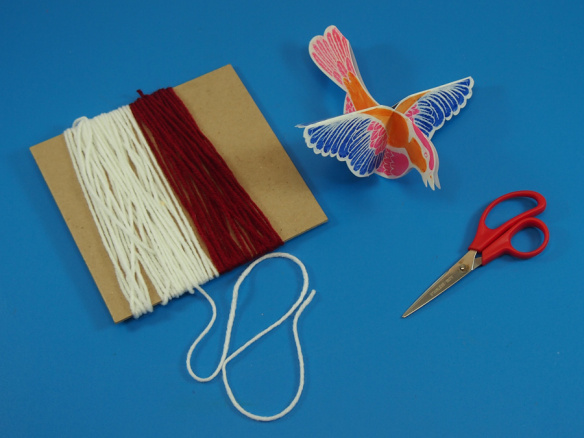
P6109582Set your birdcage aside until you have the Color Reveal Bird strung up. Cut a fair sized amount of yarn that will be used to hang the bird and hang the birdcage.
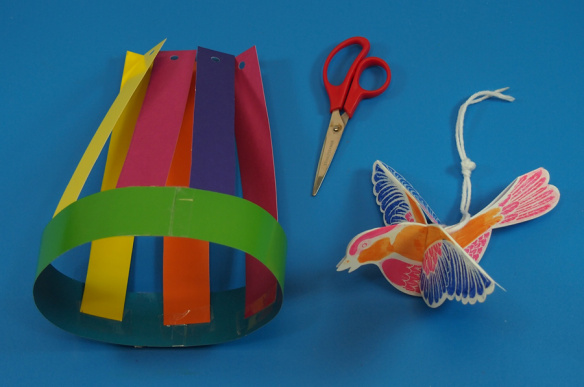
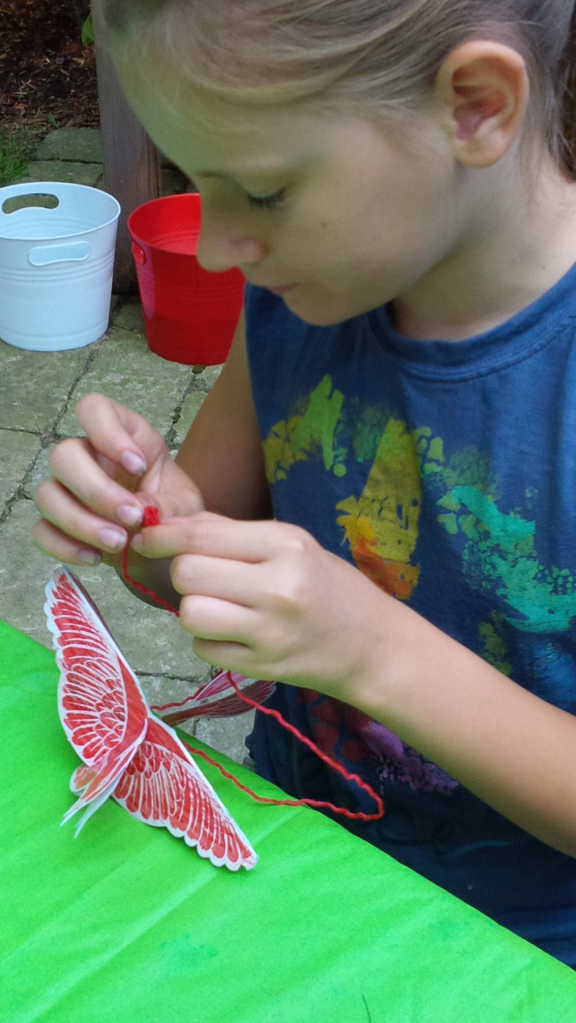
P6109591There is a small hole at the top of the bird’s back. Thread the string through and secure the yarn with a large-sized knot.
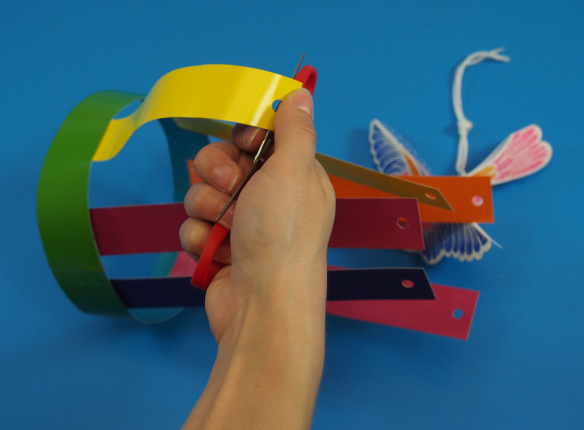
P6109594In order to make the birdcage appear more rounded, you will need to use the blunt end of a pair of scissors or a pencil to gently curl the birdcage bars.

P6109596

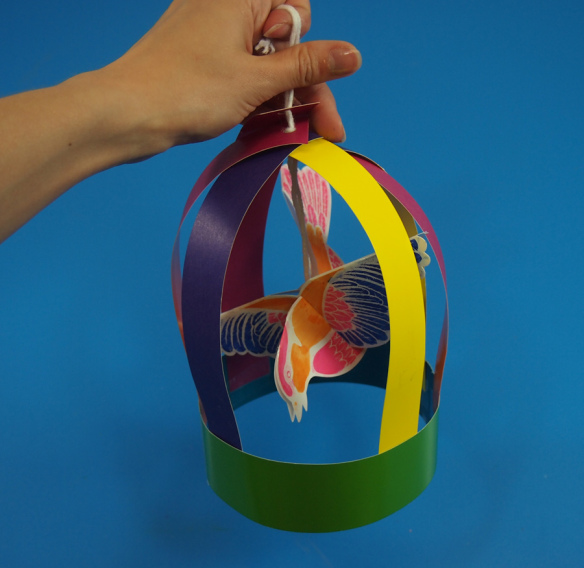
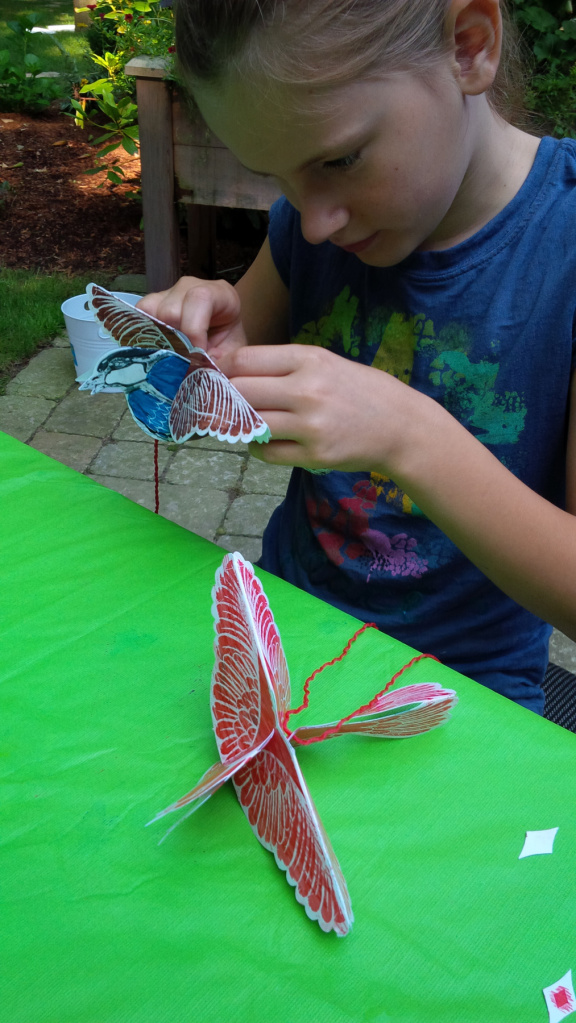
The bars should curl over and onto one another. This will help make stringing easier. Thread the ends of the yarn from the Color Reveal Bird through the holes in the paper strips. The knot you made should stop the bird from passing up too close to the top of the birdcage.

P6109600

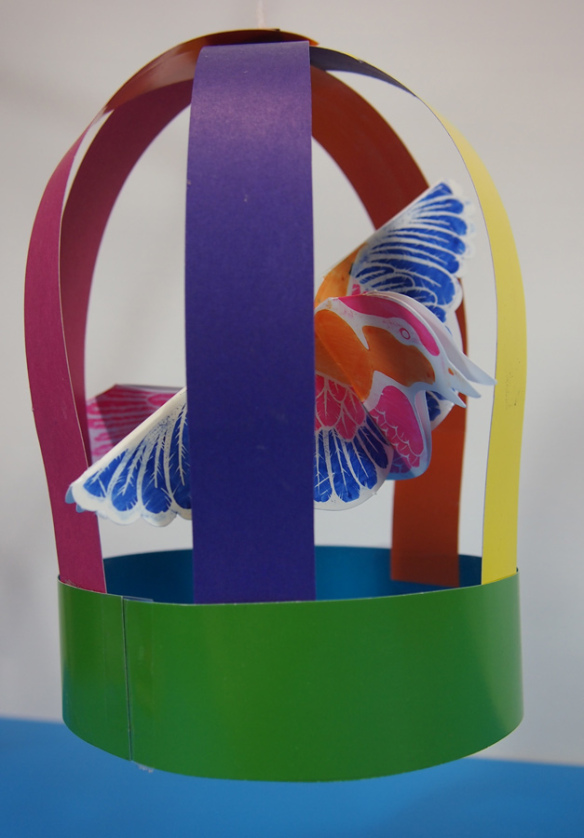
Like so! You can make another knot at the top of the birdcage to hold all the strips in place, or simply knot the two ends together and hang from a desired location!

P6109609

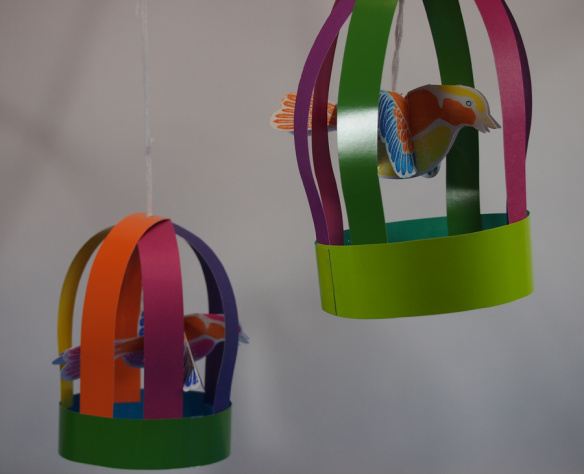
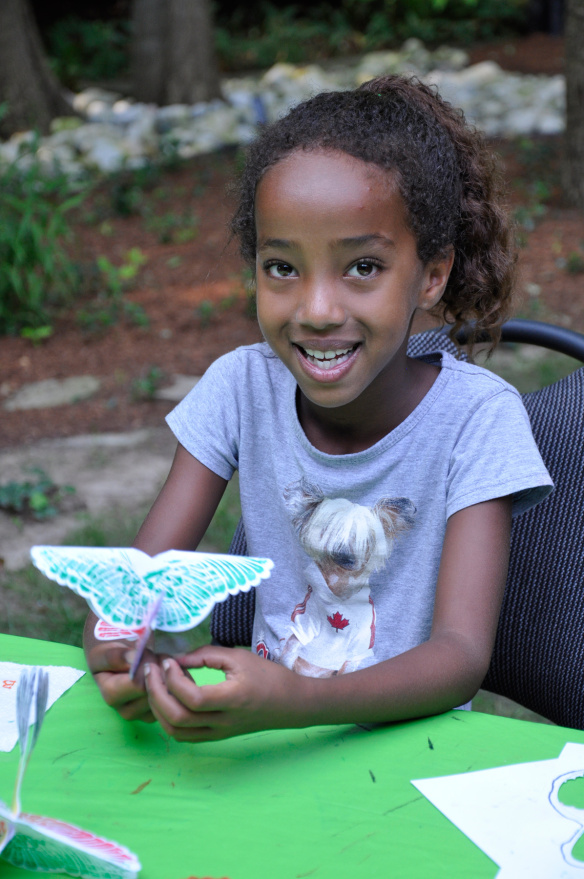
Here’s what a few of our birdcage projects turned out to look like! Notice how vibrant the colors are. This will look beautiful hung from the ceiling in a children’s bedroom or outside in the garden!

P6109619

Line-19

Thanks for checking out this post! Like us on FacebookShare this post with your friends, or Subscribe to this blog today to receive original craft project updates every Monday, Wednesday and Friday!

Craft Spotlight: Color Reveal Birds

2014-06-16-FeatureImage

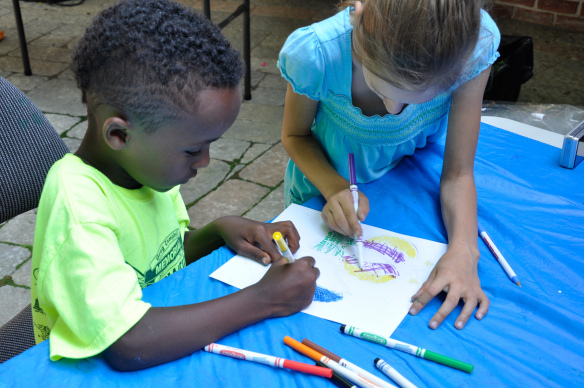
Get ready for an amazing feature post on our beautiful Color Reveal Birds! I have so many photos to share with you from this wonderful day. See our campers’ artwork and some step-by-step assembly of the birds.

_DSC0344

The Color Reveal Birds feature a kit of 24 sheets. Each sheet has two parts: The main bird body, and its wings.

_DSC0362

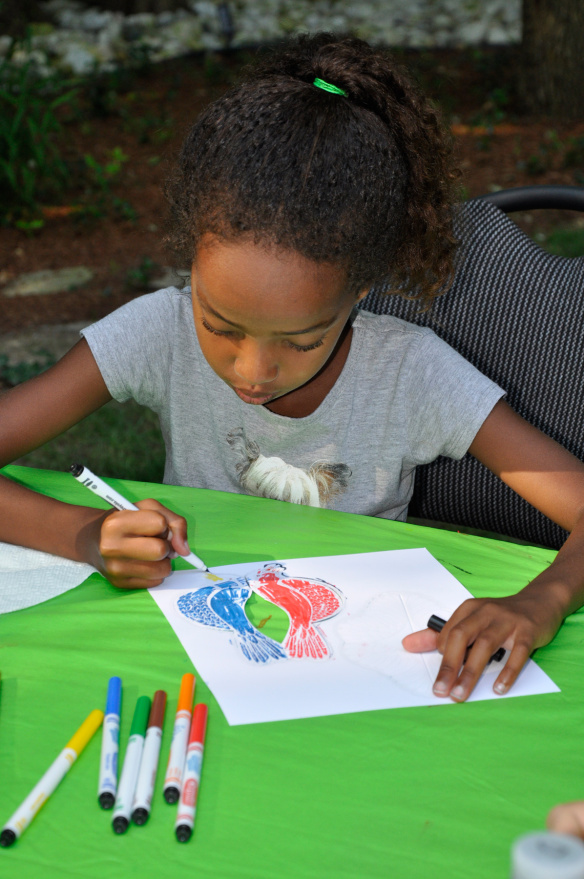
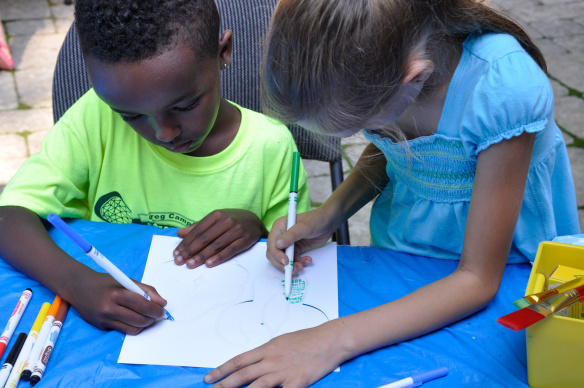
The best part is that at first, the Color Reveal Birds don’t look like much. Once you add markers, however, watch for emerging patterns!

_DSC0357

Combine colors together! Color the bird’s head blue and its body red, then switch for another color–such as blue–for its wings!

_DSC0361

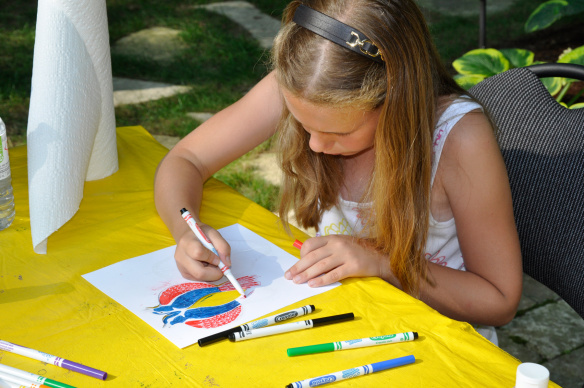
Make sure you use thick markers that can cover a lot of surface area. The best effect is achieved when the entire bird is colored in.

IMG_00000743

We got many different kinds of designs!

IMG_00000747When you are finished coloring, pop out the bird from the backing. The pieces are already scored to make it easy for you to remove them from the sheet.

IMG_00000753

Fold the bird’s body in half down along the middle.

IMG_00000756

There are two slots in the top of the bird’s body. These slots allow you to easily slip the bird’s wings onto the top.

_DSC0356

In addition, there are two notches in the back that help secure the bird’s wings at the back. This will also help fan out the bird’s wings.

IMG_00000768

The top of the bird’s body features a hole punch that can be used to thread string through.

IMG_00000773

Knot the ends of the thread together.

IMG_00000772Ready to hang!

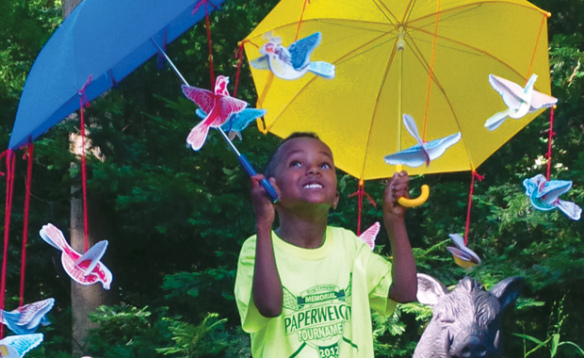
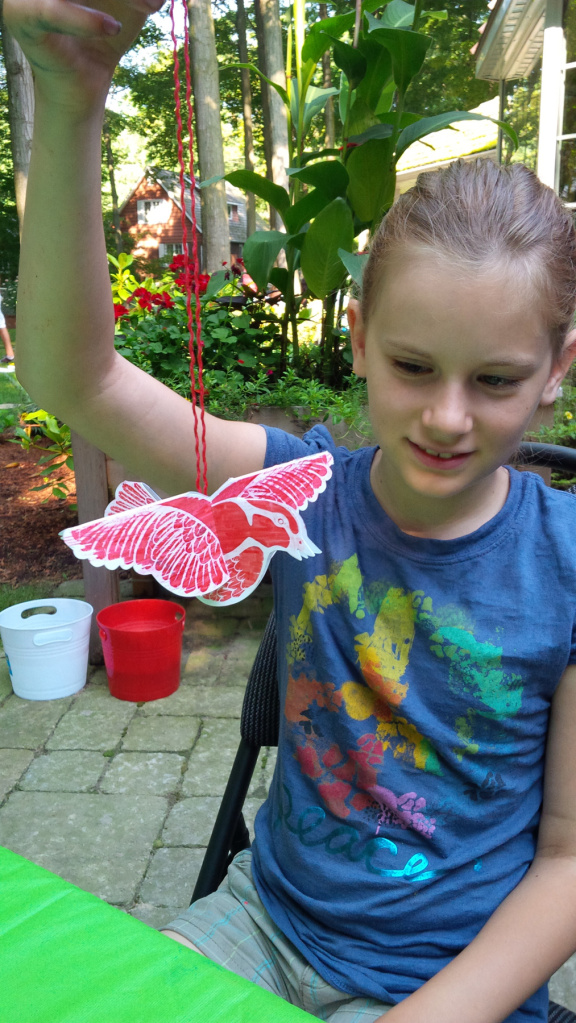
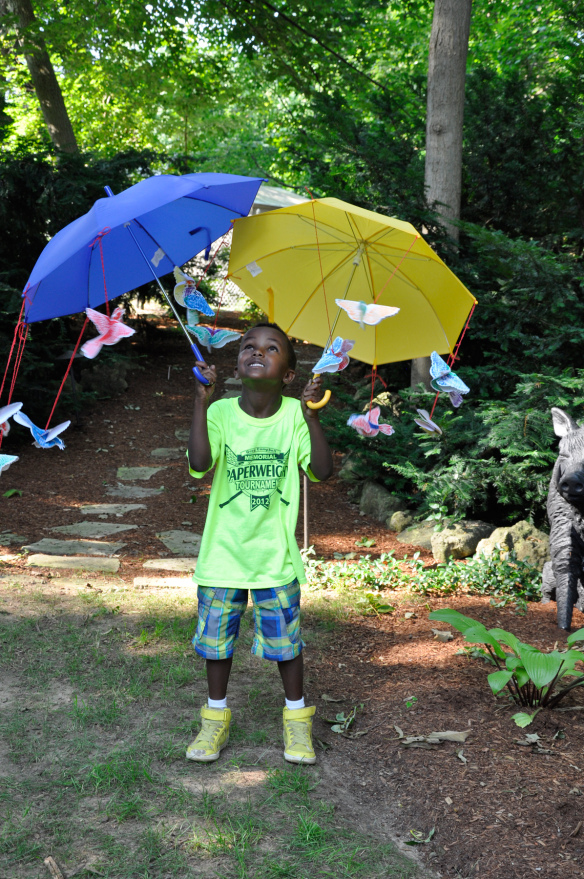
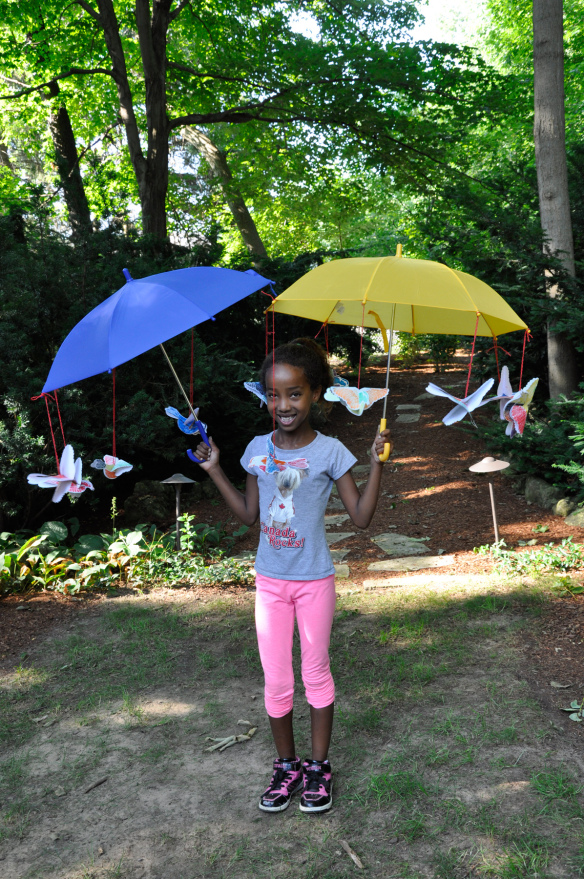
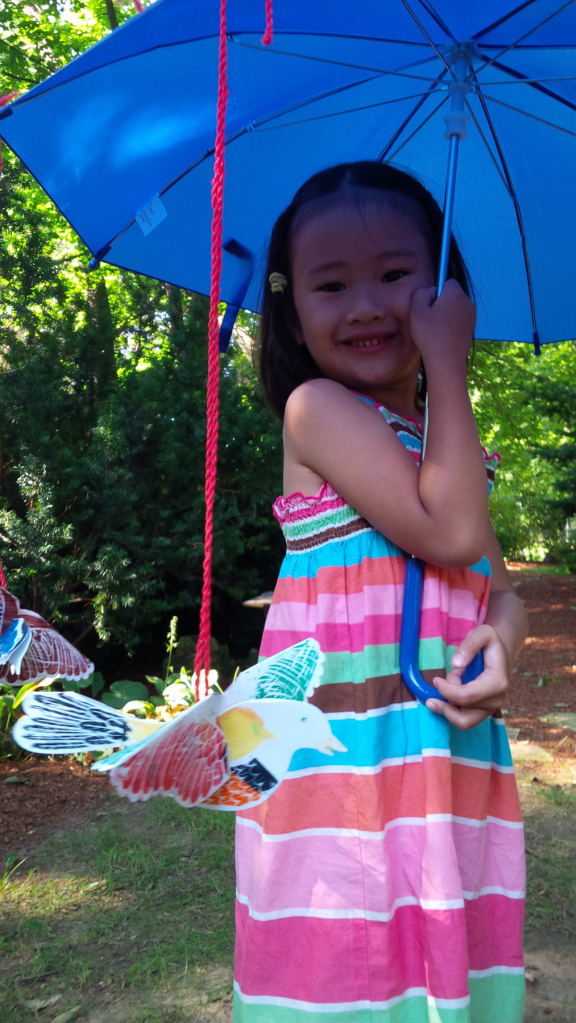
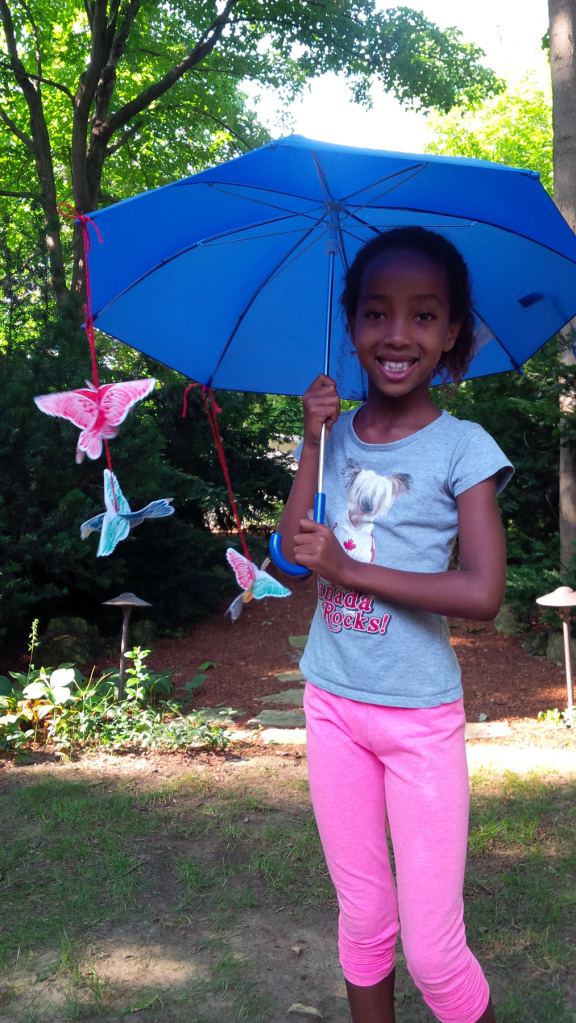
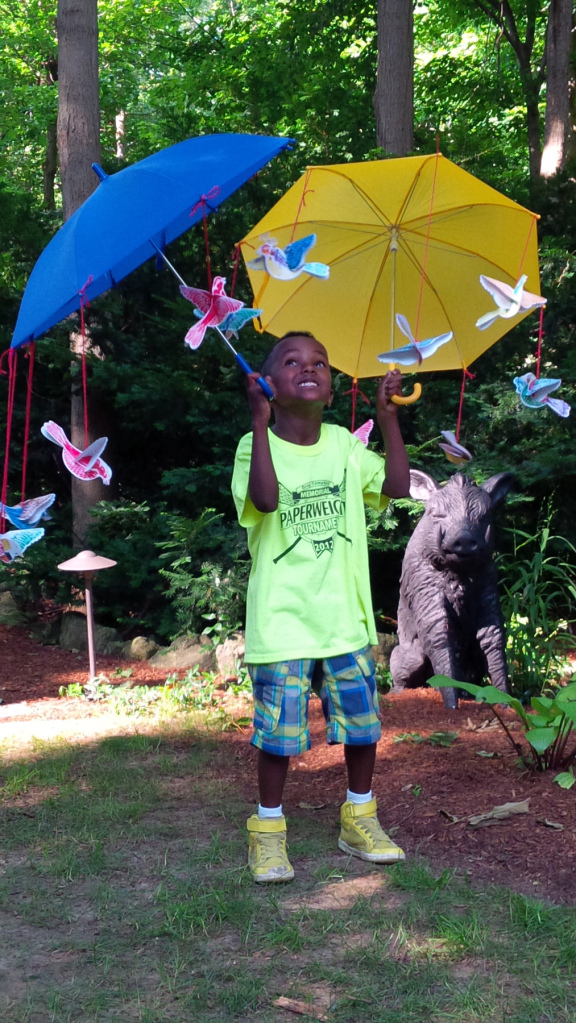
_DSC0373Our art campers had so much fun with finding places to put the birds. But the best of all was getting to attach the birds to the spokes of cute kid-sized umbrellas.

_DSC0371

A flock of birds are approaching!

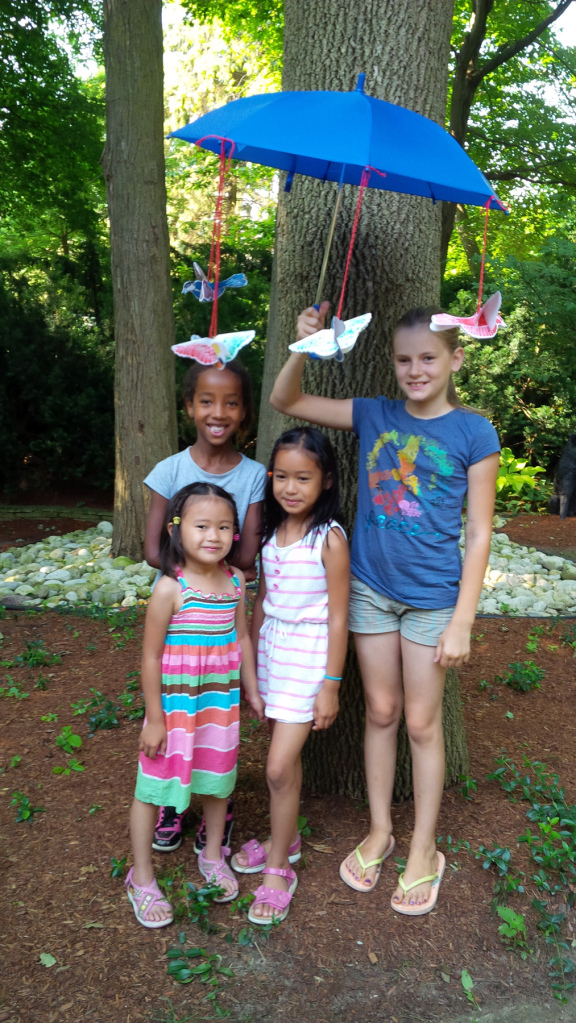
IMG_00000799Here’s another great shot of our campers with the bird umbrella!

IMG_00000810

They just loved posing with it!

IMG_00000813

Hang the birds from a classroom mobile or use to decorate a window!

IMG_00000824Great job, campers!

Line-13

Thanks for checking out this post! Like us on FacebookShare this post with your friends, or Subscribe to this blog today to receive original craft project updates every Monday, Wednesday and Friday!

Mosaic Play!

imagejpeg_2

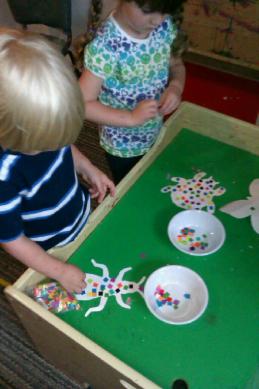
Our R15639 Spectrum Mosaics were featured in a project at a local daycare! Here’s a few photos of the projects these crafters put together!

R15639 Spectrum Mosaics come in a variety of different colors and are double-sided, so kids will get surprised at the color they see on the opposite side.

imagejpeg_12These mosaics were used to decorate the bug cutouts with a bit of glue. The colors are bright enough that kids can separate them or sort them into groups.

R15639

The aim of this project was to paste the mosaics on the bugs in order to decorate them, but you can take it a step further by focusing on covering parts of the cutout with a certain color. This gives it a uniform mosaic look.

The Spectrum Mosaics package comes with beautiful practice artwork on which children can paste the mosaics. This will help them build puzzle-solving skills while exercising fine motor skills!

Thanks to Janice for sending us these photos!

Line-05

Craft Spotlight: Yoga Cards

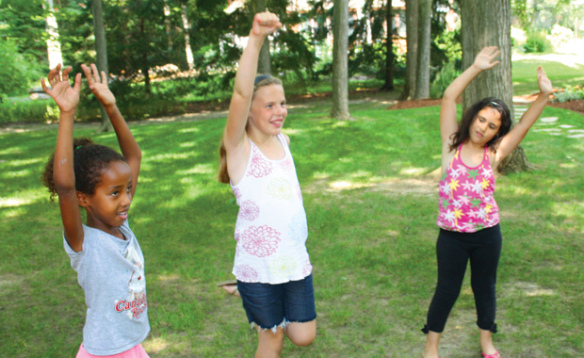
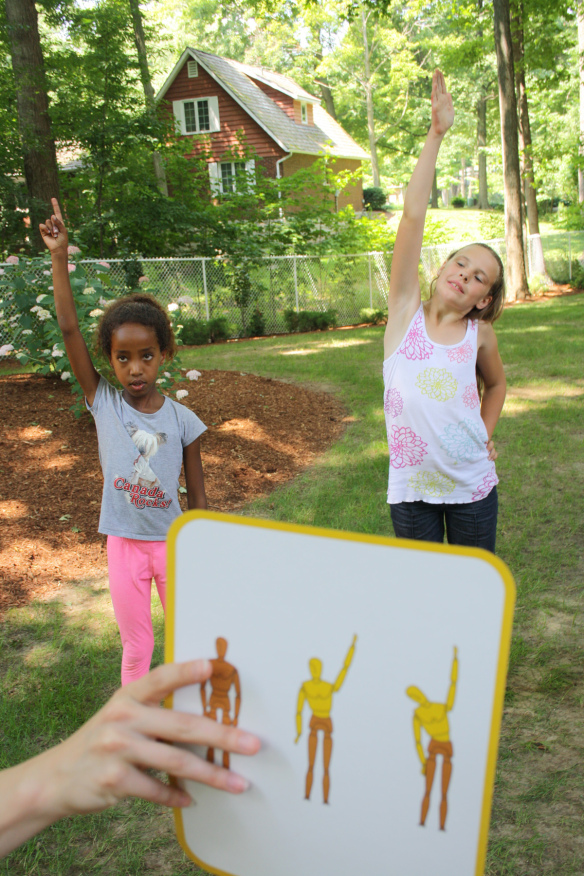
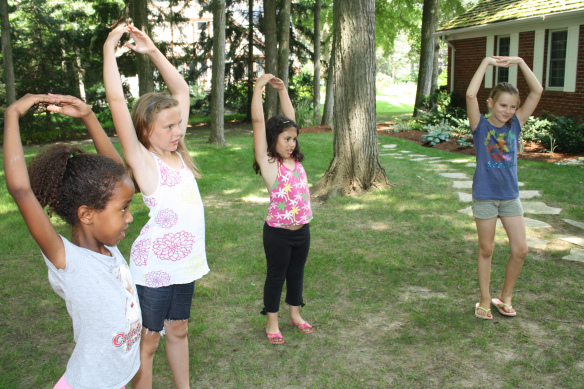
2014-06-02-FeatureImageGet outside and STRETCH! R62011 Yoga Cards feature printed images of recognizable things, such as a hot air balloon or a tree and an accompanying yoga position. Our Art Campers exercised with a ton of different poses. Check out more below!

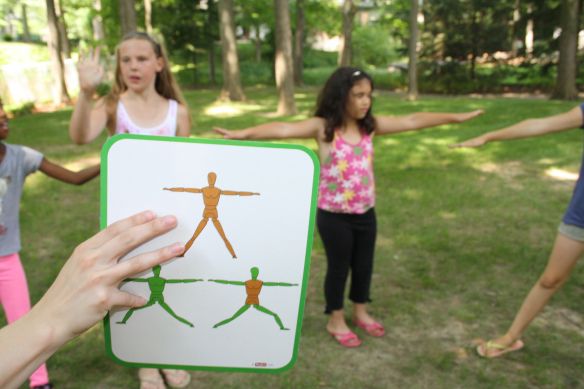
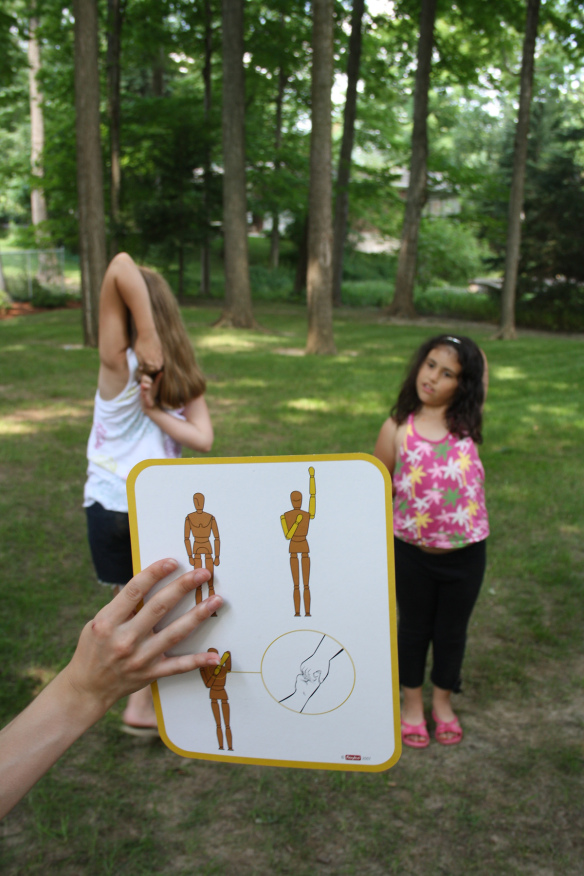
Full instructions for Yoga Cards can be found here. Access breathing tips, detailed descriptions about each pose and more! There are 3 challenge levels: Beginner, Intermediate and Difficult. Each are color coded by a border surrounding each card: Green – Easy, Yellow – Intermediate, and Red – Challenging.

IMG_7777

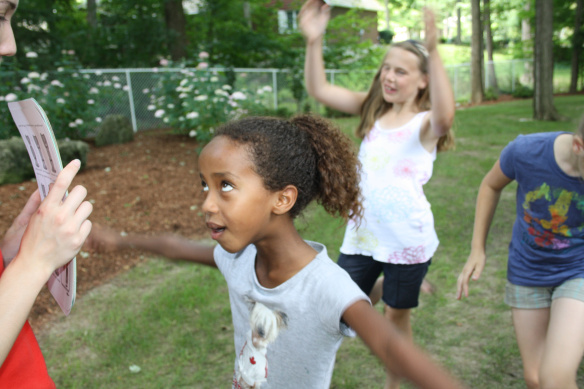
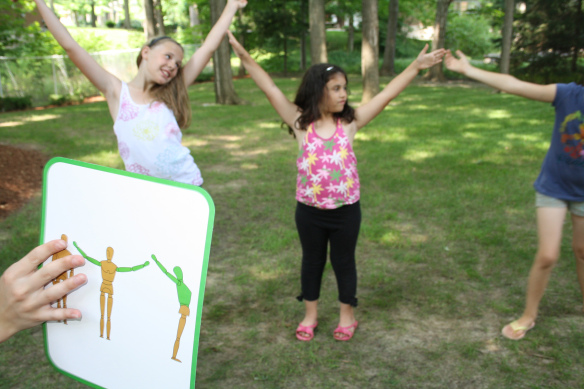
The back of each card shows detailed illustrations on how each pose is performed. For instance, the picture above shows our campers performing the “Wooden Bridge” pose.

This pose requires that you straighten your arms outwards from your body and spread your feet apart. Carefully inhale as you lean on one knee and hold for several seconds. Exhale as you straighten your knee out. Repeat for the opposite leg.

IMG_7766

A bit too easy? Okay! Let’s try something new!

IMG_7783

Now let’s try the “Swaying Sunflower” pose. This one requires you to raise one arm up and over your head to the other side, inhaling as you do so. Stretch your body in the direction that your hand is pointing. Exhale as you lower your arm. Repeat for the other arm.

IMG_7773

Yoga Cards not only visually stimulate your students, but help them connect an action to a recognizable object. This helps generate image association and engages various muscles in the body.

IMG_7782

You can add your own twist to each action by introducing song or rhythm, like a dance session! Otherwise, get students to focus on their breathing and learning new vocabulary words such as inhale (to breathe in) or exhale (to breathe out).

IMG_7780

This one’s pretty challenging! See if you can do it right now. If not, why not get a set of Yoga Cards and start with the Easy Difficulty to loosen up those muscles!

Line-06Thanks for viewing this post! Like us on Facebook and subscribe today to our blog for more updates like this every Monday, Wednesday and Friday!
 

Craft Spotlight: Brilliant Beads

2014-05-26-FeatureImage

Following our series of posts about our beading wonders, including the Fancy Stringing Rings last week, today I’m going to showcase a bit about our Brilliant Beads! 

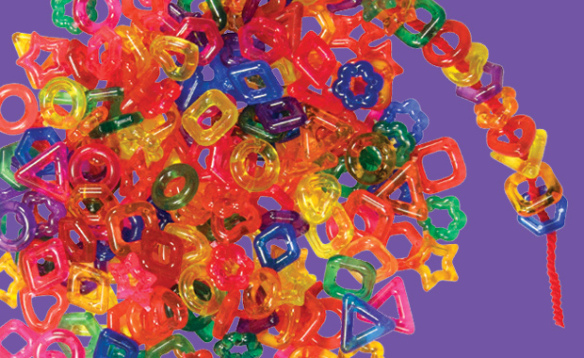
R2170 Brilliant Beads come in a bright assortment of colors and shapes. Besides basic small round beads, there are some that resemble flowers while others look like geometric shapes. You can talk about each of the shapes to your students as they sift through them.

IMG_2404

You can also sort by color. Pick out similar colors and observe the different shapes that make up that color group. Get students to describe the beads with practice vocabulary.

_DSC0164

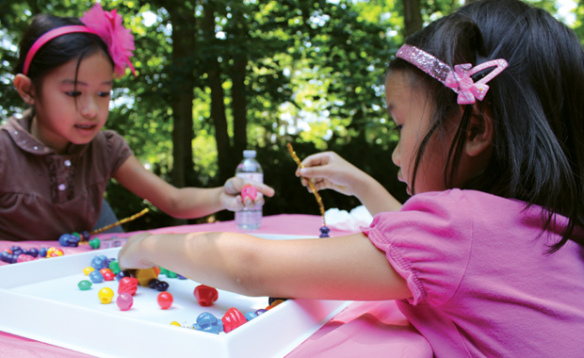
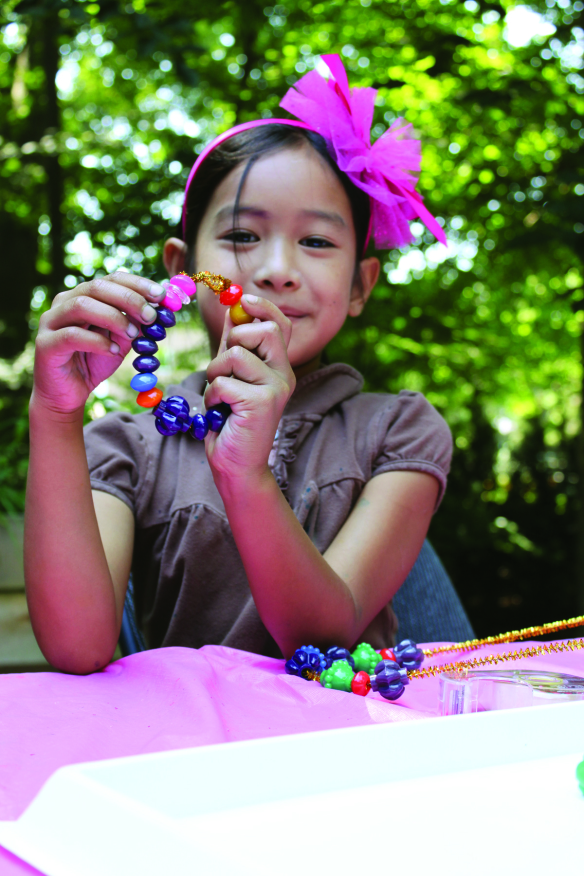
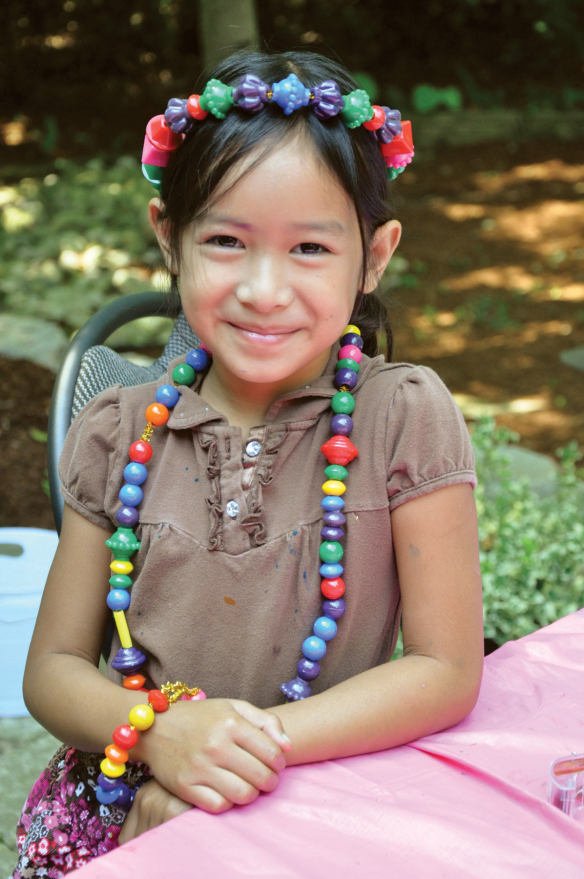
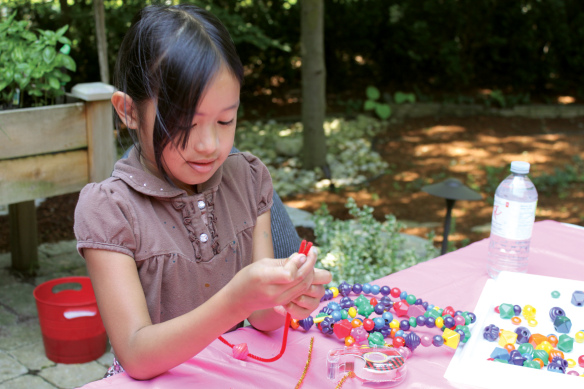
At the Art Camp last year, our campers designed their own super-long necklaces and brilliant bracelets. To prevent groups of beads sticking together, we got the campers to use pipe cleaner as the thread for all the beads.

_DSC0151

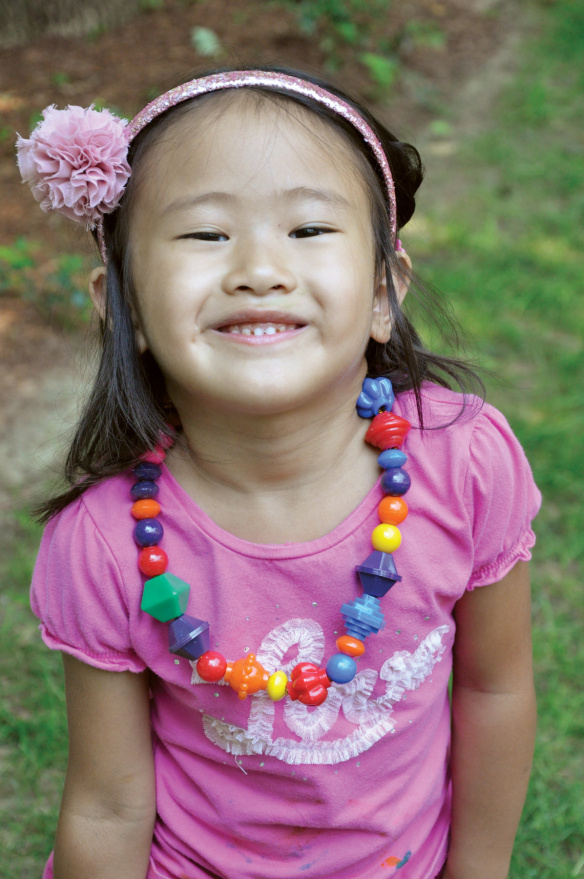
Here’s another shot of some lovely jewelry!

IMG_2421

Use Brilliant Beads in a variety of projects, not just for jewelry! Check out the video below that shows you how to make your very own bead-paintbrush. This “paintbrush” will add a provide your students with a new technique for painting!

Line-10

Thanks for viewing this post! Like us on Facebook and subscribe today to our blog for more updates like this every Monday, Wednesday and Friday!
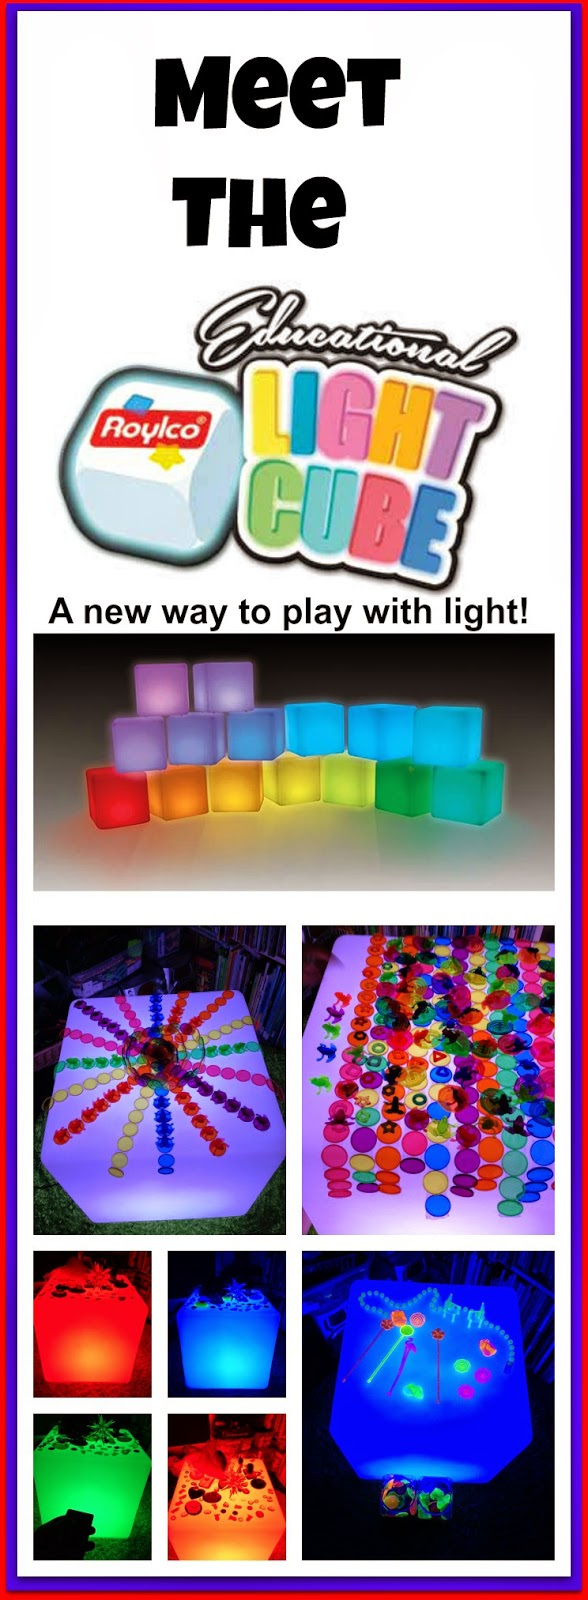
Caution! Twins at Play Introduces our Colorful Educational Light Cube!

For several years, the Caution! Twins at Play blog has garnered huge following for their experimental light table play. With the release of our newest Educational Light Cube, Kristen and her twins couldn’t wait to try it out for themselves! See what their preview post featured at the link here!!

This post was made on the Caution! Twins at Play blog which can be reached here. This blog is a huge educational resource for newcomers to light table play as well as a source of ideas for light table play veterans.

The benefits of light table play are varied and vast:

• Develop fine motor skills.

Explore sensory play.

• Integrate special needs learning.

• Count, sort, describe, experiment, combine and mix materials together to create gorgeous light effects.

• Engage children with learning disabilities.

• Versatile usage.

• …and so much more!

Kristen shares more of her experiences with the Light Cube here and will be updating her blog with more upcoming Light Cube activities.

Here’s a quote from the blog post:

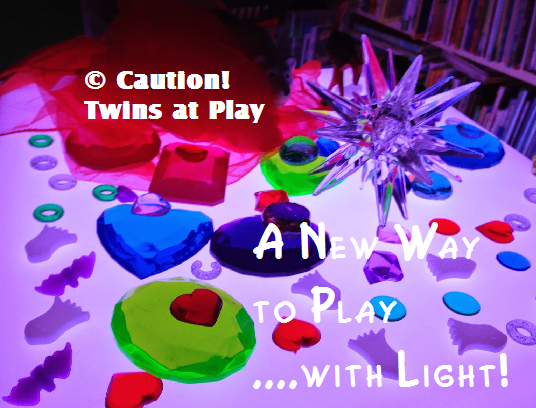
Not only is it compact and portable but has a surprising amount of surface to play on. What’s great about the light cube is that you can play on the sides of it too! You can drape play silks over the side, or whatever else you can come up with.

lightcubeplay

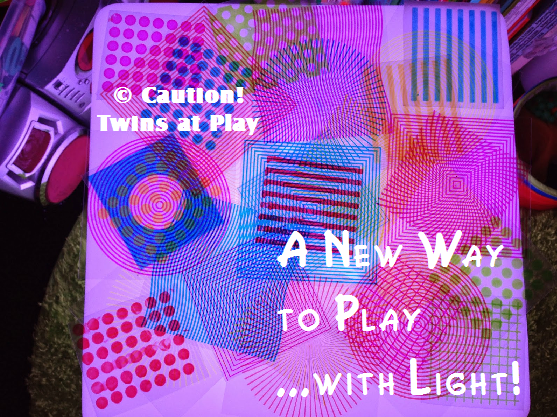
The possibilities are endless for learning and play. The fact that you can move it around or take it with you somewhere makes it a really great item for any teacher, homeschooler, or any parent!

lightcubeplay2

We can’t wait to see what’s in store!! We will even be featuring Caution! Twins at Play as a future guest poster so stay tuned for more light-play filled posts!

The new Educational Light Cube will be a feature of our special upcoming series on Light Table play. Check back in September for a new blog post day every Thursday on Light Table Play!

Thanks to Kristen from Caution! Twins at Play for her wonderful post!

Original photography and text © Caution! Twins at Play

Line-03

Like us on Facebook and subscribe to our blog today for more original craft updates every Monday, Wednesday and Friday! 
Craft Spotlight: Fancy Stringing Rings

2014-05-19-FeatureImage

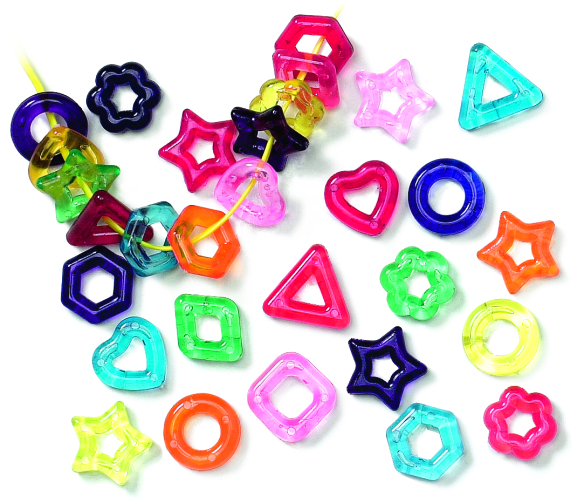
Make your jewelry fancy with Fancy Stringing Rings! Beautiful, bright colors and recognizable designs make these beads a joy to work with. String, sort, play and mix colors together on a light table! 

Beading is a prime fine motor skill activity that’s always a favorite for arts and crafts sessions! The best part about our Stringing Rings is that they are large enough to fit through any size string–even pipe cleaners.

There are a range of different activities you can do with the Fancy Stringing Rings. Stay tuned for this week’s original craft post featuring our Stringing Rings!

In the meantime, enjoy the video below showing how to make simple bracelets using Fancy Stringing Rings and tape! That’s all you need.

Simply lay your beads onto a strip of tape and seal up! It’s that easy!

2183

Line-20

Thanks for viewing this post! Like us on Facebook and subscribe to our blog today for updates every Monday, Wednesday and Friday! 
Craft Spotlight: Nature Paper

2014-05-05-FeatureImage

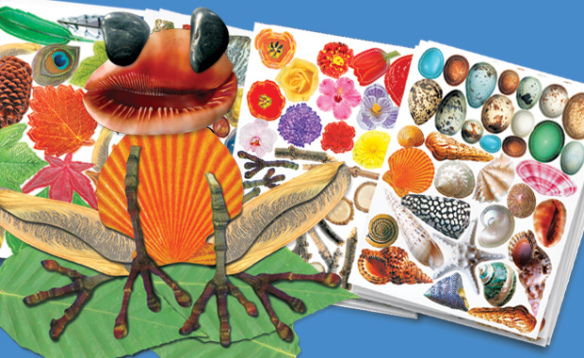
Take a good look at the images in our R15290 Nature Paper, and think of how you can combine them to make colorful, crazy critters! The Nature Paper elements can also be hung from mobiles or pasted onto picture frames or posters as decorations.

The R15290 Nature Paper features 32 sheets of brilliant graphics that are die-cut for easy removal. Simply pop out the images from the backings and use! The great part about these images is that they’re printed on both sides so you don’t have to paste two pieces together.

To view more about Nature Paper, click on this link! You can view a video, read the detailed PDF guide or check out some nifty images. The art in the guide can be used to make your own selection of animal friends. Find the first image in your Nature Paper set, and match it in the same position as shown in the guide. Continue to find the remaining images in the set and glue together once the image is complete.

Get a little creative with your own designs! The video below shows you how to make a beautiful dancing ballerina from the elements in the kit. What a great exercise for young students! Learn how to combine these elements together, just like puzzle pieces, to create something new!

Line-17

Thanks for viewing this post! Give us a like and share with your friends! Subscribe to this blog to receive updates every Monday, Wednesday and Friday on new craft projects and products. We’d love to hear from you! Send us your input through the contact form.

Finger Paint Flower Faces

2014-04-30-FeatureImage

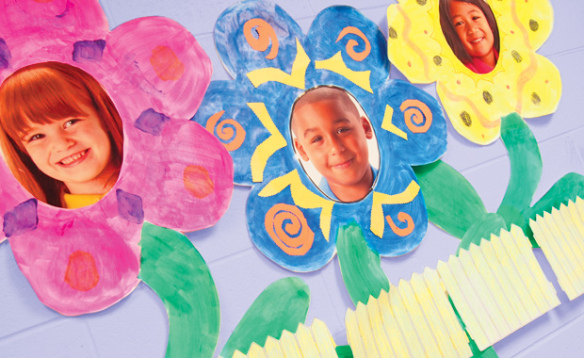
Paste up personalized Fingerpaint Flowers along a school hallway and celebrate all the great things your students have accomplished so far in the school year! Like our post and subscribe today to our blog to see more craft projects like this!

Age: 5+

Duration: 15-20 minutes

You’ll Need:

R75422 Big! Huge! Fingerpaint Flower

• Fingerpaint / Tempera paint

• Scrap newspapers

• Pencil / Marker

• Students’ portraits printout, 8.5 x 11″ (21.5 x 28 cm)

• Tape

• Scissors

• Flower Faces Fence template PDF

• Crayons

(Optional):

• Collage materials

• Glue

• Construction paper in assorted colors

• Paint brushes

Line-20

Big! Huge! Fingerpaint Flowers are perfect full-sized projects for each student in your class! The vast canvas space will inspire students to unleash their creative streak while developing fine motor skills. For students who are less inclined to fingerpaint, provide them with paint brushes! They will still get an exercise in fine motor movement while stimulating their visual senses with bright big colors on the white canvas.

P1018671

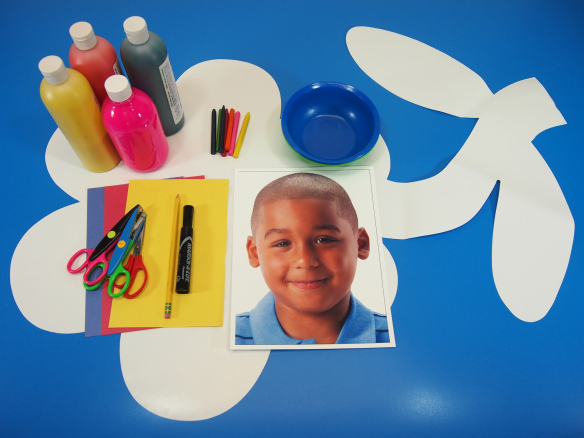
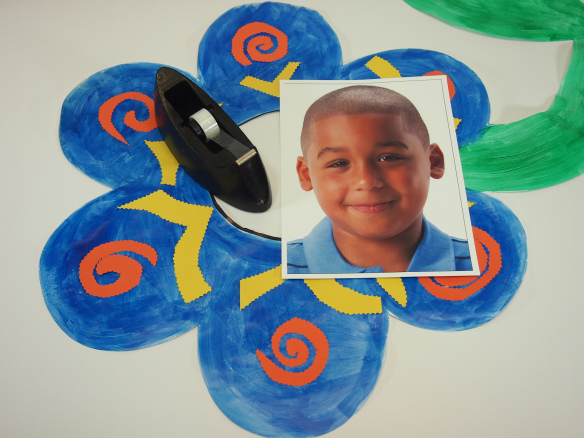
Here’s a good look at some of the materials we’ll be using. You can see the relative size of the Fingerpaint Flower to the 8.5 x 11″ printout of our student’s portrait. It’s huge! The great thing is that it’s perfect for a standard size of portrait.

My suggestion is to take informal class photographs of your students (get parents’ consent first)! Next, upload the photos and print full size to 8.5 x 11″ paper. You don’t have to do full color like we’ve done, but black and white printouts work well too! Use simple editing techniques on your photograph software to lighten or darken your students’ portraits. If it’s more efficient to make smaller photos, experiment with the size of the printout and see what works best!

P1018673Let’s get ready to make room in the Fingerpaint Flower for our students’ portraits!

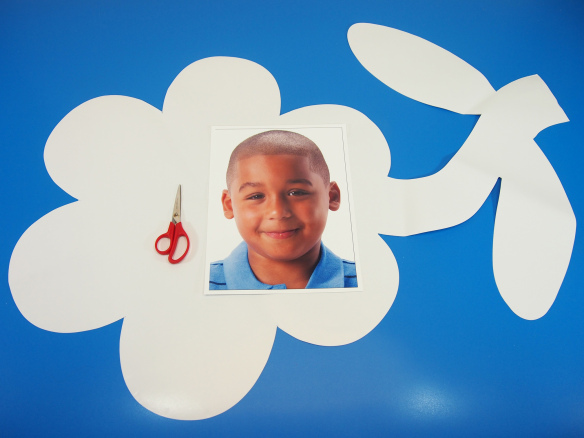
P1018675Cut out a test photo of the appropriate size for the portraits. Basically, you will need to trace and cut out a large oval that will fit your students’ portraits. Note: You won’t be able to use this test photo afterwards, so be sure to print out an image that can be discarded.

P1018685

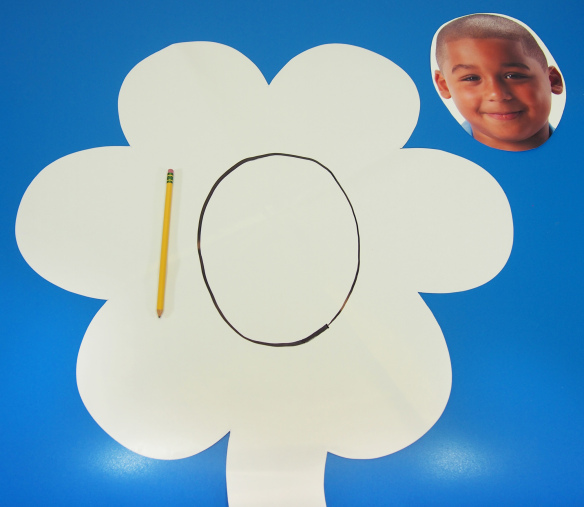
Trace the outline of the test photo onto the center of the Fingerpaint Flower. Outline in black marker. Now you can pass the Fingerpaint Flower to your students!

P1018691

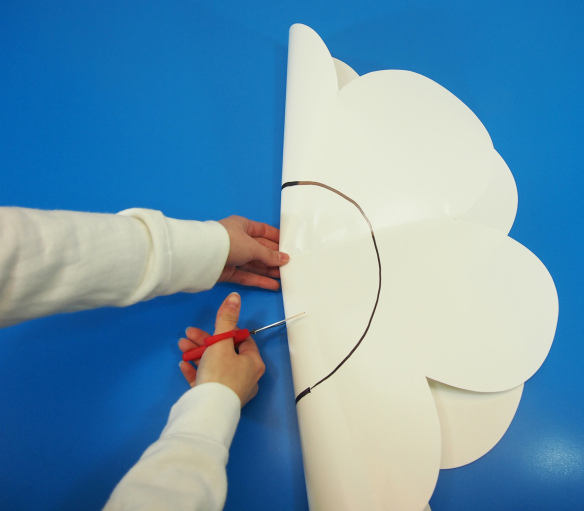
Loosely fold the Fingerpaint Flower in half. Cut across the center of the drawn circle to make a slit. This will help your students cut out the center circle with ease.

P1018692

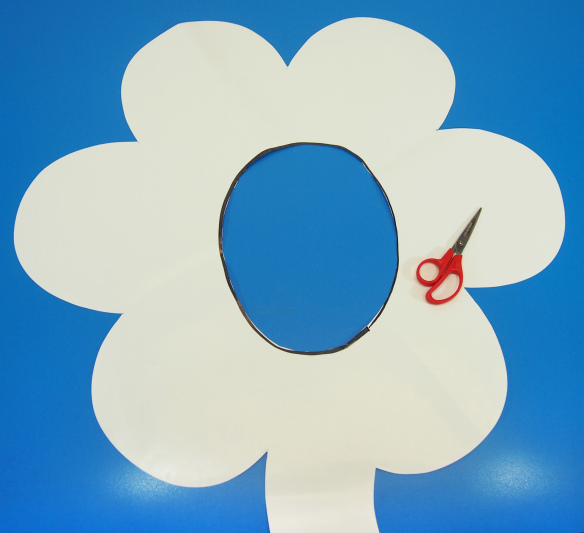
Cut out the center along the black marker line.

P1018694

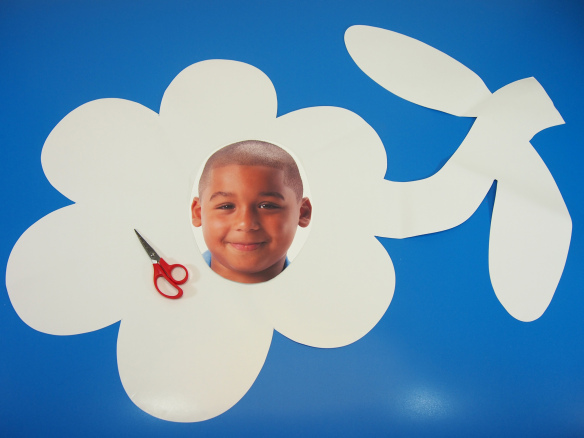
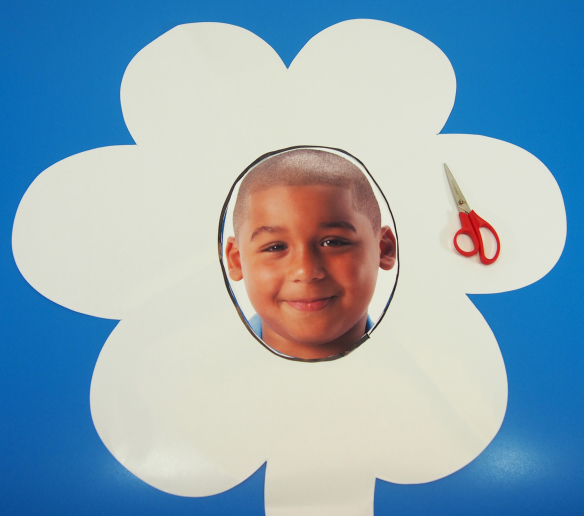
Make sure that the test photo fits snugly. Note: Discard the test photo after this step!

P1018700

Lay down the newspaper sheets to protect your work surface before painting!

To ensure that the Fingerpaint Flowers don’t curl up when your students paint them, flip the flowers over to the back. Make quick brushstrokes with some spare paint all around the petals, the stem and leaves. Since you are using a light coat, the paint will dry fairly fast so your students can get started on painting!

P1018710

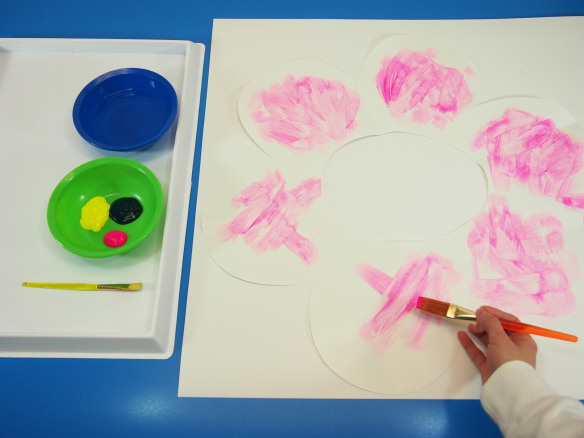
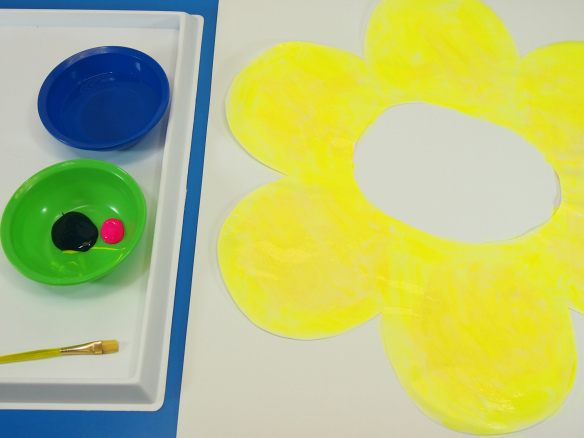
Use fingerpaint to color all the flower petals. You can also use paintbrushes to help spread the paint faster. I chose a bright yellow color here. Ask your students to visualize what their final flowers will look like. If they’d like to decorate it with crayon or more fingerpaint designs, choose light colors for the flower background. If students would like to make cutouts and paste the cutouts on, use darker colors.

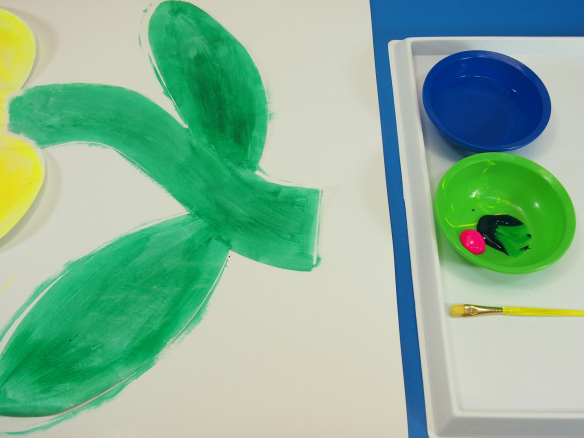
P1018719While you are waiting for the petals to dry, paint the stem and leaves green.

Flowers should take only about 10 minutes to dry and even faster in sunlight! Once the flowers are dry, choose one of three ways to decorate the Fingerpaint Flower, or come up with your own ideas! To see each of the following options, scroll further down, or click on the links below to jump directly to the various techniques.

Construction Paper Cutouts

Crayon Illustrations

Fingerpaint Designs

Construction Paper Cutouts

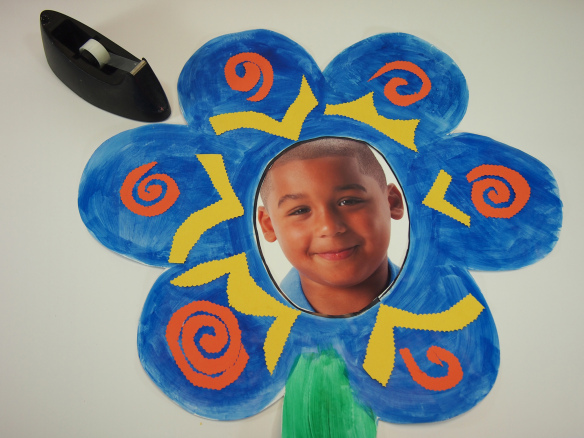
Design paper cutouts to decorate your Fingerpaint Flower. Works well with most paint colors.

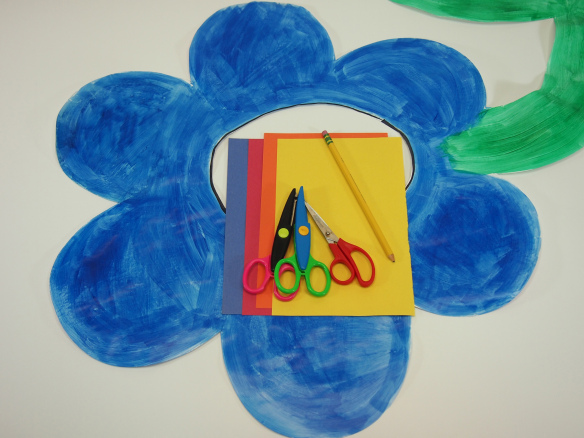
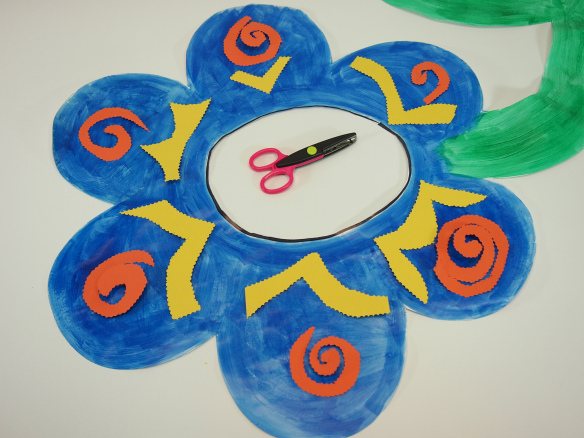
P1018726You will need a variety of decorative scissors, colorful construction paper and a pencil, if required.

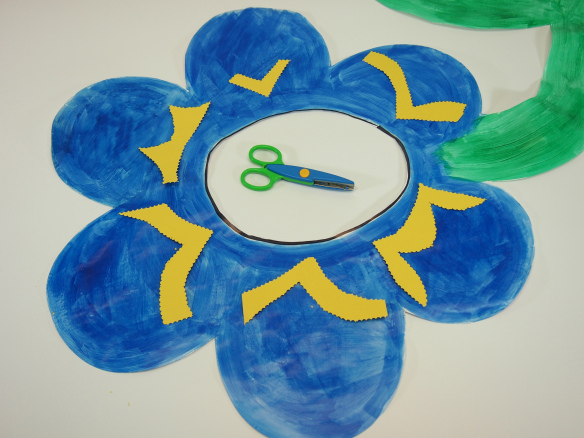
P1018730Cut out very basic V shapes from the construction paper (you can use scrap paper to fill up the flower design too)! I changed it up every so often and did a loose M shape. To help your students cut the shapes out, use the pencil to write various M’s or V’s on the sheet.

P1018733

Change up your scissors for another type. Cut out swirls from the paper. The best way to do this is to keep cutting as you go around in a circle. Gradually make the curve smaller and smaller until it reaches the center. You have to distinguish the swirls, however, so to do this, you will need to go back over the cut you made and cut a bit closer to the edge until you hit the center again. Remove the scrap piece and lay flat. See how the swirls show through?

P1018736

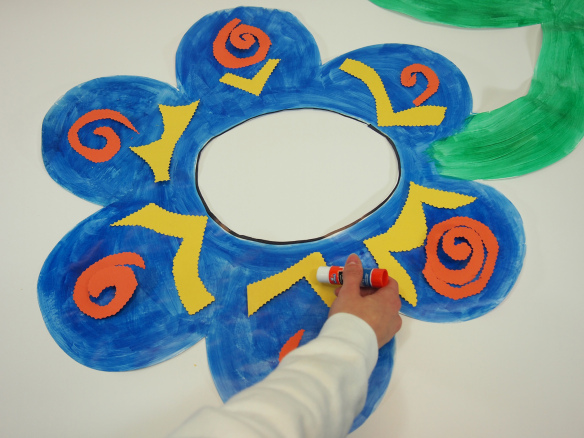
Glue all the cutouts down onto the flower.

Crayon Illustration

Now for the second technique, using crayons!

P1018754

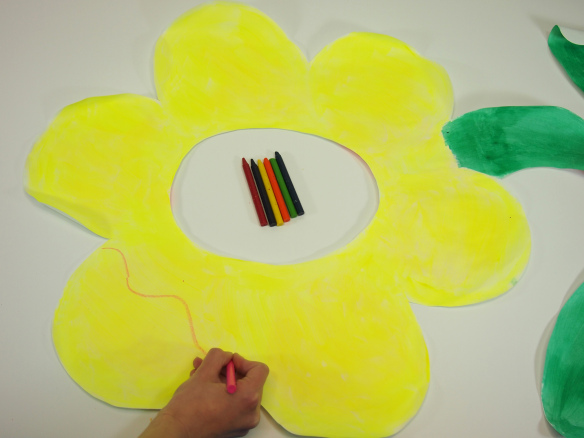
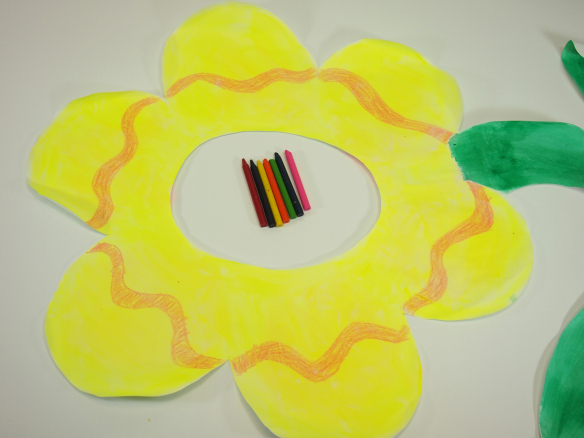
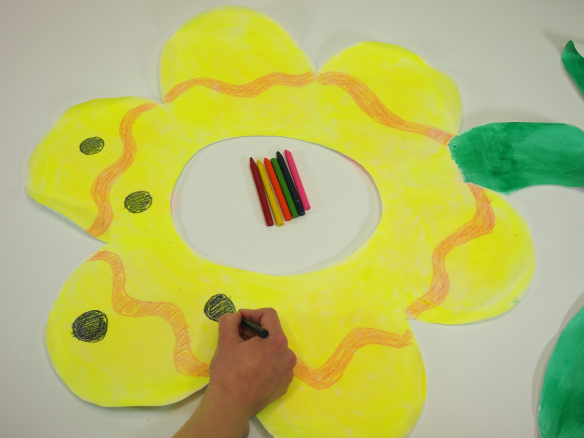
Choose an assortment of bright bold crayons. You really want the colors to pop out! Start by drawing a wavy line at the base of each flower petal. Draw a second line right below the first.

P1018758

Color the resulting bands of wavy lines in with crayon.

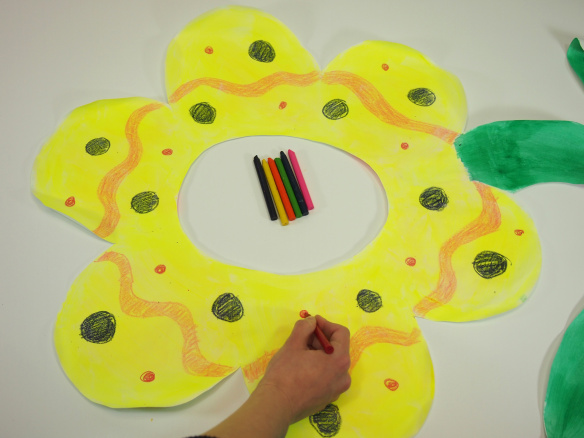
P1018759Add in alternating dots and color in.

P1018760Add another set of alternating dots in another color.

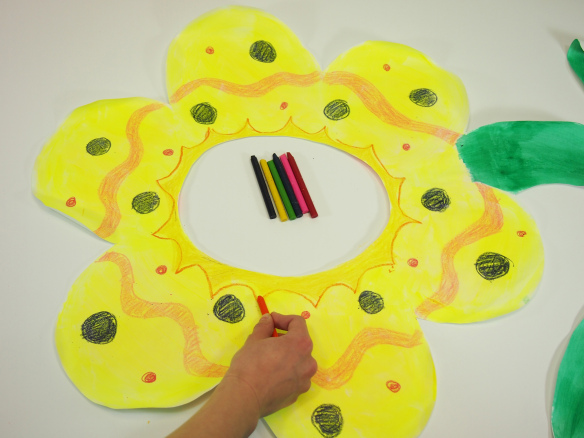
P1018763Draw a sunburst around the center of the flower.

Fingerpaint Designs

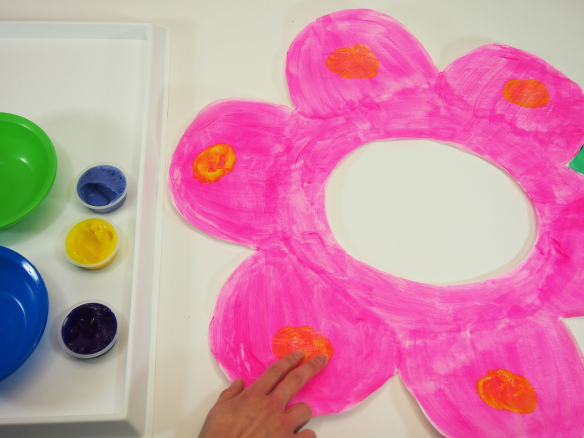
For our final technique, use fingerpaints to add designs to the flowers! Keep paper towel and a paint tray handy for any spills or messes that may occur.

P1018776

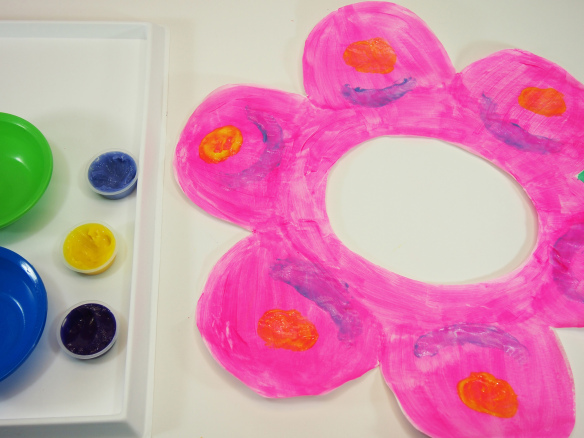
Use a bright color to paint circles in the center of each petal.

P1018778Fingerpaint a curved line beneath each dot.

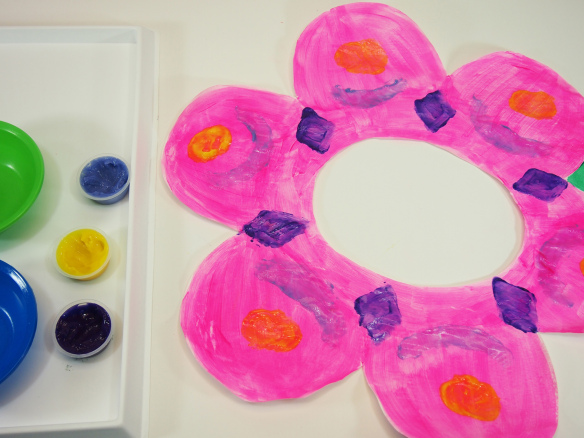
P1018780Take a darker fingerpaint color and paint diamond shapes in between each petal. Dab on more fingerpaint where needed to fill in the design.

Now to assemble the Fingerpaint Flower!

P1018741You will need tape and the printout of your students’ portrait.

P1018746

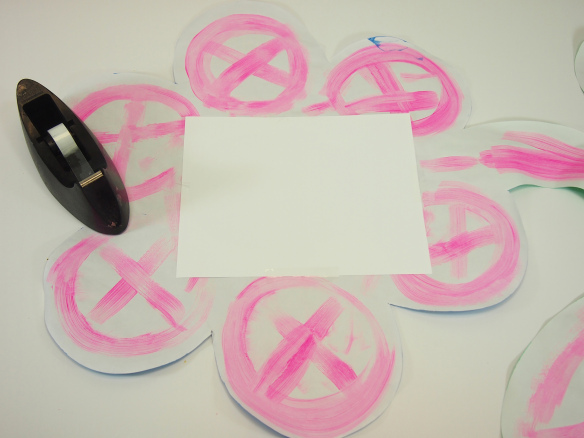
Flip the Fingerpaint Flower over to the back. Place the printout portrait-side down onto the flower. Tape the sides down.

P1018748

Flip over and check to make sure the portrait is in the center of the flower. Lookin’ good!

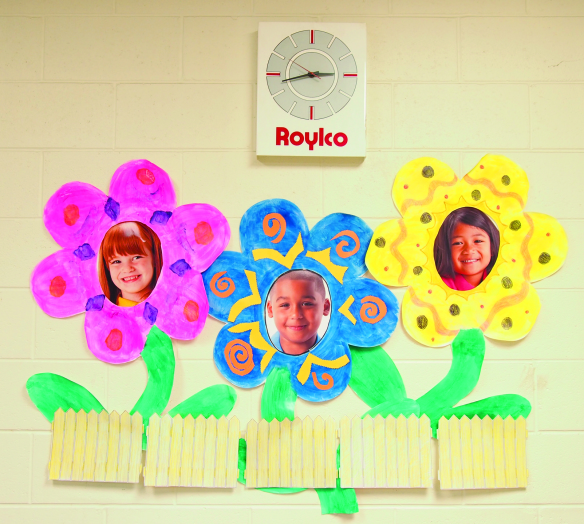
To turn your students’ Fingerpaint Flowers into a classroom garden, you’ll need to make a decorative garden fence. Luckily enough, we’ve got just the one you need!

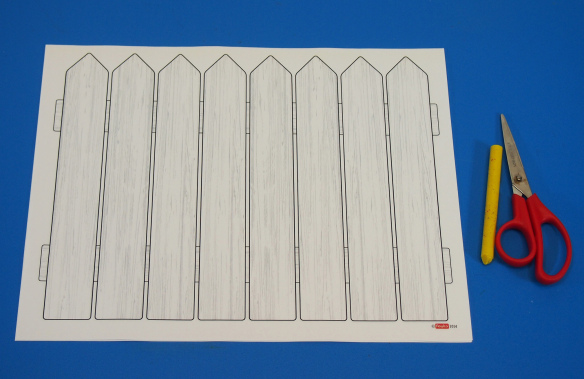
Download the Flower Faces Fence template PDF here!

P1018783

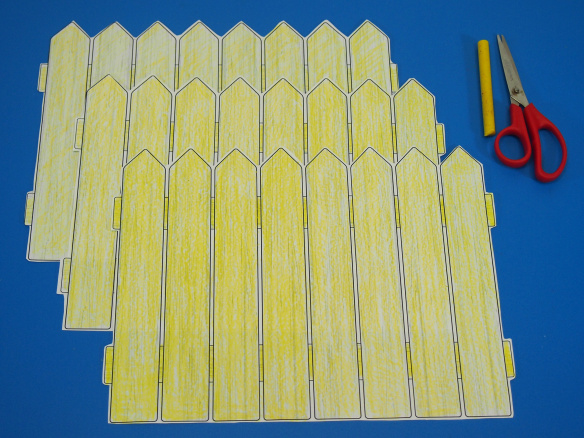
While everyone is waiting for the Fingerpaint Flowers to dry, print out and distribute this template to your students. The template prints out onto regular 8.5 x 11″ paper. Each Fingerpaint Flower will need to be covered by one or two of these fences.

P1018790

Color in the fence with crayon. Get creative with your fence colors! Cut out the fence graphic once it is colored in.

OLYMPUS DIGITAL CAMERA

Use sticky tack or tape to paste your flowers up on a school wall. The fence goes in a straight line right across the stem and leaves.

If you make an entire classroom garden, we’d love to see it! Send us photos or contact us through the contact form so we can share your project with the rest of the blog world.

Line-20

Subscribe to our blog for craft projects and product updates every Monday, Wednesday and Friday! If you would like to be featured in one of our posts, drop us a line through the contact form.