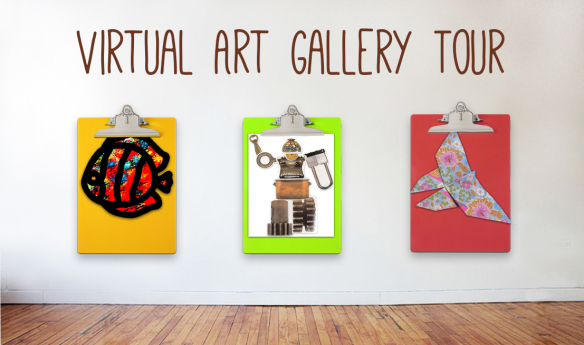
Take a tour through our virtual Art Gallery!!

feature image- clipboardgallery

Welcome to the Little Fingers Big Art gallery wrap-up! Today, we’re going to take a trip down memory lane and revisit some of our favorite crafts of the past year. PLUS: I’ll show you a unique way to display your students’ artwork in the classroom! 

I’ve taken our favorite top ten crafts and compiled them below in honor of Little Finger Big Art blog’s first year on the blogosphere! Just click on any of the images below to get linked directly to the craft post.

TIP: To display your students’ artwork, purchase colorful clipboards from any Dollar store! Use one clipboard per student. Hang the clipboards from a wall. If you are unable to drill nails into walls, consider placing adhesive hooks to the walls and hanging the clipboards off those. You can buy adhesive hooks at any department store nearby you!

When children have finished a piece of art, they can clip their art up to their individual clipboard. Send old artwork home with students to add newer artwork to the clipboard art gallery! Children can update their clipboard galleries anytime they finish a 2D illustration.

View our top-ten favorites below!

clip10 copy

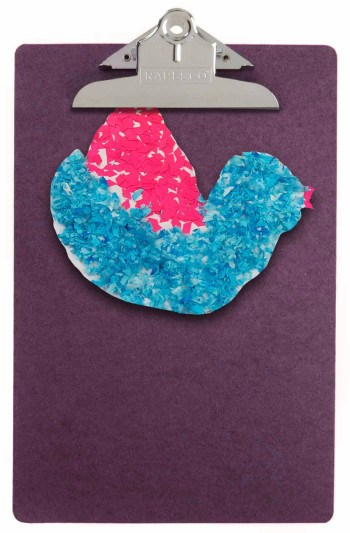
1. CLASSROOM BIRDS

Colorful collage materials add texture and brightness to the beautiful bird designs. Find templates for the bird designs here: Bird Template 1 and Bird Template 2. Each student can make their own unique bird and add it to the overall classroom display of birds! Find out here!

clip9 copy

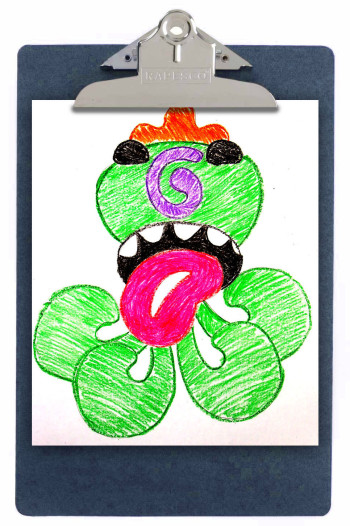
2. SILLY STENCILS FRIENDLY MONSTERS

Grab a handful of Silly Stencils and arrange them to make your very own friendly monster! Any of the stencils can be used as eyes, noses, mouths, legs, bodies and more. Great for exercising dexterity and building image association skills: find out more here!

clip8 copy

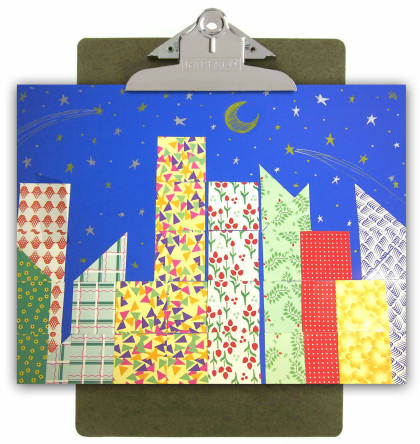
3. QUILT MOSAIC BUILDINGS

Arrange beautiful patterned mosaics to make a gorgeous night scene! Use metallic gold and silver gel pens to add detail to the night sky. Learn more about this project here!

clip7 copy

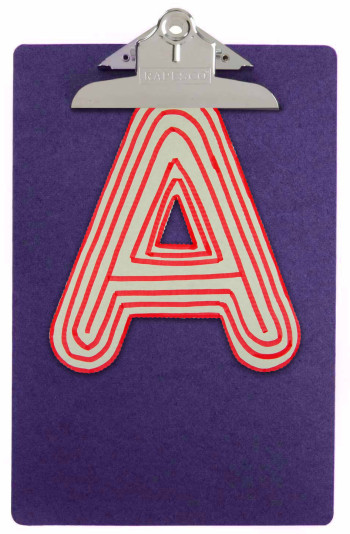
4. ALPHABET TRACING SKILLS

Use our Chipboard Letters to learn about uppercase letters. A great tracing activity that helps encourage image retention through repetition. Try it out!

clip4 copy

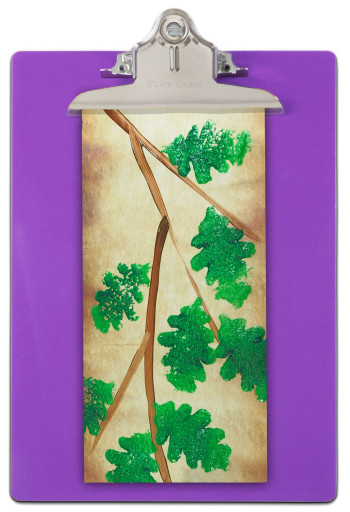
5. ROLLY SCROLLY JAPANESE CALLIGRAPHY ART

Use simple brushstrokes to illustrate branches. Add detail with our Leaf Sponges! See the full tutorial here!

clip2 copy

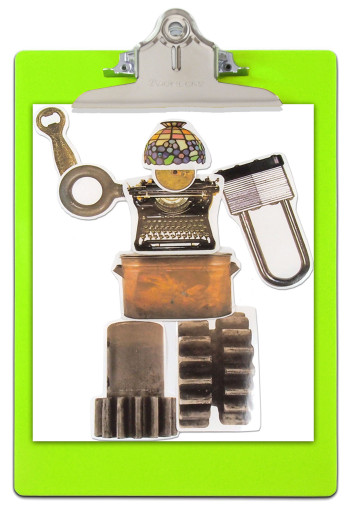
6. JUNK ART ROBOTS

Learn how to put together our Elements Collage pieces to make jivin’ robots! Get inspired to make your own using our instructions. Check it out here!

clip1 copy

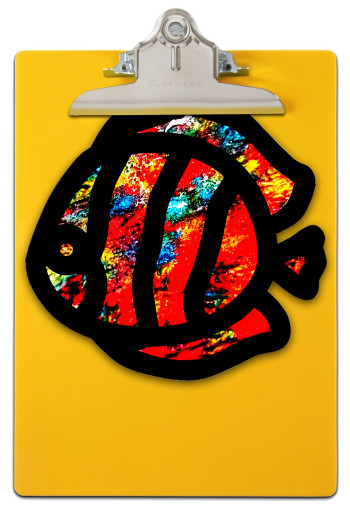
7. CRAYON SHAVING STAINED GLASS

Use crayon melts to create a beautiful stained glass material for our Stained Glass Frames. A great way to recycle old crayon stubs! View the full tutorial!

clip5 copy

8. ORIGAMI FIGURES

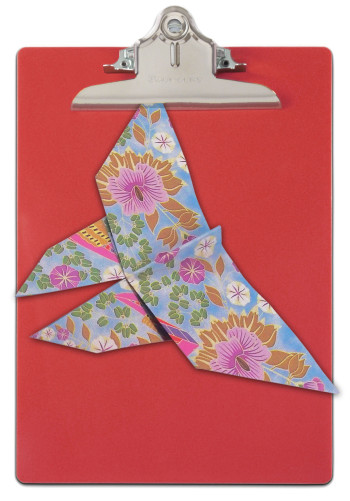
Stuck trying to make sense of valley folds or inside reverse folds? Don’t stress another minute! Check out our detailed YouTube videos that show you precisely how to make a bird, frog, butterfly, boat, crane and fish! We use our R15208 Really Big Origami Paper so you can see every step along the way.

clip3 copy

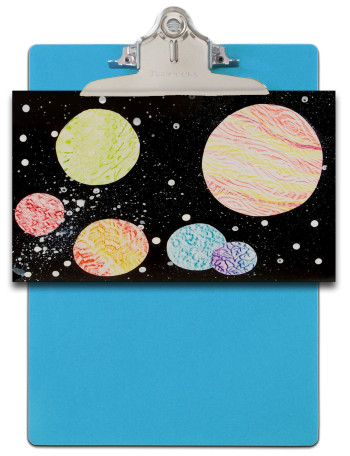
9. RUBBING PLATE PLANETS

Our R5841 Optical Illusion Rubbing Plates were used to add interesting effects to planet cutouts. Paired with a cotton swab-brushed background, these planets look stellar! Take a trip to this space-inspired post!

clip6 copy

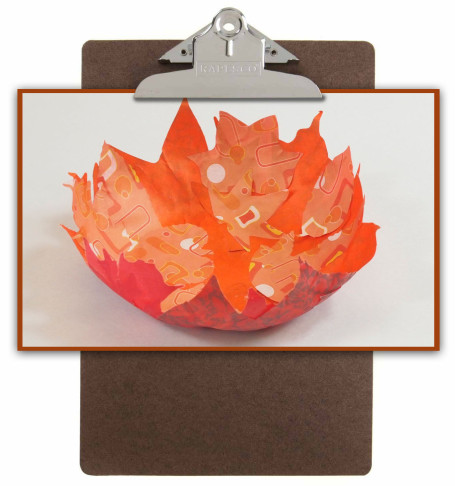
10. PAPER MACHE BOWL

A happy accident this was! I used a bit of glue with our R15335 Spring and Autumn Leaves and draped them over a plastic bowl to make this colorful creation. Learn more about this project here!

Line-08

Thanks for checking out our gallery! We’d love to see some of your artwork! Send us your ideas or photos of projects inspired by our crafts! Send all emails to subscriber@roylco.ca for a chance to be featured in an upcoming blog post. 

Sensory Collage Easter Egg Art Project

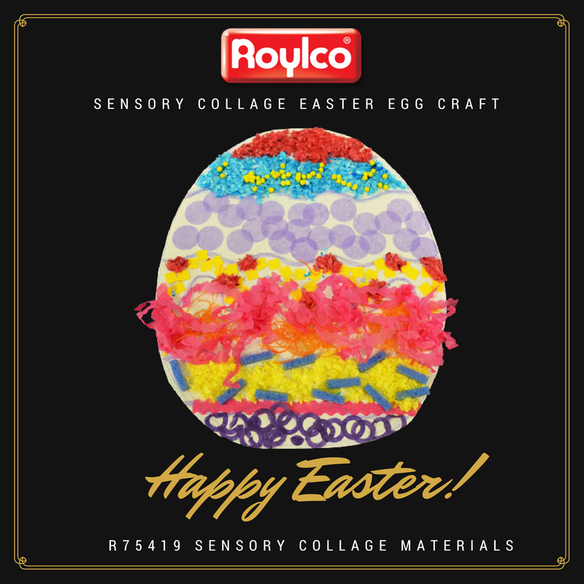
Are you looking for Easter egg ideas? The sensory collage Easter egg art project is great for your classroom activities. It introduces children to the important senses of the human body with Roylco’s Sensory Collage Kit. It’s also great for working on fine motor skills.

Age: 5+

Duration: 15 minutes

Learning Outcomes: Exercise fine motor skills. Practice sorting materials by color and texture. Learn about collage art. Develop sensory awareness.

You’ll Need: 

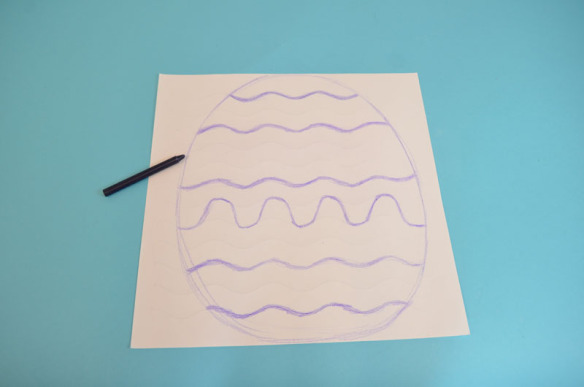
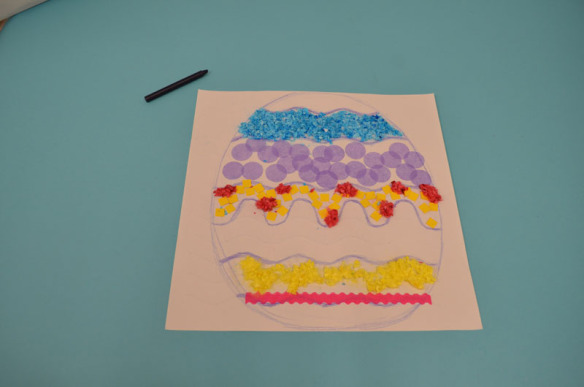
Pull out a wavy sheet from the R15413 Sensory Paper package, choose your favorite pastel color, and draw an outline of an egg. Encourage kids to slowly move their palms and fingertips over the paper to feel the small raised patterns. Some kids may want to follow the patterns on the paper to create their designs, while others may want to create their own designs. You can color the wavy lines on the paper and it will divide the egg into different sections. You can make these lines as bold as you like.

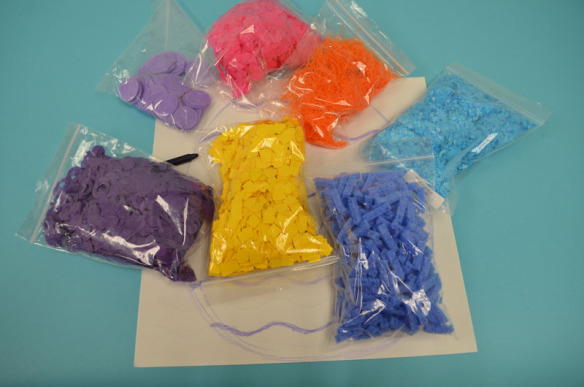
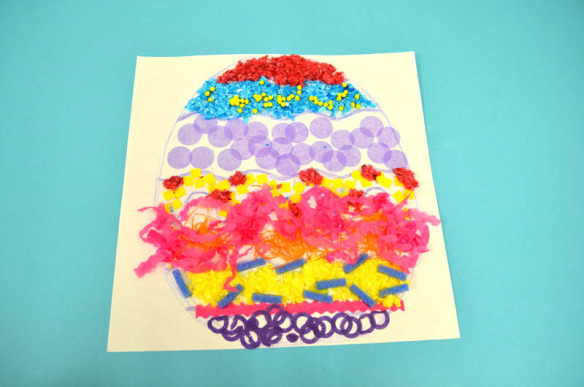
Next, plan and place the sensory art materials you like on your egg. The Sensory Collage Kit contains 20 different sensory art packs to use in creating unique illustrations.

Before gluing the sensory art materials onto the artwork, you can play with the colors and the different textures. Think about which sensory art materials would best represent your Easter egg artwork.

Encourage children to talk about the color and the texture they use on the artwork and discuss what they feel. Is the color a warm color or a cool color? Is the material rough, hard, scratchy, smooth or bubbly? After exploring the materials, children can start to glue the sensory materials onto the artwork.

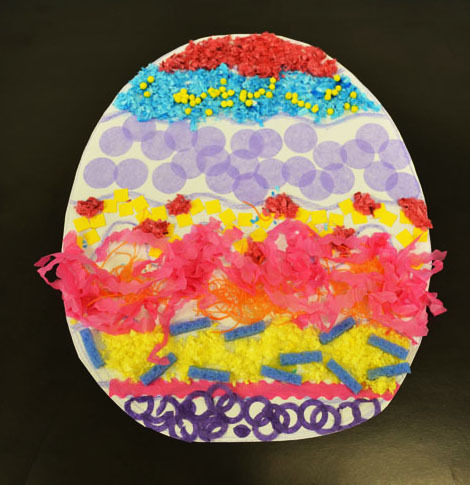
The artwork is almost finished. Have the children cut out the egg and glue it on to the  cardstock. Here is our sensory collage Easter egg artwork. Write your name on the artwork and take it home for your Easter celebration!

For more information please visit https://roylcostore.com/products/sensory-collage-kit 


Bundle Savings

Get all the Roylco items used
in this project and save 15%!

$47.58 USD
bundled price
Add Bundle
to Cart


Make your own Origami Rabbit

Are you looking for more Easter ideas this week? Making origami rabbit is fun and easy. Today we are going to show you how to make these cute origami rabbits.

Age: 4+

Duration: 6 Minutes

Learning Outcomes: Practice following step-by-step instructions while exercising fine motor and spatial skills.

You’ll Need: 

Step-by-step Instructions ( Please see the graphic above ):

  1. Fold your paper in half to make a triangle.
  2. Fold the creased side of the triangle up about 3/4″.
  3. Fold one side toward the center, line up the points and crease.
  4. Fold another side toward the center. Line up the points and crease.
  5. Fold the bottom up.
  6. Flip it over. Fold the top point inside to create the top of the rabbit’s head. You can see the rabbit’s head is ready now.
  7. Let’s work on the rabbit’s body. Take another piece of paper. Please check the graphic, fold one side of the paper to make a triangle. Then line up the points and fold another side into a triangle.
  8. Flip it over. Align with the point at the bottom, fold the paper to make a triangle. Then line up the points and fold another side into a triangle.
  9. Align with the points in the middle, then fold the shape into half to create a rabbit’s body. Put the rabbit’s head on the top of the body. The basic shape of rabbit is ready.

Ideas:

  • Roylco’s R15219 Elemetary Origami Animals pack provides different patterns and bright colors of origami paper. Contrasting colors are printed on the reverse side. Use the fun bright paper to create your own designs.
  • You can draw different cute facial features on the rabbit. Or you can use other craft paper to cut out the features and glue them on the rabbit.
  • Check out our blog post on “How to make origami carrots” and make a couple of carrots for your rabbits.
  • Display the rabbits somewhere festive, hide them around the house, or around the neighborhood where friends might find them.
  • Punch a hole at the back of the rabbit. Thread a piece of yarn with all the rabbits you make. Hang the rabbits from the ceiling or use them to decorate bulletin boards, doors and hallways!

Please visit https://roylcostore.com/products/elementary-origami-animals for more information.

Color Diffusing Easter Egg Artwork

Make beautiful color diffusing Easter Egg Artwork by using Roylco’s R15213 Color Diffusing Paper™!

Age: 3+

Duration: 5 minutes for painting and assembling, couple of hour for drying.

Learning Objectives: Use fine motor skills to squeeze paint from pipettes onto paper. Learn about the process of diffusion with beautiful Color Diffusing™ technology.

You’ll Need:

• R15213 Color Diffusing Paper™

• R54470 Junior Heart Paint Pipettes

• Watercolor paint

• Paint tray

• A Cup of water

• Cardstock

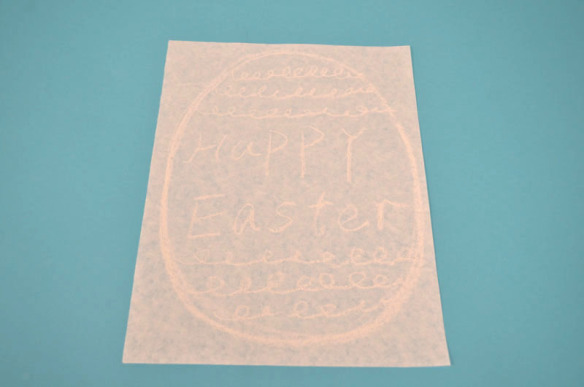
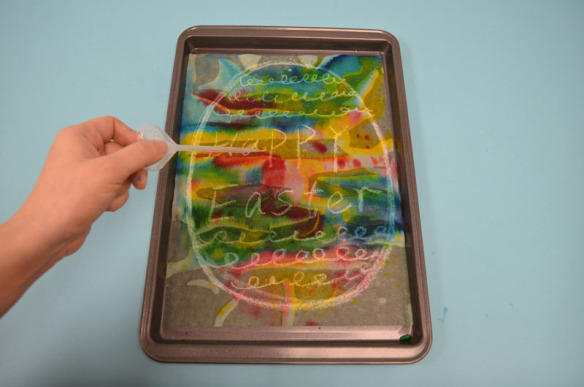
Use white chalk to draw an outline of an egg on to Roylco’s R15213 Color Diffusing Paper™ . Then create some patterns to design your egg. I also wrote ” Happy Easter” in the middle of the egg. Encourage children to use their imagination to create their own designs.  

Next, place the paper in the paint tray. Wet the R15213 Color Diffusing Paper™, and use Roylco’s R54470 Junior Heart Paint Pipettes to drip liquid watercolor paint over top of the wet surface. Encourage children to experiment with different color palettes. It’s lots of fun for children to play with different colors and watch the colors flow and blend to create spectacular patterns and effects.. This is a great time for children to learn about color mixing, ask the children to discuss the effects of color mixing.

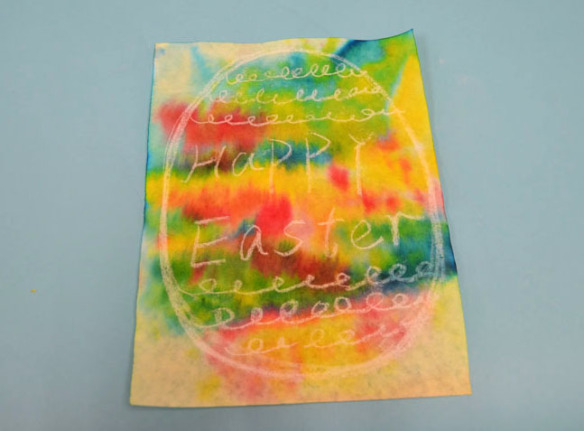
Let the artwork dry in the paint tray for couple of hours.  You can also use a blow dryer to dry the artwork. You can see the result is unexpected and beautiful.

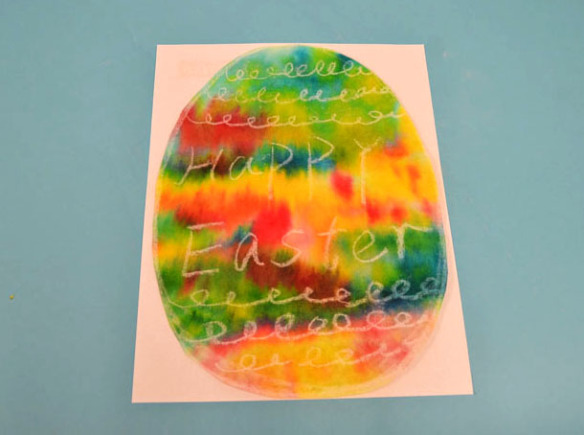
The color diffusing Easter egg artwork is almost ready. Once the paint is dry, you can cut the egg out and glue it on to the cardstock.

For more information please visit https://roylcostore.com/products/color-diffusing-paper-9×12

Bundle Savings

Get all the Roylco items used
in this project and save 15%!

$15.62 USD
bundled price
Add Bundle
to Cart

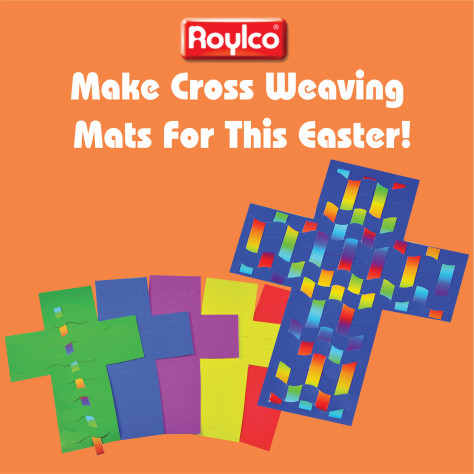
Make Cross Weaving Mats for this Easter !

Let’s make cross weaving mats for this Easter! With this simple project, the art of weaving colorful strips of paper through a bright Cross Weaving Mat promotes hand-eye coordination!

Age: 4+

Duration: 8-10 minutes

Learning Outcomes: Explore cultural traditions and symbols. Practice folding and taping. Exercise Fine motor skills. Create a take-home craft.

You’ll Need:

Weave a colorful Cross!
• Begin by gently separating the weaving strips from the panel and loosening the die-cut slats of the cross. Allow four strips per cross.

• Start by weaving the vertical area of the cross. Insert a strip through the slats of the
mat and weave in and out. When you have finished the first strip, start the second but
alternate the “in and out” pattern each time. A wavy, checkerboard pattern will appear.

• Trim off the excess weaving strip lengths and use to complete the cross bar of the cross.Carefully glue or tape the ends down on the backside of the weaving mat. Notice the different color combination you have created on the reverse side.

Tape your finished cross to a window for inspirational window art or decorate a Bible
classroom doorway. Use several Cross Weaving Mats to decorate a bulletin board for Easter!

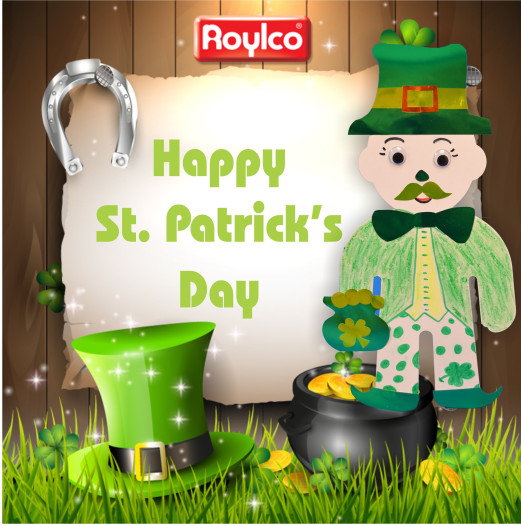
How to Make a St. Patrick’s Day Leprechaun

Today, people of all backgrounds celebrate St. Patrick’s Day. Some kids dress up in green and look for shamrocks, while others try to catch the elusive St. Patrick’s Day leprechaun.

The St. Patrick’s Day leprechaun is an Irish fairy. But he is quite different from other fairies, he looks like an old man and stands at around two feet tall. Dressed in green from head-to-toe, he carries a shillelagh, which he uses to scare anyone who tries to steal his gold.

We are going to show you how to create a leprechaun for St. Patrick’s Day.

Age: 4+

Duration: 15 minutes

Learning Outcomes:  Exercise fine motor skills.

You’ll Need:

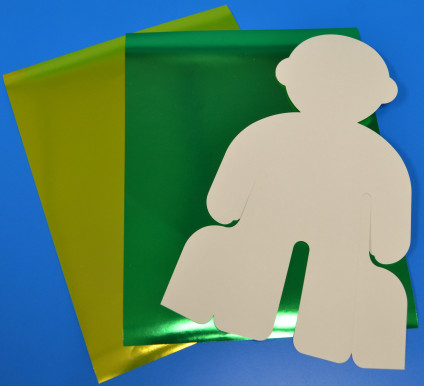
Let’s get started. Take one character from Roylco’s R53001 Stand Up People, and one sheet each of gold and the dark green paper from R15409 Econmoy Metallic Paper pack.

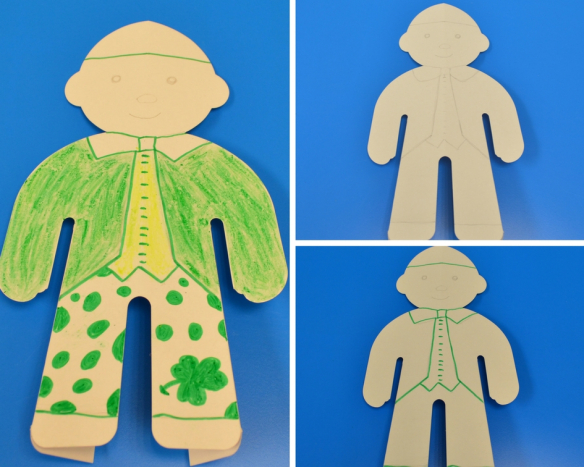
  1. Use the pencil to sketch out a leprechaun on the R53001 Stand Up People character.
  2. Use the marker to trace the outline of the leprechaun.
  3. You can use green crayon to color the suit, and use the light green crayon to color the vest. Use the marker to decorate the pants with different dots or patterns. As you can see we have a very basic look of a leprechaun.

Let’s add more features on the R53001 Stand Up People character.

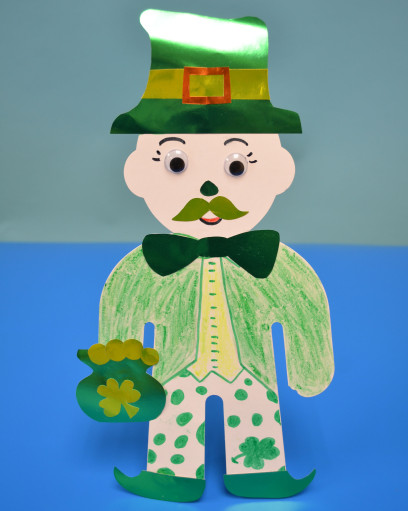
4. Put the green metallic paper on top of the head and draw the outline of the hat. Then use the scissors to cut out the hat and glue it on the character.

5. You can glue the Googly eyes on to the face or draw the eyes. Use the gold metallic paper to cut out the mustache. Draw the boots and the bow tie on the green paper and cut them out.

6. Use a glue stick to glue the mustache, bow tie and boots to the character. Draw the eyebrows, and mouth on to the face. Do not forget to decorate his green hat, by adding a buckle band or shamrock.

The St. Patrick’s Day leprechaun is almost done. Remember a leprechaun spends his time searching for gold. So we need a pot of gold for him to carry. Use the green paper to create the golden pot. Next cut out some golden coins and glue them on to the green pot. You can also add a shamrock if you want.

Now fold back the leg flaps and stand him up for display.

Bundle Savings

Get all the Roylco items used
in this project and save 15%!

$25.48 USD
bundled price
Add Bundle
to Cart


Elementary Origami Animals for Kindergarten

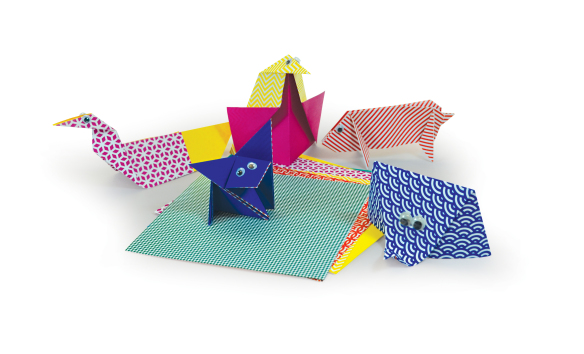
15219 - Crafts Collection.jpgWelcome to the first in our new series on Elementary Origami Animals! Add a tactile dynamic to early literacy! Today, we’ll be focusing on two kindergarten level projects: the Puppy and the Elephant! 
 

Age: 3+

Duration: 5 minutes

Learning Outcomes: Practice following directions as you fold these together as a class. Exercise fine motor skills to fold and crease neatly.

You’ll Need: 

Line-06

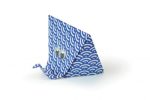
Start by choosing a sheet of the double-sided origami paper. Here is the video tutorial for folding the elephant:

Once you have folded your elephant, use a glue stick to put google eyes on him! You can also use washable marker.

Once all the kids have their elephants, the question is, what book do you pair your elephant with? For very young readers, picture books read with reading buddies are a great option. Independent learners might also enjoy exploring the images in an elephant reference book on their own! Some of my favorite elephant books include:

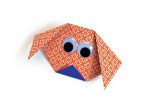
If you want to fold the puppy instead, start with a sheet of origami paper. Here is the video tutorial for folding the puppy:

Once your puppy is folded, give him eyes and a nose!

There have been many, many picture books about dogs and puppies written, so feel free to choose your favorite! Here are some of my favorites:

Challenge students to practice letter recognition with their origami pals!

Line-22

Like us on FacebookShare this post with your friends, or Subscribe to this blog today to receive original craft project updates every week!