Light Cube: Water Beads and Alternatives

2015-01-00F-FeatureImage

Talking about transparent objects is a great way to move into a sensory exploration of water beads! Although you should reserve this activity for older students, we list some alternatives to water beads that you can experiment with yourself.

IMG_9962

Water beads are found at most outdoors or garden stores. The water beads are used to retain excess water–they swell to a larger size and feel squishy to the touch.

IMG_9987

Pour water into a basin and drop in your water beads. The water beads are very tiny at this point. Leave the beads to soak overnight.

IMG_0265

Once the beads have fully soaked, they will look like squishy marbles!

IMG_0243

Since the water beads can pose a hazard to young children, it is best to leave this activity for older students or you can try some of these alternatives:

Use quick cooking bubble tea BOBA! These little tapioca starch balls are used in novelty bubble teas. Use the quick cook kind, or purchase a premade jar of tapioca balls. Let them soak overnight in warm water with a bit of food dye to color them!

You can also use basil seeds, which swell when stirred into water. Repeat the same process by leaving them to soak in some colorful food dye.

IMG_0235

Use sieves, cups and other cooking tools to experiment with the buoyancy of the water beads.

Line-22

Like us on FacebookShare this post with your friends, or Subscribe to this blog today to receive original craft project updates every Monday, Wednesday and Thursday!

100 Days of School Celebration

2015-02-00-FeatureImage

It’s almost time to celebrate the 100 days of School! What types of festivities are you planning for this special event? We suggest using our R75423 100 Days of School Finger Paint Paper to do a painting activity!

Age: 5+

Duration: 5-10 minutes

Learning Objectives: Learn about the number 100! Explore the number’s shape. Keep track of the number of paint blots to cover the full surface. Integrate activity into study of numbers up to 100. Use fine motor skills to carefully grasp balloon while painting.

You’ll Need:

R75423 100 Days of School Fingerpaint Paper

• Balloons (small to medium sized)

• Bowls

• Paint (tempera or fingerpaint)

• Covering for work surface (i.e. newspaper)

• Tape (optional)

 Line-09

IMG_0439

Cover your workstation with newspapers to prevent paint from making a mess. It’s a good idea to contain all paint in separate paint bowls. That way, there will be less spills to deal with!

IMG_0473

First, pick two colors of paint you will want to work with. They can be complementary colors, or whatever combination you wish! Squeeze one color into the center of the bowl so it fills the bottom. Now squeeze the second color in the center of the first color, but do not over-pour. You want to create a starburst effect from the two colors.

IMG_0447

Blow up your balloon with just a small amount of air. Our friends found out that blowing up the balloon all the way made it harder to use. You want just enough air to make it squishy enough for the kids to hold.

IMG_0458

Once you have a good size that can fit into the bowl, dip into the paint and press onto the paper. This will create a really cool paint blot effect!

IMG_0468

Guide students to keep their blots deliberate and directed straight onto the paper. They can keep paint blotting the image until the entire sheet is covered.

IMG_0438

Fingerpaint dries fairly quickly if left out in the sun for a few minutes!

IMG_0491

What a beautiful effect! You can challenge your students to count to from 1-100 and see how many blots it takes to fill the entire paper.

Line-09

Like us on FacebookShare this post with your friends, or Subscribe to this blog today to receive original craft project updates every Monday, Wednesday and Thursday!

Spotlight on… Economy Fun Frames

economy fun frames

Make “picture-perfect” gifts to take home with our R22041 Economy Fun Frames!

The pack comes with 24 corrugated card frames with inserts and cutouts. Each frame features a different combination of shapes that can be used to add pizzazz to any size of photograph. Use the innermost shapes as 3D decorations for your frames!

To decorate the frames, use markers, crayons or pencil crayons to add color to the blank frames. You can design your own patterns or use our decorative papers! Some of our fancy decorative papers can be found here:

• R15200 Patterned Paper Classpack

• R15263 Tie Dye Paper

• R15303 Retro Pop Paper

• R15399 Masterpiece Frame Paper

Choose a decorative paper to form the base of your Fun Frame. Turn the paper over so that the printed side is facing down. Place the Fun Frame (blank side down) onto the paper and trace out the inner and outer edges of the frame with a pencil. Remove the frame, then cut around the inside and outside of the tracing. Flip the resulting cutout upside-down and glue onto the Fun Frame. You can use the same concept with construction paper or any other colorful scrap paper you may have on hand!

Try decorating the frame with mosaics. Frame the edges with one color, then fill in the interior with a separate, complementary color for a real pop!

Alternatively, glue down buttons, sequins or scrapbook embellishments onto the frame.

Once you are finished decorating your frame, select the appropriate size of photograph to place behind it. Center your photograph in the middle of the frame, then flip the entire piece over and tape down the photograph.

The next step… take home and present as a gift to someone special! (Teachers: this means the parents!) The recipients will love getting a cute photograph pre-framed and decorated for a shelf or family photo gallery!

For more great ideas using the Fun Frames, please visit this link. 

Line-08

Like us on FacebookShare this post with your friends, or Subscribe to this blog today to receive original craft project updates every Monday, Wednesday and Thursday!

Light Cube: Salad Tray Sorting

light cube sorting tray

Sorting interesting items in a see-through tray on the Light Cube is a great way to focus students on the task at hand. Instead of being distracted by a surrounding environment, each child will deliberately place the items on the sorting tray, using the glow of the Light Cube as their focal point.

light cube sorting tray

We asked our friend Jasmine to take all the assorted sizes of stars in the center of the tray and organize them into individual groups. We found the tray at our local dollar store, but a similar snack or salad tray can be used as well!

light cube sorting tray

The stars were found at the dollar store too, but you can use anything that is available in different sizes–such as marbles, beads or even toy animals!

light cube sorting tray

Jazzy had a great time comparing the different star sizes together to see which one was bigger or smaller. She made great use of comparison words in describing the different sizes!

light cube sorting tray

The glow of the Light Cube made this simple activity much more interesting and enjoyable!

Line-19

Like us on FacebookShare this post with your friends, or Subscribe to this blog today to receive original craft project updates every Monday, Wednesday and Thursday!

Groundhog Day: Will he see his shadow or not??

groundhog day craft

In anticipation of the upcoming Groundhog Day on February 2nd, predict with your students whether or not the groundhog Punxsutawney Phil will see his shadow or not with our R42006 Groundhog Day Craft!

groundhog day

The Groundhog Day craft has everything you need to make your own representation of the Punxsutawney scene when Phil sticks out his head. Will he make it outside to see his shadow or not with the impending blizzard? Time will tell!

The legend goes that when Phil comes out of his hibernation burrow in February, he may or may not see his shadow. If he sees his shadow, Phil will return back to his burrow and there will be 6 more weeks of winter! However, if the opposite happens, and no shadow is seen, then there will be an early spring.

Phil is known as a prognosticator or someone who predicts something. Let’s hope his prediction is right!

groundhog day

The kit comes with 24 printed card scenes. The print features a generic sky with a sun. Find your own groundhog in the kit and start decorating! You can glue the groundhog to the center pop-out tab, then add details around him, such as clouds, flowers or snowflakes.

Make your prediction then see what happens on February 2nd!

Line-15

Like us on FacebookShare this post with your friends, or Subscribe to this blog today to receive original craft project updates every Monday, Wednesday and Thursday!

Spotlight on… Classroom Tunics

classroom tunics

Keep track of your numbers and letters with Classroom Tunics! Every student can take part in the learning fun when they’ve donned their dry-erase pullover.

classroom tunics

The R49620 Dry Erase Classroom Tunics fit nicely onto students’ shoulders. The tunic is designed to hold in place by the dry erase panels on the front and back. You can use the panels to write numbers, letters or other form of signage!

classroom tunics

The best part is that the dry-erase tunics can be re-used over and over again.

classroom tunics

It’s safe for children to wear and a great way to include students in group activities.

classroom tunics

Our full guide gives you detailed resources for implementing the classroom tunics into 7 important subject ares of the curriculum. Learn how to integrate numbers into everyday learning while engaging students in fun activities such as color matching, sorting and more!

classroom tunics

We wrote a number onto each of the students’ vests and asked them to organize themselves in the correct order. We intentionally left out some numbers to give the campers an extra challenge!

classroom tunics

The students all had to work together to determine who went where in the number line. It was a great exercise.

classroom tunics

The best challenge occurred when we changed some of our campers’ vests to subtraction, addition and equal signs. We then chose two students to stand on either side of the operation and work with their peers to figure out what the answer was!

classroom tunics

There are so many great ways to use the Classroom Tunics. Even simply color-coding your students into groups makes the tunics well worth their while in your classroom!

Line-11

Like us on FacebookShare this post with your friends, or Subscribe to this blog today to receive original craft project updates every Monday, Wednesday and Thursday!

Light Cube Jelly Play

2015-01-15-FeatureImage

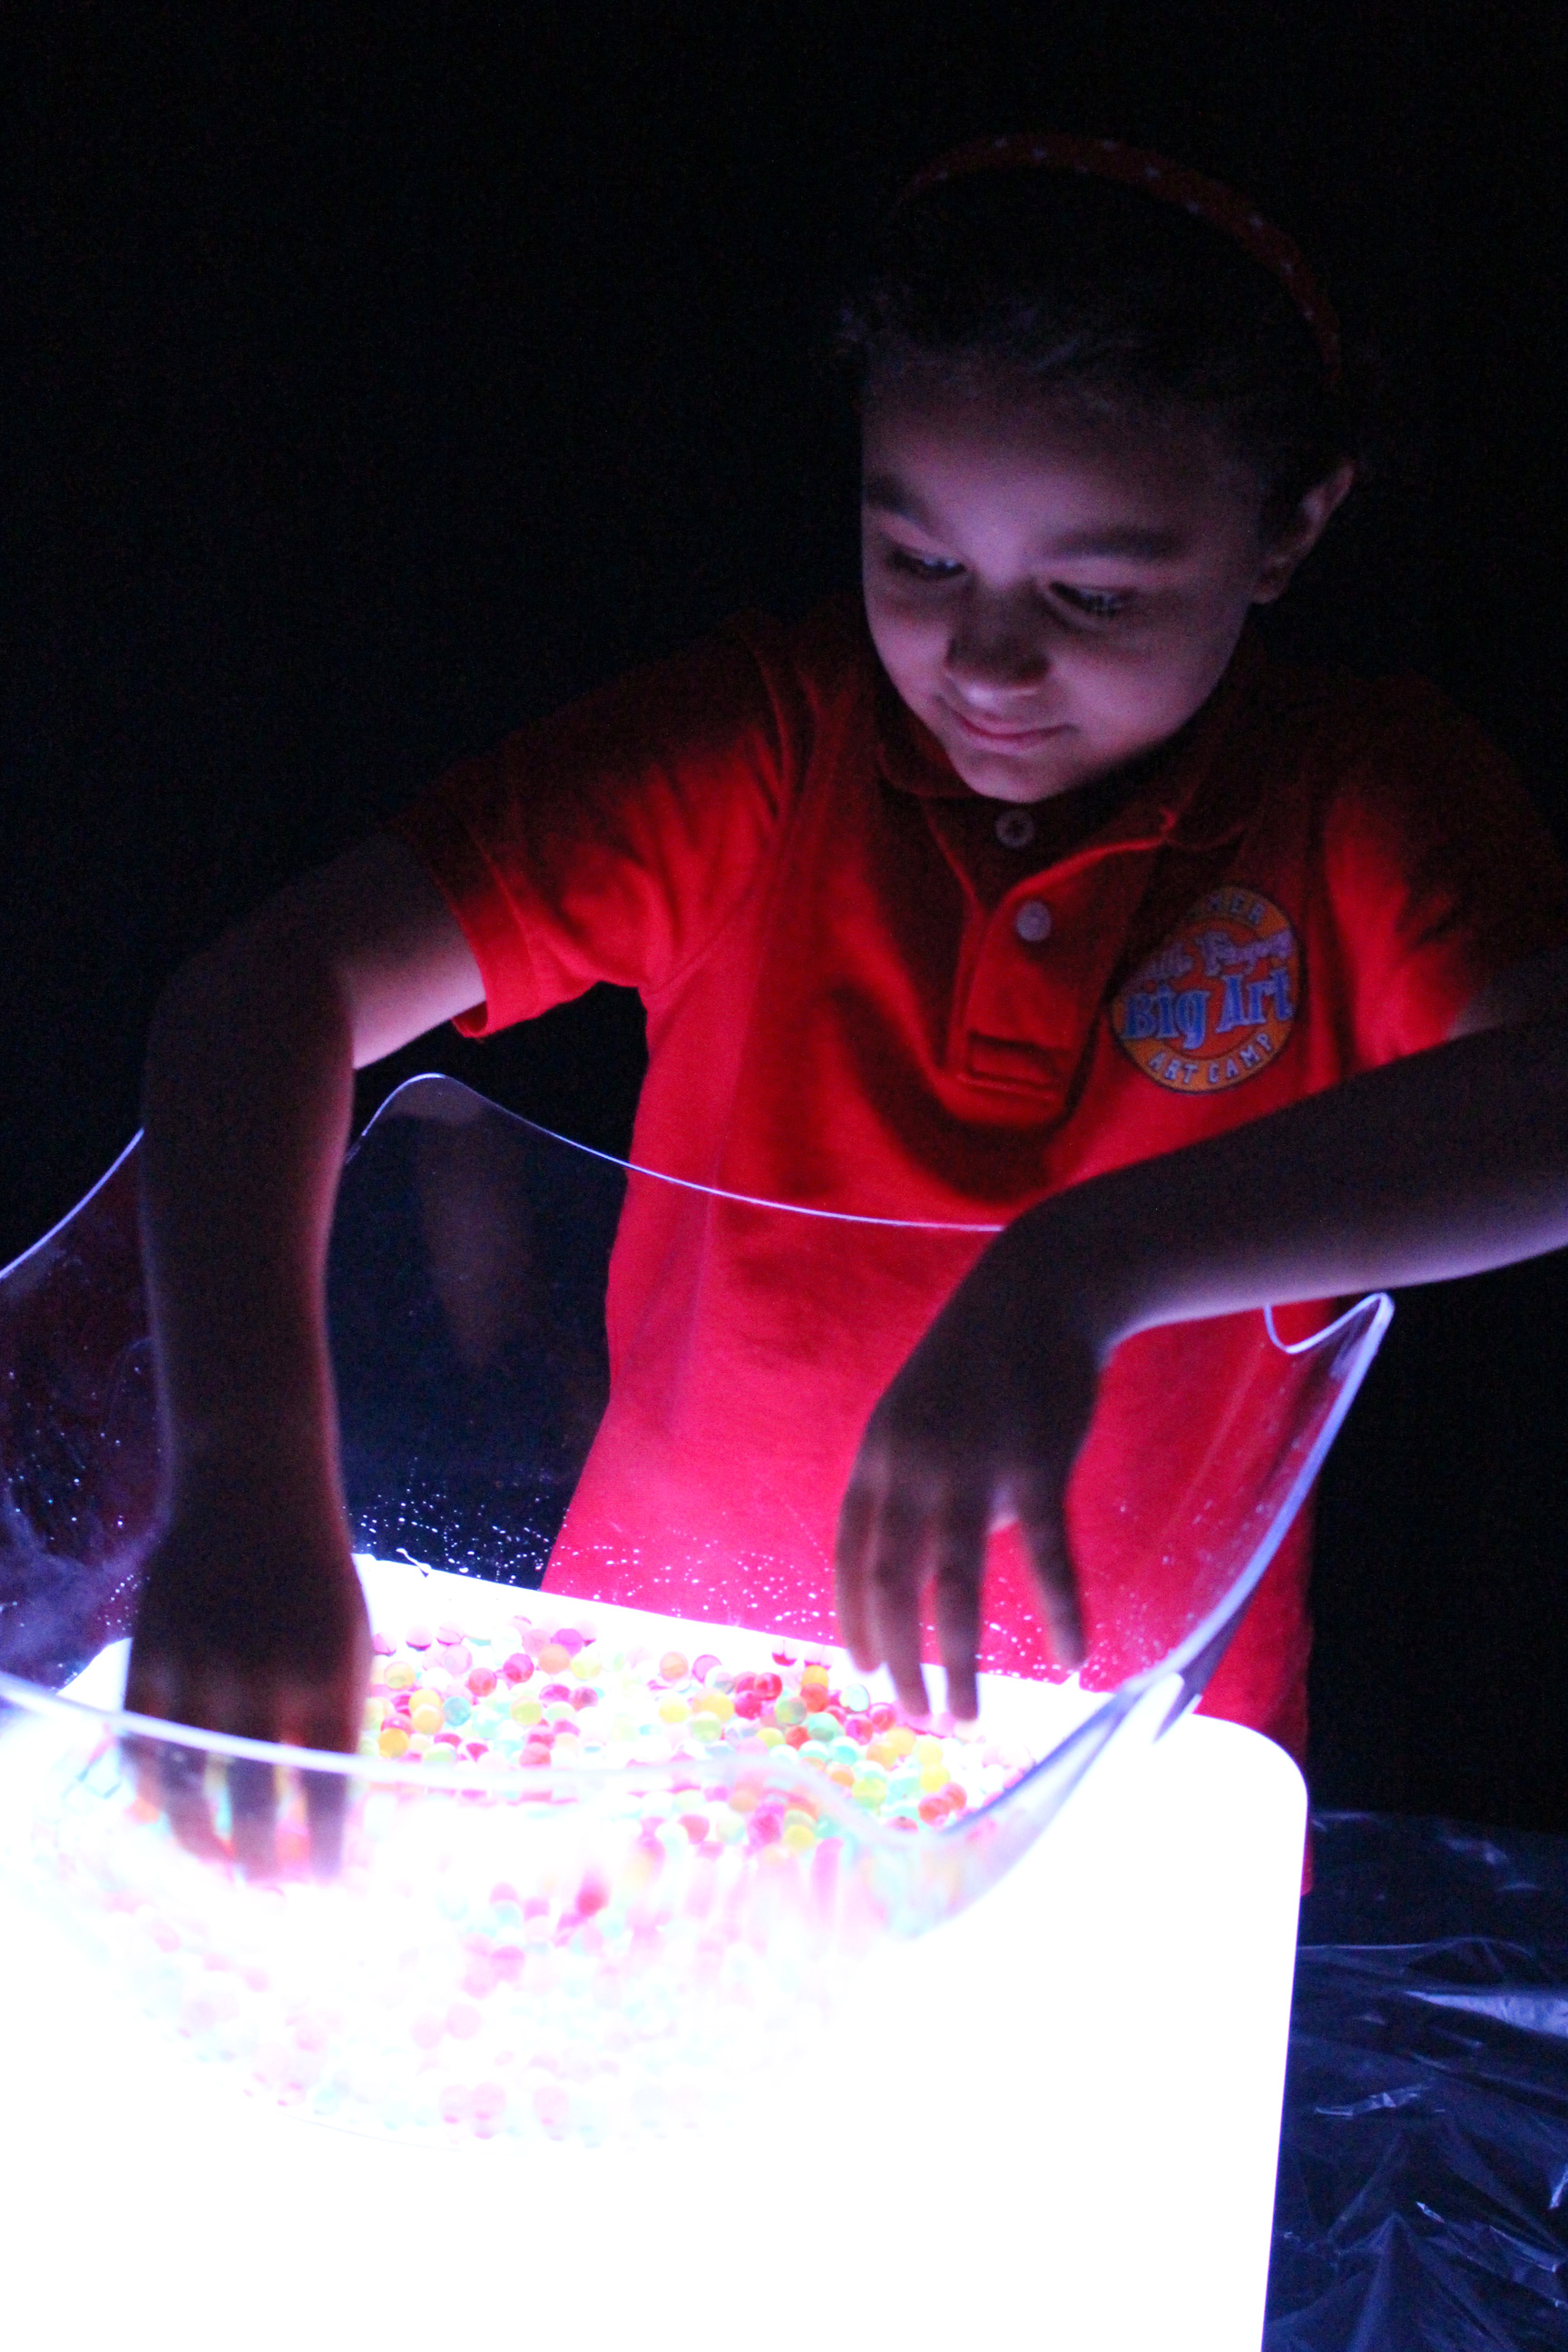
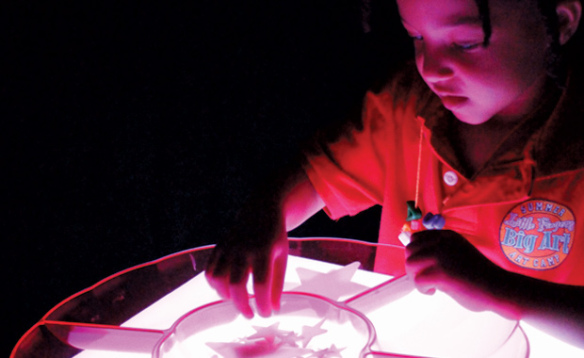
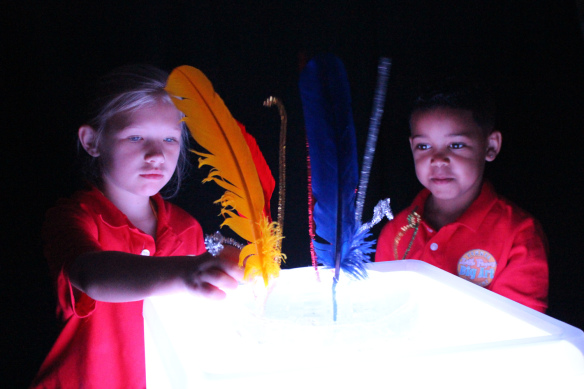
Kids love experimenting with new and weird materials. No wonder, then, that we had the perfect opportunity to play with giant gelatine blocks over the Light Cube–the kids were so intrigued! Using feathers to decorate the gelatine was an added fine motor activity that you can incorporate in your own gelatine block play! We detail more about this process below.

IMG_0102

Gelatine blocks are great because they are transparent, meaning that they are clear enough to be seen through. Some gel blocks can be thicker depending on how you mix up the quantities (we will discuss more about how to make your own gel block below!) This is a great opportunity for teachers to talk about the differences between opaque (not see-through), translucent (somewhat see-through) and transparent (see-through) objects!

IMG_0104

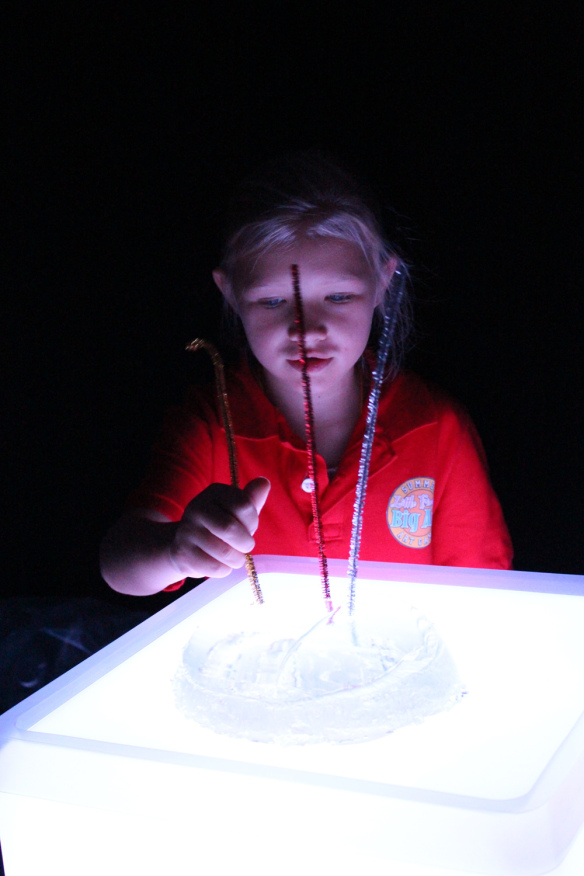
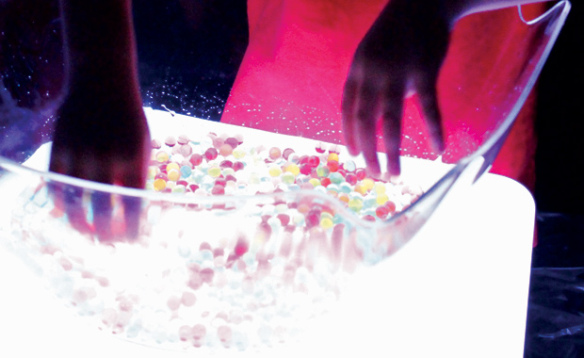
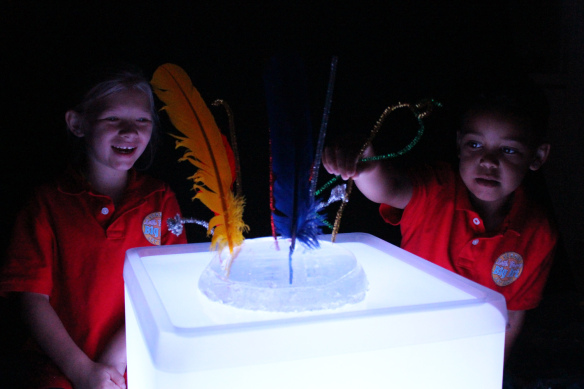
The gel block has great texture and movement too! On the Light Cube, it looks even better because it glows with the light underneath.

IMG_0112

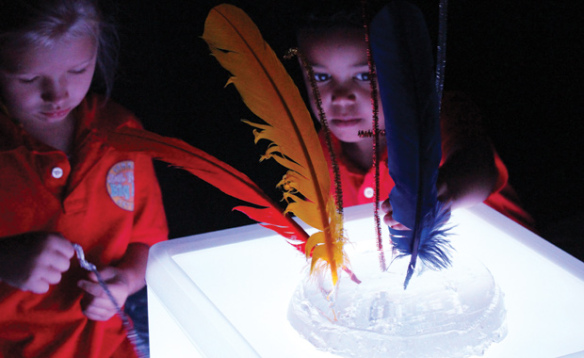
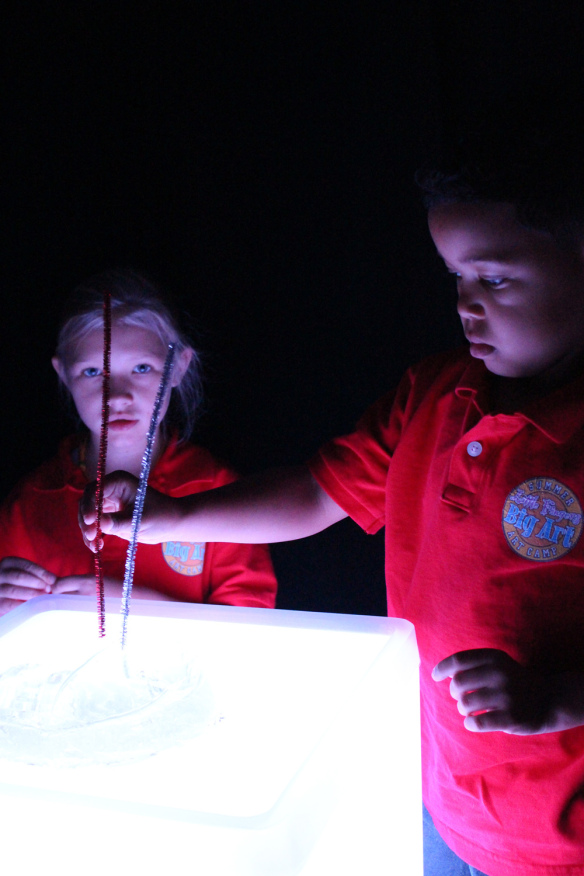
We asked the campers to “decorate” the gel block with fancy additions such as pipe cleaners and feathers. We used shimmering, glittery pipe cleaners to help bounce the light around even more.

IMG_0115

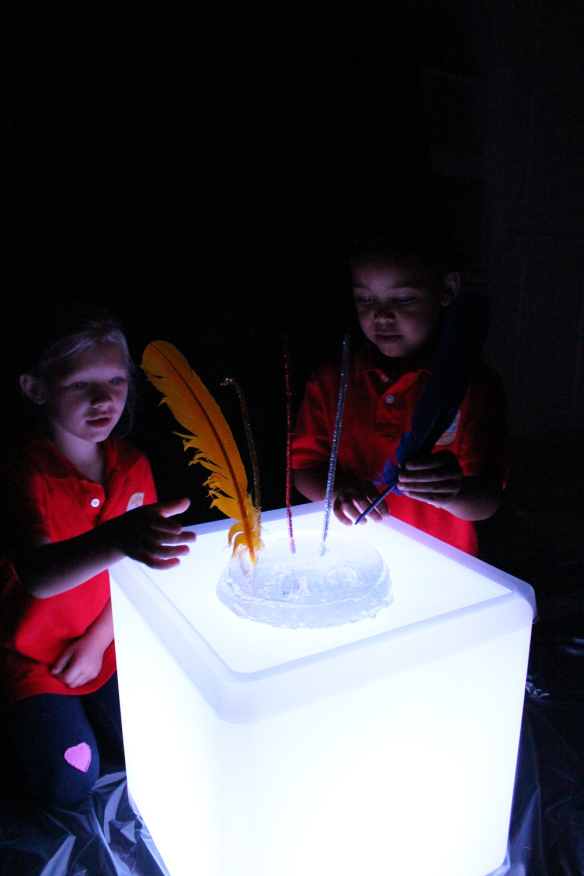
Both campers were really excited to see that the gel block acted like a stand for the feathers and pipe cleaners. It was soft enough to press the materials through but also firm enough to keep the materials in their spots without letting them tip over!

IMG_0118

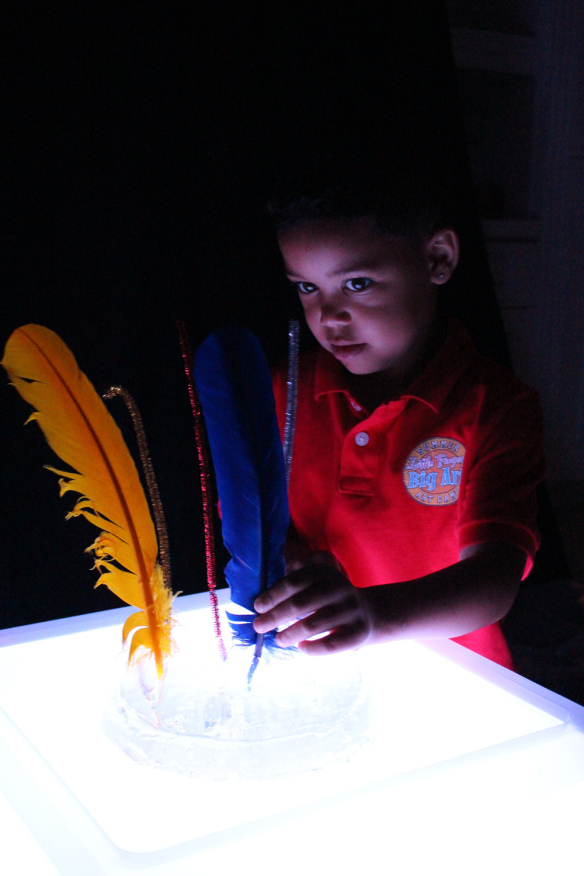
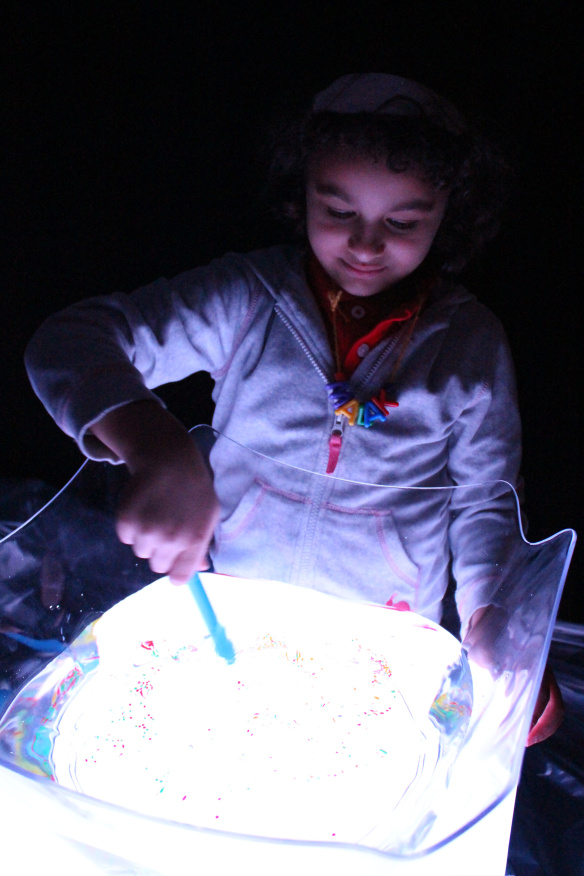
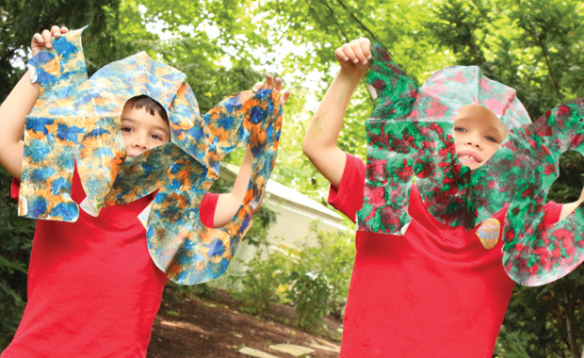
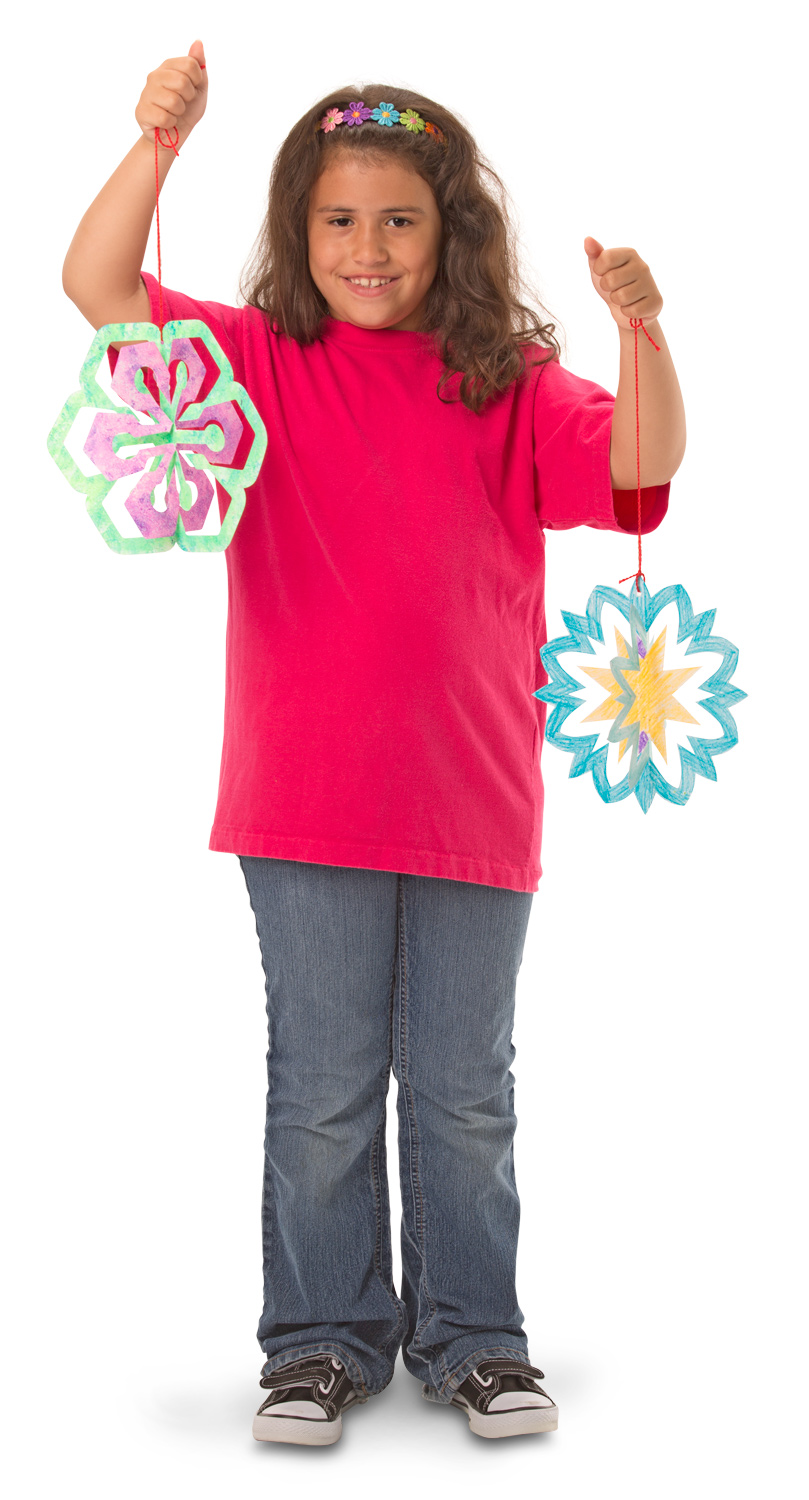
Since we had the Light Cube set to a white glow, it made the colors of the feathers pop out! Look at the contrast between the yellow and the blue. These are complementary colors, meaning that they are placed directly across one another on the color wheel. Another cool lesson for students: learning about color groups!

IMG_0124

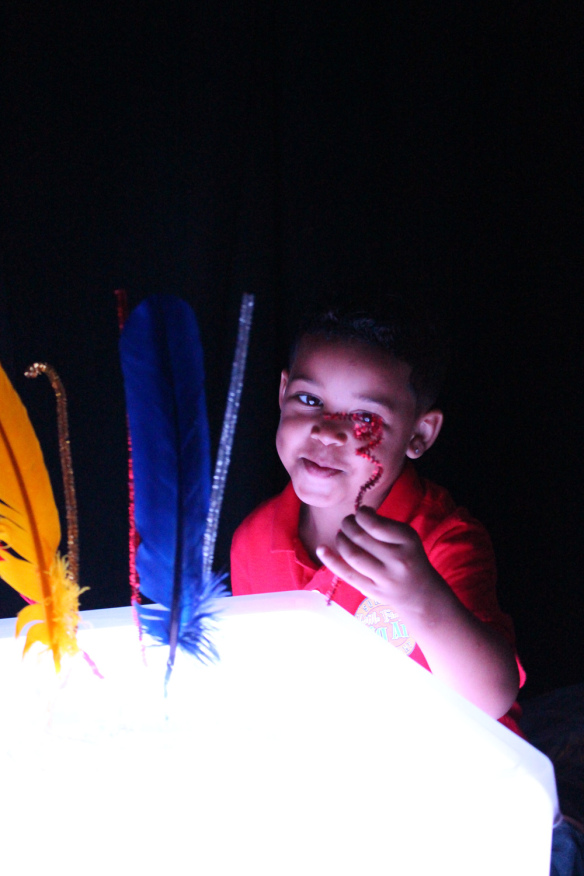
Once we got started, it was hard to stop! Fabian here decided to curl one of the pipe cleaners into a spiral shape and jut it into the gel block for fun.

IMG_0138

To make your gelatine block just like ours you will need the following:

• Knox® Gelatine (find a box of packets at any baking supplies or supermarket near you!)

• Heat-safe bowl or large mold, depending on your preference

• Hot or boiling water

• Cold water

• Measuring cup

• Baby oil

• Whisk

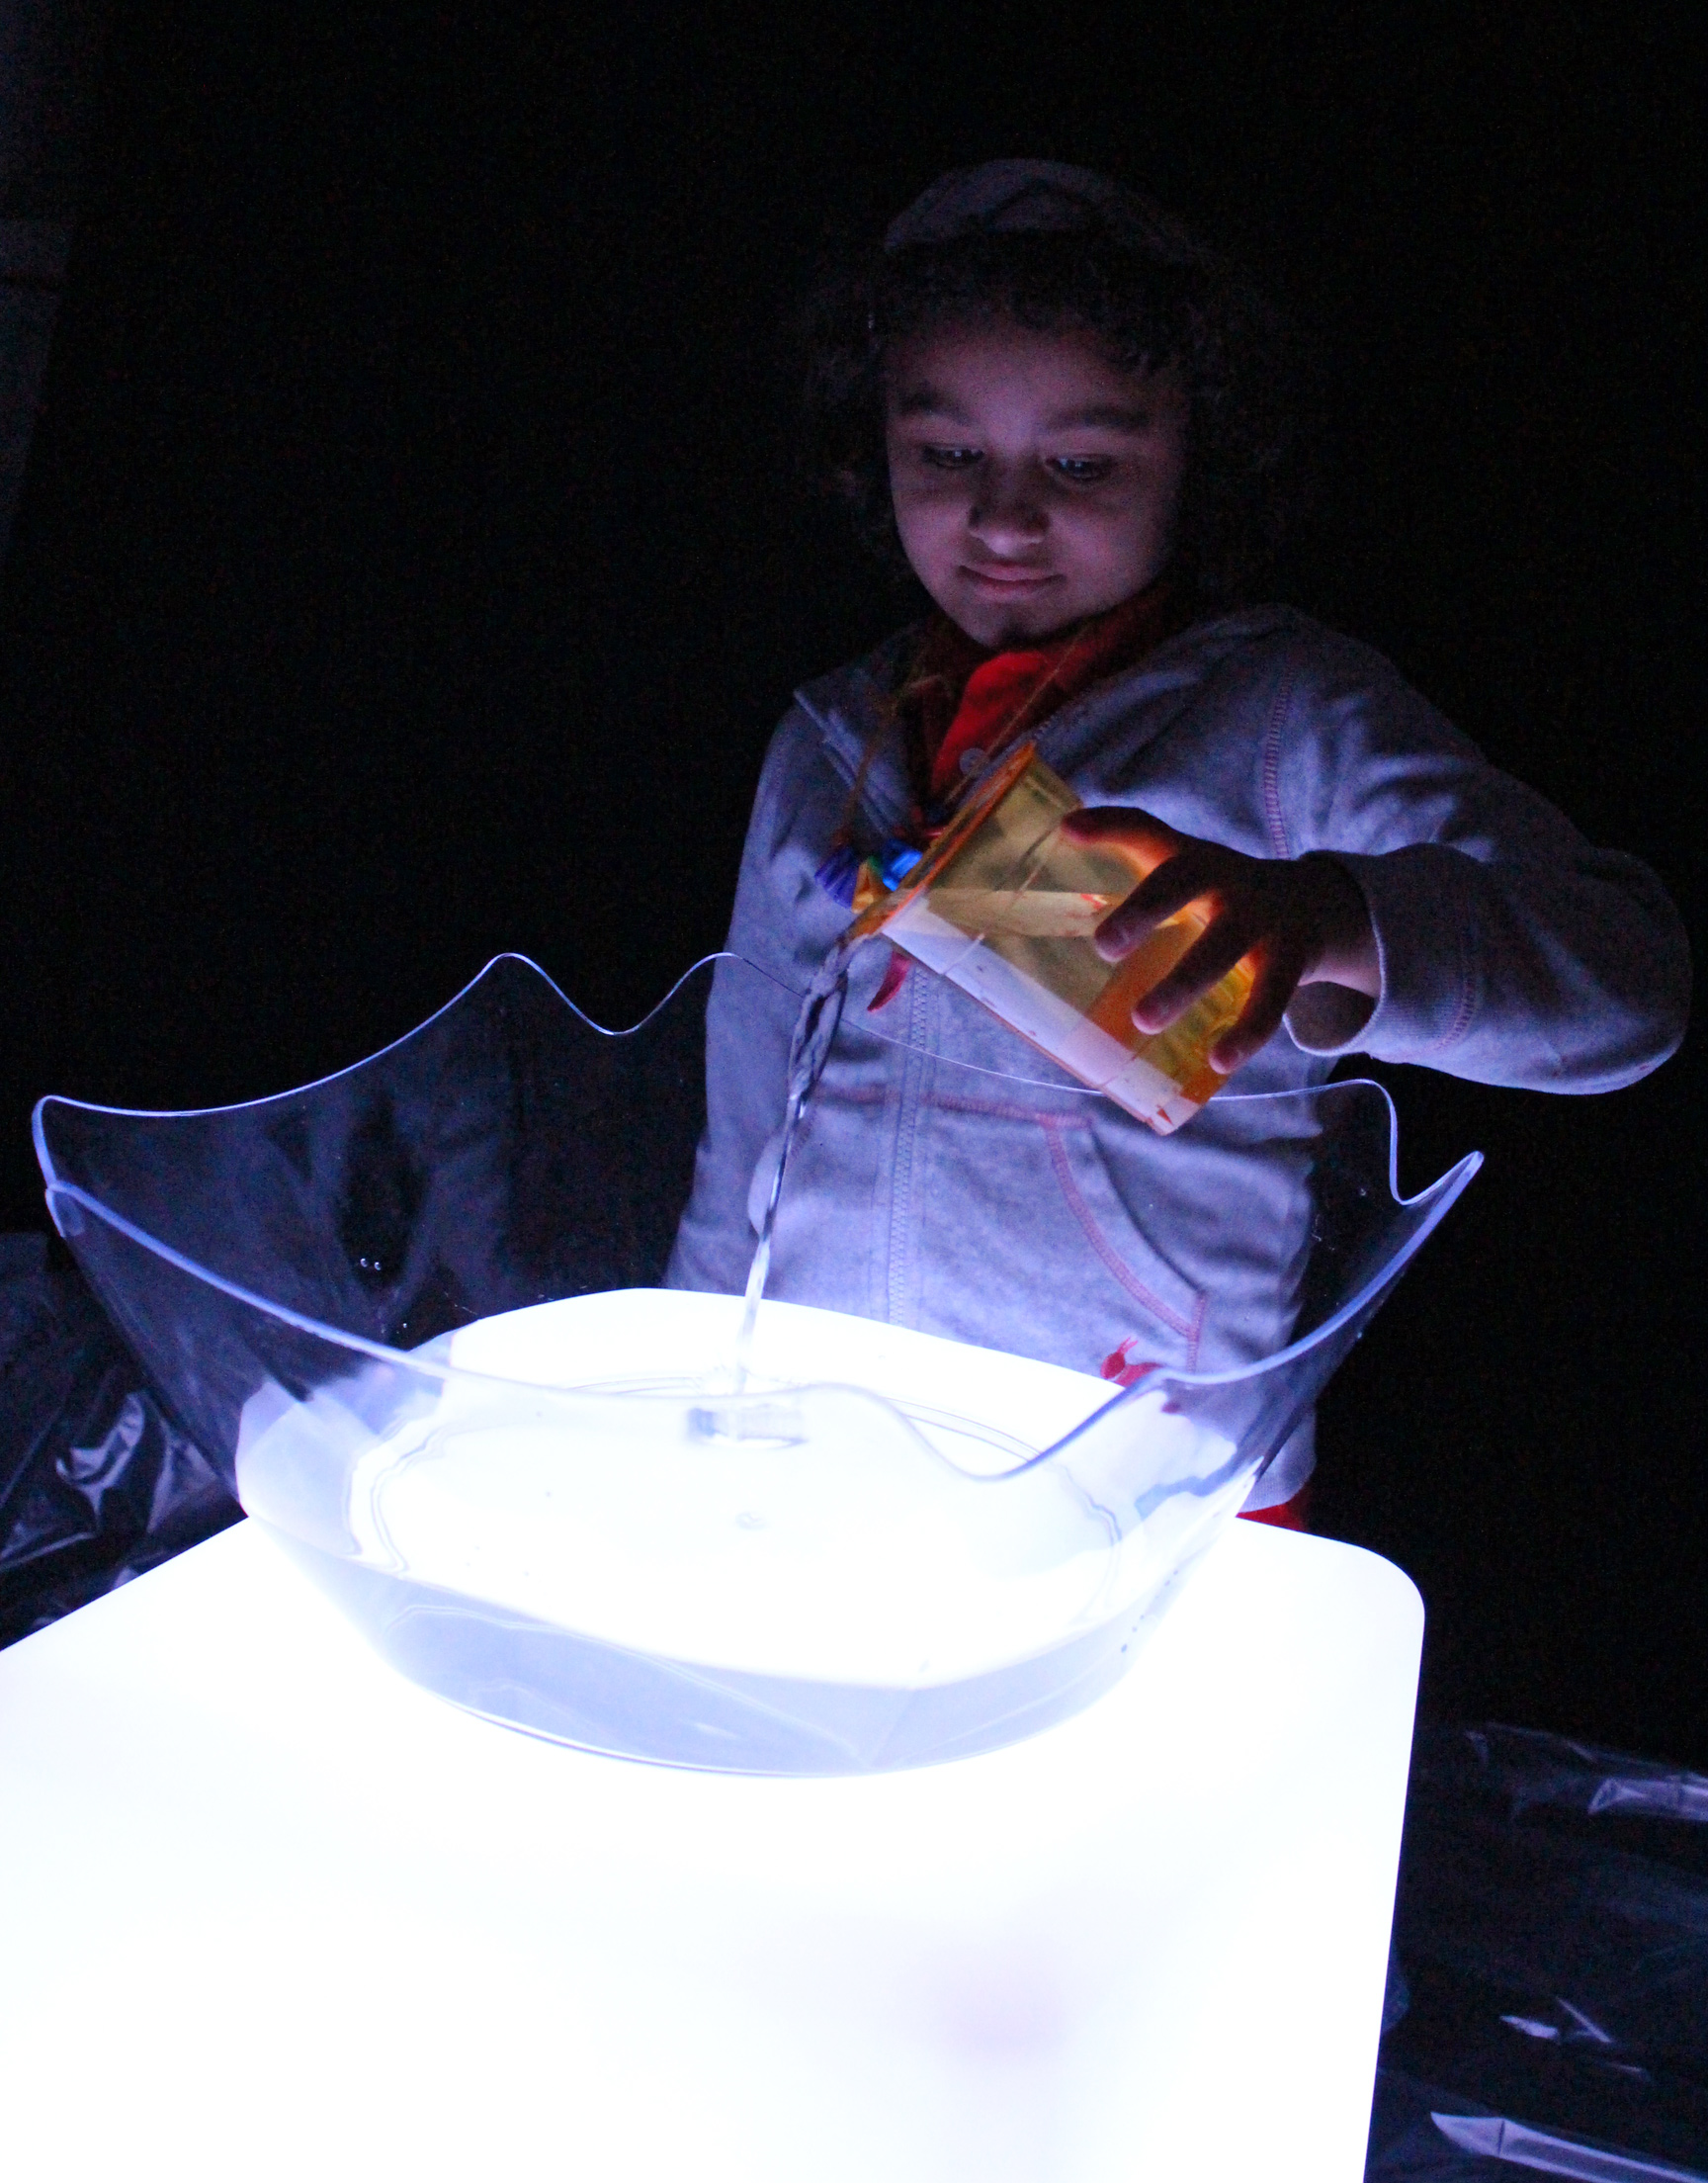
First, measure the cup capacity of the mold you are using. Simply use a measuring cup to keep track of how much water you use to fill the mold. Once you have a definite number, divide it in half. One half of the water cup capacity will need to be boiled while the rest will need to cool in the fridge. You can pour out half of the water into a kettle or sauce pan and heat it up until boiling. For every cup of water used to fill the mold, you will need to use 1 package of the Knox® Gelatine powder. While you are waiting for the water to boil, spread some baby oil onto the mold. This will help loosen the gelatine out of the mold when it is set. Pour the hot/boiled water into the mold and mix in with the gelatine powder using the whisk. When the gelatine is fully mixed into the water and there are no remaining clumps, pour in the remaining half of the water that was cooling in the fridge. Stir the mixture with the whisk. Place the gelatine mold into the fridge to set for 3 hours or leave overnight.

In the morning, pop out the gelatine mold. You can use a long spatula to ease the block out of the mold. Flip the mold over to set it on top of a tray. Place the tray onto the Light Cube and turn on the white glow to get started on your own neat sensory-fine motor play activity!

IMG_0139

We love the campers’ priceless reactions to the activity–they spent more time on it than we’d planned!

Line-07

Like us on FacebookShare this post with your friends, or Subscribe to this blog today to receive original craft project updates every Monday, Wednesday and Thursday!

Light Cube Reading Light!

light box cube reading house

Welcome back to 2015! We hope everyone had a wonderful holiday break. We are excited to kick off the New Year with a feature post on our Educational Light Cube! Here’s a cool idea: use it as a soft glowing lamp for your classroom reading fort!

light box cube reading house

We first started building our fort using Straws and Connectors. Here, Ed is separating the Connectors from each other.

light box cube reading house

We taught the campers how to connect the Connectors together with the Straws. This was the starting point for building the reading fort. The diagram for building this reading fort can be found here!

light box cube reading house

We all worked together to build the fort, starting with the base and working our way up.

light box cube reading house

The best part is guessing what the final sculpture will look like! It’s one thing to see it on paper but another to see it in real life. Suddenly, we all got excited and started building faster.

light box cube reading house

After we built the base, we joined the roof together with a point at the top.

light box cube reading house

The Straws and Connectors pack comes with a large blue veil that can be draped on top of the Straws and Connectors structure to make it enclosed. Ed got excited to put the veil on top of the structure but he soon realized he needed some help!

light box cube reading fort

This is what teamwork is all about! Here comes Sierra to help Ed out.

light box cube reading fort

Almost finished…! Now to turn on the Light Cube to complete our reading fort.

light box cube reading fort

The soft glow of the Light Cube made reading enjoyable and calming at the same time. Both of the campers became so immersed in their reading, they forgot about all the crafting going on outside. This is a perfect project for your classroom that your students will love to build, and later, use for themselves. The reading fort is also a great place to store the Light Cube when not in use for sensory explorations or when you would like to center excitable students’ attention on quieter projects.

Line-03

Like us on FacebookShare this post with your friends, or Subscribe to this blog today to receive original craft project updates every Monday, Wednesday and Thursday!

Project Spotlight: 3D Ornaments

2014-12-15-FeatureImage

Decorate with color this season! Fold up beautiful ornaments with our special designs–use paint, crayons or markers to color in the shapes.

Each of the R51081 3D Ornaments are die-cut into 3 folding designs. This means that when folded, the card ornament transforms into a beautiful arrangement that can be hung from the ceiling or as a part of a giant seasonal mobile.

20141127_112219

This photo was taken in Simply Wonderful Toys in Guelph, Ontario. They decorated the ceiling using our 3D Ornaments! The ornaments were given to children to color and collage while they waited for parents to finish shopping.

51081-3D-Ornaments-art_4

Here’s a look at some of the ways you can decorate the ornaments. Use paint or markers to color in alternating sections of the ornament. Splatter paint blobs across the ornament to give your design a retro tie-dye effect. Experiment with different paint techniques to make your ornament stand out!

51081-3D-Ornaments-girl

All finished decorating! Pop out the ornament along the scored lines and fold each layer of the ornament towards opposite sides. Thread some string through the pre-punched hole at the top of the ornament and hang.

Line-08


Like us on FacebookShare this post with your friends, or Subscribe to this blog today to receive original craft project updates every Monday, Wednesday and Friday!

Little Fingers Big Art won’t be posting from now until the week of January 5th, 2015. Enjoy a safe and prosperous holiday! See you in the NEW YEAR! Check back for more incredible arts and crafts projects in your classroom. All the best, from all your friends at Roylco!