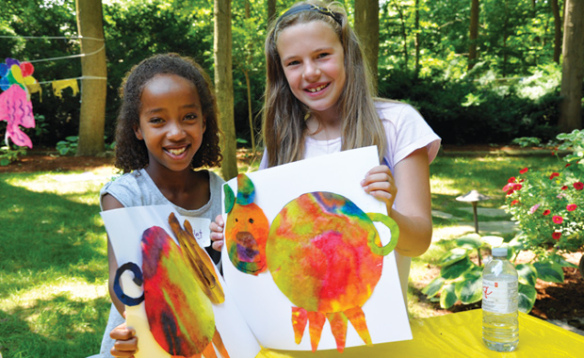
 Use the magic of Color Diffusing Paper to make lovely animal designs from basic shapes! View our tutorial and see how our art campers adapted their designs.
Age: 4+
Duration: Drying time + 10 minutes
Learning Objectives: Use fine motor skills to squeeze paint out of pipettes onto paper. Develop beautiful arrangements of colors and observe how colors blend together to create new colors. Exercise scissor skills through cutting basic shapes. Learn geometric shape concepts and arrange shapes together to make animal designs. Encourage critical thinking and puzzle solving through shape layering. Combine math, science and art into one unified project.
You’ll Need:
• R15212 Color Diffusing Paper (12 x 18″)
• R54460 Squiggle Pipettes
• R7512 Fingerpaint “No Mess” Trays
• Watercolor paint
• Scissors
• Glue
• Card paper sheet

It is important for students to not only exercise their fine motor development, but to understand the processes behind color mixing, diffusion and artistic composition. This is a great exercise in learning composition as students get to use the shapes they have on hand to create interesting designs!
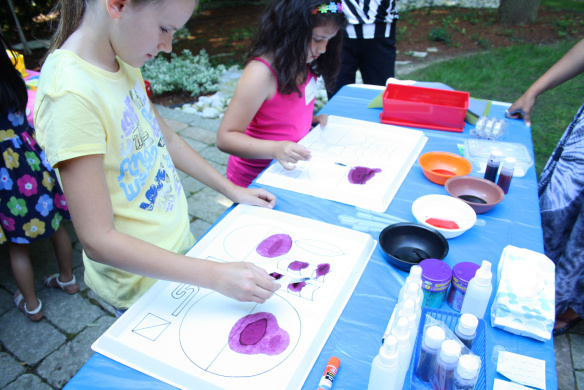 Lay sheets of Color Diffusing Paper onto paint trays. Draw basic shapes on the sheets of paper using permanent markers, rulers and other measurement tools. In the photos above, we’ve drawn basic shapes such as squares, triangles circles, half moon shapes and more!
Next, our careful art campers took pipettes and dropped various paint colors onto the diffusion sheets.
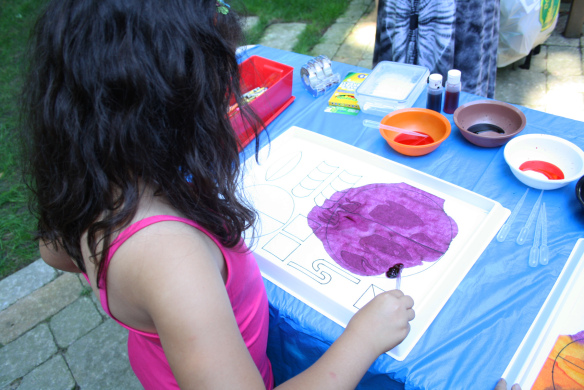 They loved seeing how the colors spread throughout the paper! This is the process of diffusion, where paint molecules spread through the paper molecules to fill in the spaces where there are no paint molecules.
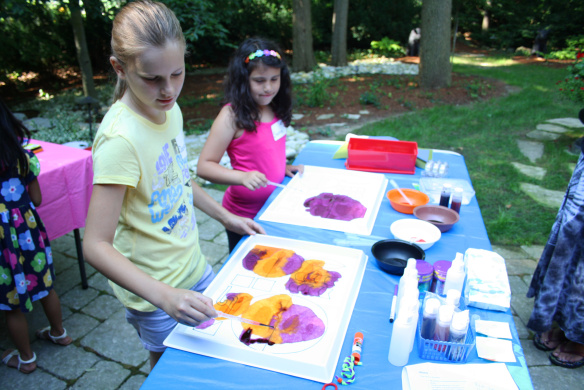 Here, one of the campers has mixed multiple colors together.
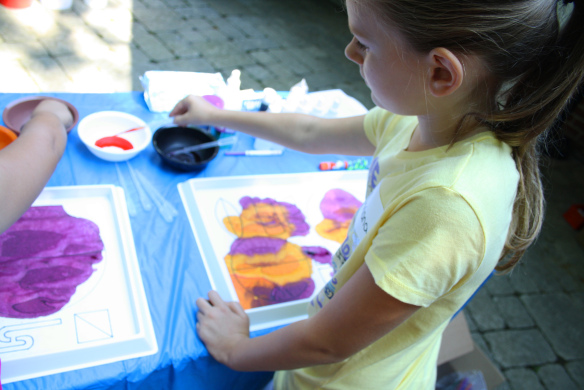 This camper was careful to paint directly over the shape illustrations, but as the paint molecules diffused through the paper, the paint spread throughout the entire sheet!
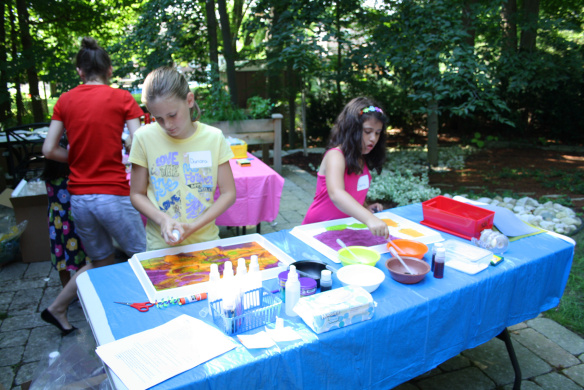 Here’s another look!
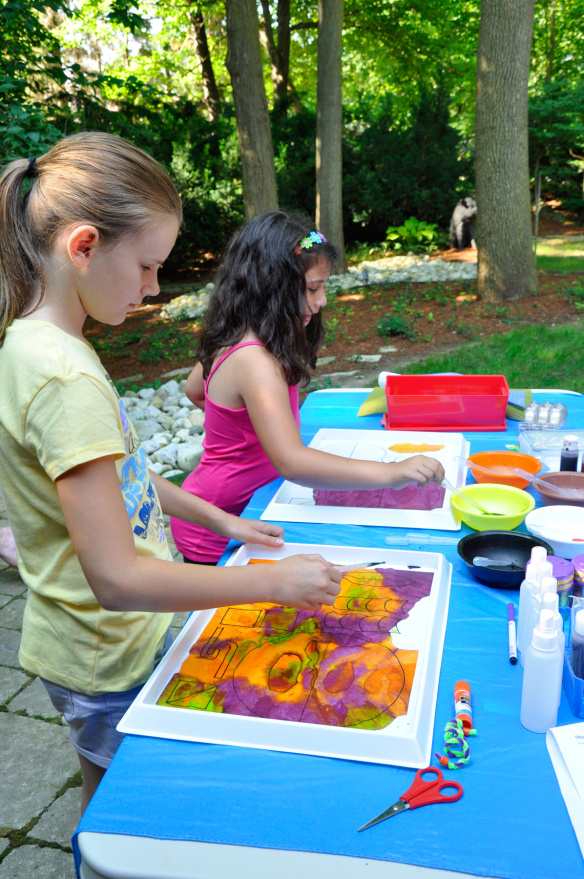 It’s a great process that children can see unfolding right before their eyes!
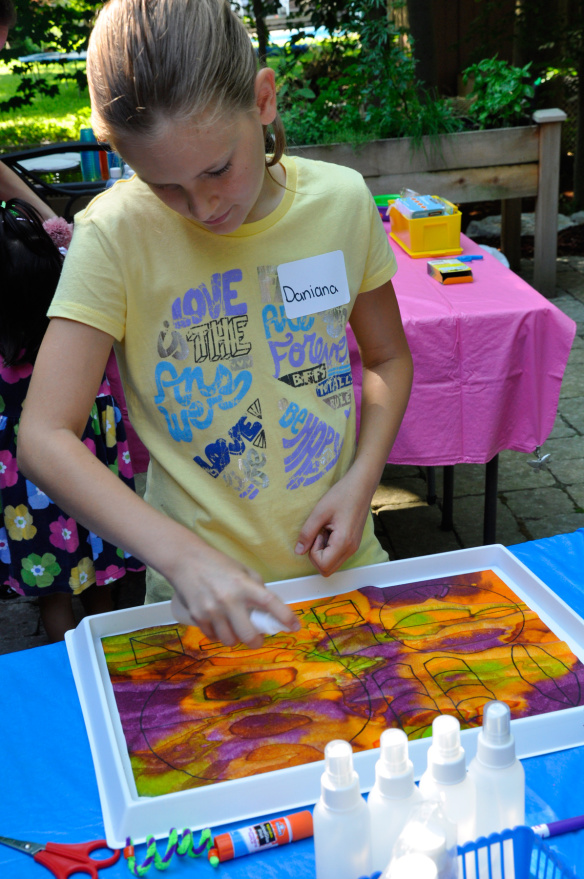 To give the paint a hand, we sprayed the paper with some water to help push the paint molecules around. Notice how the permanent marker ink doesn’t blend with the rest of the paint, however!
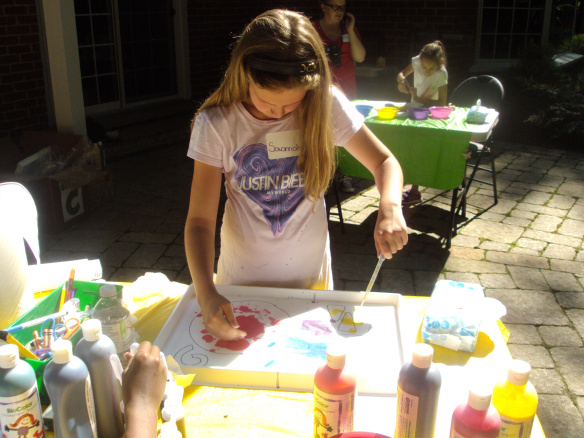 Another art camper was busy working away at her own diffusing paint canvas.
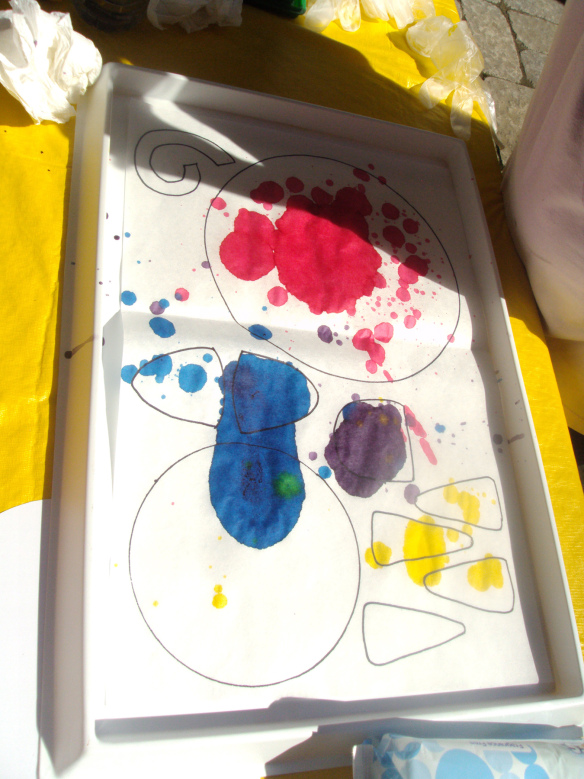 You can see the paint already starting to spread across.
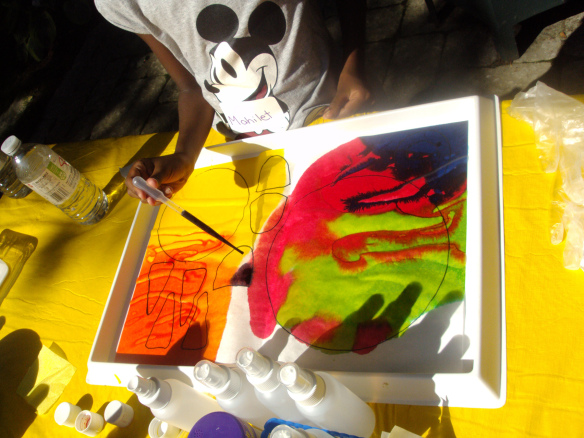 How cool is that?!
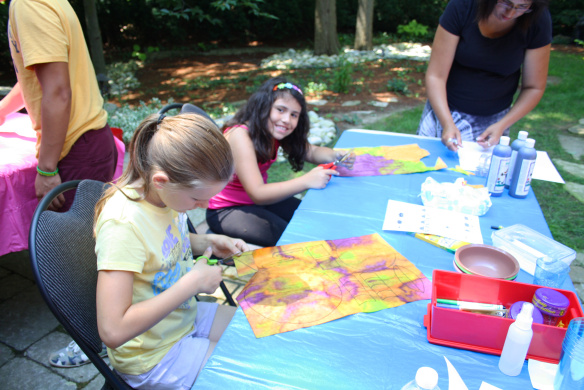
We left the paint to dry in the sun, which made the process happen a lot quicker!
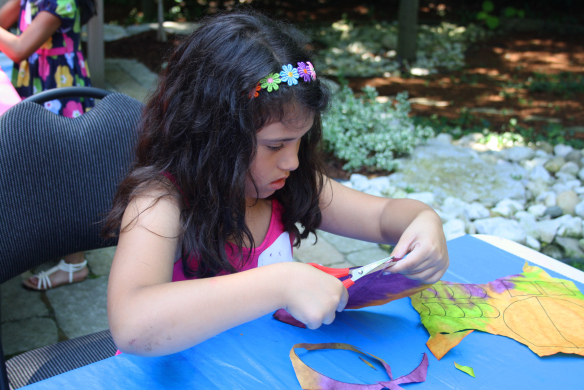 The campers then cut up the various pieces following the outlines on the paper.
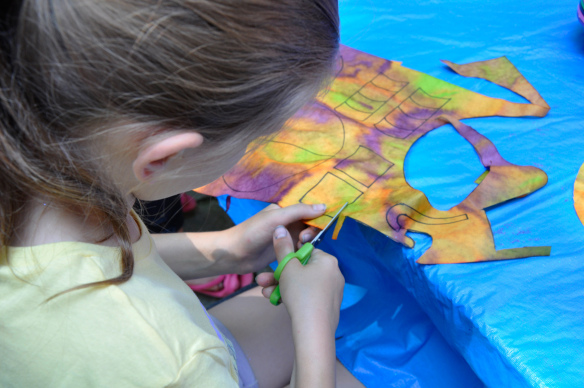 They are careful to follow the lines and reaffirm their knowledge of each shape. For instance, it’s easy to tell that this particular shape the art camper is cutting is a square. But how would you describe the candy-cane like shape?
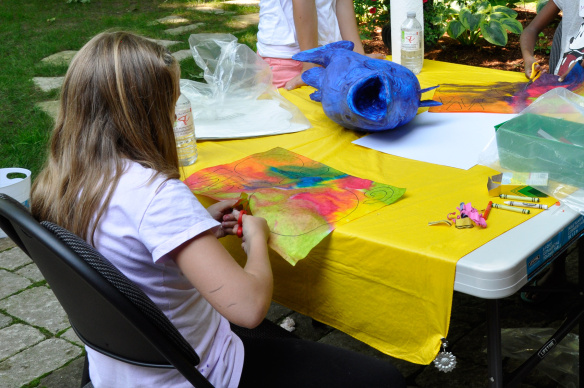 While students are cutting, it’s a good idea to ask them what the various shapes can be used to make. Help them visualize their final designs as they are cutting the shapes out.
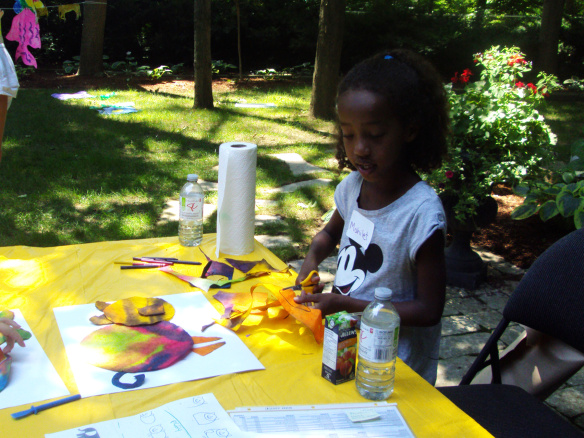 Ask students to use descriptive words when talking about their shapes.
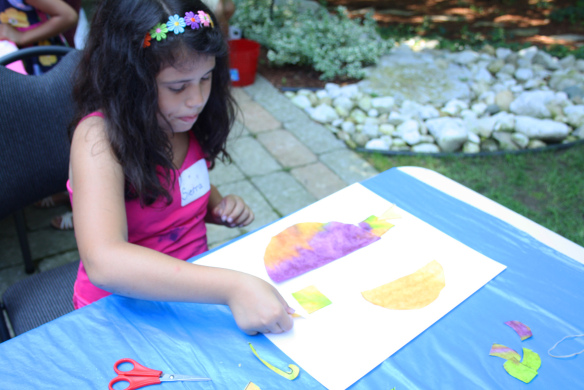
Now let’s piece it all together! Here, one of the art campers has started to create the body and the head of an animal.
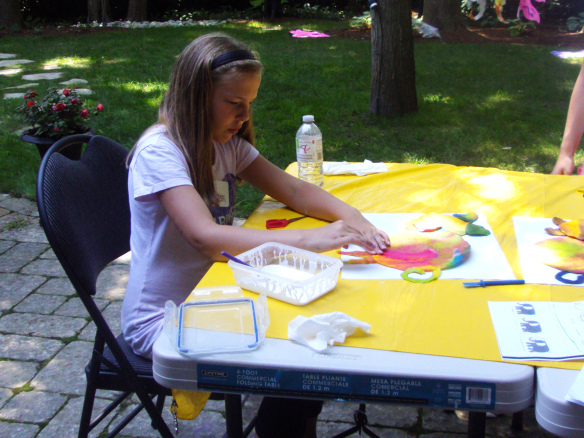 Using white glue and goo spreaders (read more about these awesome glue tools here!), the art campers pasted their pieces onto a large sheet of card paper.
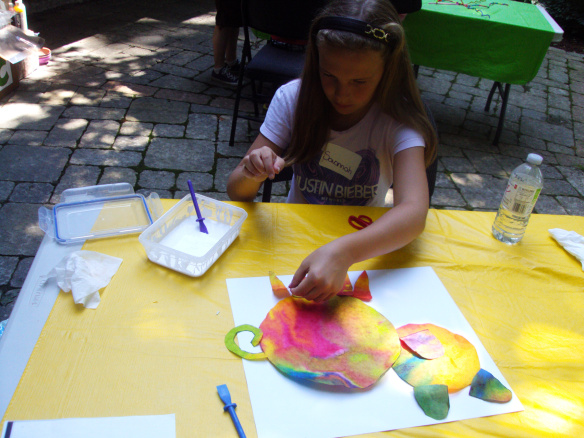 Can you guess what kind of animal this art camper is making?
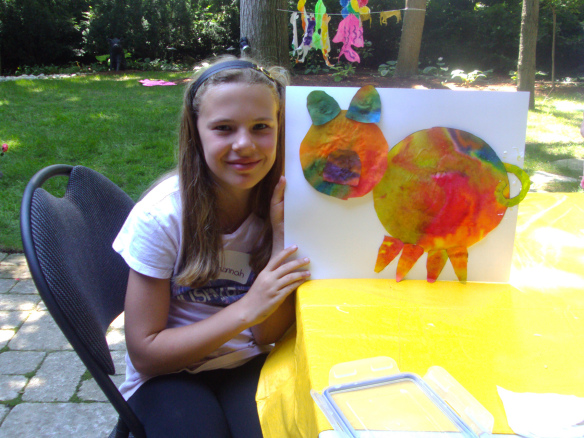 A cute piggy!
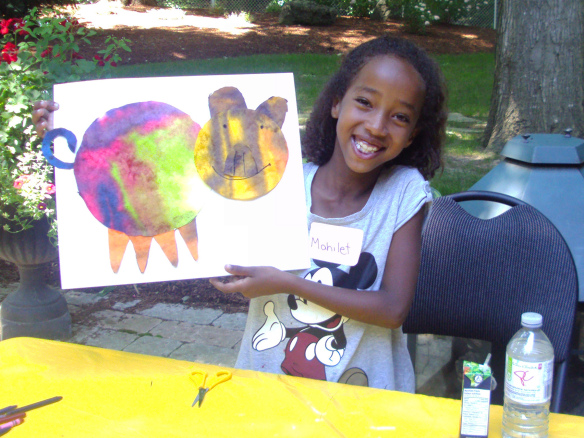 Here’s another variation of our adorable piglets! This art camper even drew a smiley face!
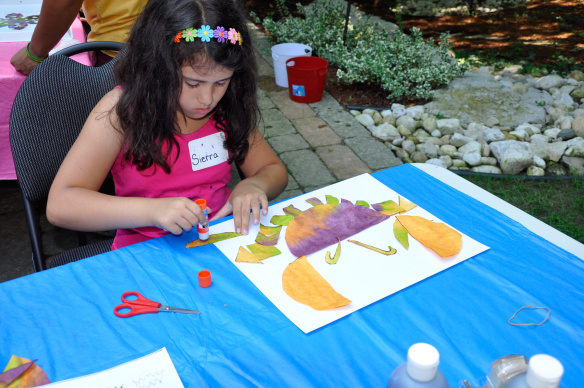 How about this work of art?
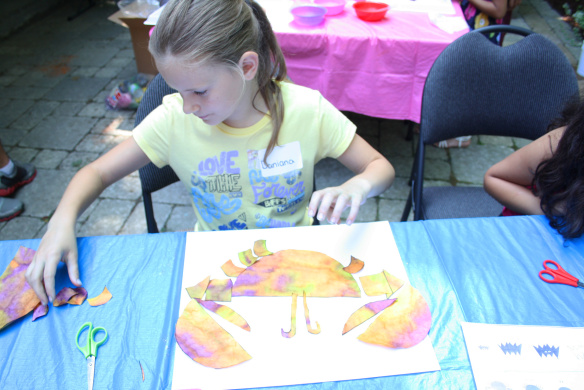 The art camper here is adding on the legs…
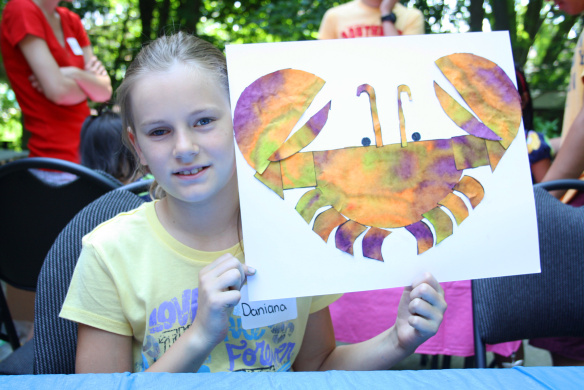 To make an adorable crab picture! Isn’t that artwork so neat? Thanks for hanging out with us today. It’s been a blast!

Like us on Facebook, Share this post with your friends, or Subscribe to this blog today to receive original craft project updates every Monday, Wednesday and Friday!


