Spotlight on… Sockles Accessory Kit

2015-03-09-FeatureImage

Personalize your own sock puppet buddy with the R22008 Sockles Accessory Kit!

IMG_9033

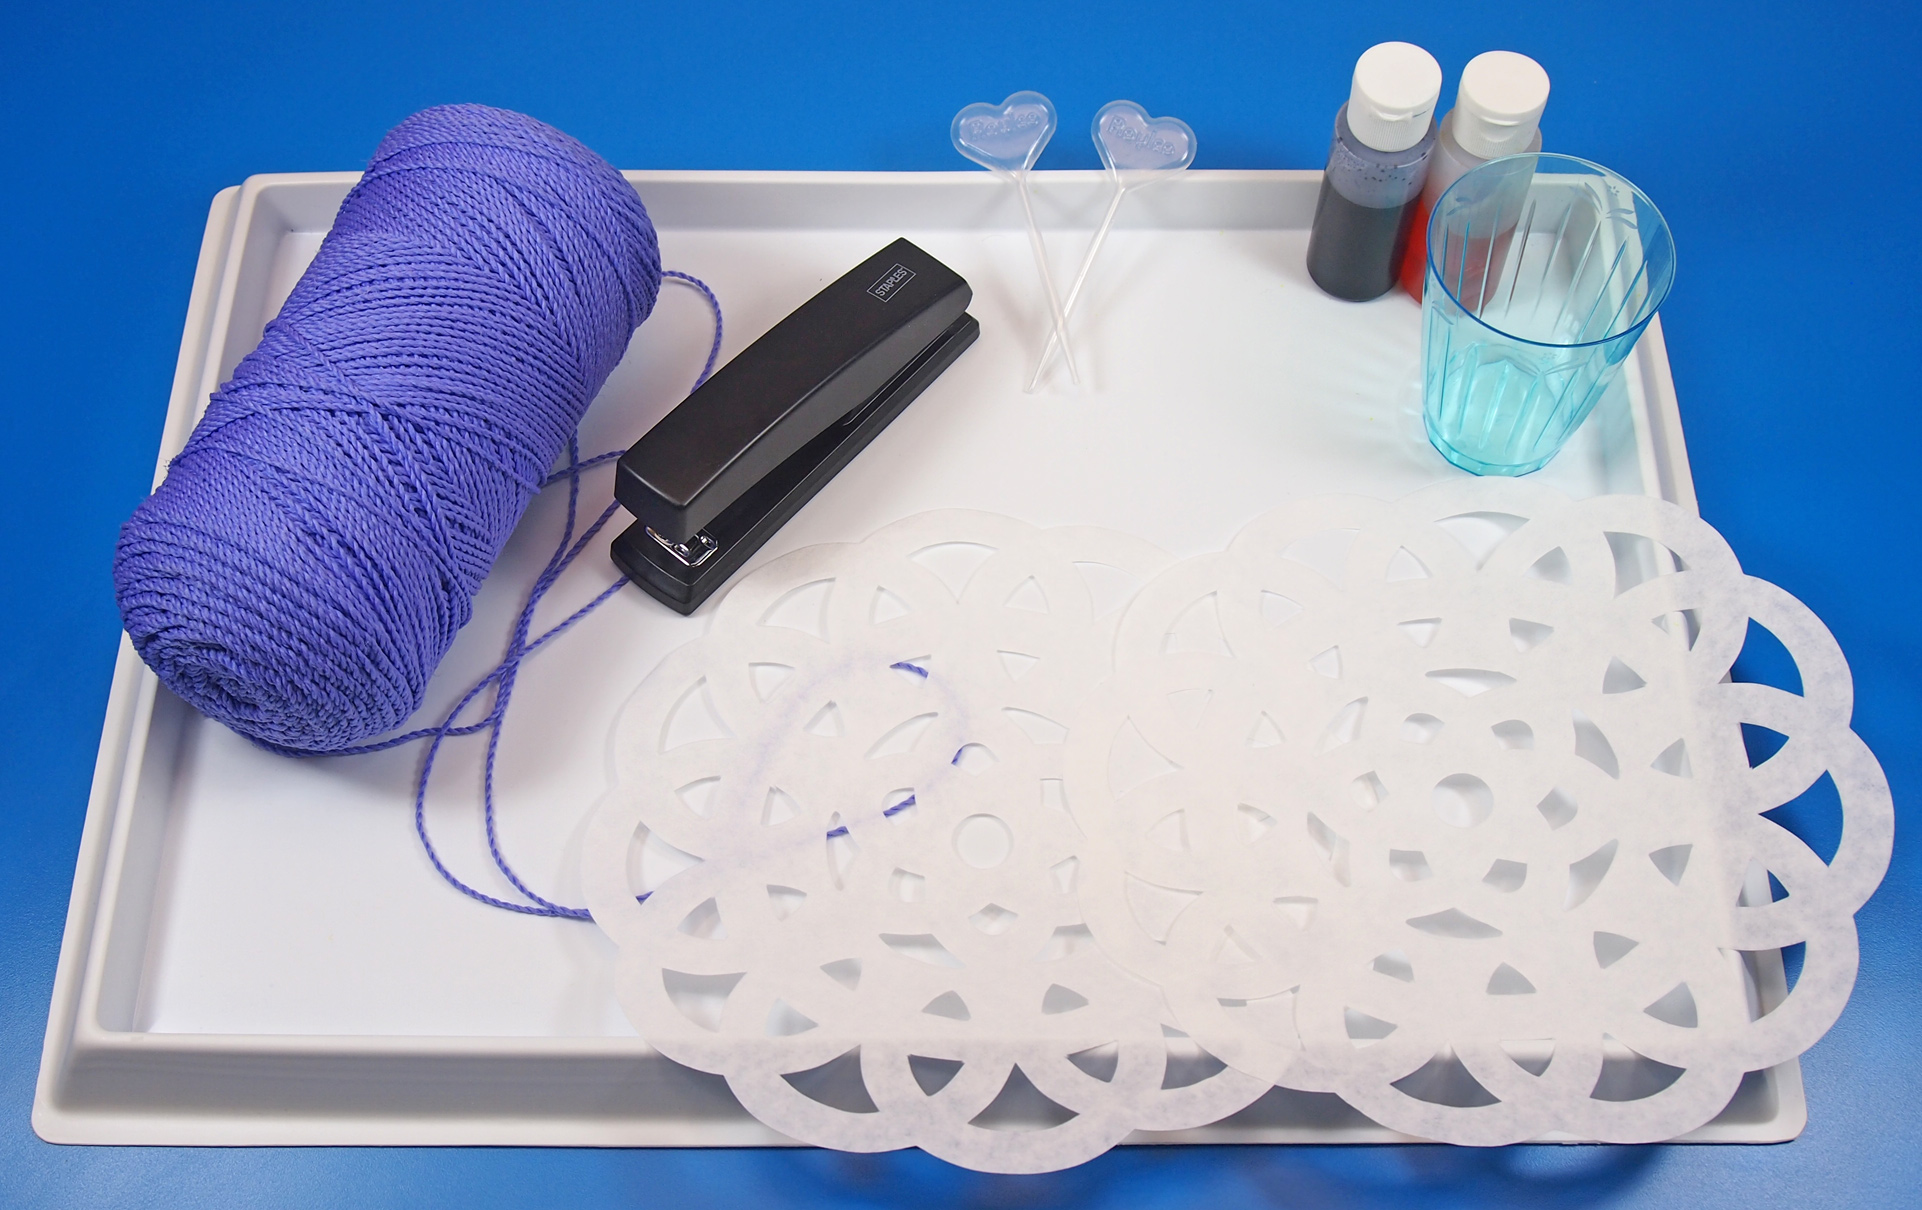
The kit includes everything you need to make your sock puppets, including stiffeners for the sock interior, Plastic Lacing Needles (super safe for kids!), buttons for eyes and noses and felt cutouts for tongues, hair and ears. You can use the R22004 Sockles or any unused socks to make your sock puppets!

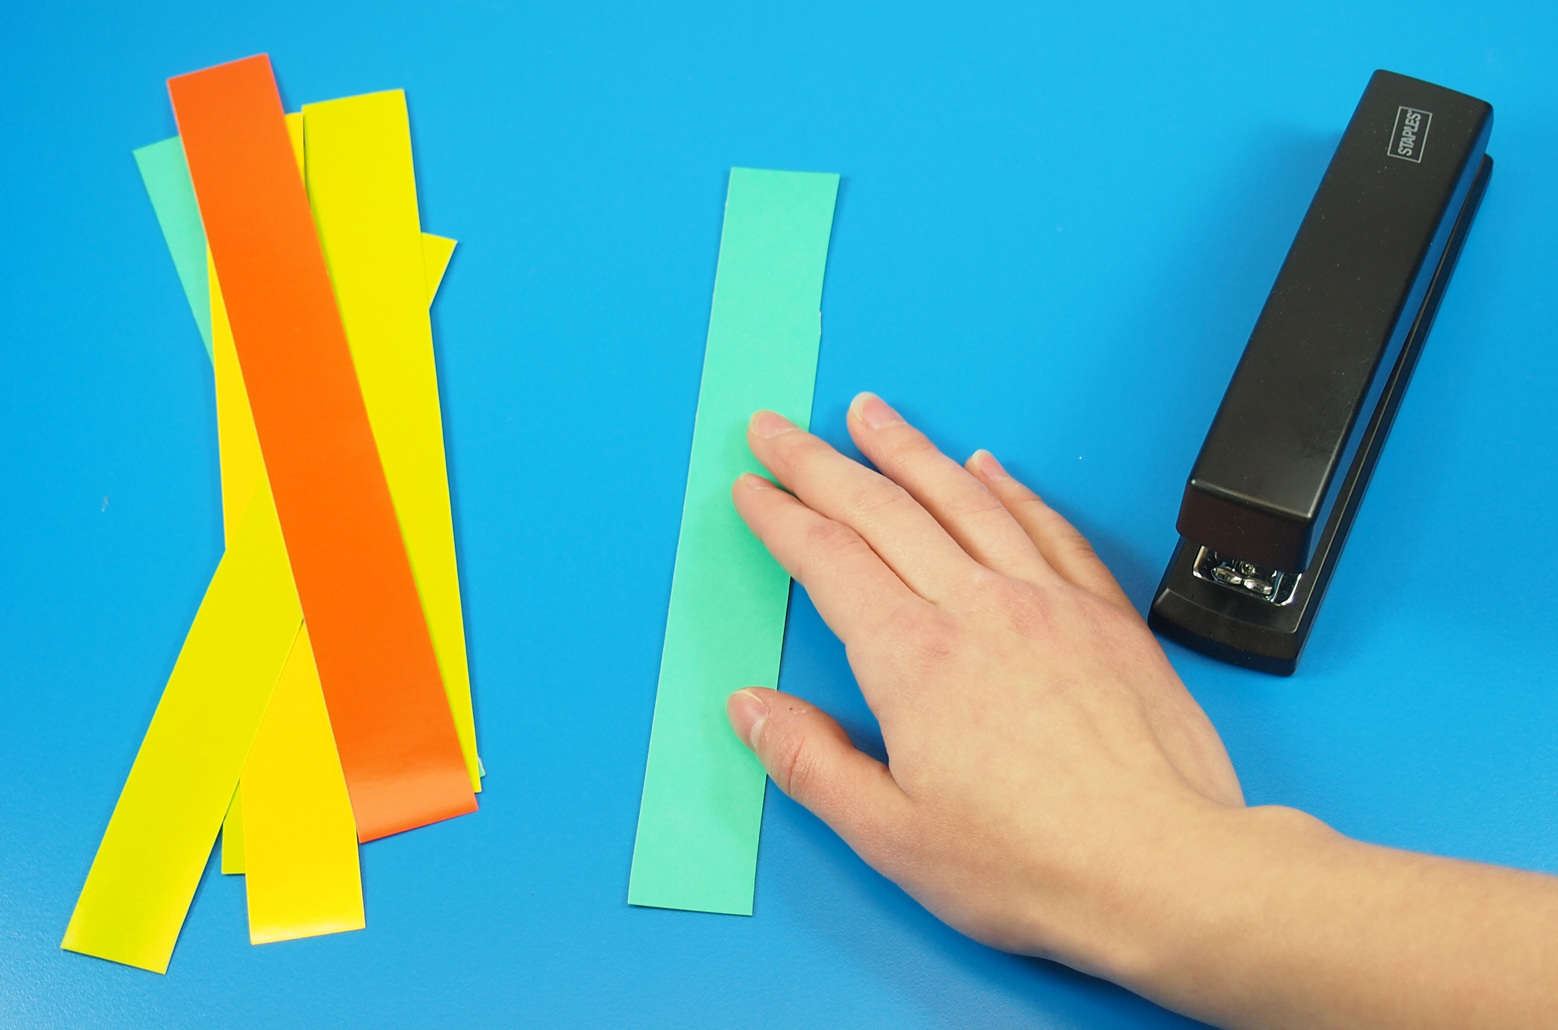
Place your hand inside the sock puppet and mark the points where you would like to sew on the details such as the nose, eyes and ears.

IMG_9035

Slide the stiffener inside the sock. This will help keep the sock taut while you sew on the details.

IMG_0561

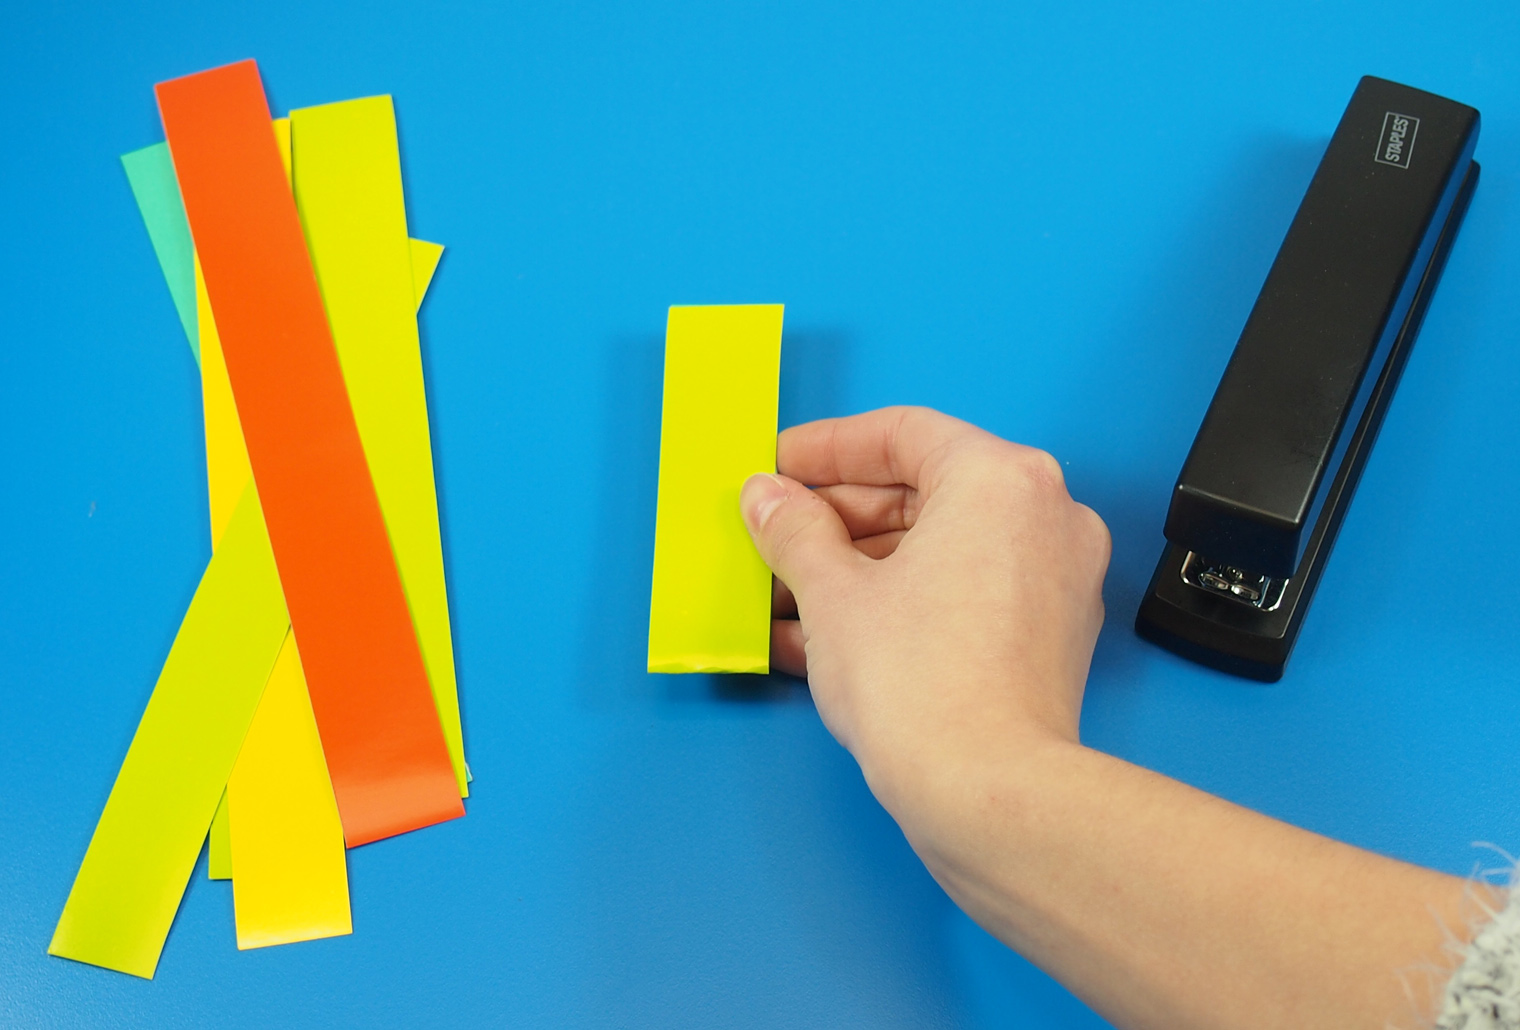
Now to pick your accessories! There are an assortment of button and felt shapes and sizes with either two or four holes to allow for easy sewing.

IMG_0577

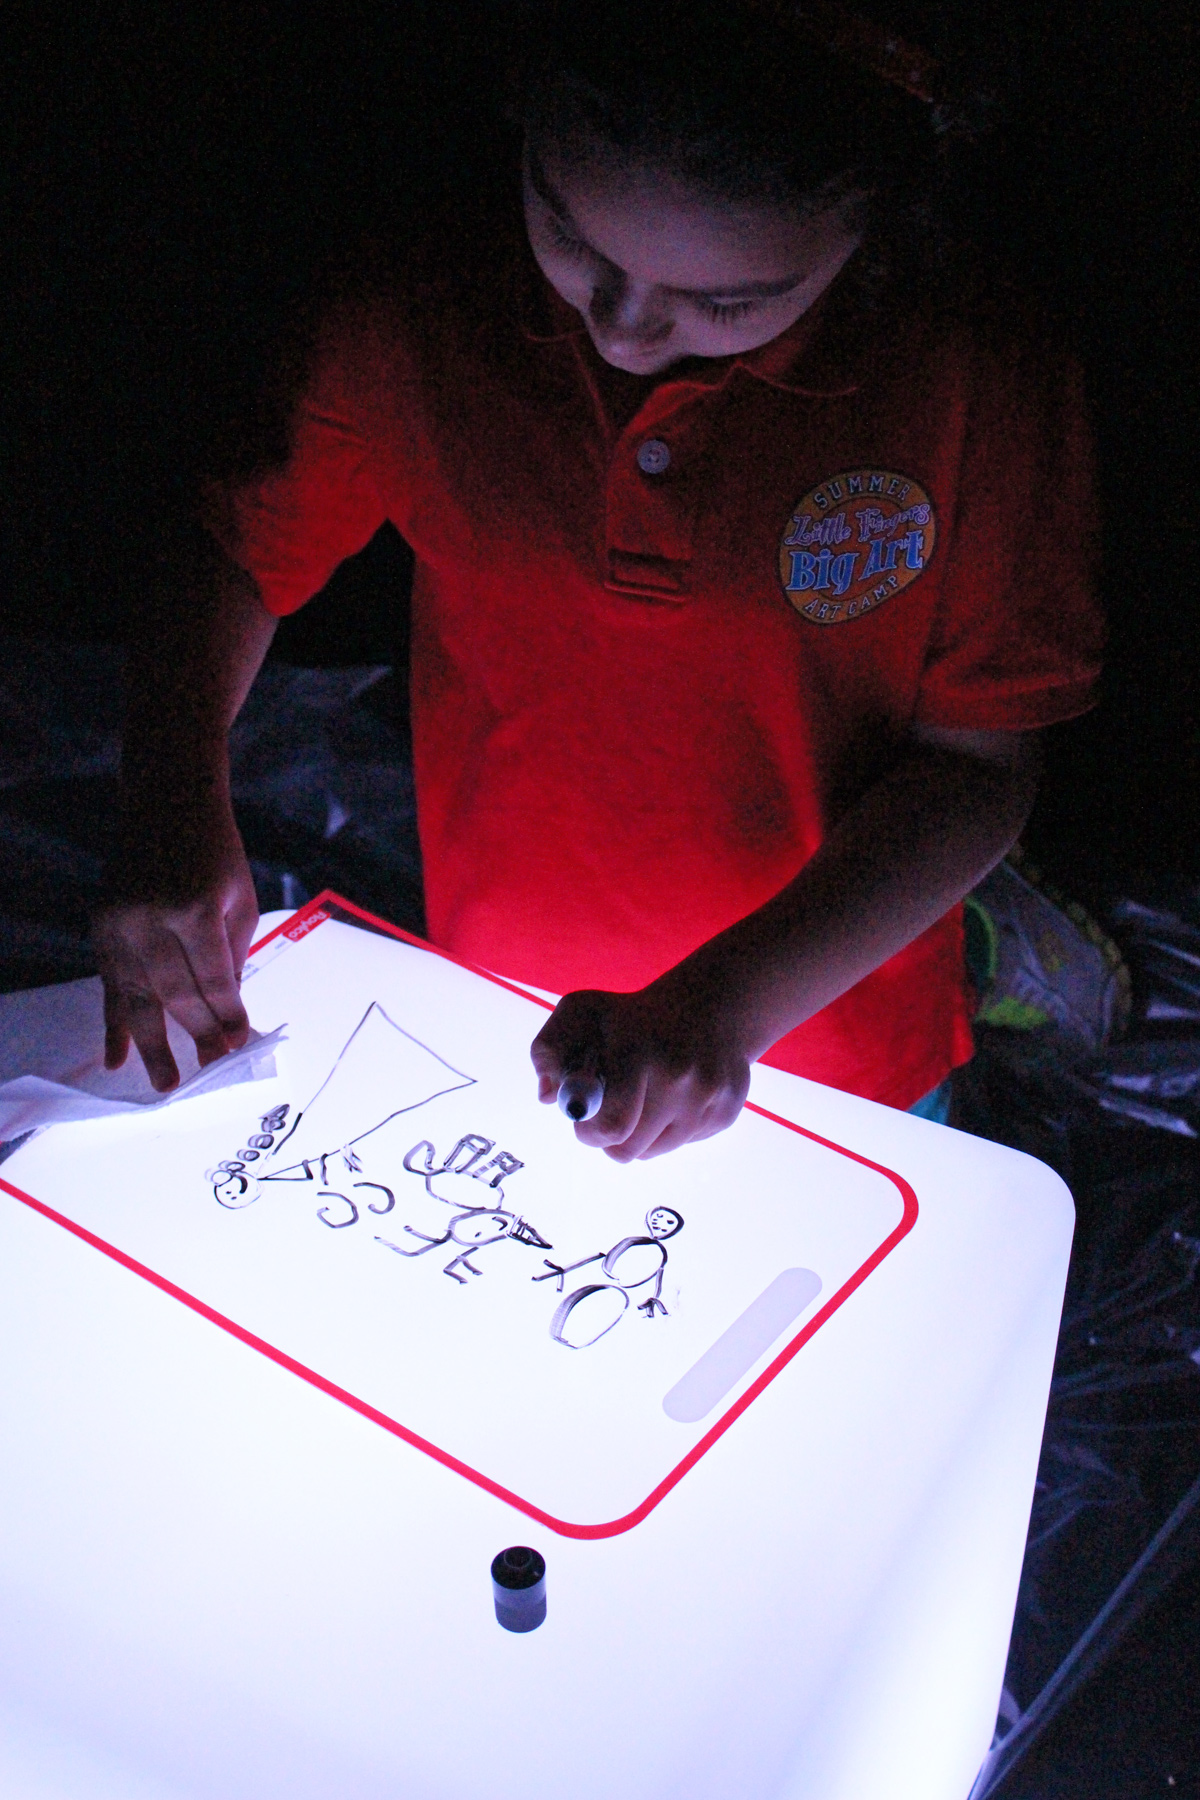
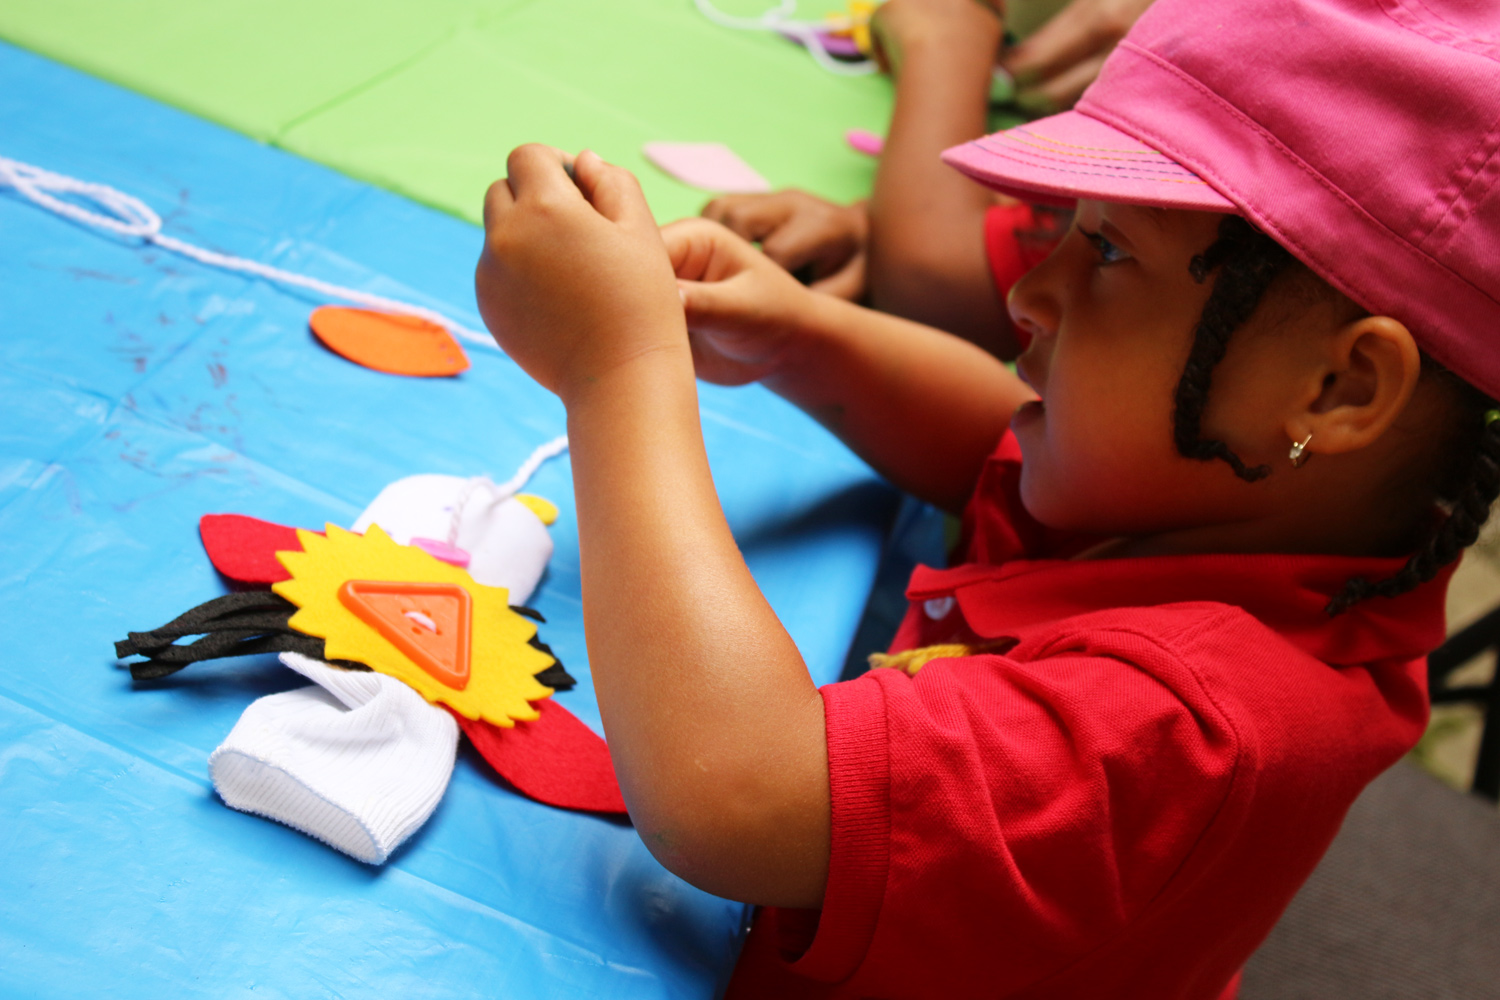
Here an art camper demonstrates how to sew a button onto the Sockle. Tie a knot at one end and feed inside the Sockle so the knot prevents the thread from sliding through completely. Pop the tip of the needle through the marker dot and pull the thread through.

IMG_0585

Pull the needle through one hole in the selected button. Loop over and push down through the second hole.

IMG_0566

Make sure you pull the thread all the way through to make it nice and tight!

IMG_9073

You can layer the different accessories onto each other. Line up the holes to make the sewing seamless.

IMG_9088

Don’t forget to sew on your sock puppet’s floppy tongue!

IMG_9131

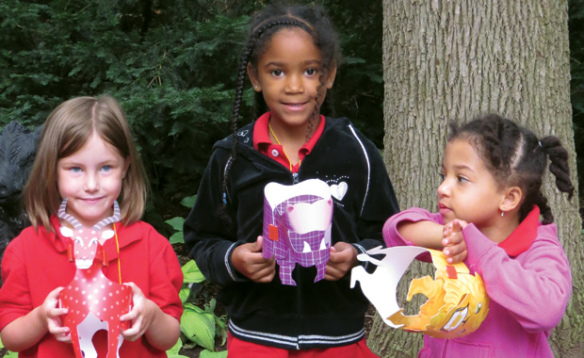
Once you are all done, put on a talent show. Who can tell the funniest jokes or sing with their puppet friend?

Line-07

Like us on FacebookShare this post with your friends, or Subscribe to this blog today to receive original craft project updates every Monday, Wednesday and Thursday!

Light Cube: How to Make Math Interesting!

2015-03-15-FeatureImage

The Light Cube is a great medium for learning math lessons! Instead of the same old boring tabletop math activity, take it one step further with light-enhanced materials.

Everything looks better with light, that’s why we’ve made our math lessons extra-special on the Light Cube!

IMG_9549

We brought an older student, John, in to see the Light Cube for the first time. Before turning it on, however, we told him that he would be going through some math exercises. John immediately looked at us like he didn’t want to have anything to do with math! But as soon as we turned the Light Cube on, his expression completely changed, and we grabbed a great photo of his reaction!

IMG_9575

So, we got started! We placed a few clear color cups and garden rocks we picked up at the Dollar Store onto the Light Cube. John was entranced by the way the light shone through the clear cups, but the rocks completely blocked out the light, meaning that they are opaque. It was great to talk about the differences between items, to learn about transparent or semi-transparent versus opaque objects… and a great boost to children’s vocabulary!

IMG_9601

We placed clear numbers and operations onto the table. Above, we organized the number sentence to say 11 – 5 = ? We asked John to take 11 garden stones, then remove 5 from the main pile to a separate pile and count the remainder.

IMG_9590

To complicate the activity a little bit, we decided to incorporate the clear color cups. We separated the stones into 4 piles, starting with 1 stone in the first pile, 2 stones in the second pile and so on. John secured each of the piles separately by placing the clear color cups on top.

IMG_9595

Once we posed a number sentence to John, he immediately redistributed the stones inside each cup to match the given numbers. He compiled the final amount of stones into a single cup. We counted and found his answer to be correct: the number 8!

IMG_9585

What’s the answer to this one? By this point, it was pretty easy for John to figure out. We had a lot more fun than we’d thought learning math on the Light Cube… because it puts things in a whole new light!

Line-10

Like us on FacebookShare this post with your friends, or Subscribe to this blog today to receive original craft project updates every Monday, Wednesday and Thursday!

Lace Circles Bunting Garland

2015-03-04-FeatureImage

Make a simple, but effective bunting flag banner using R24910 Color Diffusing Lace Circles! PLUS spot our NEW 2015 Junior Heart Paint Pipettes in this craft post!

Age: 3+

Duration: 5 minutes for painting and assembling, half an hour to dry

Learning Objectives: Use fine motor skills to squeeze paint from pipettes onto paper. Learn about the process of diffusion with beautiful Color Diffusing™ technology.

P1016475

You’ll Need:

R24910 Color Diffusing Lace Circles

• R54470 Junior Heart Paint Pipettes

• Watercolor paint

• Paint tray

• String

• Stapler

• Cup of water

Line-12

P1016481

Fill your pipette with watercolor paint and drop the concentrated paint onto various areas of the Color Diffusing Lace Circle. In this image, I have two lace circles overlapping together. Overlapping them works well with the diffusion technology as it ensures an even spread of paint throughout the entire Lace Circle.

P1016486

When you have fully painted your Lace Circles, pipette some water onto the spots of concentrated colors. This will spread the paint further throughout the Lace Circle, mixing the colors together. The process of diffusion occurs as the water pushes aside the molecules of the concentrated colors. The Color Diffusing material actually allows this to happen because the fibers are spaced further apart.

P1016488

Here’s what the diffused color looks like!

P1016490

Leave the Lace Circles to dry overnight.

P1016493

Fold each Lace Circle in half.

P1016496

Cut a length of string that will span the distance for your bunting garland.

P1016498

Thread the string through the folded Lace Circles so that it rests on the inside of the fold. Secure the fold with a staple through the center of the Lace Circle.

P1016503

This is what the bunting garland looks like hung up! Make enough to span the length of your classroom and string up across the room. You can adjust the colors to reflect any upcoming holiday… make green Lace Circles for Saint Patrick’s Day or red and pink ones for Valentine’s Day!

Line-12

Like us on FacebookShare this post with your friends, or Subscribe to this blog today to receive original craft project updates every Monday, Wednesday and Thursday!

Spotlight on… Poet Tree

2015-02-23B-FeatureImage

Say something nice for Poetry Day this March!

The R49132 Four Seasons Poet Tree comes with a full set: 32 beautiful leaf shapes in an assorted range of colors and a full sized classroom poetry tree on which to pin the leaves.

Mount the tree up on a wallboard in your classroom in a space that can be prominently seen. Tell students that the tree represents their knowledge of literacy. Anything that uses words in a descriptive way can be written onto the leaves and tacked up on the tree for everyone to see! This will fill up the tree to make it look bright, colorful and beautiful.

49132-Four-Seasons-Poet-Tree-art

For early years, focus on writing simple descriptive words and attaching those to the tree. For example, you could ask students to think of a word to describe how their day is going or what the weather is like outside. Use crayons or markers to add some color to your writing!

You can also use the tree as a base for introducing students to each other at the beginning of the school year. Give each student a leaf and tell them to write their name and birth date on it. Tack up the written leaves onto the tree and arrange them by succession according to students’ birthdays. This helps to keep track of everyone’s birthday, a bit like a birthday chart!

Older students can write a more sophisticated piece that relates to their current studies in literacy. If you were teaching your students how to write topic sentences for paragraphs, use the leaves as mediums for writing example topic sentences. Students can add to the topic sentence to make a complete paragraph!

Additionally, explore lessons in poetry with the use of descriptive words. You can introduce the students to this activity by asking them to write a random word that comes to their heads on the leaves provided. Place the words around the tree. Give each student scrap paper to write on. Ask them to observe the words on the tree and use the words as inspiration for descriptive writing. Perhaps students can write a short story or a poem about the words they see. There are so many different literacy exercises you can adapt to your classroom with the Poet Tree!

Line-06

Like us on FacebookShare this post with your friends, or Subscribe to this blog today to receive original craft project updates every Monday, Wednesday and Thursday!

Light Cube: Cube Count

2015-02-23C-FeatureImage

Play with color and light while building on the Light Cube! These little blocks were used to explore concepts in math as well.

IMG_0465

Here, we laid out the colorful blocks and asked the student to build a tower as tall as he could make it.

IMG_0469

Here, Roberto noticed the saturated blue of the block he was holding and found it amazing how it seemed to change color as he lifted it off and away from the glow of the Light Cube.

IMG_0475

Now how do the colors look like all bunched together?

IMG_0478

With the amount of clear color blocks we had, we decided to use them for counting! We laid down a number and asked Roberto to line up as many blocks beside it as required to match the number. The gel numbers were found at our local dollar store as window clings!

IMG_0482

Here we are matching up to the number six! Keep cycling through different numbers to build number value recognition.

Line-20

Like us on FacebookShare this post with your friends, or Subscribe to this blog today to receive original craft project updates every Monday, Wednesday and Thursday!

Four Leaf Clovers

2015-02-25-FeatureImage

Make your own lucky charm just in time for St. Patrick’s Day!

Age: 5+

Duration: 10 minutes

Learning Objectives: Learn basic cut and fold techniques. Use ruler to measure a certain width for each strip in the lucky charm. Talk about the history of Saint Patrick’s Day. Learn about color combinations through unique Double Color Card sheets!

P1016430

You’ll Need:

R22052 Double Color Card Sheets

• Stapler

• Tape

• Scissors

• Ruler

• Pencil

• Optional: Thread or ribbon

Line-01

P1016434

Select your sheet of Double Color cardstock. You will first need to make a set of card strips. Start by measuring 1″ (2.5 cm) away from the edge of the Double Color Card Sheet. You can choose either side of the Double Color Card to determine the length of each strip (the cards are 8 x 9″ or 20 x 23 cm).

Make a mark at the inch point at the bottom of the sheet. Move the ruler to the top of the sheet and mark another point. Use the points to draw a straight line from top to bottom.

P1016439

Follow the line with a pair of scissors to cut out the first strip! Repeat the previous steps three more times.

P1016442

You can see that I’ve cut out a bunch of different colors! I want to make my four leaf clover as exciting as possible.

P1016445

Fold a strip of paper in half.

P1016447

To form the curve of the clover leaves, use a pencil to curl the insides starting from the point upwards.

P1016454

Overlap the two ends of the curves together to form a heart shape. Secure the two sides together with a stapler or use tape.

P1016458

The double color feature of the heart looks beautiful just as is! You could make plenty of hearts like these to decorate for Valentine’s Day! In fact, we’ve used a variation of this craft to make our Heart Wreath… go check it out at this link!

P1016460

Repeat the same steps to turn the rest of the paper strips into mini hearts!

P1016463

Join two of the hearts together at the sides with some tape.

P1016464

Add a third heart to one side of the duo. Use tape to secure.

P1016466

Finish off with the last heart. Secure with tape on both sides.

P1016468

Make as many as you like! Attach together to make garlands. Or hang them from the ceiling to decorate your classroom! Alternatively, hang the four leaf clovers from push pins on your cork board and make a Saint Patrick’s Day display!

Line-01

Like us on FacebookShare this post with your friends, or Subscribe to this blog today to receive original craft project updates every Monday, Wednesday and Thursday!

Spotlight on… Celtic Designs Paper!

2015-02-23-FeatureImage

Beautiful Celtic designs are perfect for a variety of craft projects. Use the paper to decorate everything, from cards to paper doll clothing, decoupage boxes and more!

The R15279 Celtic Designs Paper pack is colorful and filled with the telltale knot patterns of ancient Celtic designs! Talk to your students about the history behind the knot patterns and what they represent. A favorite fact about knot patterns is that the Celtic knot symbolized eternity, of no beginning or end, and that everything in life is part of a cycle. Research more facts about Celts and how their existence affected the development of European society! Here are a few suggestions about what you can do with the Celtic Designs paper:

• Make a paper crown to round off your unit study about Celtic history! Use a basic crown template. Print it and cut it out to transfer the design onto the decorative paper. Trace the design onto the back of a sheet of Celtic Design Paper. Use the tracing as a guide for cutting out the crown. Alternatively, you can measure a students’ head and mark the end points on the long side of the sheet. Make the crown about 2 inches thick and draw intervals for crown points. Cut out the entire crown and secure it with tape to your student’s head.

• Make an exotic fan! Start accordion folding from the smaller side of the sheet to the opposite end. When you are finished, pinch one end and staple the folds together or secure with tape. This will be the handle for the fan. Hold at the bottom point and wave the fan back and forth to stay cool!

• Make a greeting card! Fold in the paper in half horizontally then fold in half again vertically. Write a sweet note on the inside. You can decorate the inside with stickers or embellishments!

Use the decorative paper as a great thematic addition to your history subjects–infuse a bit of art with history!

Line-07

Like us on FacebookShare this post with your friends, or Subscribe to this blog today to receive original craft project updates every Monday, Wednesday and Thursday!

Light Cube: Dry Erase Story

2015-02-00B-FeatureImage

Drawing on the Light Cube can be a calming visual experience. The light’s glow from beneath the drawing board is a great background for tracing! In this segment, we gave our friend Malak a R49620 Dry Erase Worksheet Cover and asked her to draw a special story!

IMG_0699

Malak was excited to get started but didn’t know where to begin. We started by asking her to draw a snowman, and describe the character to us. “Okay! I can do that!” So as Malak drew, she told us everything about the snowman character she had just doodled.

IMG_0722

All the characters she drew were from the movie Frozen™. She could name each of them individually and put great detail into their appearances, everything from the various hairstyles to the point of the reindeer’s nose!

IMG_0717

It’s great working with the Dry Erase Worksheets because they are re-usable. Kids can draw on the Light Cube without having to cover the light with a sheet of paper. If children would like to copy the artwork onto paper, simply place the sheet on top of the drawing and trace. Use a paper towel or a rag to erase the dry erase marker.

IMG_0747

While Malak spoke about the movie’s storyline, she continued to draw things that related to the movie. Her drawings filled up the full space of the worksheet cover like a visual storytelling aid! It was a great exercise and one you can try with your students, too.

Line-13

Like us on FacebookShare this post with your friends, or Subscribe to this blog today to receive original craft project updates every Monday, Wednesday and Thursday!

Spotlight on… Constructa Clip Safari Animals

constructa clip safari animals

Construct your own toys with Constructa Clip Safari Animals!

constructa clips safari animals

These toys use the ingenuity of our Constructa Clips to help students mix and match their animal figurines. There are 3-4 simple pieces that can be combined together to make a complete animal. Each piece connects easily with the Constructa Clips.

IMG_0160

The pieces come flat, but are made of a sturdy plastic material. This allows the piece to bend easily as you attach it to the other pieces.

IMG_1506

To attach the pieces together, first slide the edge of your main piece in between the grippers of a Constructa Clip.

IMG_1502

Each piece overlaps with another piece. Use the Constructa Clips to secure the pieces together.

IMG_0165

Most of the Constructa Clip Animals attach together with three pieces, like the giraffe above. The head attaches on either side of the neck using the clips.

IMG_1559

Everyone loved to show off their creations!

IMG_1552

You can mix and match the creations for even greater variation! Make up your own animal friends and come up with names for unique combinations.

Line-14

Like us on FacebookShare this post with your friends, or Subscribe to this blog today to receive original craft project updates every Monday, Wednesday and Thursday!