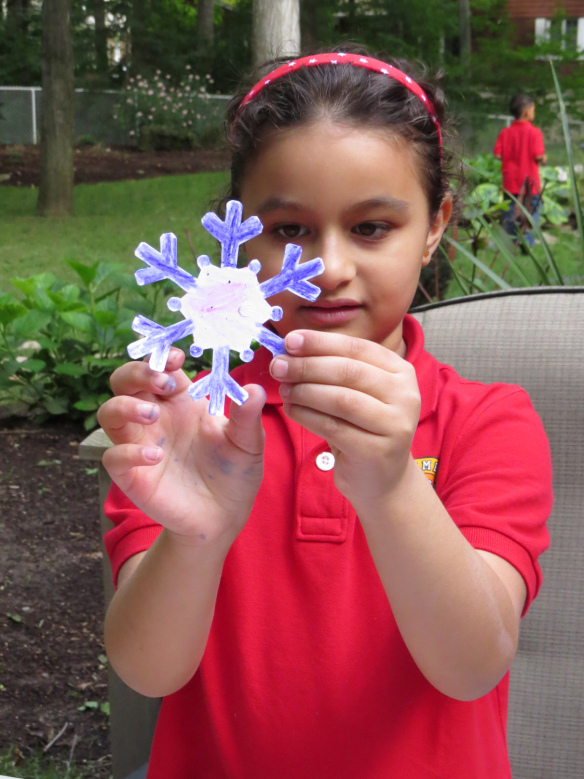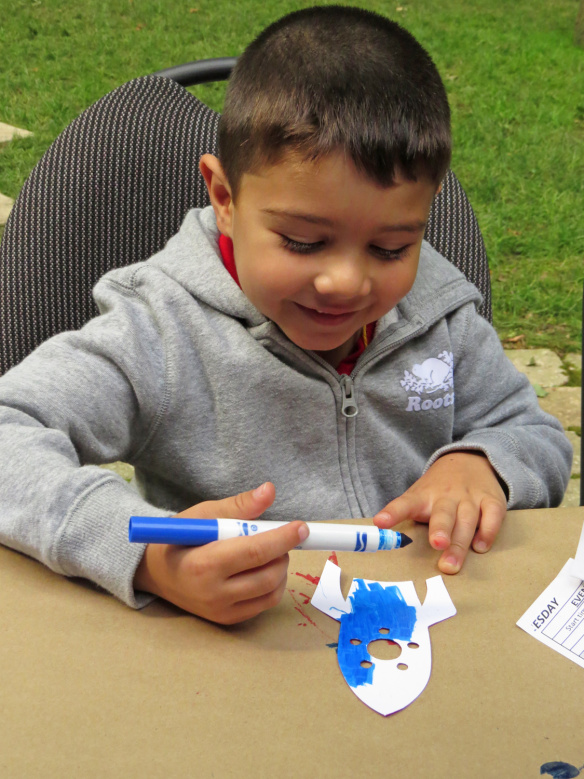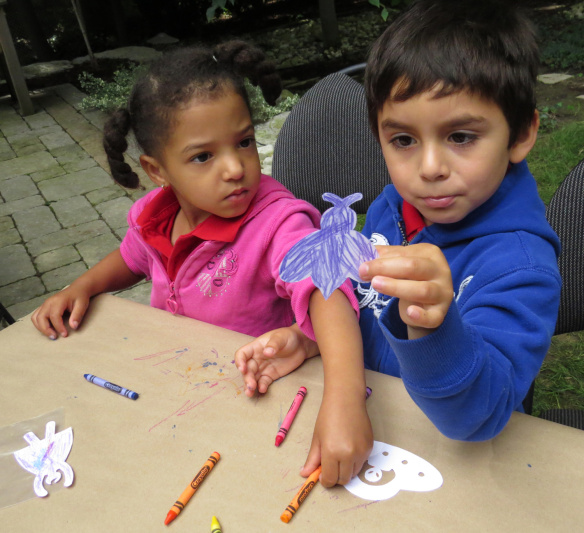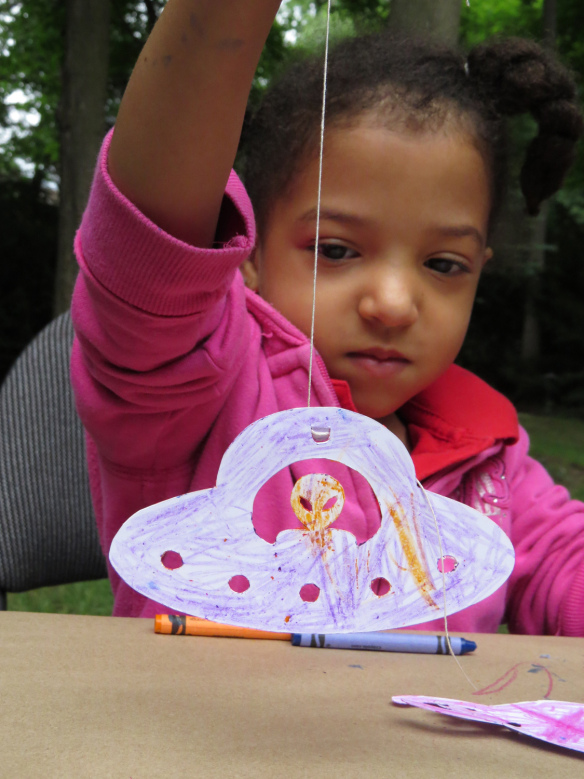
Welcome Back to the New Year!

top ten list feature image

Now that we’ve rung in the New Year, we are excited to share our ideas with you over the next little while. Stay tuned for blog posts in a range of subjects, using tools that you already have in your classroom!

We hope that you’ve enjoyed a year of posts from Little Fingers Big Art. Here’s a recap of 10 of our favorite posts:

1.IMG_0139

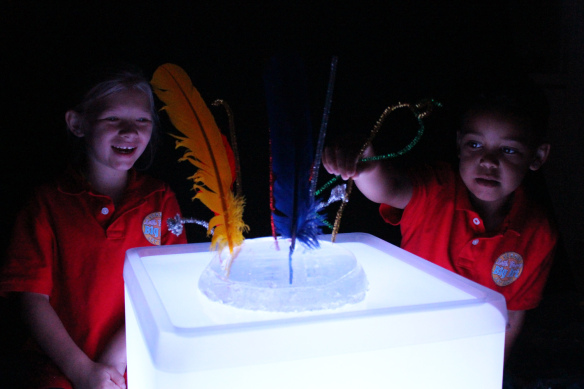
Use jelly on the Light Cube for a great sensory activity!

2.2015-02-25-FeatureImage
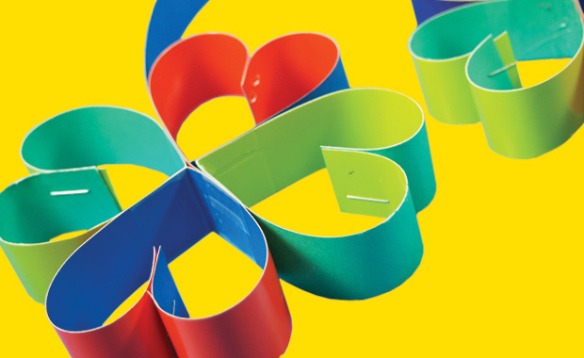
Make lucky four leaf clovers for St. Patrick’s Day, coming up in March!

3.
P1016562

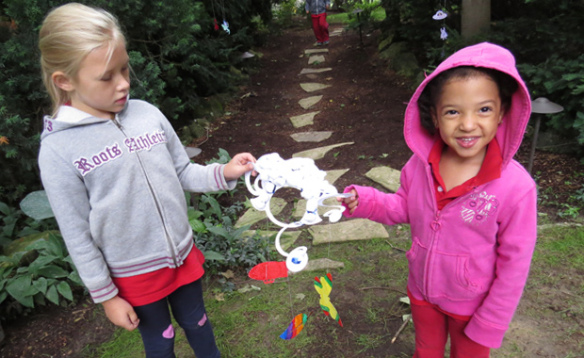
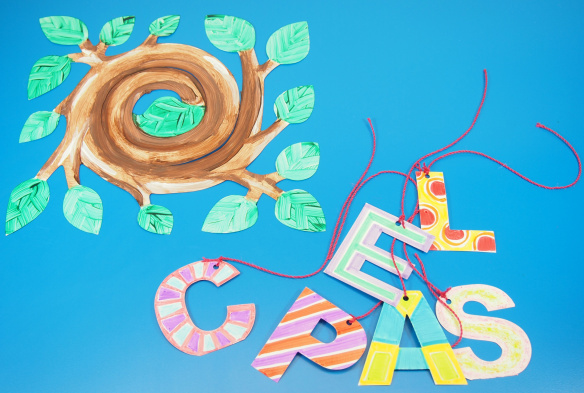
Combine letters in a Word Mobile to generate literacy creativity in students!

4.
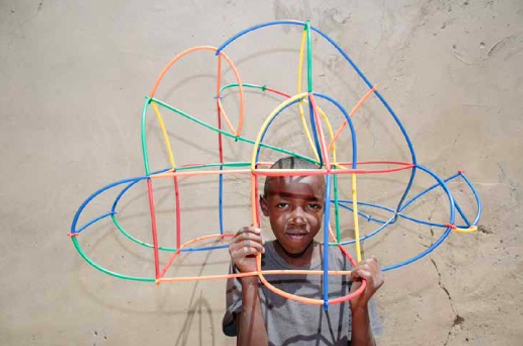
Image-04

Guest post from Rebecca Milling about the wonderful creations made with our Straws and Connectors at St. Jerome’s Children’s Home in Nakuru, Kenya.

5.

P1016903

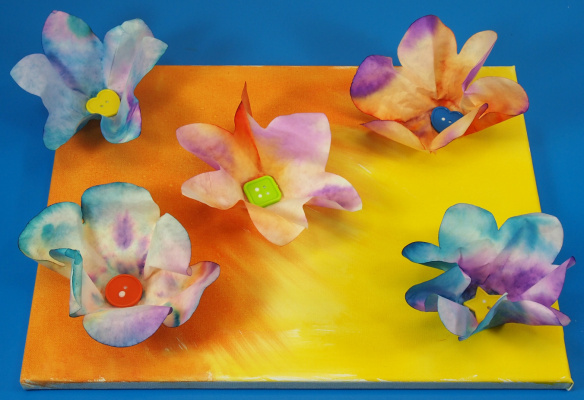
Check out this neat step-by-step tutorial on how to make 3D wall art!

6.
IMG_0811

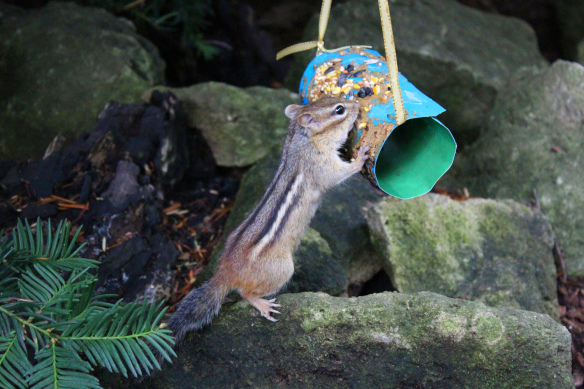
Use our Tube Crafts to make a birdfeeder… or critterfeeder!

7.
P1016967

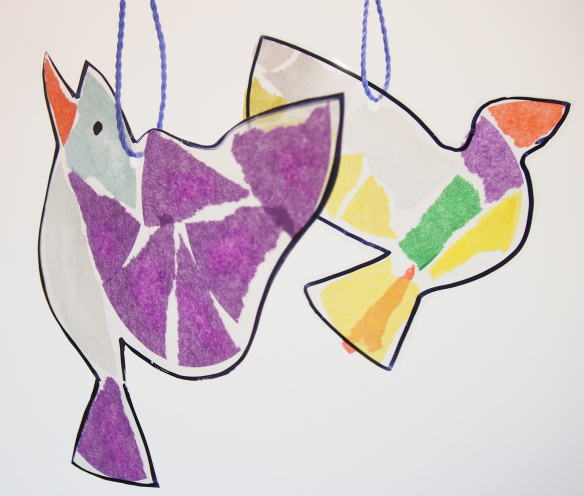
Make beautiful tissue paper birds–a great fine motor skills activity!

8.

Animation

Check out our awesome Action Shapes People! Customizable action figures that your students can use for stop-motion animation projects!

9.

Collage-a-Saurus-FeatureImage

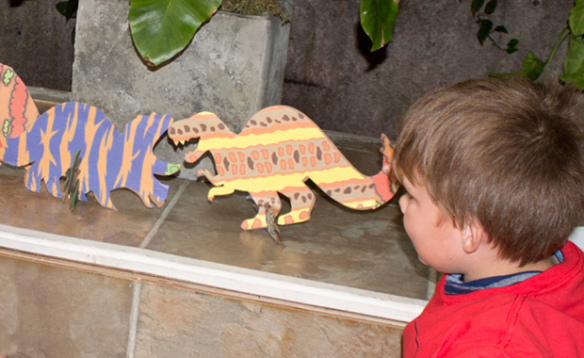
Imagine what dinosaurs really looked like with our Collage-A-Saurus and Dinosaur Paper Sheets!

10.
OLYMPUS DIGITAL CAMERA

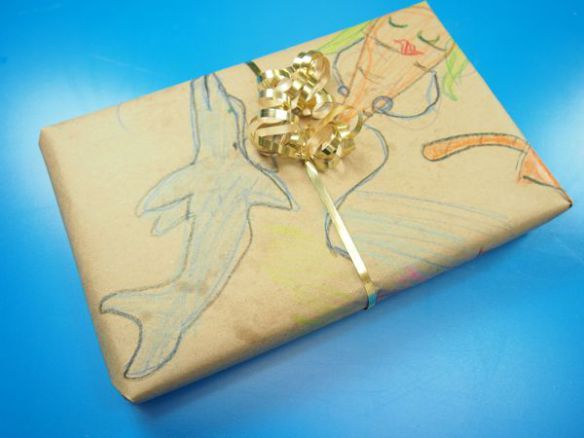
Turn old doodle paper into wrapping paper for someone’s birthday or for Christmas time!

These are our top ten for the year! Share your favorite post online with your friends.

Leave us a comment to let us know what kinds of posts you would like to see more of!

Line-09

Like us on FacebookShare this post with your friends, or Subscribe to this blog today to receive original craft project updates every week!

Fluffy Clouds Sky Mobile

sky mobile craft

Introducing our up-in-the Sky Mobile! It’s the newest addition to our product lineup and features some of the coolest details to make your mobiles soar!

Age: 4+

Duration: 15-20 minutes

Learning Objectives: Use fine motor skills to carefully place the cotton balls onto the cloud mobile base. Talk about the different types of objects or animals that fly in the air and observe the movements of the mobile.

You’ll Need:

R51303 Sky Mobile

• Cotton balls

• Blue paint

• Markers / pencil crayons / crayons

• String

Line-15

sky mobile craft

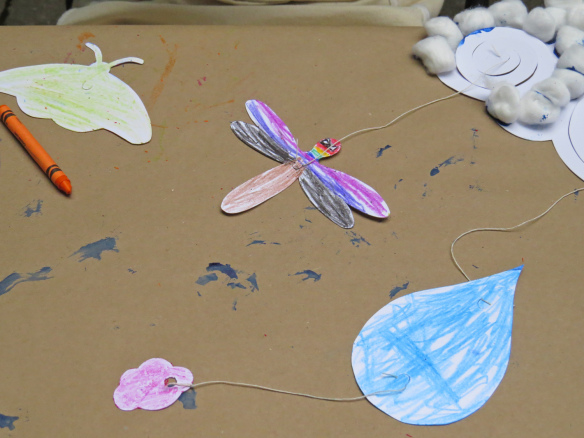
The Sky Mobile pack comes with an assortment of thematic shapes. There are about 30 designs that fit into 5 different themes–bugs, flying vehicles, weather, fantasy creatures, space and birds. These shapes attach to the cloud mobile base.

sky mobile craft

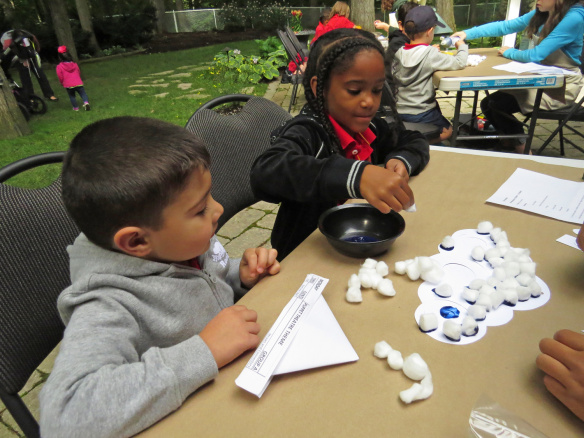
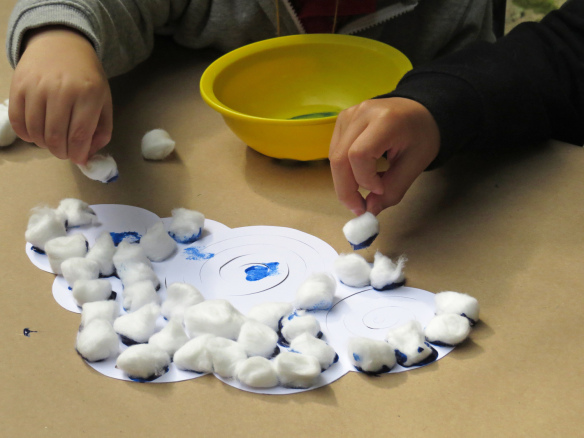
We will first decorate the cloud mobile base. Fill a bowl with blue paint. Dip the end of a cotton ball into the blue paint and press it onto the cloud.

sky mobile craft

Fill the entire cloud mobile base with cotton balls to give the cloud a fluffy appearance.

sky mobile craft

While you are waiting for the cloud mobile base to dry, color in the shapes that you will attach to the mobile base. You can mix and match the pieces together to add more interest to your designs! Ask students to talk about the various pieces they pick out. What if the pieces form some kind of story?

sky mobile craft

You can color the shapes in different ways, with crayons…

sky mobile craft

…markers, or pencil crayons!

sky mobile craft

It’s great fun to exchange the different shapes with your classmates! Mix and match to make the the most unique mobile design.

sky mobile craft

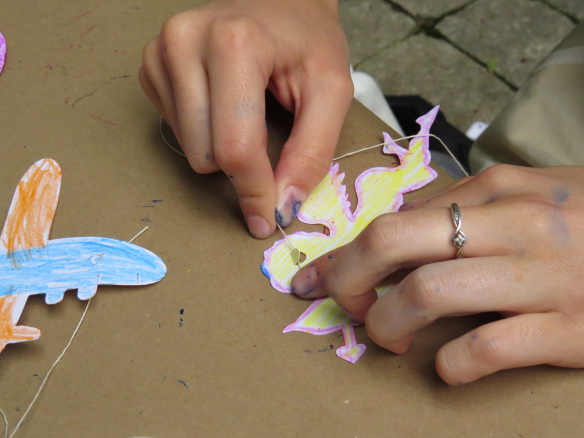
To attach the shapes to the clouds, you will need to cut out a length of string. Each shape has a special tab that can be folded out. Slide the end of the string over the tab, then push to secure it.

sky mobile craft

It’s our ingenious no-tie design that allows you to put the mobile together without glue or any mess!

sky mobile craft

Once the shapes have been attached to the length of string, the opposite end of the string can be tabbed down to the inside swirls of the cloud mobile base.

sky mobile craft

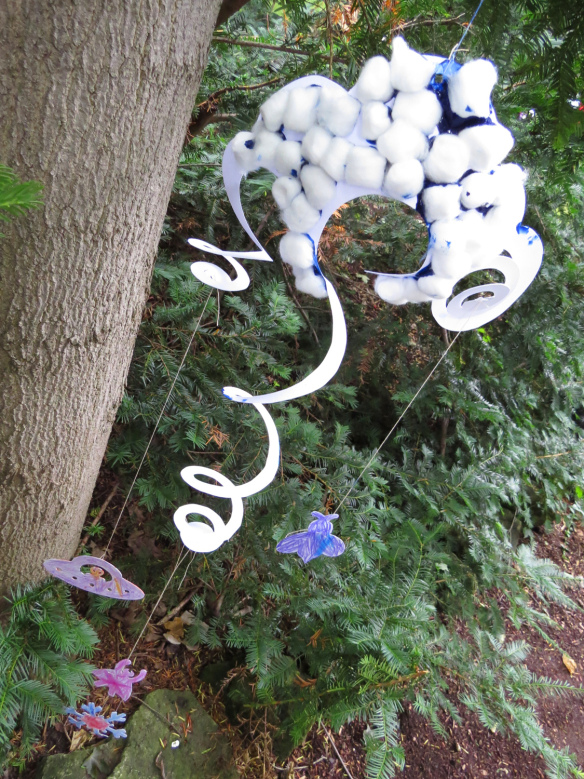
When the mobile base is lifted up, the weight of the shapes will pull the inner spirals out.

sky mobile craft

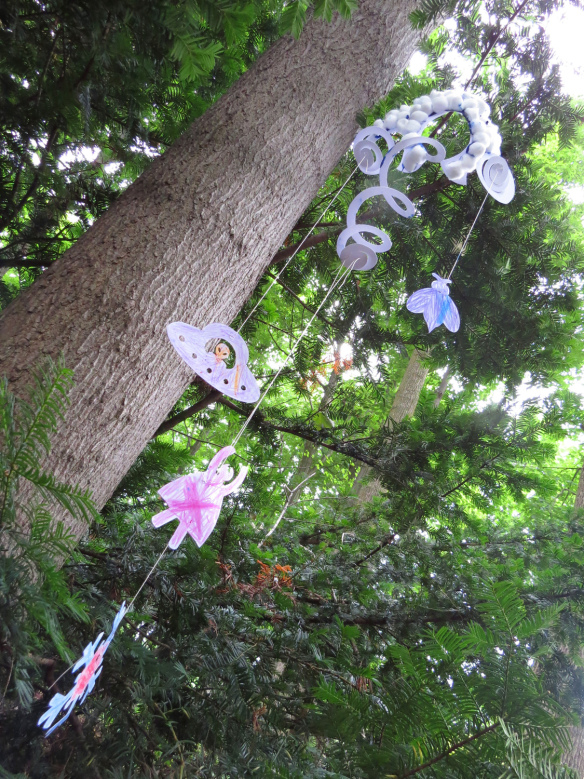
This mobile soars sky-high!

Line-14

Like us on FacebookShare this post with your friends, or Subscribe to this blog today to receive original craft project updates every Monday, Wednesday and Thursday!

Spotlight on… Postage Stamp!

postage stamp art

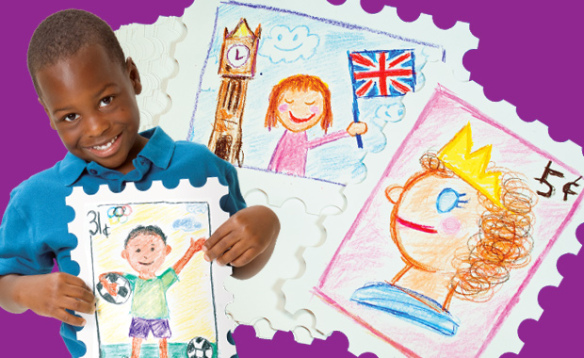
Mail something nice to a friend and make your own signature stamp piece! 

These large sized paper sheets are shaped like postage stamps, and cut with a special border to mimic the look and feel of the real thing. They are 9 x 12″ (23 x 30 cm), perfect for bringing out the fine details in your artwork!

Use crayons to draw a rectangle border on the inside of the stamp sheet. Take a moment to think about some kind of signature piece of artwork that you’d like to be drawn on the interior of the stamp. Remember that the stamps you may see at the post office feature an image of something important that relates to the country or signifies something that the people of that country are proud of.

Tell students to each make a list of things that they are proud of in their lives. Things such as “my dog,” “my cottage by the lake” or “my soccer goal” are good suggestions! When your students have made up their lists, ask them to describe why these things are important to them. Once they have come up with solid reasons, you can start to narrow down your choices as to what makes each student most proud in her or his life.

Try to think of ways that you would represent the picture. Will you simply put a picture of a dog on the stamp or will you embellish the illustration somehow to make it look more important and worthy of having its picture on a stamp? Perhaps you can add details that are important to the dog such as its bone, collar, playhouse, play-toy and so on. You can even go further by adding something like a superhero cape to the dog!

Flip the large postage stamp over and write a letter to someone important in your life such as a friend, parent or close relative. Practice writing your letter on a sheet of paper first so that you can revise your work before copying it onto the back of the stamp. Once you are finished, your students are ready to take their stamps home and “send” them to their favorite people!

You can also “send” cards with the stamps. Here are some of our card projects:

• Make a card any dad will love!

• Surprise someone with a pop-up bouquet, straight from a card!

• These underwater scenes are great to send to a friend!

Line-17

Like us on FacebookShare this post with your friends, or Subscribe to this blog today to receive original craft project updates every Monday, Wednesday and Thursday!

Craft Spotlight: Super Snowflake Stencils

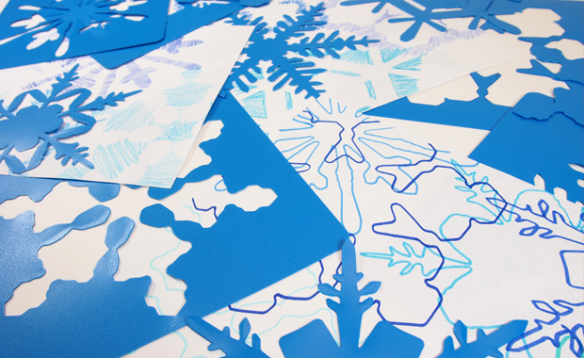
Feature-Image-SnowflakestencilsIf you want to give some pizzazz to your winter-themed artwork, check out our Super Snowflake Stencils! We’ve created an assortment of beautiful snowflake designs that your students can use again and again!The Super Snowflake Stencils are jumbo-size, perfect for small hands to use, manipulate and trace! Our video below shows you several different techniques on how to use the stencils. You can trace the outline of the stencil, color in the available space of the stencil, or add your own twist to tracing.

Get TWO for the price of one: Each of the stencils comes intact with a backing that can also be used as a stencil. Simply separate the inner shape from the outer backing and distribute both to your students.

Talk about the science of snowflakes and how they are made. When the temperature drops, water in the atmosphere gets crystallized into ice form. These miniature ice water droplets are frozen into snowflakes. You can discuss how no two snowflakes are alike, but many can be categorized into the 12 common scientific snowflake shapes!

R58622

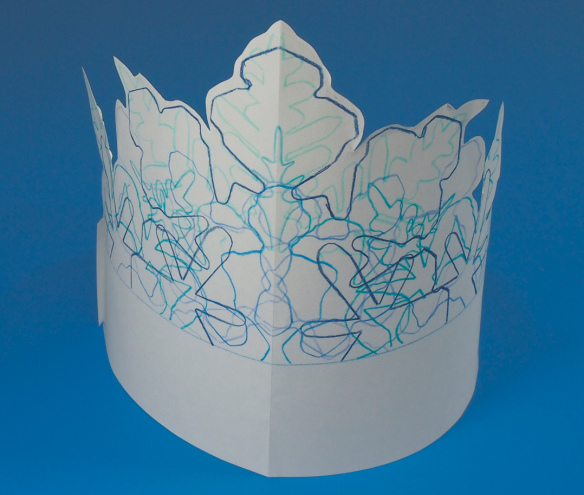
Last year, we posted a project using our Super Snowflake Stencils entitled Winter Crowns. Learn how to make these simple charming crowns with a few colorful blue pencil crayons and the stencils. Great for students to wear during a winter-themed play or for circle time sessions.

_1030118

Line-16

Thanks for stopping by! If you’d like to send us your Super Snowflake Stencil project ideas, contact us at subscriber@roylco.ca for a chance to be featured in an upcoming post!

Craft Spotlight: Sensory Collage Kit

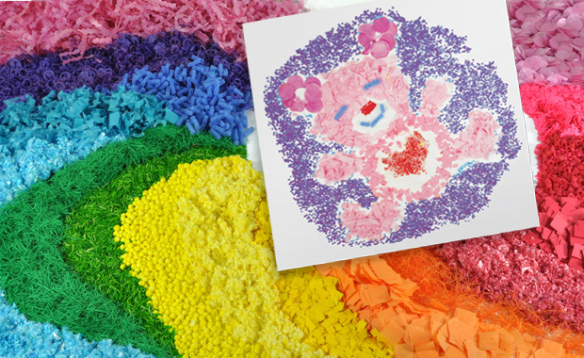
Feature-Image-SensoryCollageWELCOME BACK TO 2014! We are ecstatic to begin the New Year with a plethora of craft ideas, guest posts and so much more! To start off, I’ve decided to post on our Sensory Collage Kit–filled with a variety of colorful materials to add brilliance, texture and fun to your students’ collage projects!

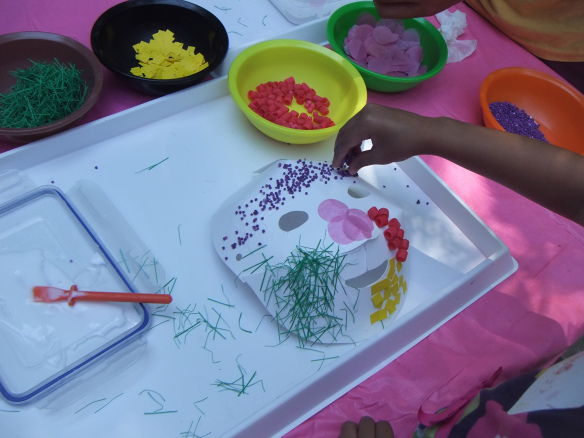
The Sensory Collage Kit features 20 sensory art packs with a variety of different textures to explore. Some materials are soft and pliable while others are bumpy or rough. Sort the materials by texture type or color.

R75419

In the video below, Cathy shows you how to put together a simple illustration of a shooting star using the collage materials.

One tip for using the collage materials is to dip our R5725 Goo Spreaders into a bowl of glue and have the students ‘draw’ out their illustration using the glue. Note: Use colorful glue (such as glitter glue or craft store colored glue) so that students can see their illustration. Draw one section at a time, then drop a handful of collage material on top. Shake off the excess and voila! You have started your first sensory collage illustration!

View the complete guide HERE! View the pdf to discover project ideas, material descriptions and more.

To build sensory awareness and develop fine motor skills, ask your students to describe the various textures while covering their eyes. Get them to think about the type of texture they are feeling. What would the material best represent? For example, the scratchy, thin green material could be used as grass while the fluffy blue material could be used for the sky. There are endless possibilities with the Sensory Collage Kit that you can discover for yourself NOW!

Our tip is to first draw the illustration in clear lines using black marker. Once this is done, your students can fill in the individual sections with the collage materials as they see fit.

DSCF7141

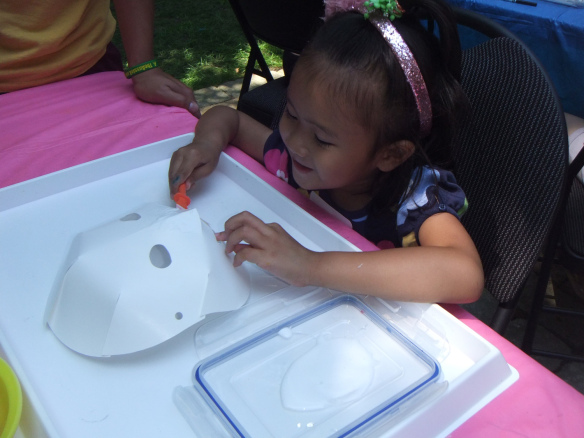
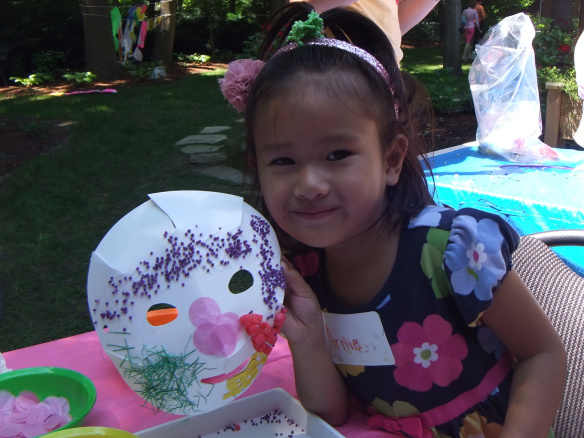
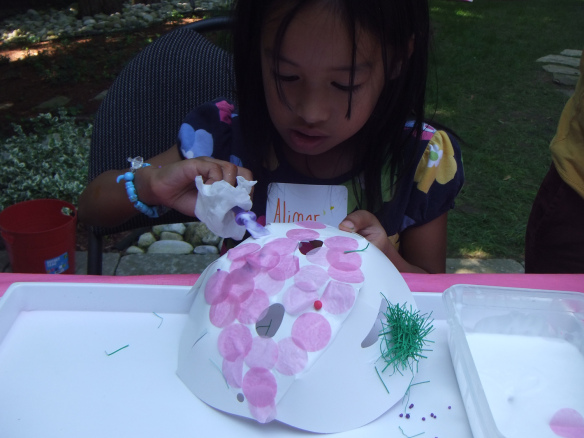
Our Art Campers took their sensory collage experience one step further and applied the materials to our R52076 Folding Fun Masks! With Goo Spreaders, a bit of glue and a lot of imagination, these little artists created a series of decorative masks for fun drama play!

DSCF7169While making their masks, the art campers were asked to describe their favorite textures and why they used these particular textures on the masks.

DSCF7162Some of the responses had to do with the colors chosen mostly, but others responded with what they were reminded of when holding and handling the materials. Some art campers described one of the materials as ‘bead-like’ while others identified others as ‘grassy’ or ‘fluffy.’

DSCF7165Line-19Thanks for stopping by! We wish you all a Happy New Year here at Roylco and look forward to working with teachers, educators and parents in the coming weeks to improve our commitment to early childhood education with our products. Contact us for more information if you are interested in working with us, or would like to showcase your own craft projects. Email us at subscriber@roylco.ca!

Craft Spotlight: Alphabet Pasting Pieces

Feature-Image-alphapastingpiecesThis week’s Craft Spotlight highlights our Alphabet Pasting Pieces as we get set for literacy activities! Use this literacy tool as an introduction to letter recognition, letter order and to help students construct new words.

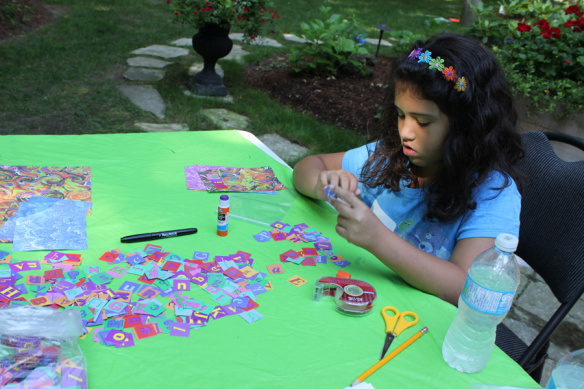
The Alphabet Pasting Pieces are small cutouts of letters in different fonts and colors to help students get used to the variable appearance of the alphabet. Add the pasting pieces to any of your scrapbooking projects or use in conjunction with scrap pieces of paper to make interesting collage artwork!

_DSC0069

The letters are printed on both sides of the card, so they can also be used for literacy mobiles! In this activity, our crafters used the pasting pieces to spell out their names.

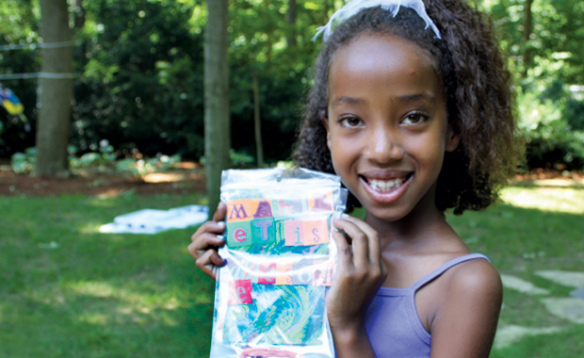
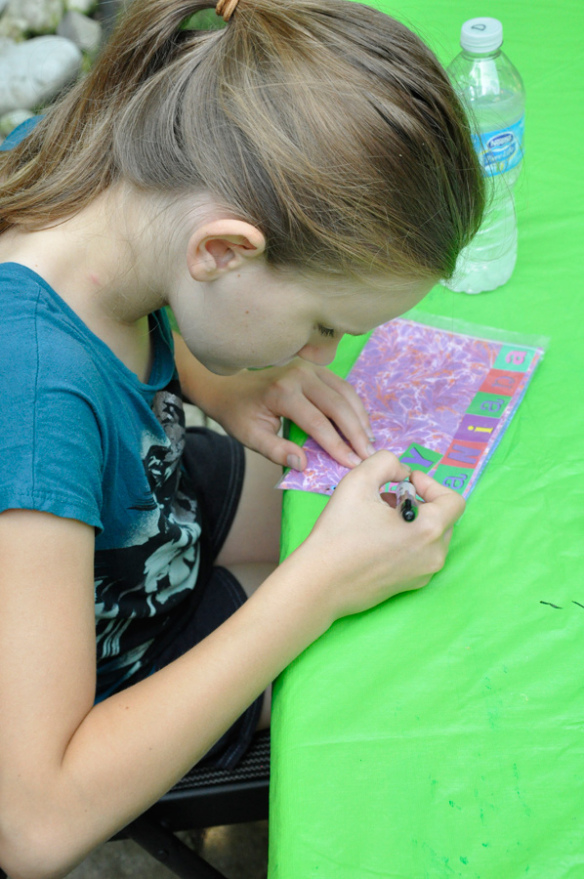
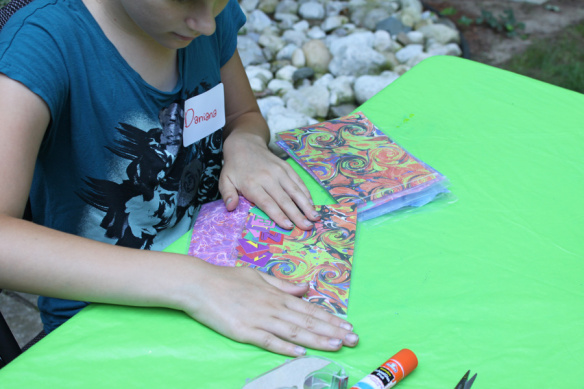
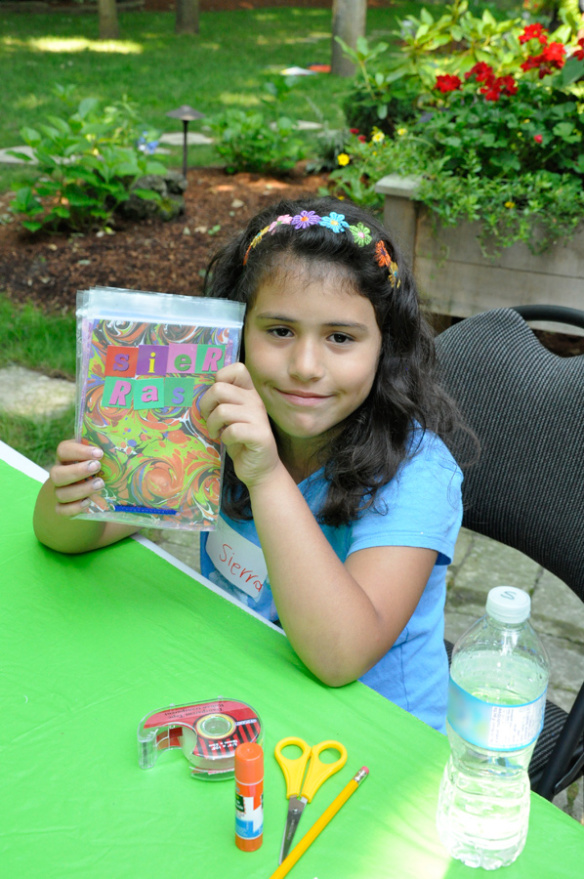
IMG_2347One of the projects they made was a homemade scrapbook from zip-lock bags and decorative paper. The pasting pieces were then used to spell out words such as, “My Book” or “Art Book.” Each zip-lock bag was attached together at one end with a hole punch and pipe cleaner to make it look like a miniature art portfolio!

IMG_2340Use the colorful letters for sorting and counting activities! Give students a handful of the pasting pieces and ask them to sort the letters by vowels or consonants. Then sort by color! Finally, count how many individual pasting pieces are in each pile.

_DSC0073The pasting pieces are a great way to decorate scrapbooks, journals, collage art and more!

Line-09Show us your literacy activities or artwork with photos! Contact us at subscriber@roylco.ca for a chance to be featured in one of our upcoming posts!