Weaving Mat Wall Hang

wall hang weaving mat

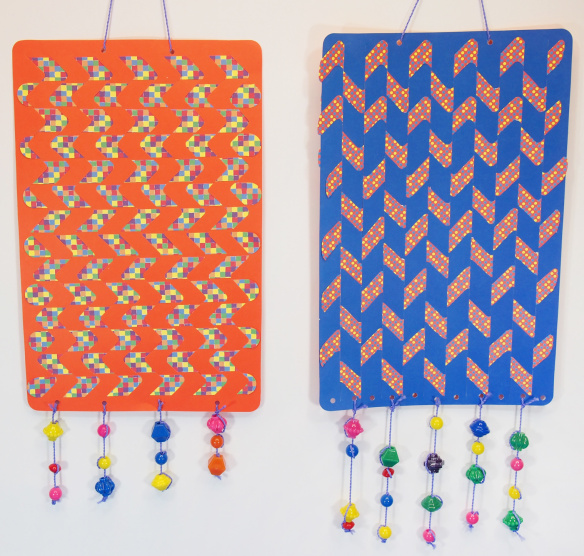
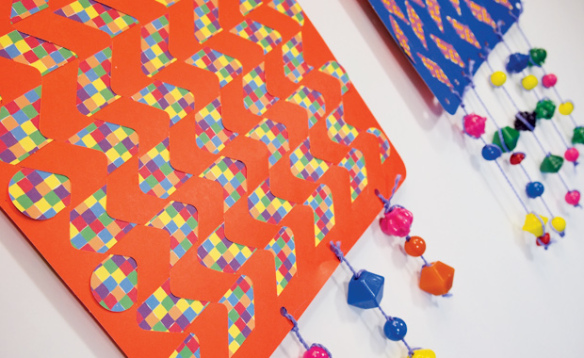
Weave a beautiful mat to exercise fine motor skills. But don’t stop there! Turn the weaving mat into a gorgeous wall hang with a few simple modifications. 

Age: 4+

Duration: 15 minutes

Learning Objectives: Encourage fine motor development with weaving. Learn about the multicultural significance of weaving mats. Use multiple media to create a step-by-step project. Sort through weaving mat strips to find the appropriate colors and matching patterns.

wall hang weaving mat

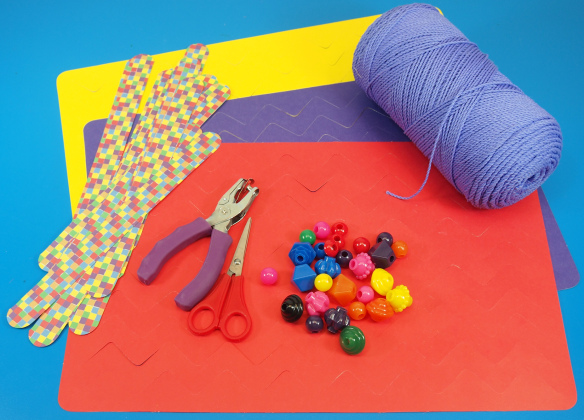
You’ll Need:

R16019 Placemat Weaving Mats

R2170 Brilliant Beads

• Yarn

• Hole punch

• Scissors

Line-21

wall hang weaving mat

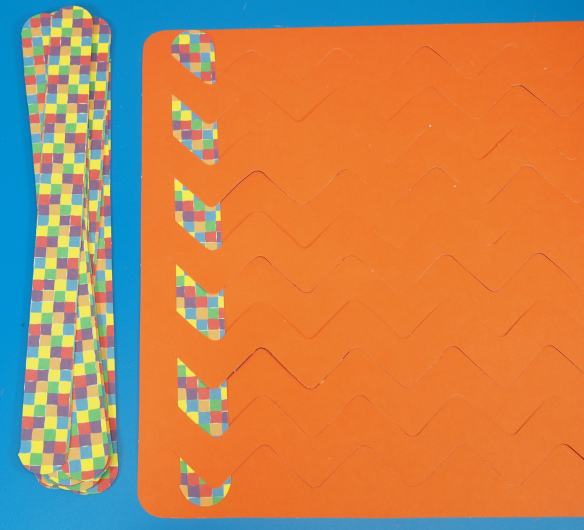
Pop out all the strips from the paper backing and separate the scored lines in the weaving mat. Weave the first strip to the farthest edge. Start by weaving the strip over then under each of the weaving mat flaps.

wall hang weaving mat

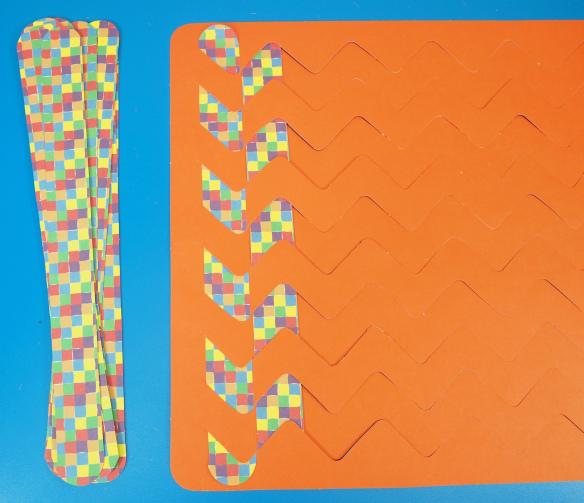
Alternate the start of the next weaving strip by going under then over.

wall hang weaving mat

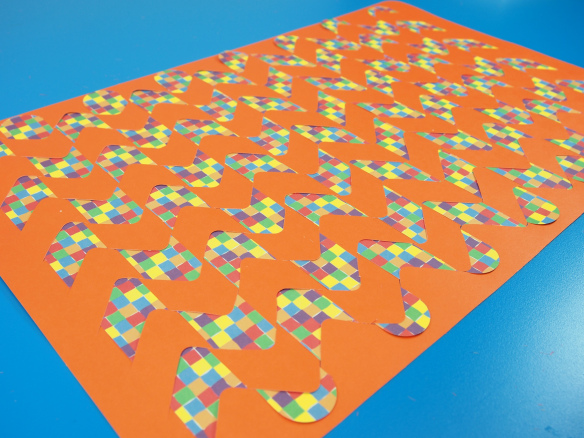
Fill the entire length of the weaving mats with paper weaving strips.

wall hang weaving mat

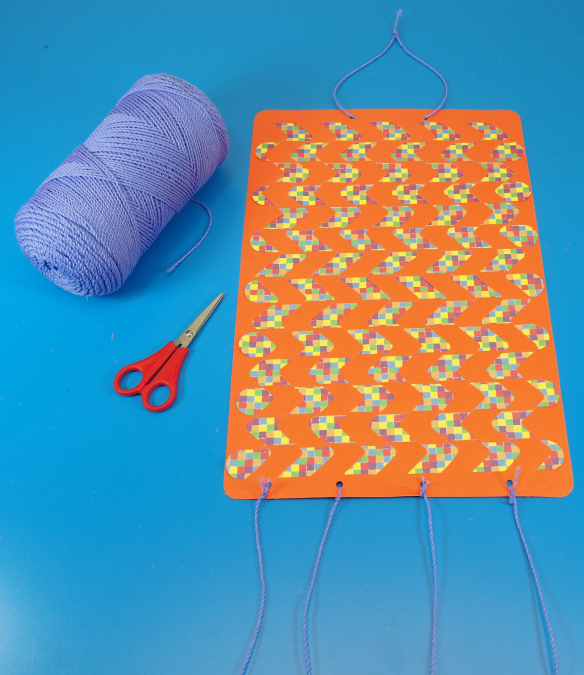
Turn the weaving mat vertically and punch two holes at the top, and four holes at the bottom.

wall hang weaving mat

Cut lengths of string and tie them to the holes punched into the bottom of the weaving mat.

wall hang weaving mat

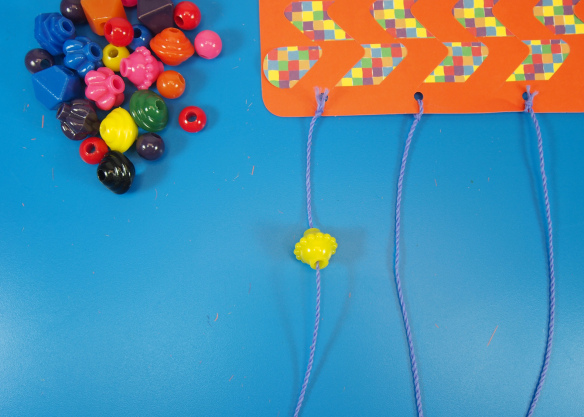
Thread one of the Brilliant Buttons onto the lengths of string. Push the button halfway up the length of string.

wall hang weaving mat

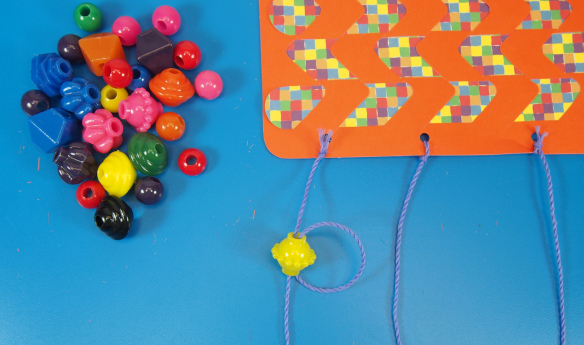
Re-loop the length of string through the bead hole and pull.

wall hang weaving mat

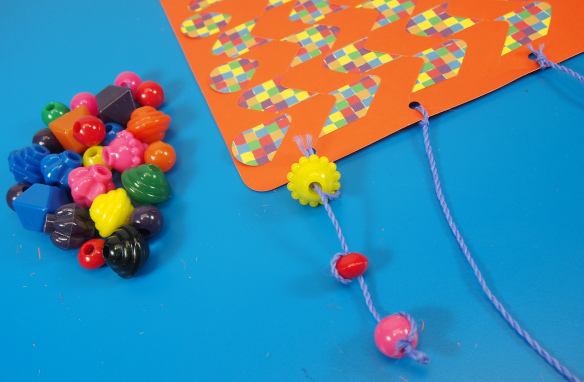
Restring and reloop the beads all the way down the string. Secure the beads in place with a knot.

wall hang weaving mat

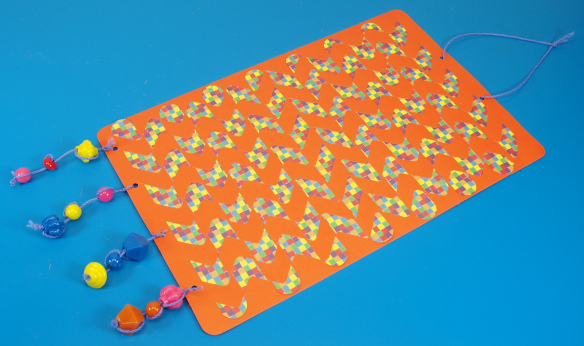
Continue down the rest of the weaving mat. You can alternate the beading or do patterns, depending on how long you make your string lengths.

wall hang weaving mat

Here’s a look at the different designs you can create with the Placemat Weaving Mats!

Line-14

Like us on FacebookShare this post with your friends, or Subscribe to this blog today to receive original craft project updates every Monday, Wednesday and Thursday!

Scents Sort Match-Up Kit

scents sorting sensory smell

Exercise your sense of smell with our Scents Sort Match-Up Kit! Help students learn everything they need to know about basic smells that we encounter in our daily experiences. 

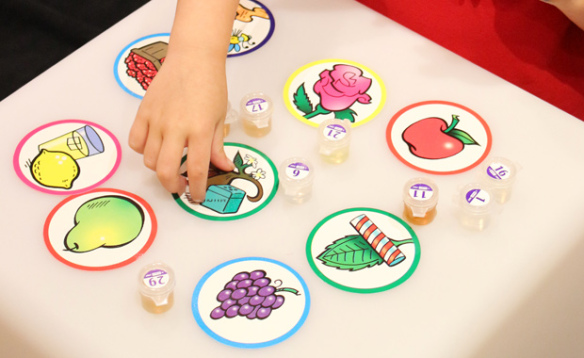
The R62301 Scents Sort Match-Up Kit is great for encouraging children to explore their natural senses. The kit features 30 different liquid scents contained in small self-sealing capsules and 30 matching picture cards. Each of the capsules are numbered to correspond with the list of scent names featured in our guide here. The scents are also pleasing and familiar to students, including those of apple, grape, mint and so on.

Students can pop open the cap of each capsule and try to identify the scent they are smelling. Talk about the familiar scents and where students may have encountered them. When they have a clear idea of what kind of scent they are smelling, they can choose the correct picture card to match the capsule.

You can play one of six different educational games to enrich students’ exploration of their olfactory sense. These games attempt to provide students with cross curricular lessons such as brainstorming descriptive adjectives, or playing a number matching game. Find out more at this link!

Line-07

Like us on FacebookShare this post with your friends, or Subscribe to this blog today to receive original craft project updates every Monday, Wednesday and Thursday!
Collage A Saurus

collage a saurus dinosaur craft

We will never know what dinosaurs actually looked like, but we can imagine! These amazing mysterious creatures were our inspiration for the latest addition to our 2015 product line-up: R16035 Collage-A-Saurus!

collage a saurus dinosaur craft

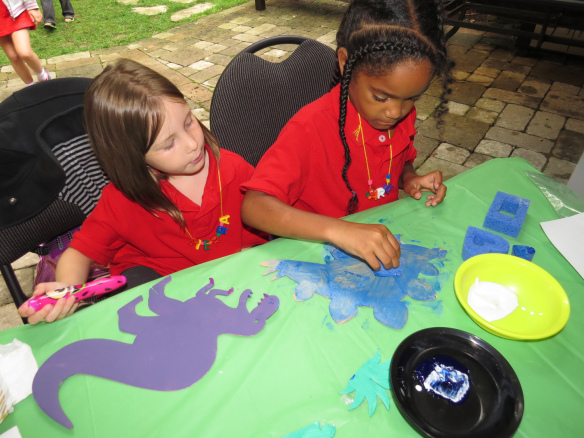
The card dinosaurs can be popped out of the flat sheet along with the accompanying stand, which is fashioned to look like a tree or jungle shrub. Paint the dinosaurs a flat color such as white, blue or pink and leave to dry. The fun part is getting students to add their own finishing touches to the dinosaurs using materials such as sponges, stamps and more!

collage a saurus dinosaur craft

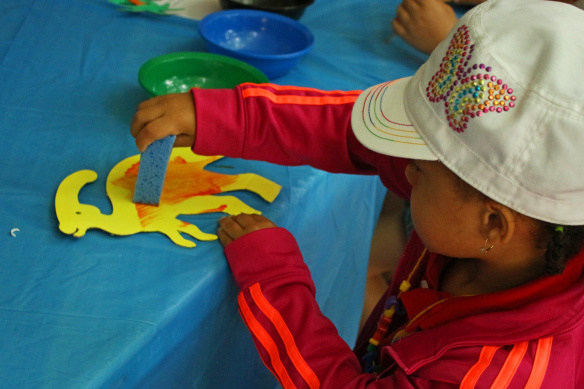
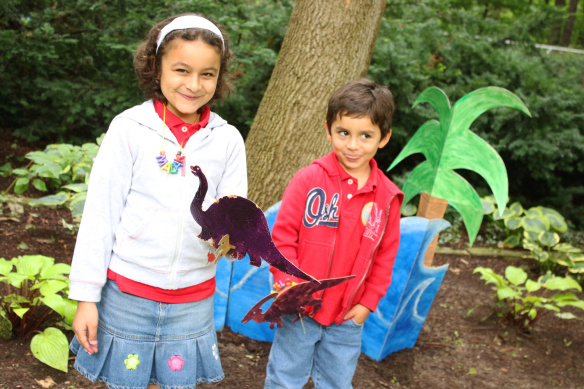
This art camper decided to use a sponge to create a blended orange pattern on this dinosaur’s body. We used tempera paint to decorate the dinosaurs.

collage a saurus dinosaur craft

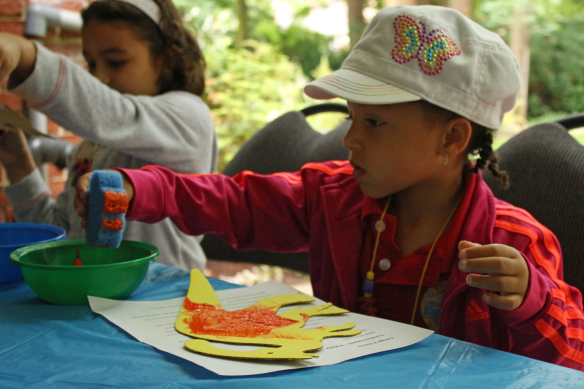
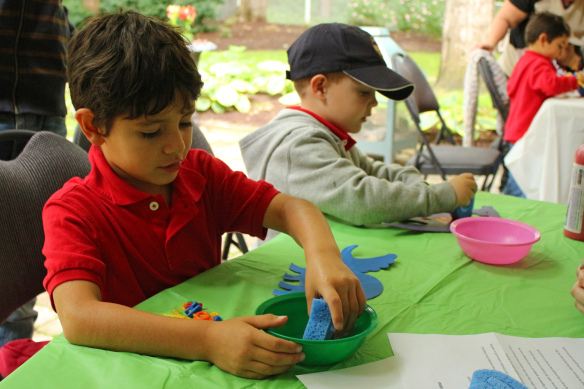
Keep the paint in a bowl for easy access and less mess.

collage a saurus dinosaur craft

Everyone chose a contrasting color from the flat color their dinosaurs were painted. We talked about the significance of the word “contrast” when referring to color groups.

collage a saurus dinosaur craft

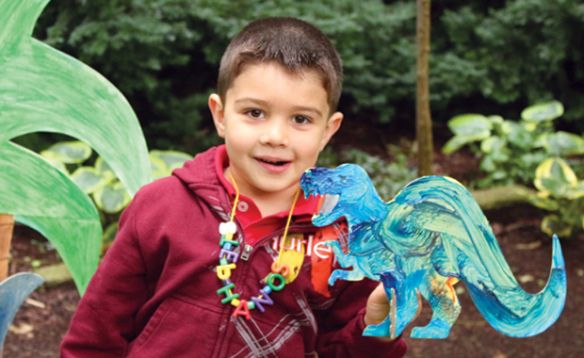
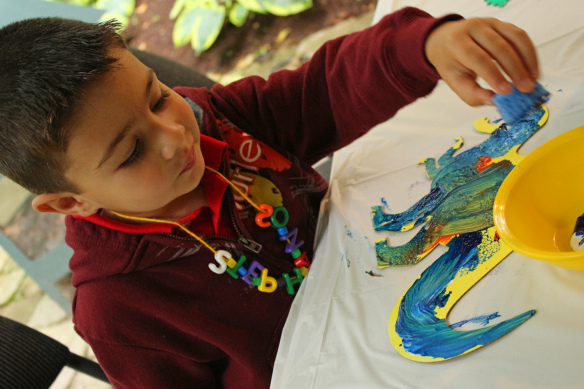
Some students decided to mix and match the colors together, like this dinosaur who got a bit of blue-and-orange treatment.

collage a saurus dinosaur craft

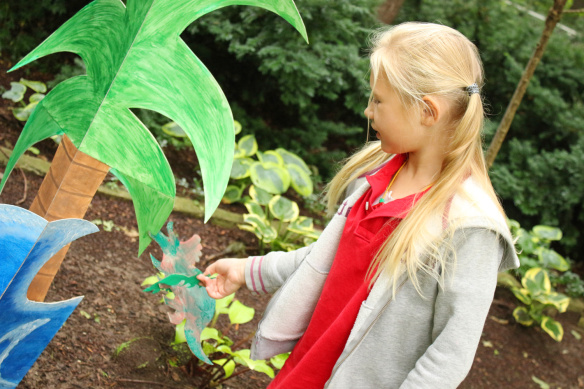
Once the paint dried, we took the dinosaurs to a walk by our tropical photo backdrop!

collage a saurus dinosaur craft

We got some great photos of the outing!

Line-15

Like us on FacebookShare this post with your friends, or Subscribe to this blog today to receive original craft project updates every Monday, Wednesday and Thursday!

Tissue Paper Birds

tissue mosaic birds suncatcher

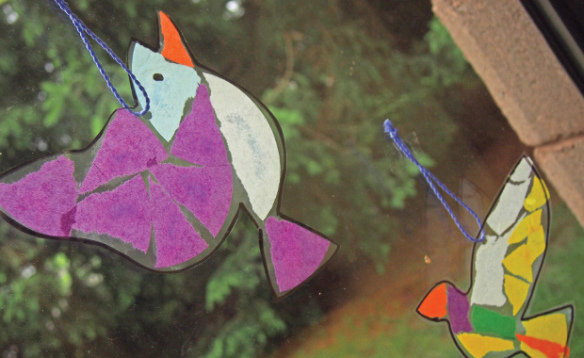
Make beautiful simple suncatchers with mosaic-like Tissue Circles and easily-available materials in your craft closet!

Age: 4+

Duration: 10-15 minutes

Learning Objectives: Use fine motor skills to tear up Tissue Circles into mosaic-like sections. Piece the materials together to create a visually beautiful mosaic image. Create beautiful suncatchers from simple materials.

tissue mosaic birds suncatcher

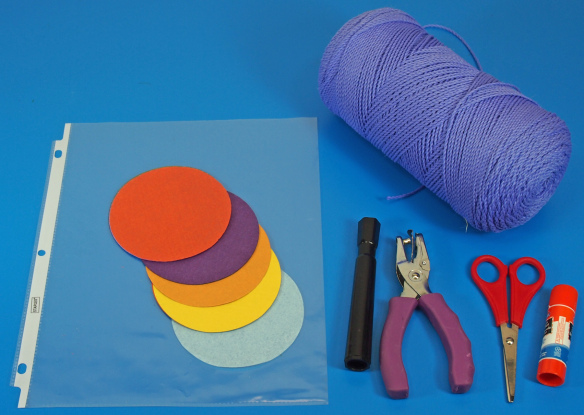
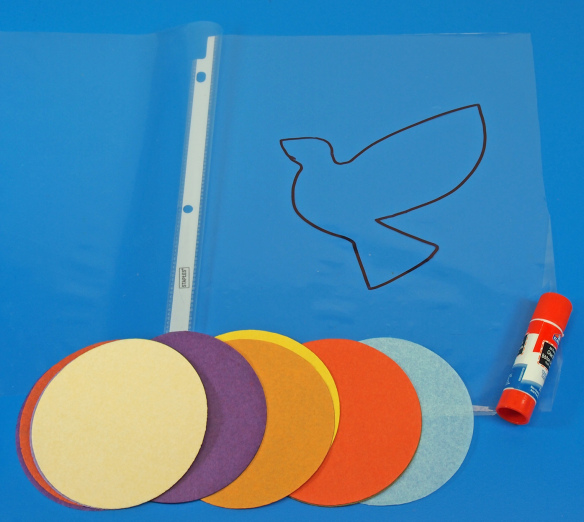
You’ll Need:

R2172 Tissue Circles

• Hole punch

• Plastic sheet covers

• Scissors

• Marker

• Glue

• String

Line-17

tissue mosaic birds suncatcher

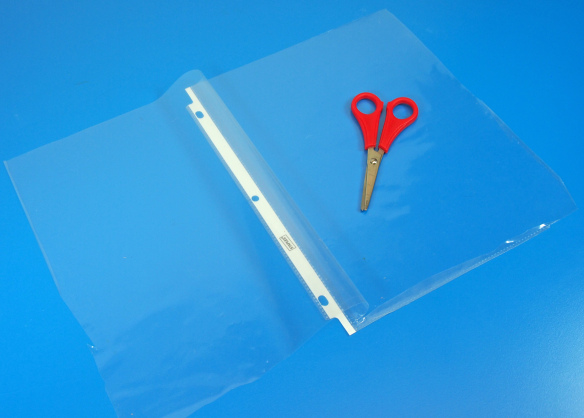
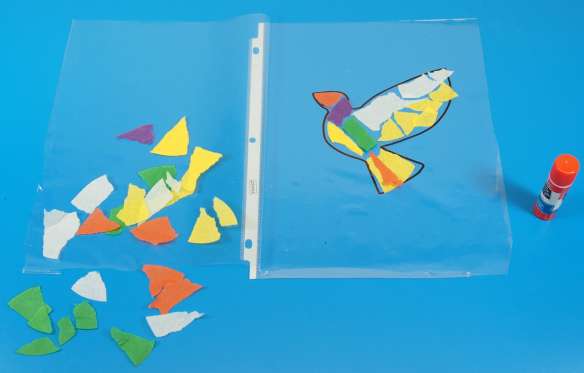
Cut the two closed edges of the plastic sheet cover. Open the sheet cover with the pages on either side.

tissue mosaic birds suncatcher

Use the black marker to draw a simple bird shape. If you are worried about making a mistake, first sketch out your design on a sheet of scrap paper. Place the paper underneath the sheet cover and trace it.

tissue mosaic birds suncatcher

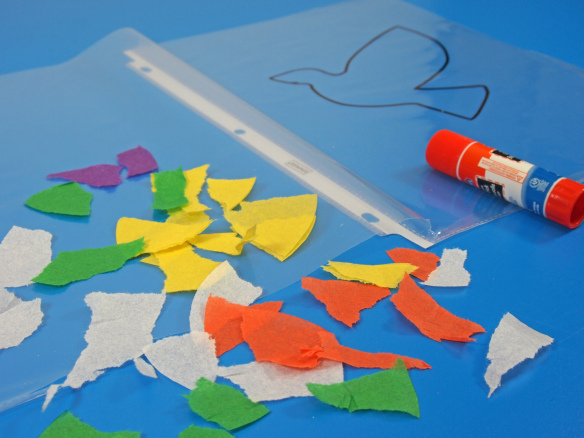
Tear up the Tissue Circles into small pieces. This is a great activity for young kids to exercise their fine motor development.

tissue mosaic birds suncatcher

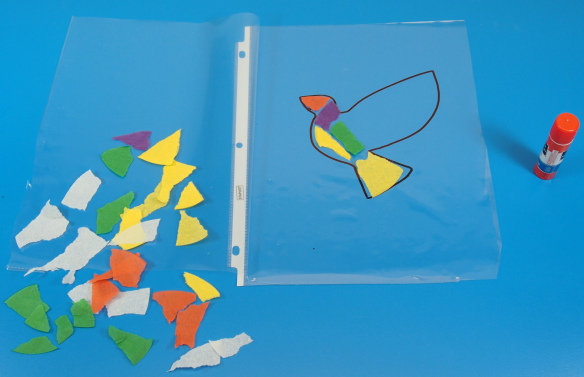
Pick out the pieces that fit within the bird outline. Lay them out so that there are small spaces in between the pieces to make the overall image look like a mosaic design.

tissue mosaic birds suncatcher

Once you have arranged the pieces, paste them down. Rub a bit of glue on top of the mosaic pieces and fold the other half of the sheet cover on top. Press the sheet cover down to secure the design in place.

tissue mosaic birds suncatcher

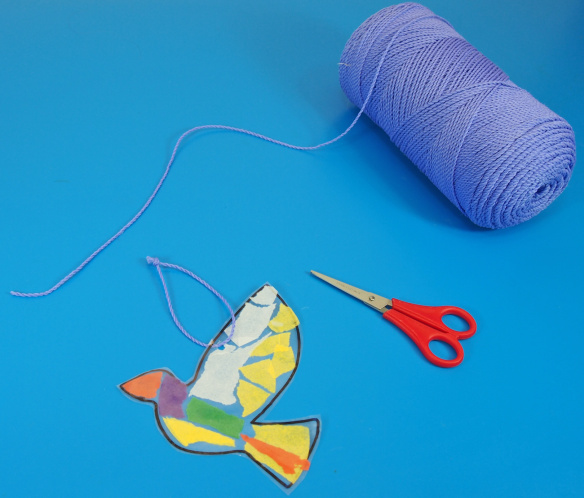
Cut around the outline of the bird suncatcher. Use a hole punch to punch a hole through the top of the bird. Next, measure and cut a length of string to be thread through the hole and secured with a knot.

tissue mosaic birds suncatcher

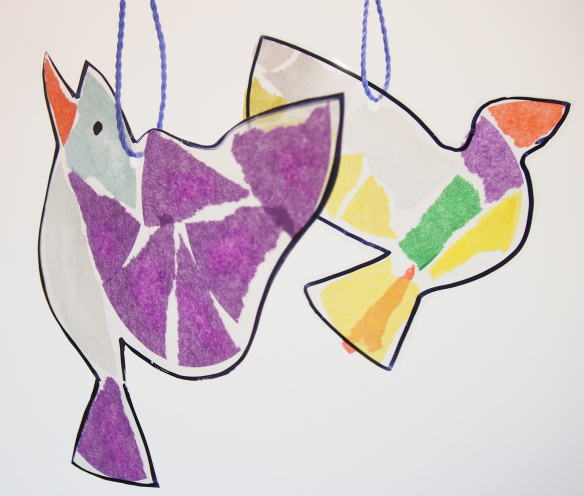
Hang up the gorgeous designs at a window to let the light shine through! You can even overlap parts of the tissue to get different colors as the light filters through the paper.

Line-17

Like us on FacebookShare this post with your friends, or Subscribe to this blog today to receive original craft project updates every Monday, Wednesday and Thursday!
Sensory Chemistry Kit

sensory chemistry kit

Conduct eye-popping experiments with simple, non-toxic, safe-for-kids ingredients!

The Sensory Chemistry Kit is your easy, ready-set-go method of introducing young students to science. It has all you need to get your students thinking with the scientific method. As each experiment progresses, ask plenty of questions to get students to answer based on their observations.

The Kit comes with materials to help you perform 10 different experiments that teach your students important principles of introductory science. Here’s a video-overview of some experiments featured in this kit:

1. Make Jelly Blocks with different concentrations of gel powder.

2. Reveal if your solution is a base or acid with an indicator.

3. Make color explosions.

Check out the rest of the experiments at our channel!

Line-12

Like us on FacebookShare this post with your friends, or Subscribe to this blog today to receive original craft project updates every Monday, Wednesday and Thursday!
Paint Splatter Hat

paint splatter art hat bellows

This colorful painter’s hat will delight any art enthusiast! Decorate with the unique effects produced from our Paint Bellows.

Age: 4+

Duration: 10 minutes

Learning Objectives: Use squeezing motions and exercise fine motor skills while using the Paint Bellows. Create splatter paint effects to decorate a blank hat.

paint splatter art hat bellows

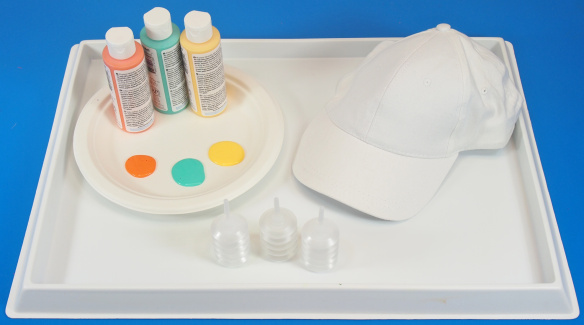
You’ll Need:

R5419 Paint Bellows

• Blank hat

• Paint tray

• Acrylic or fabric paint

• Paper plate

Line-16

paint splatter art hat bellows

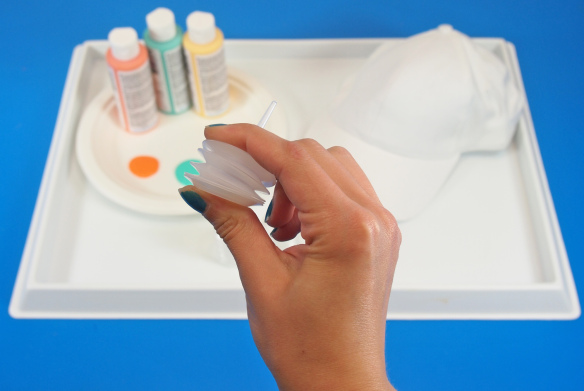
Paint Bellows are unique painting tools with a narrow spout and a wide, accordion-like chamber for propelling out the paint. To use the Paint Bellows, you will need a good pincer-like grasp to press the chamber tight. This helps to expel all the air from the chamber.

paint splatter art hat bellows

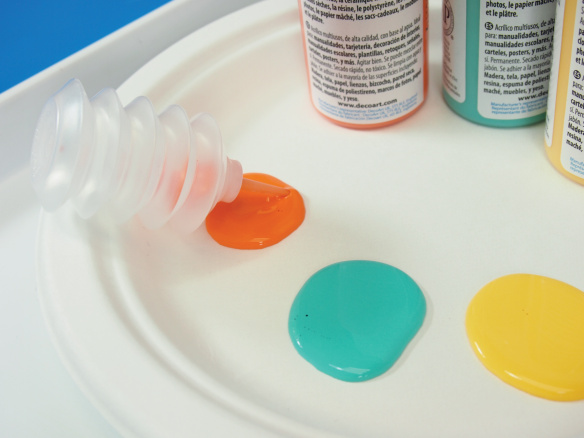
Dip the spout into a glob of paint and release the chamber. This release of pressure will cause the paint to rush inside of the Paint Bellow. When you are ready to use the Paint Bellow, rapidly squeeze and release the chamber to push globs of paint out.

paint splatter art hat bellows

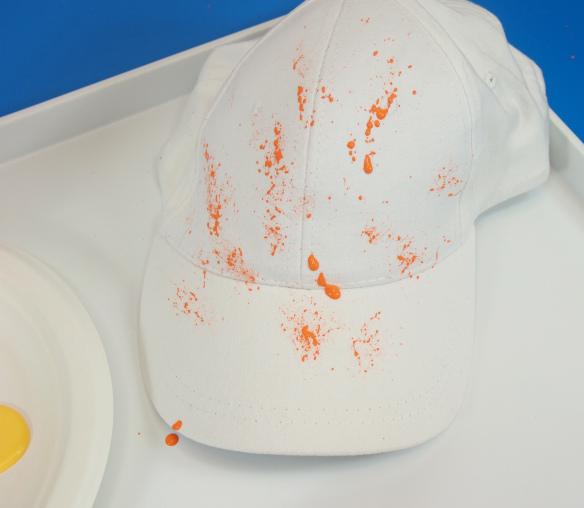
I’ve started with a soft peach-orange color. This will be the base color. You can keep adding as many splatter spots as you like throughout the hat.

paint splatter art hat bellows

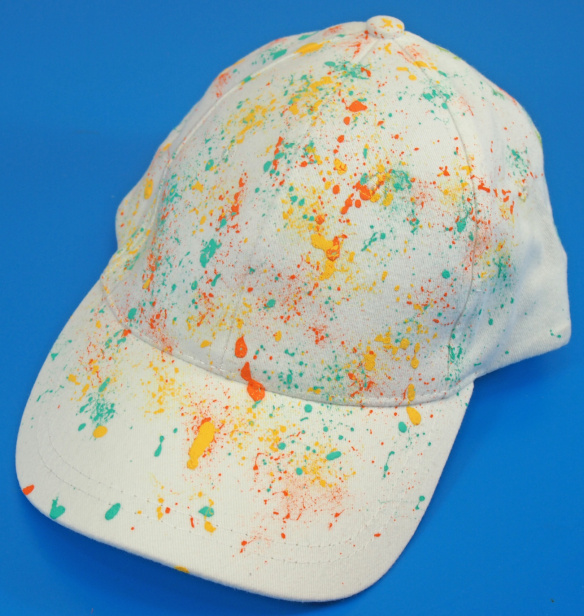
Mix other colors such as a soft teal or bright yellow into the mix and get a unique design!

Line-16

Like us on FacebookShare this post with your friends, or Subscribe to this blog today to receive original craft project updates every Monday, Wednesday and Thursday!
Color Diffusing Bugs

outdoor crafts bugs

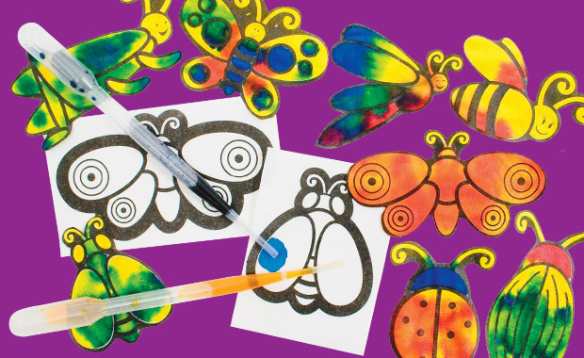
Bright and beautiful Color Diffusing Bugs are the perfect activity for painting outdoors or learning about nature. 

Simply amazing Color Diffusing technology allows you to create easy masterpieces with watercolors! Our R24905 Color Diffusing Bugs are a great introduction to Color Diffusing Paper if you’ve never used it before. The special absorbent papers are printed with cute images of bugs–butterflies, ladybugs, beetles, dragonflies, bees and more!

Place a sheet into a paint tray. Mix up a few watercolors and drip them onto the sheets with pipettes such as these ones! The watercolors will spread outwards from where they were dropped to create an interesting blended, tie-dye effect when dry.

This is a great activity to perform outdoors because the sun will dry up the watercolors almost instantly. Here are some ideas on what to do with your bugs after they are dry:

• Tape the bugs to a window. When the sun hits the window, the paper will illuminate like a stained glass piece!

• Tape the bugs to a length of string and hang it up as a garland.

• Decorate your spring or summer wall with the bugs.

Line-05

Like us on FacebookShare this post with your friends, or Subscribe to this blog today to receive original craft project updates every Monday, Wednesday and Thursday!
Bird Watching Feeder + Binoculars

tube seed feeder crafts binoculars

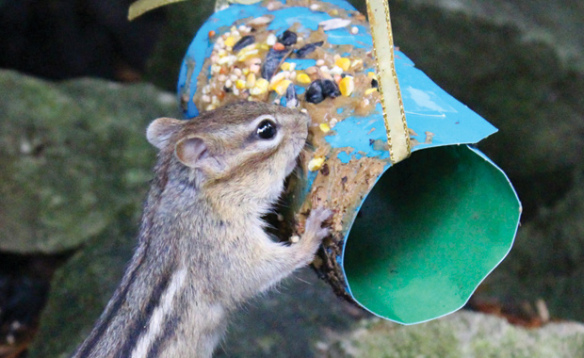
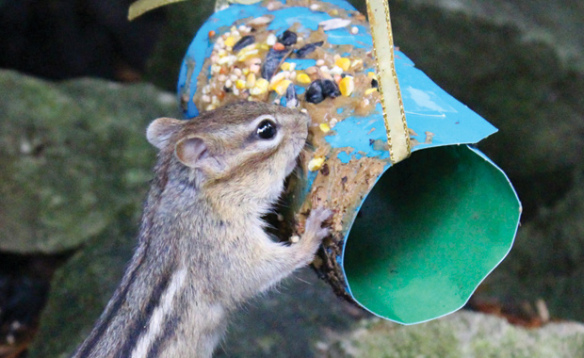
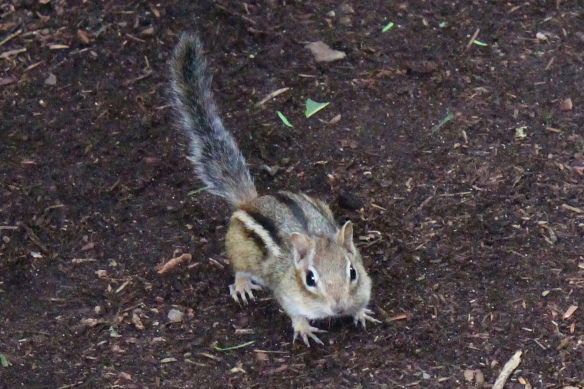
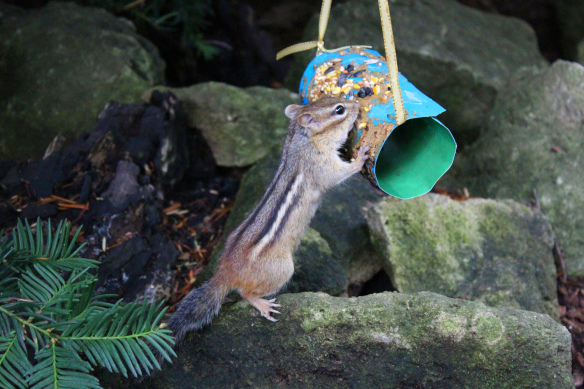
Look at this cutie! He turned up to have a mid-afternoon snack after we finished making special feeders for the local wildlife and binoculars to observe them with! 

Age: 5+

Duration: 15-20 minutes

Learning Objectives: Observe the amazing details and beauty of nature. Create special feeders for birds, squirrels and other critters. Use fine motor skills to roll up tubes. Talk about local wildlife and natural habitats.

tube seed feeder crafts binoculars

You’ll Need:

R39301 Tube Crafts

• Peanut-free spread

• Birdseed

• Ribbon

• Plastic knife

• Paint tray

• Optional: Tape for binoculars

Line-06

tube seed feeder crafts binoculars

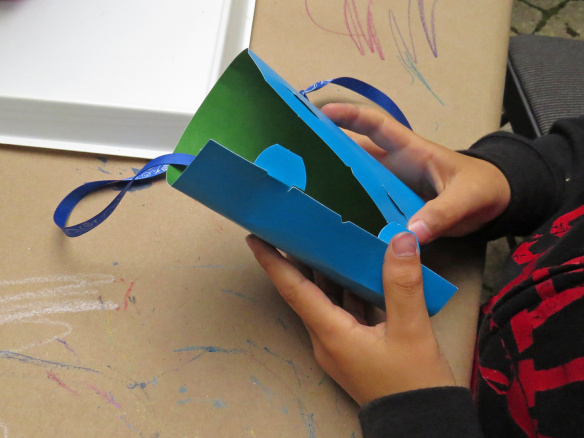
The Tube Crafts feature several flat cutout shapes that have colors printed on either side. One side of the flattened tube features tabs, and on the other side are slots that the tabs fit into. Roll the flat sheet into a tube like shape and slide the slots into the tabs. This keeps the tube’s shape.

tube seed feeder crafts binoculars

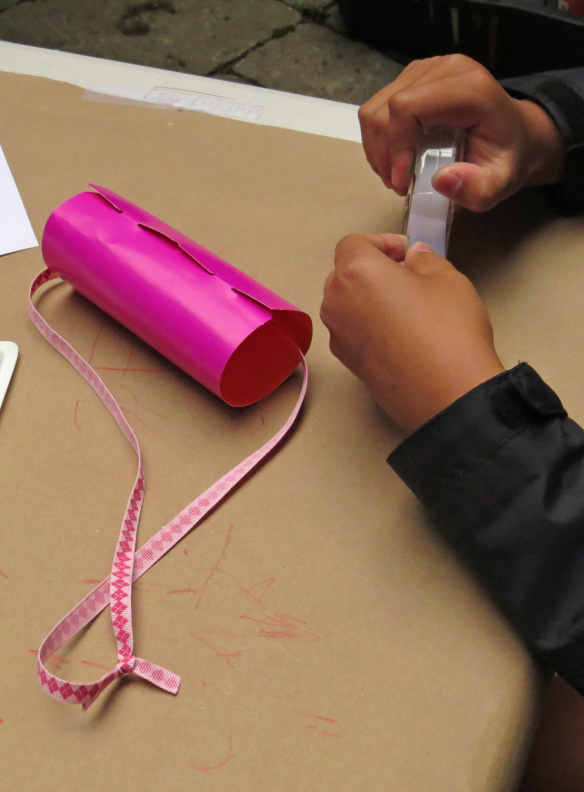
Cut a length of ribbon and feed it through the tube. Tie the ends of the ribbon together. This ribbon will help hang up the tube feeder.

tube seed feeder crafts binoculars

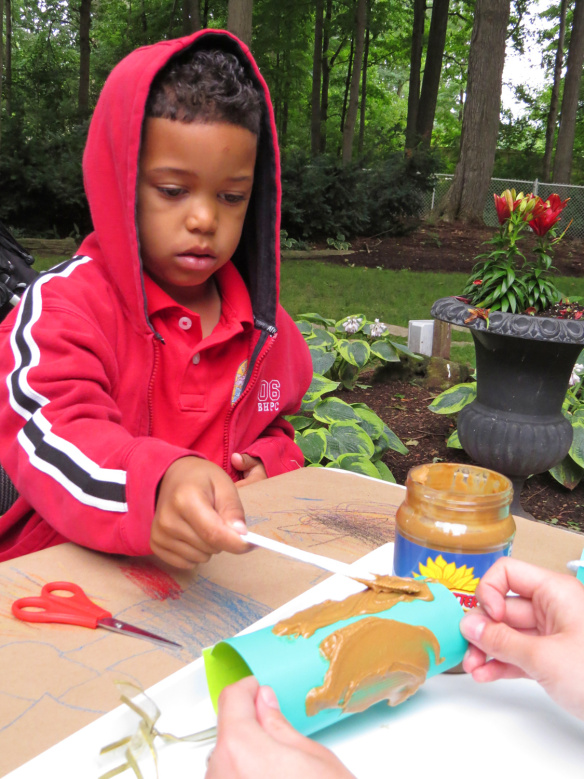
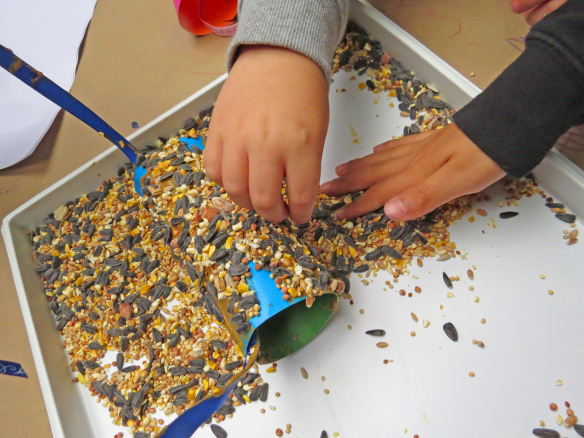
Place the tube onto a paint tray and smear the tube entirely with the peanut-free spread. Students can pair up together to complete this step. One student can hold the edges of the tube while the other student uses a plastic knife to smear the spread.

tube seed feeder crafts binoculars

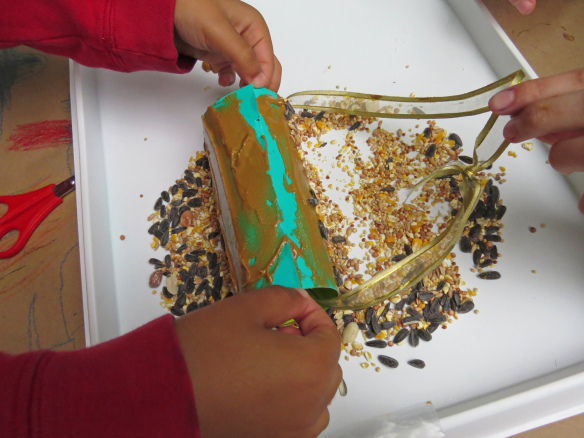
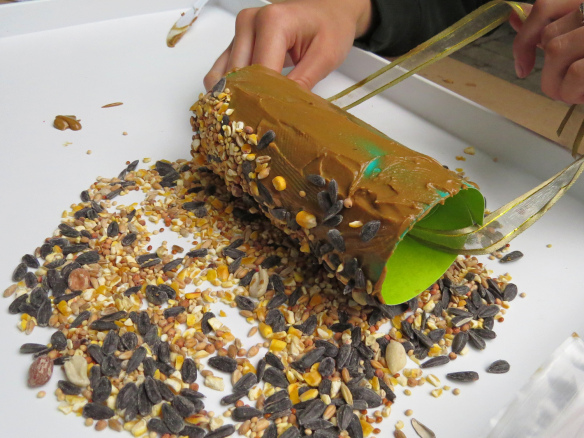
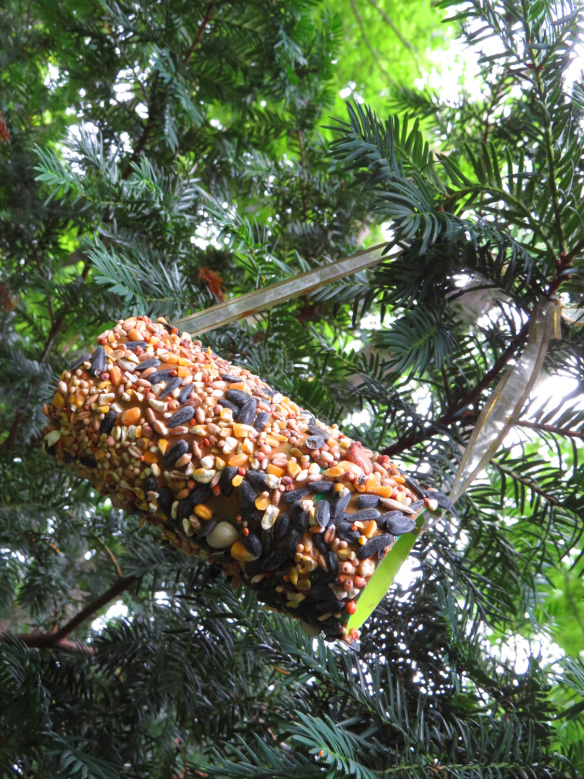
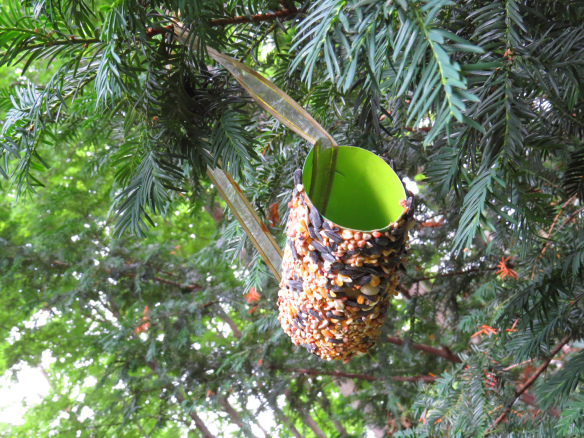
Next, roll the tube across a pile of birdseed. Press the tube down onto the seeds so that the spread picks up a lot of seeds.

tube seed feeder crafts binoculars

You can pat down more of the seeds onto the tube to cover it completely.

tube seed feeder crafts binoculars

Find a nice low-lying branch to hang the tube feeder. If you would want to attract birds, hang the tube feeder on a higher branch.

tube seed feeder crafts binoculars

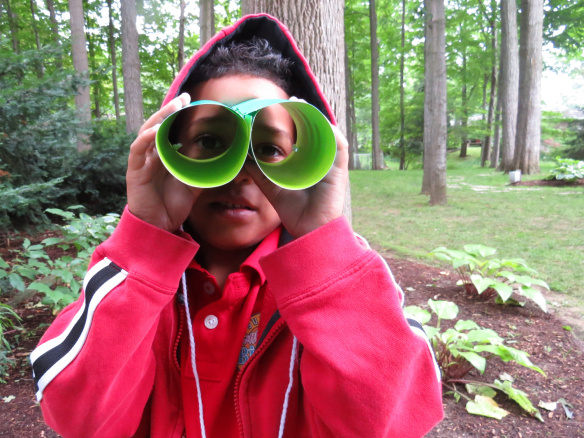
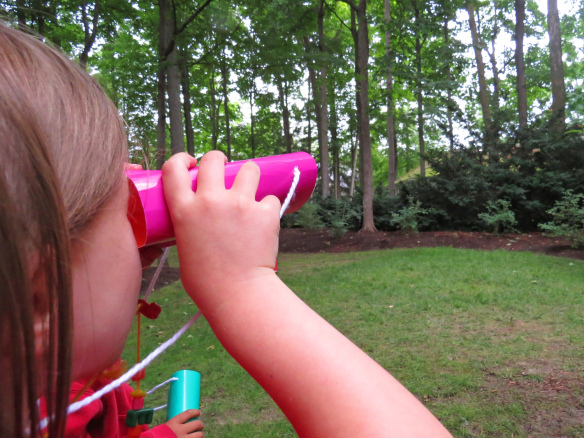
Meanwhile, you can make your own pair of binoculars to watch the tube feeder! Roll up two more of the tubes. Attach them together with strips of tape.

tube seed feeder crafts binoculars

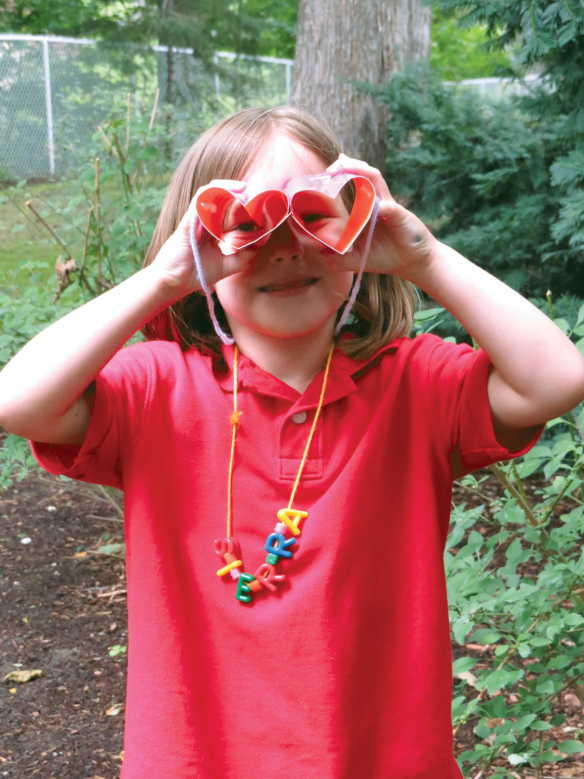
These pair of binoculars were made by creasing down an edge of the tube. While pinching the crease, press in the opposite side and make a second inner crease. This will create a heart-like shape out of the tube. Connect the two tubes together with tape.

tube seed feeder crafts binoculars

You can also punch two holes into each side of the binoculars. Tie on a length of string to each hole so kids can wear the binoculars.

tube seed feeder crafts binoculars

Now what can we see? Let’s sit patiently and wait…

tube seed feeder crafts binoculars

Here comes a visitor!

tube seed feeder crafts binoculars

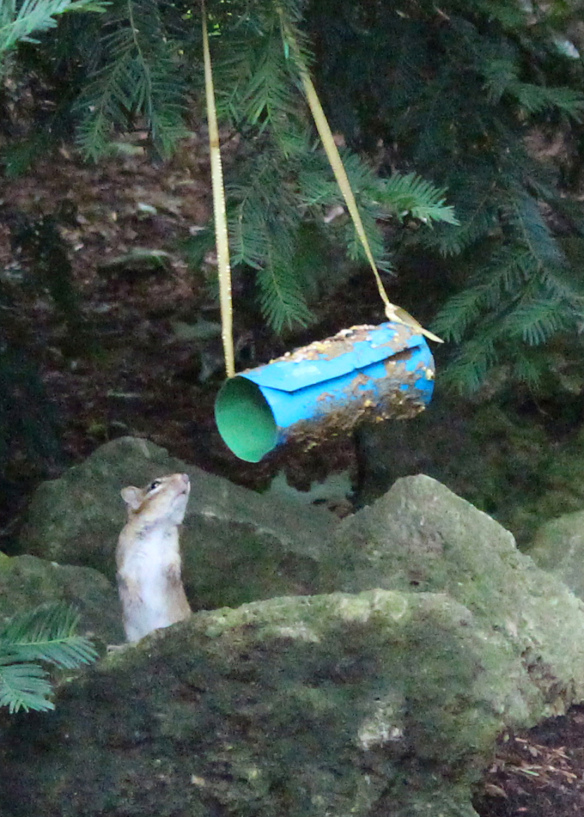
He noticed the Tube Feeder!

tube seed feeder crafts binoculars

Now it’s time for a snack!

Line-06

Like us on FacebookShare this post with your friends, or Subscribe to this blog today to receive original craft project updates every Monday, Wednesday and Thursday!
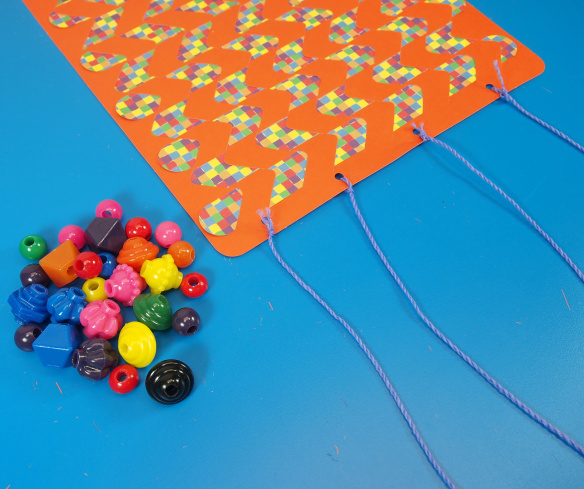
Sealife Weaving Mats

2015-06-29-FeatureImage

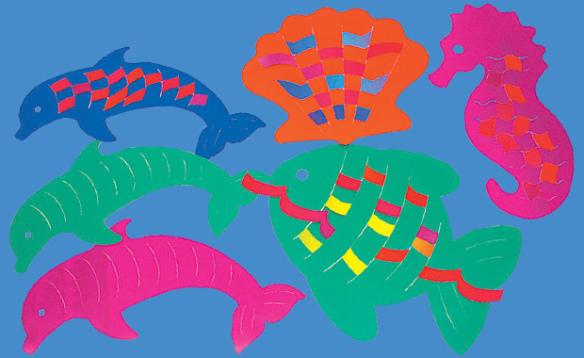
With the summer fast approaching, it’s time to get in gear for some summer crafting fun! Exercise fine motor skills while weaving mats shaped as your favorite undersea creatures! 

The Sealife Weaving Mats pack provides a great start for children who are honing their fine motor skills. There are 4 different shapes–a dolphin, fish, seahorse and shell–for your students to choose from. The colorful and heavy card paper is great for weaving as it holds its shape while students experiment with the over-and-under method of passing strips through the slots.

You can tape the paper strips down to prevent them from sliding as you weave them across the slots. The paper strips are cut into wave-like formations to add to the design of your woven shape.

Remember to alternate the start of the weaving so that the strips are started either one slot over or behind each row. This will ensure that you get that neat brick-like pattern as the weaving continues.

Once your students have finished creating their woven design, they can hang the finished pieces up on a display wall or take home. To extend the weaving activities even further, try out some of the tutorials below:

• Make weaving strips from Color Diffusing Paper! This special paper allows watercolors to blend together to make new interesting color designs. Wait until the paper dries, then cut it up into strips and use it to make your own colorful painted weaving mat!

• Turn a woven placemat into a windsock with this activity! Details here!
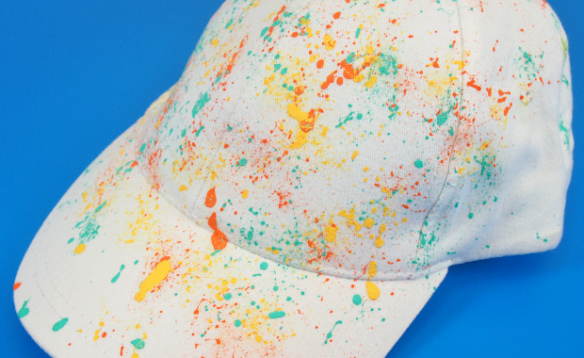
This activity is for more advanced weaving, but is a great exercise nonetheless! Use beads and string to turn an ordinary paper plate into an extraordinary piece of art.

• Once your students get really good at weaving, make some functional items including this basket! Students can use the baskets for storing or organizing important tools such as pens, pencils, erasers, rulers and calculators inside their desks.

Line-06

Like us on FacebookShare this post with your friends, or Subscribe to this blog today to receive original craft project updates every Monday, Wednesday and Thursday!