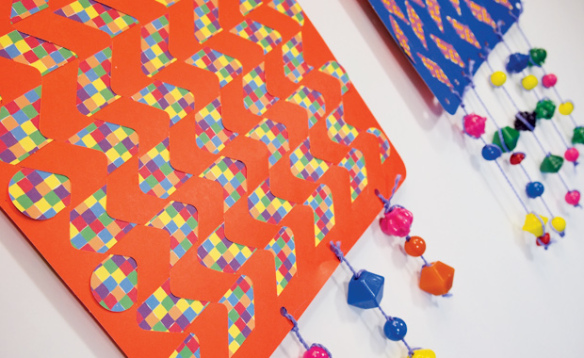
Weave a beautiful mat to exercise fine motor skills. But don’t stop there! Turn the weaving mat into a gorgeous wall hang with a few simple modifications.
Age: 4+
Duration: 15 minutes
Learning Objectives: Encourage fine motor development with weaving. Learn about the multicultural significance of weaving mats. Use multiple media to create a step-by-step project. Sort through weaving mat strips to find the appropriate colors and matching patterns.
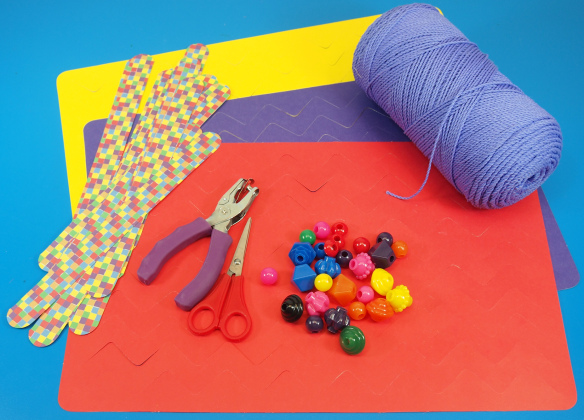
You’ll Need:
• R16019 Placemat Weaving Mats
• Yarn
• Hole punch
• Scissors
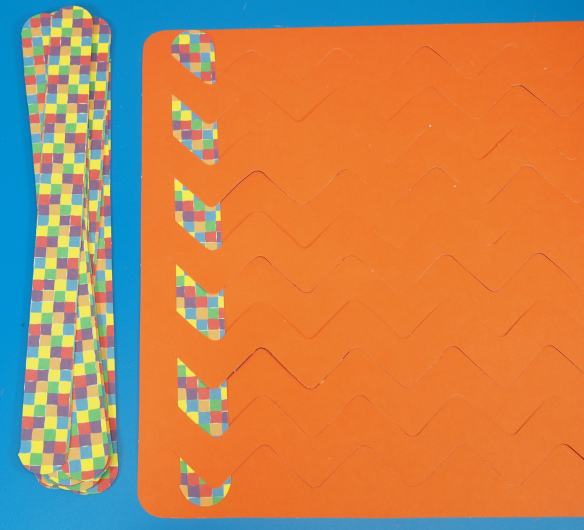
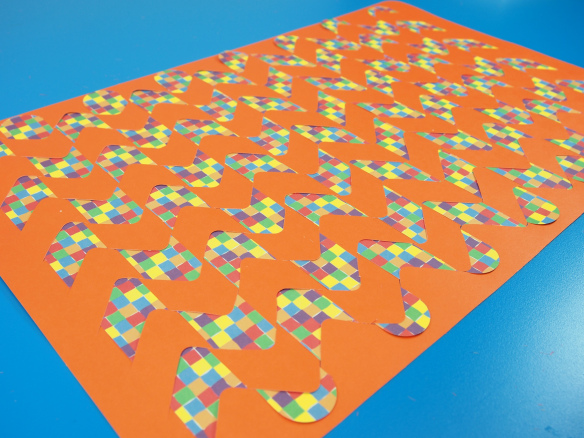
Pop out all the strips from the paper backing and separate the scored lines in the weaving mat. Weave the first strip to the farthest edge. Start by weaving the strip over then under each of the weaving mat flaps.
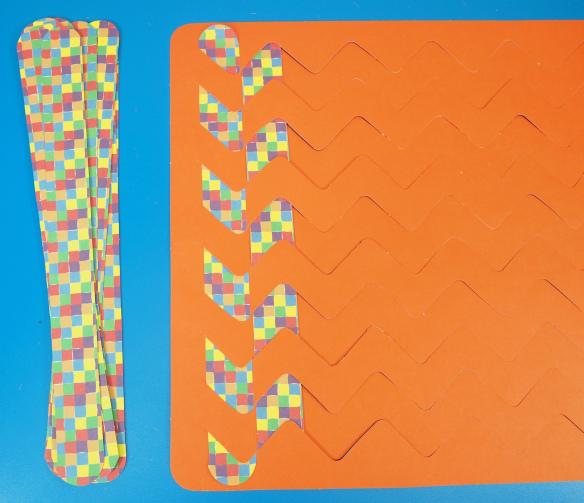
Alternate the start of the next weaving strip by going under then over.
Fill the entire length of the weaving mats with paper weaving strips.
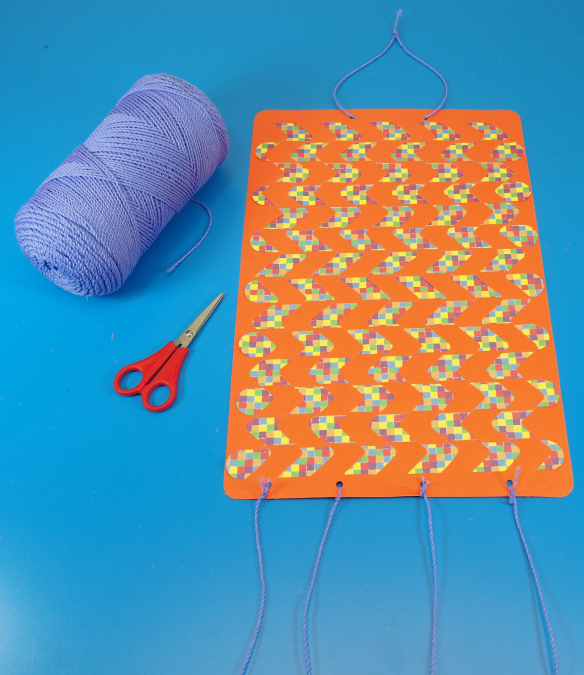
Turn the weaving mat vertically and punch two holes at the top, and four holes at the bottom.
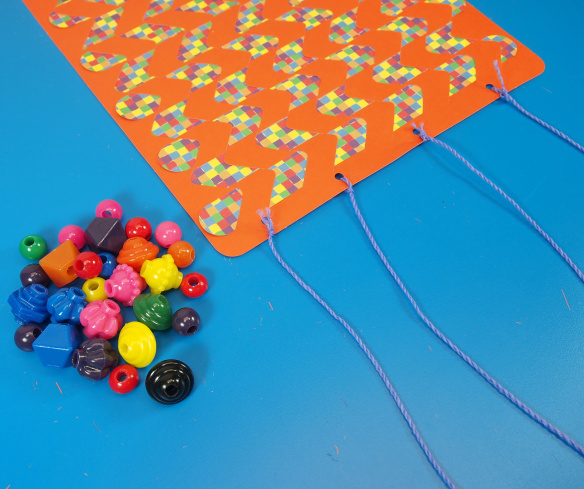
Cut lengths of string and tie them to the holes punched into the bottom of the weaving mat.
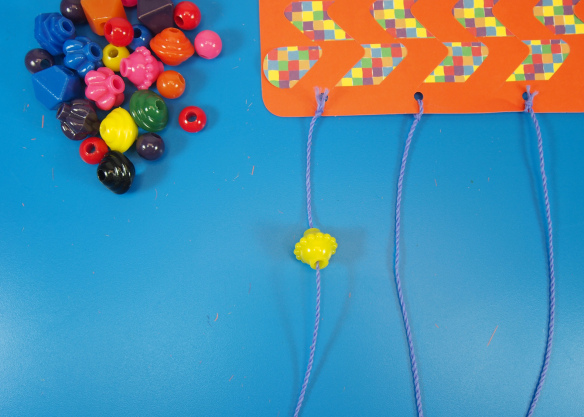
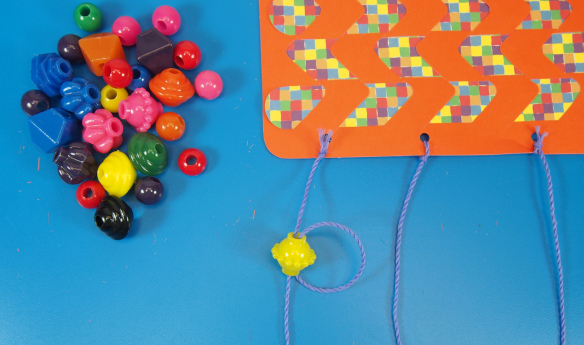
Thread one of the Brilliant Buttons onto the lengths of string. Push the button halfway up the length of string.
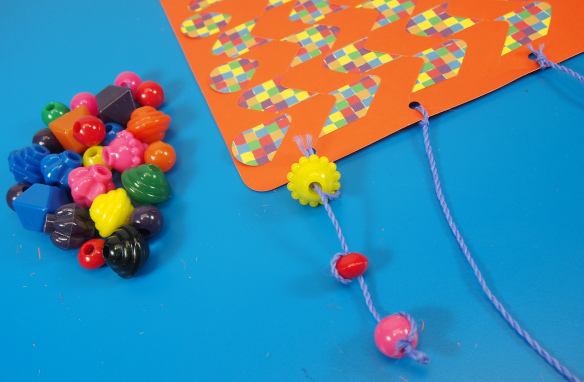
Re-loop the length of string through the bead hole and pull.
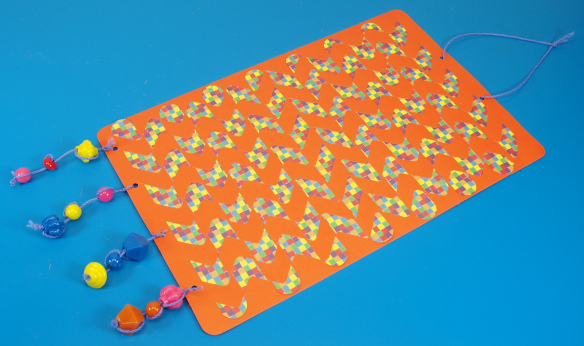
Restring and reloop the beads all the way down the string. Secure the beads in place with a knot.
Continue down the rest of the weaving mat. You can alternate the beading or do patterns, depending on how long you make your string lengths.
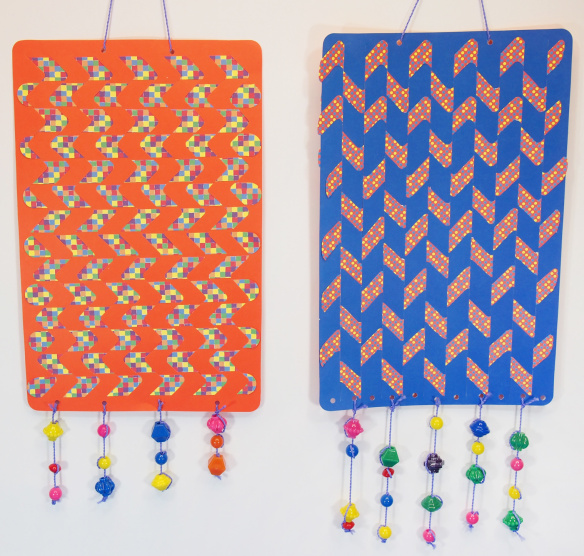
Here’s a look at the different designs you can create with the Placemat Weaving Mats!
Like us on Facebook, Share this post with your friends, or Subscribe to this blog today to receive original craft project updates every Monday, Wednesday and Thursday!

