Tear Art Still Life

Feature-Image-Rubplatetornart

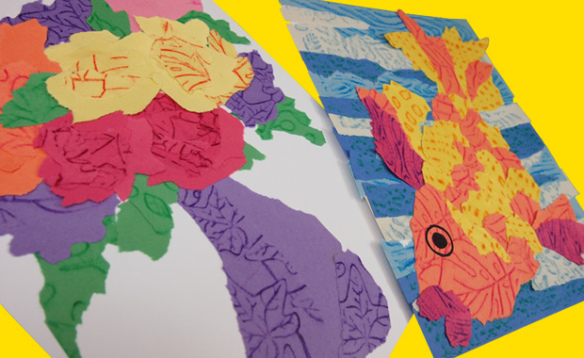
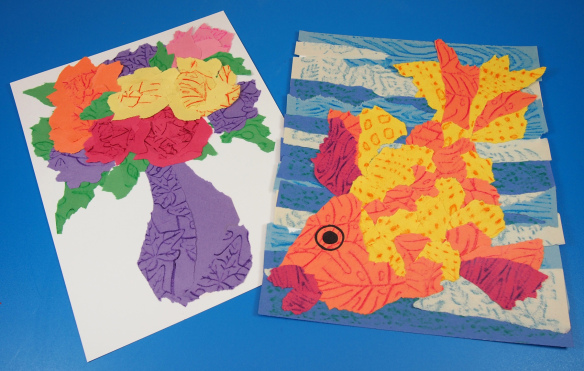
Our take on tear art uses simple materials: construction paper, crayons, rubbing plates and a bit of fine motor action! Find out how to create a gorgeous still life of a vase of summery flowers, or inspire some beachy fun with a colorful tropical fish portrait!

Age: 4+

Duration: 15-20 minutes

You’ll Need:

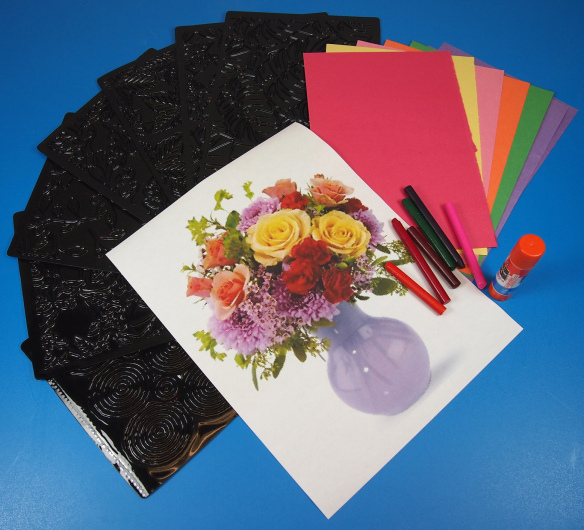
• R5871 Organic Rubbing Plates

• Construction paper in assorted colors

• Crayons

• Glue

Line-06

For this activity, I chose to use our R5871 Organic Rubbing Plates, but you could use any of our rubbing plates that create a uniform pattern throughout the rubbing area. Try some of these rubbing plates made especially from Roylco:

R5839 Texture Rubbing Plates

R5817 Animal Skins Rubbing Plates

R5841 Optical Illusion Rubbing Plates

R5870 Linear Rubbing Plates

P6242624

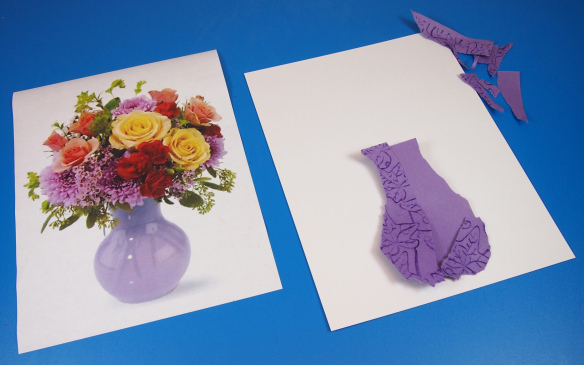
You will need to grab a reference photo to work from, such as the vase photo above. Look online for some ideas or browse through photography books for inspiration. Still life images are a great place to start for reference ideas. The subject is very clear to the viewer and usually shows something familiar, such as a vase with flowers or a basket of fruits. Once children have completed a still life image, they can try creating an action shot of an animal or a person with their tear art!

P6242626

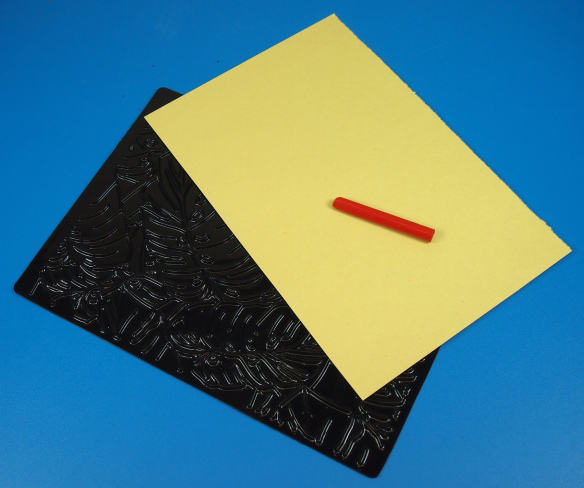
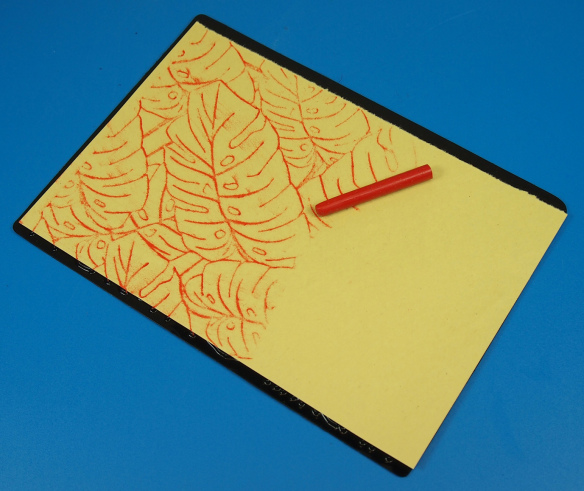
Place one rubbing plate beneath one of each construction paper color. Rub with a similarly colored crayon (or choose contrasting colors in neon for interesting effects).

P6242627

You will only need to use half of the sheet. Cover the entire sheet of paper with the pattern if you plan to separate the pages to share between students.

P6242634

Exercise fine motor skills with crayon rubbings and tearing paper! Before you tear the construction paper, consider which colors will fill in certain parts of the illustration. For instance, the purple construction paper rubbing will serve as the vase in this image. Tear the construction paper into strips. Try not to use scissors, as that takes away from the “tear” in tear art! Keep the image in mind as you tear the paper. Since the vase is long, I tore the strips into longer sections. I tried to steer the the tear into a bowl shape near the bottom to mimic the roundness of the vase. Try it out!

Tip: Notice the glare on the sides of the vase. To achieve this effect, I used construction paper that wasn’t rubbed over. This took away from the texture while completing the look of the vase.

P6242636

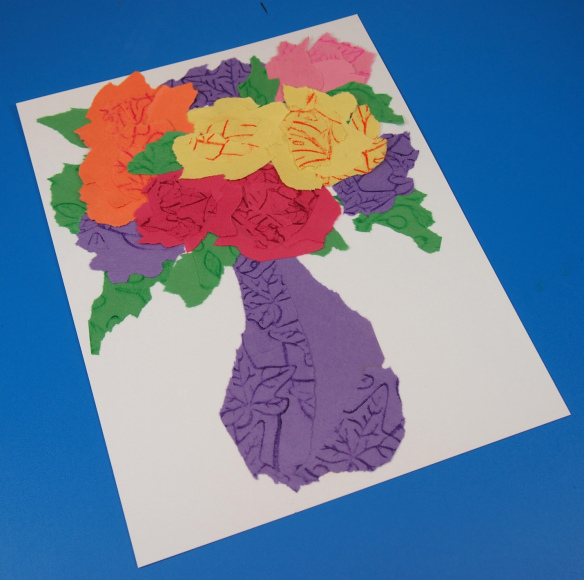
Tear the rest of the pieces in larger chunks to make the flowers. Arrange the torn pieces together so that they overlap into circle-like shapes. This will appear like flowers. Tear longer pieces for the leaves, and paste them down first. Layer the flowers on top.

P6242638

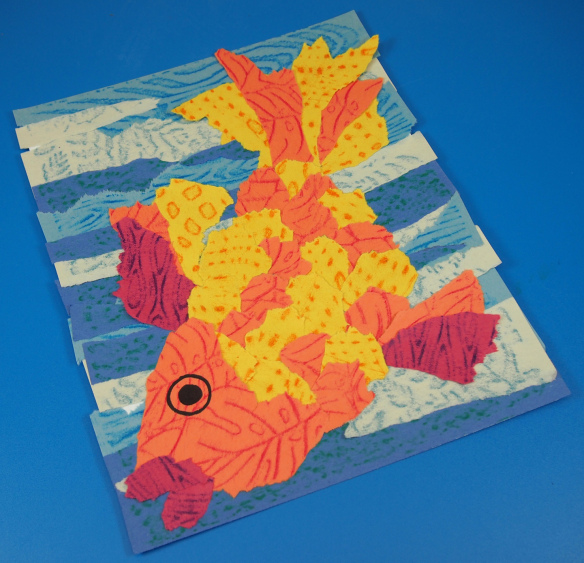
I tore long strips of blue in varying shades to make the ocean background for the tropical fish portrait. I interspersed yellow and orange paper strips together to form the fish body. Tear two large pieces of red construction paper for the fins. Tear two smaller pieces of red construction paper and angle together to make the fish lips.

P6242640

Beautiful work! There’s loads of fun you can have with tear art! I would love to see what kinds of art you create with this technique. Just send me an email with your artwork attached and I’ll write up a post about it!

CRAFT CHALLENGE:

Make a tear-art self portrait! Grab a mirror or a photo of yourself and try to recreate your likeness with torn strips of patterned paper. How artistic can you make your portrait? Send us photos of your work!!


Line-06

Send all photos, comments or suggestions to subscriber@roylco.ca! Thanks for dropping by!

Judy’s Handmade Creations uses our Bright Buttons!

Judy from Judy’s Handmade Creations used our Bright Buttons to decorate lovely handmade cards! R2131 Bright Buttons are perfect for a variety of different projects, including scrapbooking and collage! The post, entitled “Summer Mini Album 2013!!” was posted on June 27, … Continue reading

Quilt Mosaic Buildings

Make colorful patterned buildings against a gorgeous starry sky! Combine color, pattern and shape to create a beautiful artistic scene. Our R15642 Quilt Mosaics are perfect to make this cityscape! The mosaics add a touch of whimsy to normally stark and … Continue reading

Rachel from Color and Collage uses our Skintone Paper!

Following the line of Romare Bearden-inspired artwork is this project gem from Color and Collage! Rachel shows us how her students used our R15233 Skintone Paper to make these colorful Rockstar Portraits!  To view the full post, please visit Rachel’s post … Continue reading

Paper Plate Weaving

Build fine motor skills with a pretty weaving project! Use a variety of colored yarn and our R2195 Little Shape Beads for this fun activity.Weaving can get a bit tedious unless you jazz it up a bit! That’s where our R2195 Little … Continue reading

Double Color Card Festive Sun

Colored Card Sun LFBA

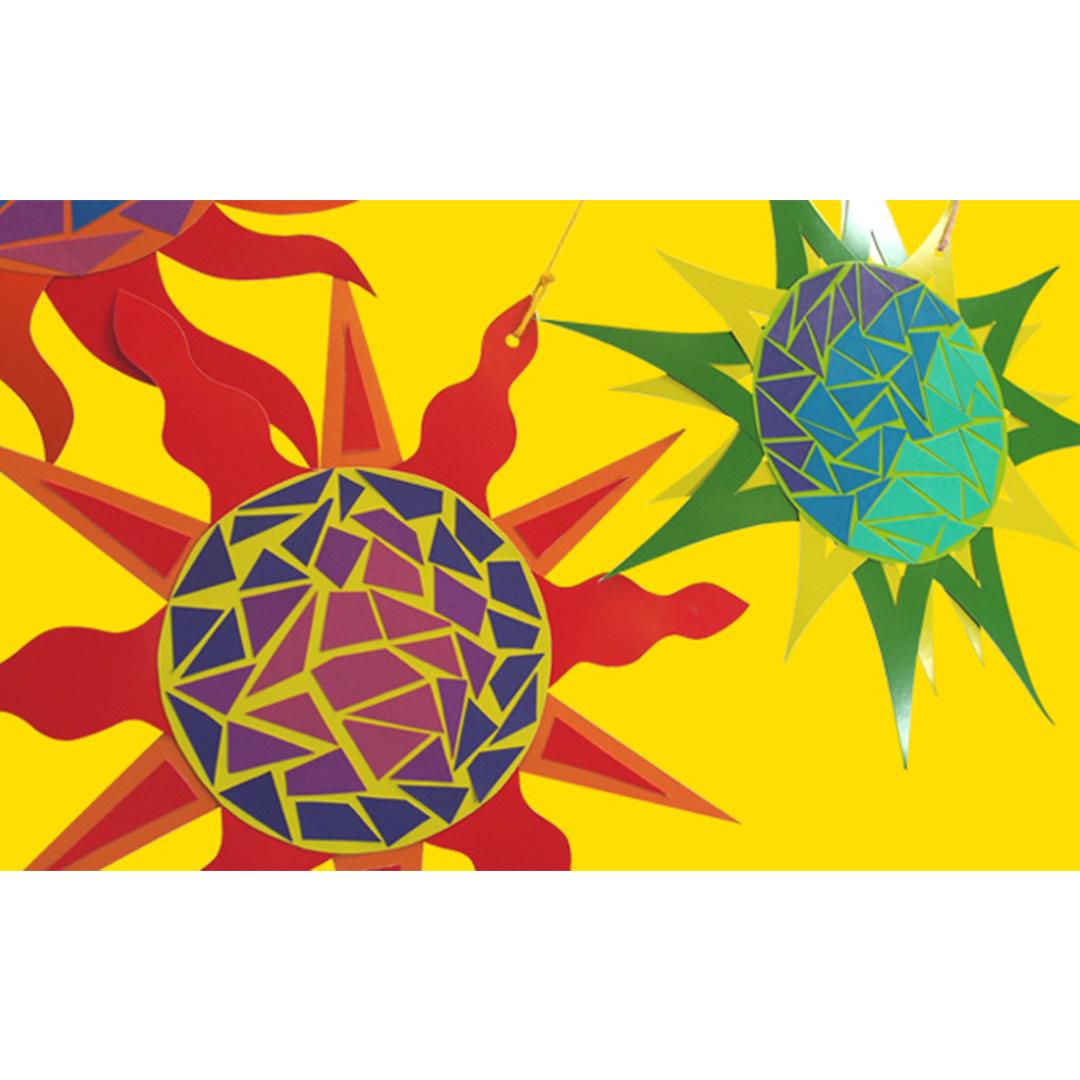
Experiment with our amazing R22052 Double Color Card Sheets to make beautiful festive suns! Use scraps from the sun ray templates to make the colorful mosaic center.Summer is all about color, light and fun times–celebrate the best things about this season with this fun craft! You can hang the suns on a wall as part of a summer display or attach them to a mobile.

Age: 5-10

Duration: 20 minutes

You’ll Need:

• R22052 Double Color Card Sheets

• Template Sun Rays

• Scissors

• Glue

• Tape

Line-12This is a pretty simple craft thanks to our R22052 Double Color Card Sheets. Both sides of the card sheets are printed with color, which allows students to mix and match the colors as they please.

P6182504

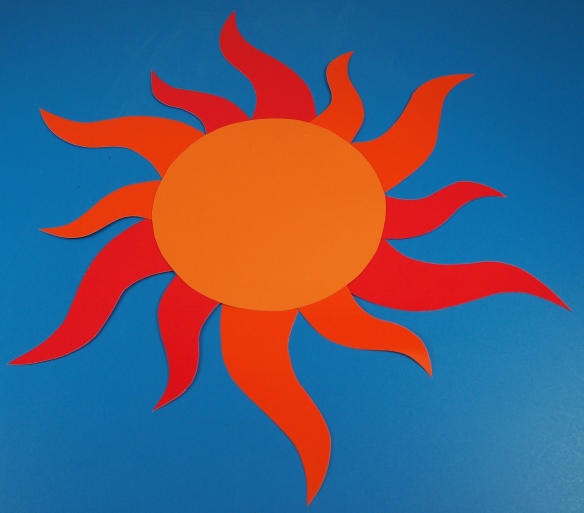
Print out the Sun Rays template for each project. We’ve made 6 different designs to choose from. You can vary the styles any way you like! Mix the wavy sun rays with the curved triangular rays or the linear triangle sun rays with the grooved sun rays. The similarly styled sun rays are different sizes. You can order the rays around the sun by pattern (such as big-small-big-small) or experiment with a whole variety of styles.

Try out different colors too! Use any color you want–the more colors will bring out the most sizzle!

P6182514Cut out the templates and place onto one R22052 Double Color Card Sheet. Trace the template onto the sheet and cut out. Reuse the templates to make more rays for the circumference of the sun.

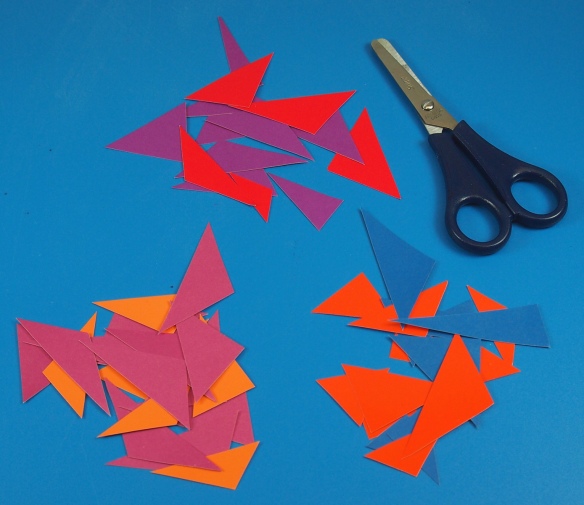
P6182518You will get about six or seven sun rays out of one Double Color Card Sheet. Don’t stare at it for too long! 😉 Tip: Save all your scraps for later!

P6182505Cut out the circle for the sun using a bowl. The bowl needs to fit inside the Double Color Card Sheet. Our Classroom Bowls make great storage for collage materials or paint! Another function is using them as stencils! Tip: Save all the scraps from the Double Color Card Sheets for later!

P6182506

Cut out the outline for the circle. You can arrange the sun rays onto the circumference of the sun circle to see how it all looks before you start taping.

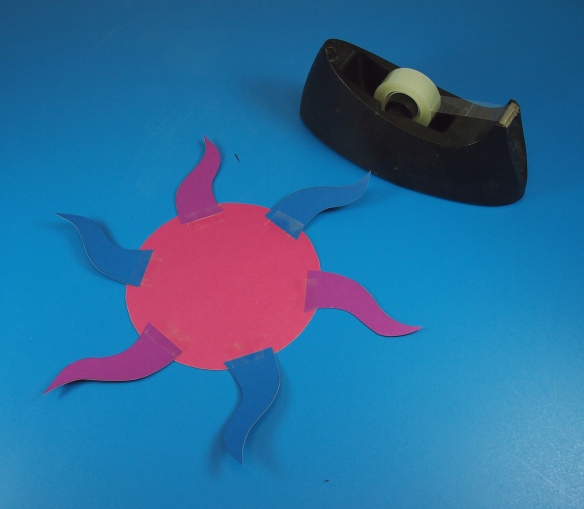
P6182521Place the sun rays all along the circle’s edge. Tape the ends down to the back of the sun.

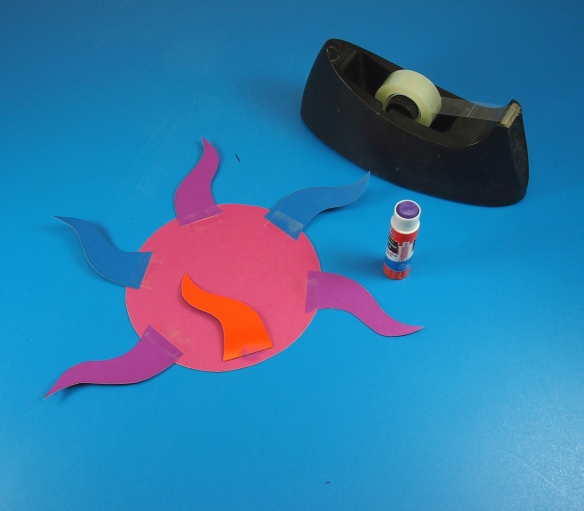
P6182522Lift up each ray along the tape’s edge. Dab a bit of glue under the sun’s ray and onto the back of the sun. Press the ray back down to adhere it fully.

P6182525

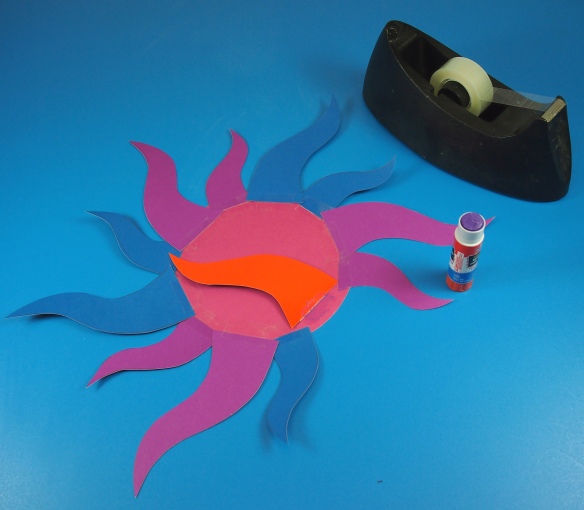
Here I added more sun rays to the back of the sun. I interspersed some larger sun rays with smaller sun rays and alternated the colors, too!

P6182526

Remember to add glue to the underside of the sun rays! This helps to secure it in place and keeps the rays from bending backward.

P6182529Flip over the sun to reveal bright, beautiful and bold colors!

P6182531Use the scraps from cutting out the sun’s rays for the mosaic centers. Keep snipping at angles to cut the scraps into triangles. The mosaics can be all different sizes and don’t need to all be the same. Flip over the Double Card mosaic pieces to get different colors.

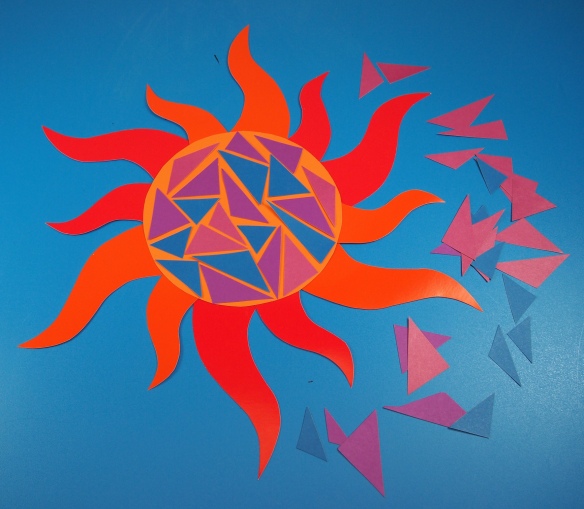
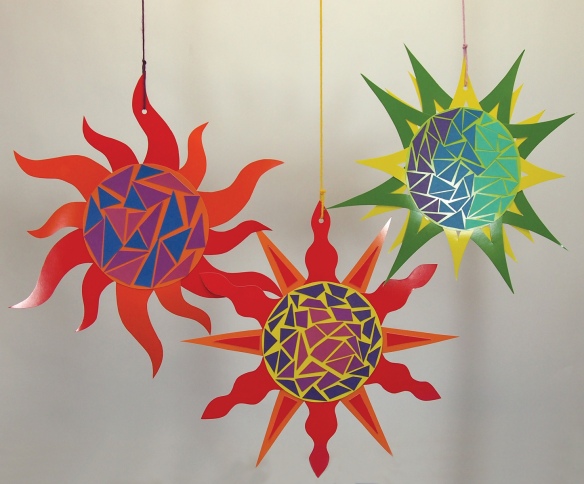
P6182534Arrange a handful of mosaics onto the center of the sun. Flip over and rotate the triangles to fit perfectly into the center. Leave space between the triangle mosaics so that parts of the sun’s center can show through. You can arrange the mosaics by color or by size. Randomize the colors as I’ve done for the sun example above, or try putting similar colors together (scroll down to see the green sun example–I arranged the purple, blue and teal mosaics all into their own sections).

Try out different combinations! How did it turn out for you?

P6182537Glue down the mosaics pieces. Punch a hole through the tip of one sun ray. Thread string through the hole and hang.

P6182559

Beautiful festive suns are all you need to liven up your wall space!

Line-12

Show us your festive sun artwork for summer! Send photos of your work to us to get featured in an upcoming post! Contact us through the contact form. We’d love to hear from you.