What better way to celebrate the 1st birthday of Little Fingers Big Art than to feature a craft post on how to make gorgeous birthday hats!? Complete with templates for the hats and accessories, this post marks our first year on the blogosphere and provides teachers and educators with a fun way to celebrate each students’ birthday in the upcoming school year. For this craft, I used our R15263 Tie Dye Paper to add a pop of color and style to the traditional birthday hat designs.
P.S. Don’t forget to VOTE FOR US at the Martha Stewart American Made contest!
Age: 5+
Duration: 15-20 minutes
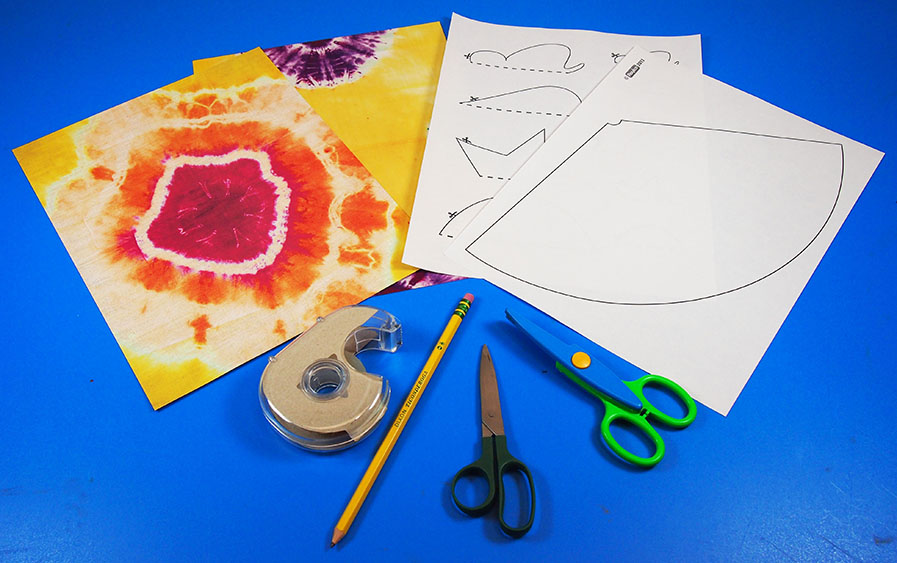
You’ll Need:
• R15263 Tie Dye Paper
• Party Hat Template
• Party Hat Decoration Template
• Scissors
• Tape
• Scrapbooking Scissors
• Pencil

Happy Birthday to our blog! I can’t believe how fast the time has flown by, but it’s just in time for the start of the next school year.
This year, we are striving to give you only the very best aspects of our online content–originality, quality, educational and social relevance, and inspiration for better and more exciting projects!
Today’s craft challenge is featured below the project instructions!
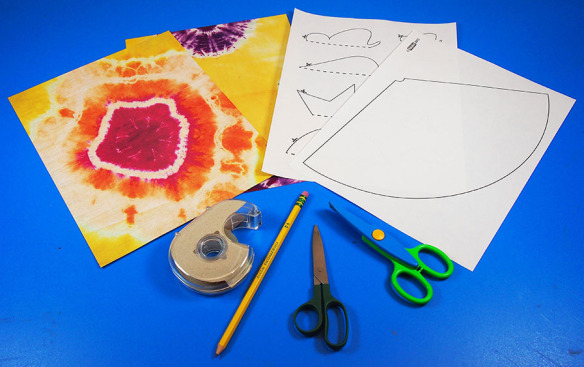
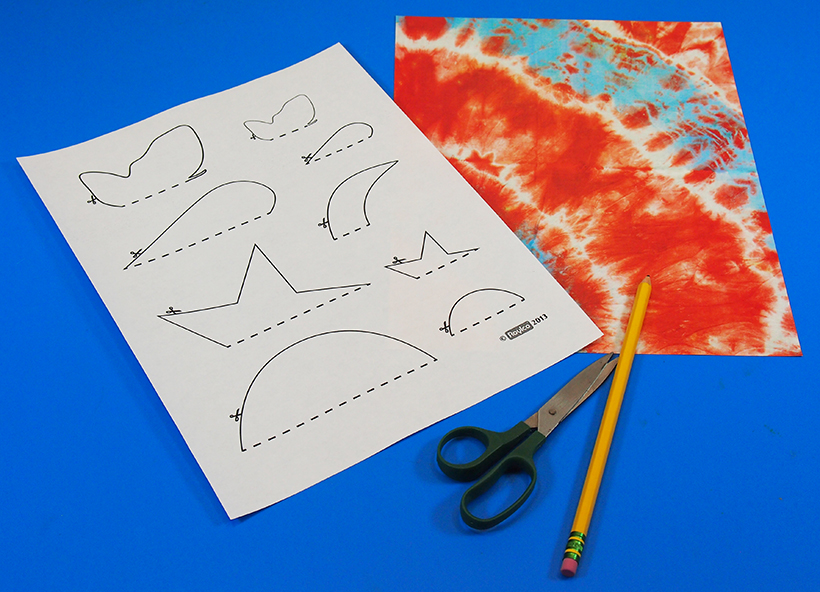
First, assemble all your materials. You will need to grab the templates from the materials listed above. Print out your templates on 8½ x 11″ (21.5 x 28 cm) sheet of paper. Students will exercise plenty of fine motor skills as they cut out the various pieces for this craft!
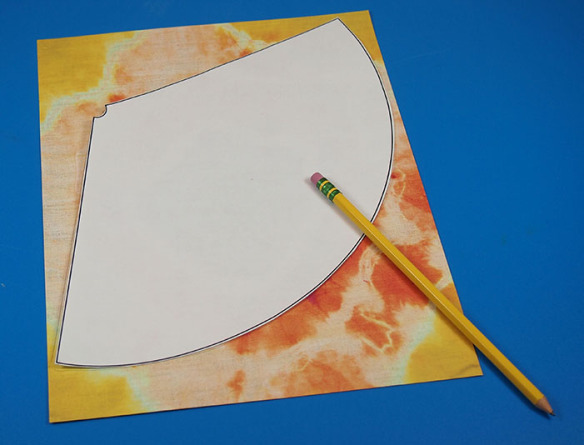
Start with your hat template. Place it onto a sheet of R15263 Tie Dye Paper and trace the template outline onto the sheet.
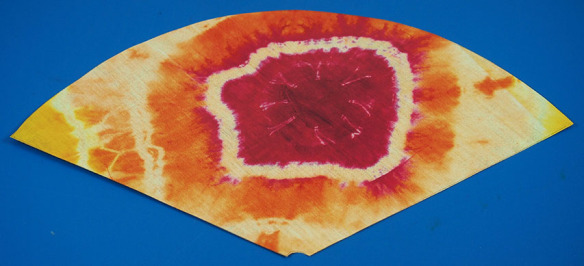
Cut out the hat outline from the R15263 Tie Dye Paper.

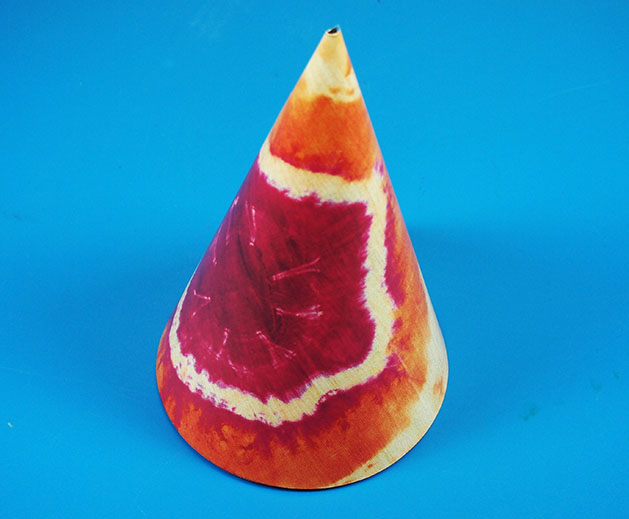
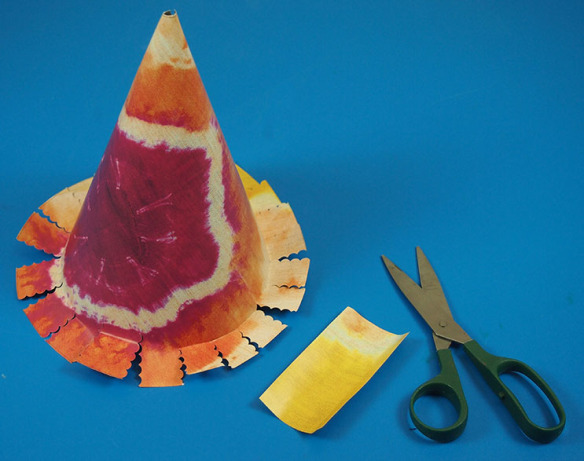
Roll the hat cutout into a cone shape. The two flat sides of the cutout should slightly overlap as you roll it. Tape the edges together.

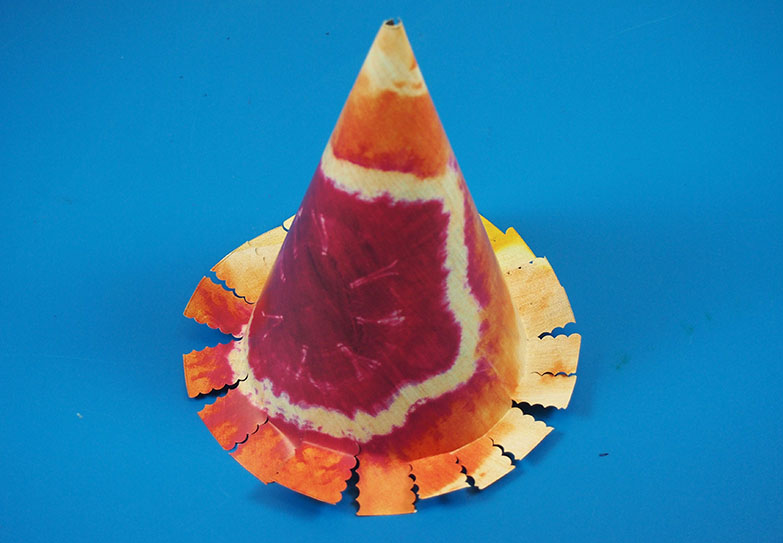
Next you will need to make the decorative edge for the hat. Use scalloped scrapbooking scissors to cut about ¾” (2 cm) up into the brim of the hat at intervals. Make the tabs wide or thin depending on your preference. Fold out each tab as you cut.

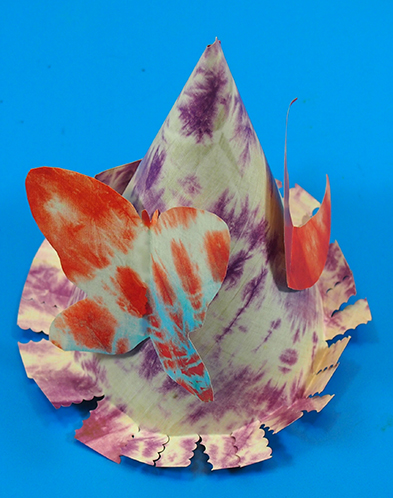
This is what the brim of the hat should look like. It’s almost ready for celebrating!
To make the decorative tassel at the top of the hat, cut out a strip of R15263 Tie Dye Paper, about 2 x 4″ (5 x 10 cm) wide.
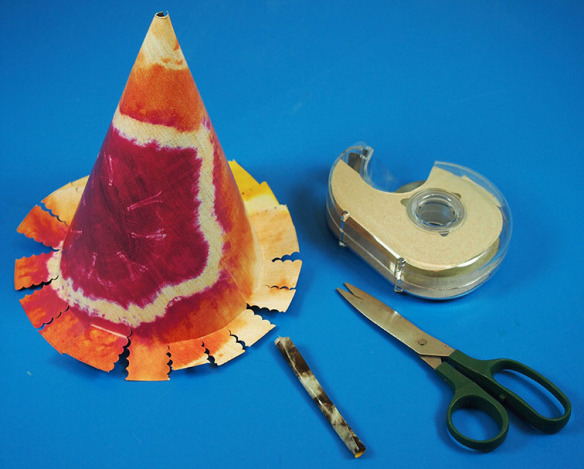
Roll the paper strip into a tight cylinder. Tape the bottom edge of the tassel to hold it in place.
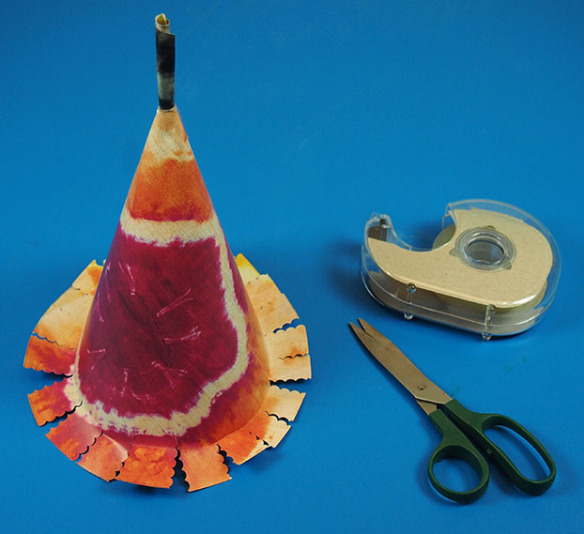
Slip the taped end of the tassel into the hat. You can secure it to the hat with an additional strip of tape. Cut several times straight into the top edge to about halfway down.
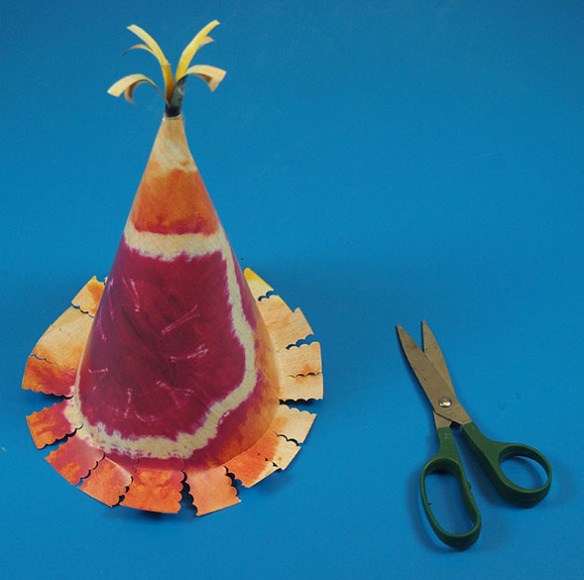
Spread the cut portions apart and curl outwards using the blunt side of a scissor blade. The tassel adds a bit of a festive edge to the birthday hat. What other kinds of tassel ideas can you come up with?

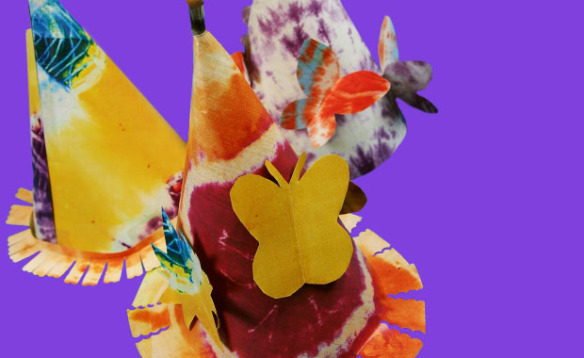
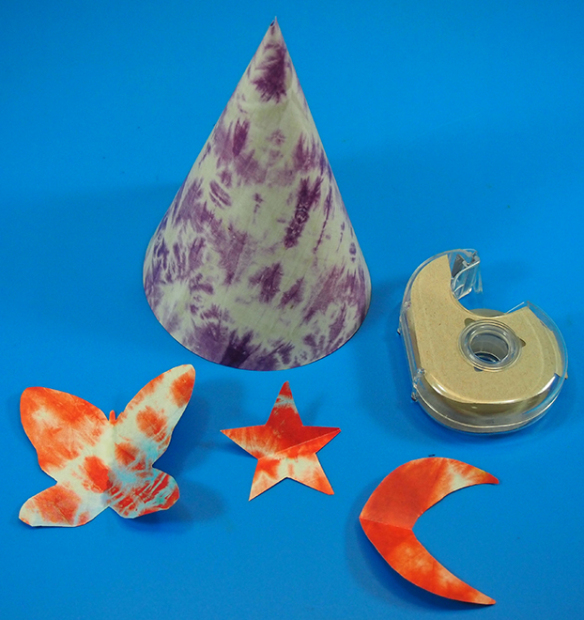
Print out the separate template for the birthday hat accessories. You can make butterflies, stars, hearts and more to decorate the hat! Each template comes in two different sizes to give your students the best customizing options available. Download it here: Party Hat Decoration Template!
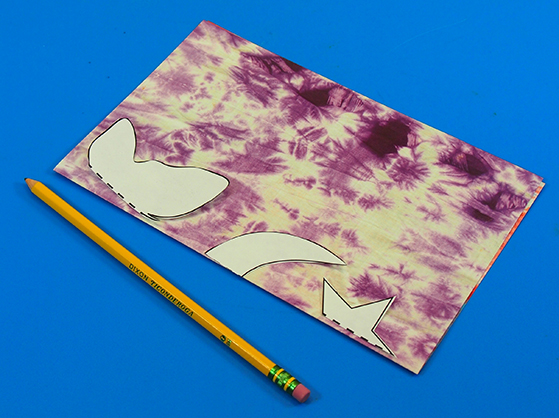
Cut out the templates for the accessories. You’ll notice that the templates only come in halves. The dotted line indicates the exact middle of the whole shape. This makes it easier for students to cut the shapes out from the R15263 Tie Dye Paper.
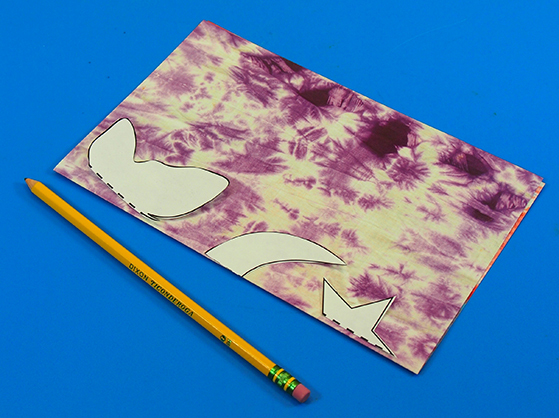
Fold a sheet of R15263 Tie Dye Paper in half. Place your templates’ dotted lines along the fold line. Trace the outlines onto the R15263 Tie Dye Paper.
Cut the shapes out along the traced line. When you are finished, unfold the shapes to reveal your assortment of decorations for the birthday hat!

Tape the back of each accessory onto the hat. Vary the angles that you place the accessories, or use a different sheet of the R15263 Tie Dye Paper to add different colors to the hat.

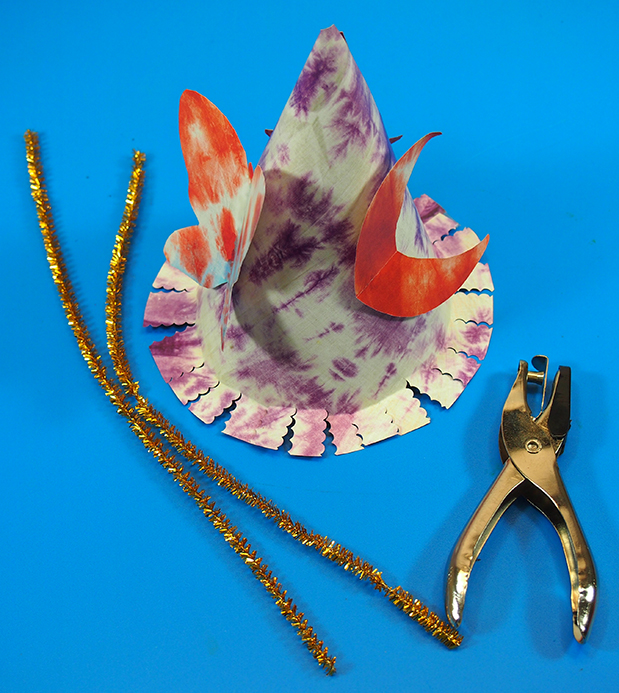
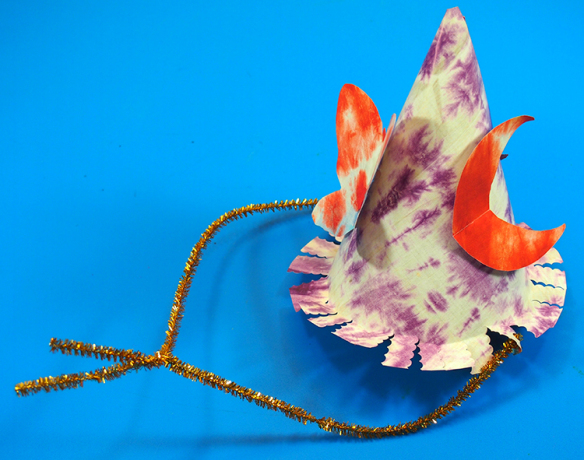
Hole punch through opposite sides of the hat. Attach pipe cleaner to either end. When the hat is ready to be worn, secure the opposite ends of the pipe cleaners together to hold in place.
CRAFT CHALLENGE:
Come up with your own accessories to add to your birthday hats! What are some interesting and unique ways to design your accessories? Replace the tassel at the top of the hat with materials such as streamers or beaded string! Send us photos of your work!
Don’t forget to VOTE FOR US at Martha Stewart’s American Made Contest!
I recommend that every student make one birthday hat for her or himself at the beginning of the year. Keep the hats somewhere safe where they won’t get ruined. On the day that particular students are celebrating their birthdays, get them to wear their own hat throughout the day! Send us photos of your work to subscriber@roylco.ca for a chance to be featured in one of our upcoming posts! We’d love to hear your comments, questions or suggestions!