Metallic Robot Mask

finished craft.jpg

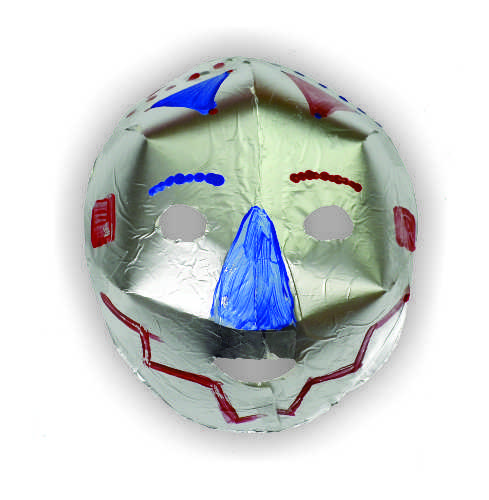
This mask is the perfect finishing touch for a classic DIY robot costume this Halloween!

Age: 5+

Duration: 10 Minutes (plus drying time)

Learning Outcomes: Exercise fine motor skills. Practice precision scissor skills. Create beautiful take-home art!
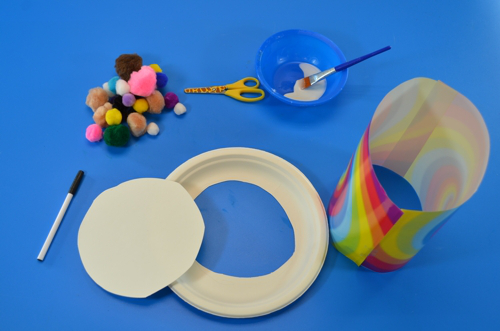
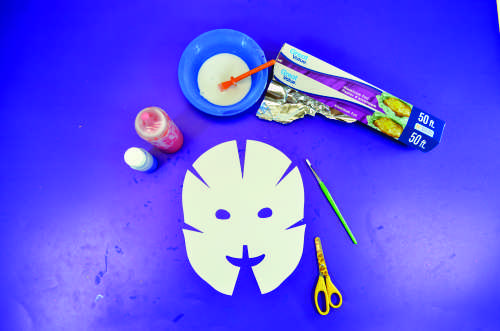
You’ll Need: 

  • R52076 Folding Fun Masks
  • Aluminum Foil (available at most grocery stores)
  • White glue
  • Tempera Paint
  • Paintbrushes
  • Goo Spreader

Line-22

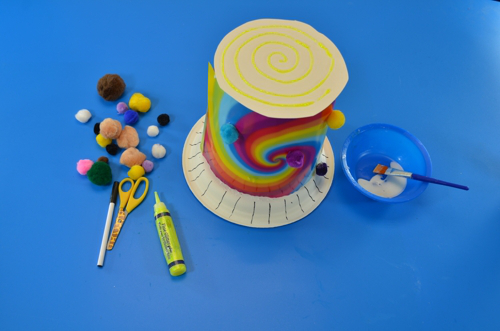
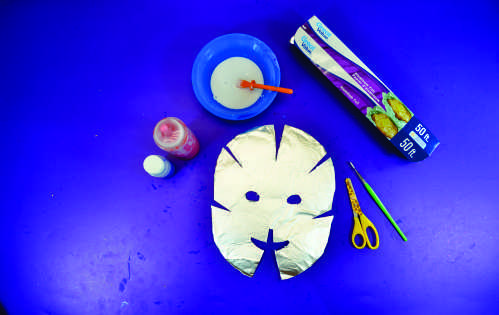
Start with a flat mask, and use the goo spreader to put a thin layer of glue over the whole mask.

step 1.jpg

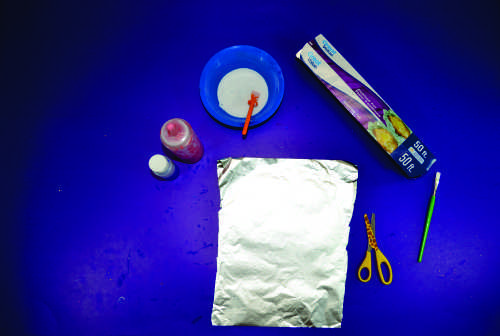
Lay a large piece of aluminum foil on top of the mask, gently smoothing the foil so there are not air bubbles trapped between the mask and the foil. Allow the glue to dry for a few minutes.

step 2.jpg

Once the glue has dried, carefully cut the excess foil away. Make sure to carefully cut out the Vs that serve as pleats, and the eyes, mouth and nose. If you can’t get to the eyes easily, try using a pencil to make a small hole before trying to use your scissors.

step 3.jpg

Once the excess foil has been trimmed, it’s time to decorate your mask! Sharpies work well on foil, but they aren’t good for a classroom setting. We used tempera paint to decorate our robot mask!

step 4.jpg

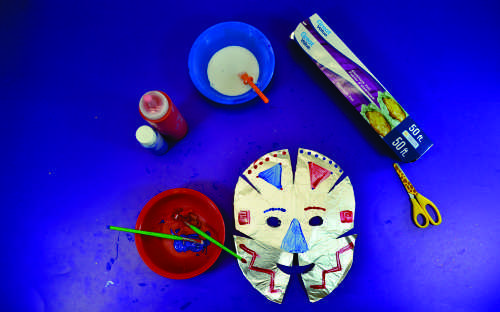
Once the paint is dry, fold in both sides of the pleats and tape to give the mask dimension. Push out the nose along the pre-cut scores. Then use chenille stems and the pre-punched holes to secure the mask to your head!

To complete your robot costume for Halloween, try covering a cardboard box in aluminum foil. Then a parent or teacher can cut holes for your head and arms to go through, and students can decorate the robot bodies! This classic Halloween costume is fun and easy to make.

Line-02

Like us on FacebookShare this post with your friends, or Subscribe to this blog today to receive original craft project updates every week!

Paper Sculpted Lion Mask

finished craft.jpg

These easy paper sculpting techniques create a beautiful 3D effect on any basic mask! 

Age: 5+

Duration: 20 Minutes

Learning Outcomes: Practice precision scissor skills! Explore the tensile strength and elasticity of paper. Learn how different textures create different looks!

You’ll Need:

Line-12

  1. Select your mask. We chose a lion mask for this project. Then we colored in the mane and snout with crayons while the mask was flat.
  2. Fold, crease, overlap and tape your mask so it is 3D! It is much easier to fold your mask up BEFORE you add the paper elements than trying to fold it up after.
  3. Cut strips out of your construction paper to form the lion’s mane. Strips that are approximately 4″ long worked best for the mane.
  4. Once all your strips are cut, gently roll each strip up, then let it relax.
  5. Tape your mane curls to the mask. We taped them in three rows, starting with the outermost row and working inward.
  6. Next, cut strips for the facial fur. We started with long strips and measured each strip against the section of mask we wanted to cover. Once each strip was the correct length, we cut the strip into a fringe and taped it down. Start from the lowest point that you want the fur fringe to cover and work upwards in layers.
  7. Use chenille stems and the pre-punched holes to secure the mask to your head! These masks are perfect finishing touches for Halloween costumes!

Line-06

Like us on FacebookShare this post with your friends, or Subscribe to this blog today to receive original craft project updates every week!


Steampunk Gears Mask

finished craft

Steampunk glorifies sci-fi without advanced technology! Get kids excited about this unique sci-fi genre and the beautiful artwork the genre has inspired with this sparkly mask!

Age: 5+

Duration: 20 minutes (plus drying time)

Learning Outcomes: Get creative juices flowing with this activity. Talk about a popular literary genre and the art and fashion aesthetics it inspired. Encourage creative play. Exercise fine motor skills.

You’ll Need:

Line-01

step 1

Start with one of our Color-In Masks. These masks are a fabulous craft base for all kinds of projects, and they take paint, marker, crayon and glue very well. For this project, we have chosen to paint the mask with brown tempera paint. The brown gave the mask a wooden look, which we felt stayed true to the aesthetics of Steampunk. The mask might curl up a little when you paint it. Don’t worry, it will flatten out again as it dries!

step 2

We had some very cool glittery card stock in our art room, and it just screamed Steampunk to us! One side is super glittery, the other is plain white. On the white side, we used a pencil to trace the outlines of the gear stencils.

step 3

At first, we just cut the outside of the gear stencil. That looked OK, but when we went to design our mask, we decided that it looked cooler to cut out the insides of the stencil too. This can be a tricky step, and card stock doesn’t bend very well, so our solution to get to the inside pieces was to carefully poke a hole in the middle of the sections of the gears we wanted cut out, and wiggle our scissors in that way. Once the gears were cut out, they looked awesome just on their own!

step 4

By the time we cut out all our gears, the mask was dry and it was time to design! We found that laying all the gears out before gluing them down was the best way to decide how we wanted out mask to look. Once we were happy with the design, we glued the gears to the mask. For the finishing touch, we carefully outlined the eye holes of the mask in silver glitter glue!

step 5

These fantastic masks are perfect for Steampunk-themed parties, or just good old-fashioned creative play!

Bundle Savings

Get all the Roylco items used
in this project and save 15%!

$15.28 USD
bundled price
Add Bundle
to Cart

Line-08

Like us on FacebookShare this post with your friends, or Subscribe to this blog today to receive original craft project updates every week!