Make delightful, colorful prints on the Paint Pad. The Paint Pad allows you to create multiple prints using combinations of textures and color on a unique gel-like surface!
Age: 4+
Duration: 10+ minutes
Learning Objectives: Learn to use multiple media to produce interesting colorful effects. Use fine motor skills to press down printing paper and to apply paint and materials to the pad. Discover the visual differences between positive and negative space. Discuss how certain materials affect the prints being made.
You’ll Need:
• Tempera or acrylic paint
• Paint brush
• Printing sheets
• Stencils, textured paper
The Paint Pad provides students with hours of fun and play! The gel-like surface is soft on hands and great for tactile exploration. Students can fingerpaint on it if they wish, but paint tends to glob up on the surface. In case of this happening, use thicker card sheets to draw up the paint better.
The Paint Pad comes with a tray for stability and easy cleanup, as well as a protective cover that can be overlain on the surface of the pad to be stored until another activity.
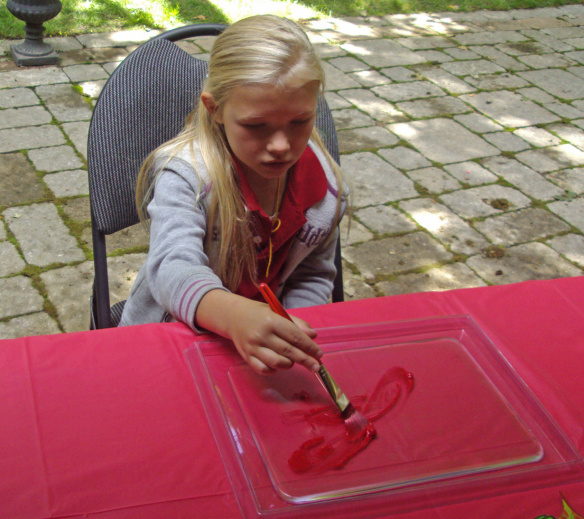
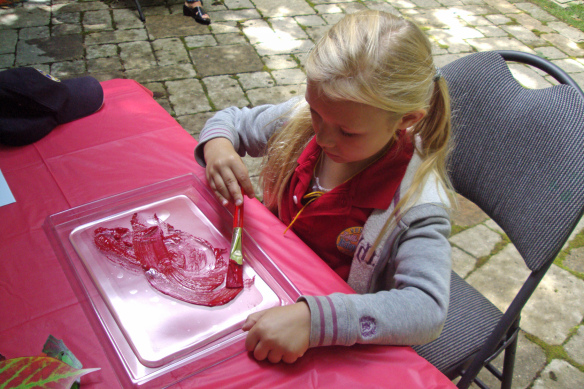
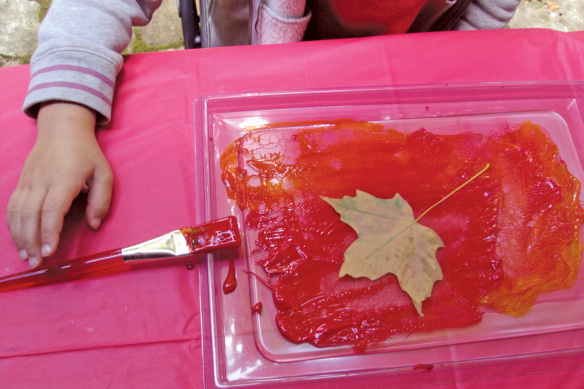
We recommend spreading the paint with a sponge brayer or a thick bristle paintbrush. Cover the entire gel surface of the pad with paint.
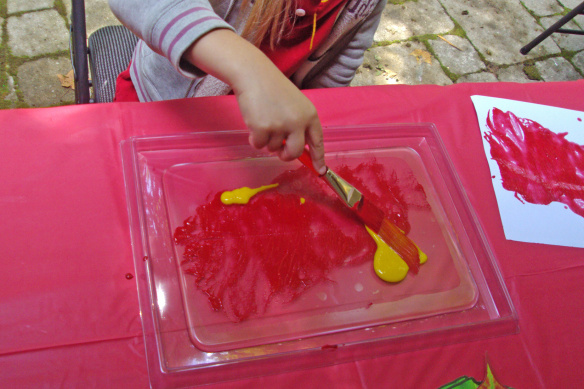
Add a second color to the first. In this canvas, we mixed in a bit of yellow to match the red background. Don’t completely mix the two colors, however. You will want to keep the streaks of paint that show up in between, as this adds more interesting effects to your prints later on.
Place a stencil-like shape on top of the paint. You can use a found shape, such as the leaf we found above.
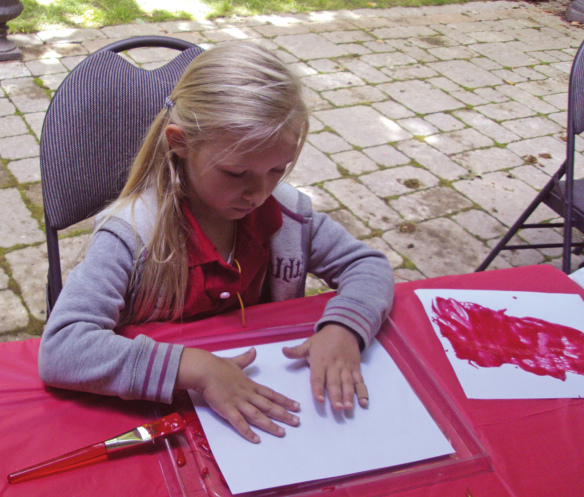
Place a sheet of paper on top of the Paint Pad to cover the entire surface. Use the palms of your hands to smooth the paper out and pick up as much of the paint as possible.
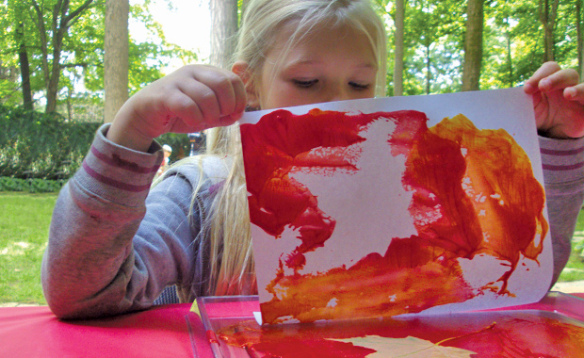
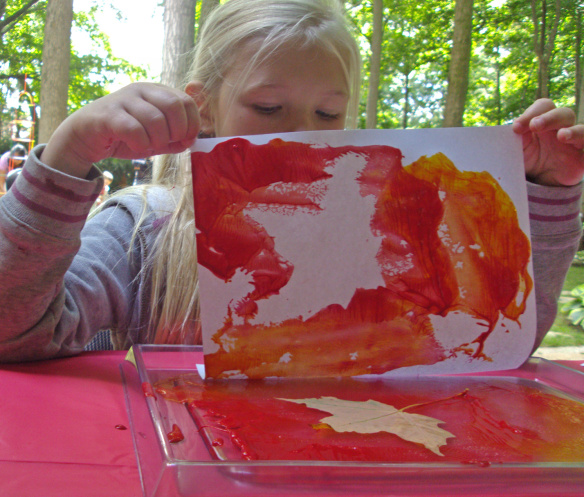
Grab the sheet of paper by the corners and slowly pull it up off the Paint Pad. You’ll feel it slightly stick to the paint as you peel it back. Just remember to go slowly and gently.
You can already see that the area around the leaf has been colored in while the center of the leaf is not. This created a negative space in the print, or an area of no color that exposes the background.
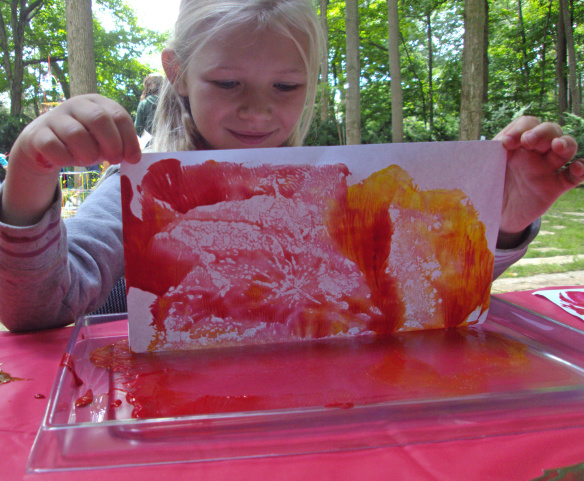
At this point, you can make a second print! Carefully remove your stencil off the Paint Pad. Press another sheet of paper down onto the pad and smooth it out. Peel the paper back to reveal your second print.
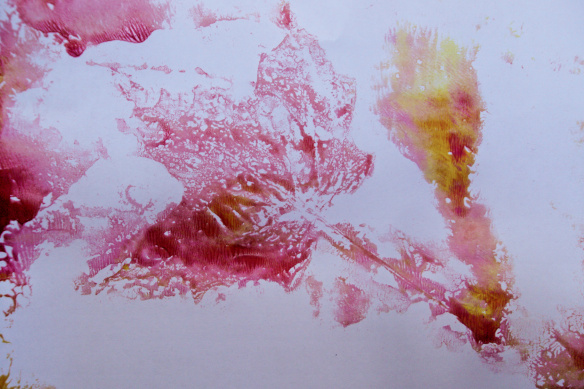
As you can see in the image above, the leaf stencil left behind some markings that were picked up in the second print. You can see the edges of the leaf and the leaf veins that strike out from the center of the leaf imprint.
We finished off with a third print like this one. Making multiple prints also helps to lift up most of the paint so you are in fact cleaning it as you go!
Tip: To clean any stains, use baby wipes or a bit of hand sanitizer and a paper towel for any dried-up paint.
Like us on Facebook, Share this post with your friends, or Subscribe to this blog today to receive original craft project updates every Monday, Wednesday and Thursday!

