Tube Crafts Pencil Holders

tube crafts desk organizer

Make beautiful holders for your writing and painting tools using colorful card paper!

Age: 5+

Duration: 10 minutes

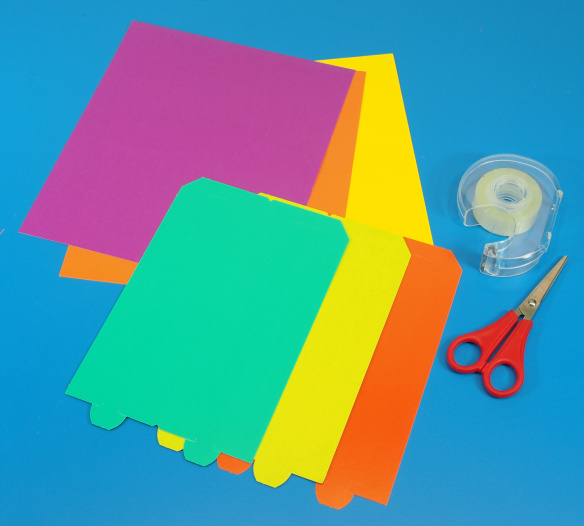
You’ll Need:

R39301 Tube Crafts

 R22052 Double Color Sheets

• Tape

• Scissors

 Line-09

tube crafts desk organizer

The R39301 Tube Crafts will be used to make the tubes for the holders.

tube crafts desk organizer

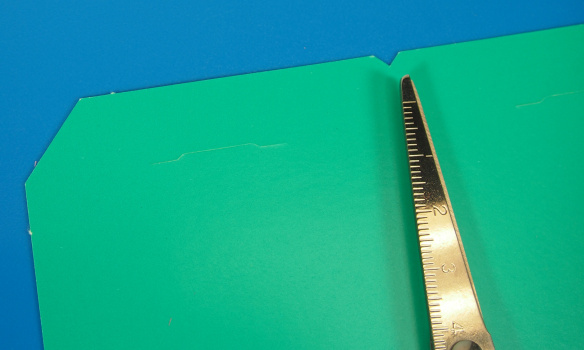
Select one flat sheet of the Tube Crafts and cut it all the way across using the midpoint notch as a guide.

tube crafts desk organizer

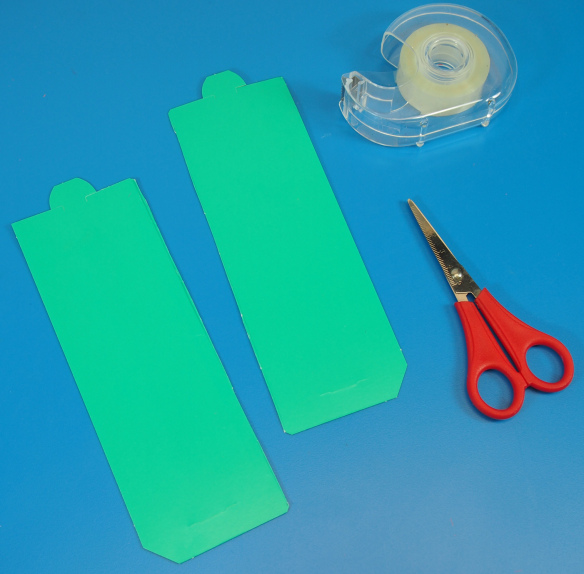
After you have cut across the sheet, you should have two separate templates to make smaller tubes.

tube crafts desk organizer

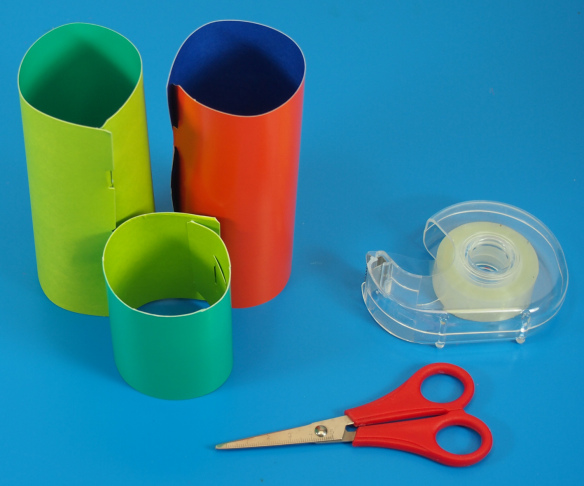
Roll up several of the tubes in various sizes.

tube crafts desk organizer

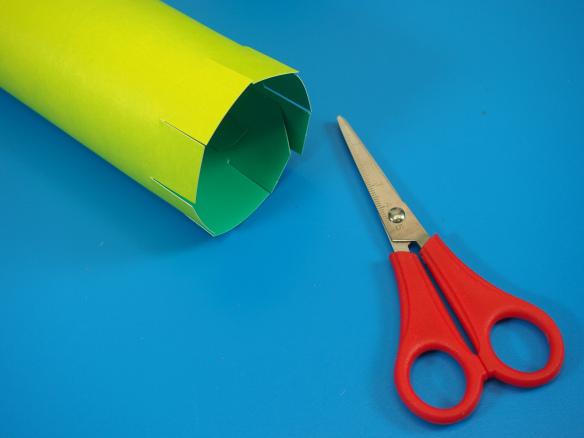
Next, cut little slits into the bottom edge of each tube. Space the slits at about ½” apart.

tube crafts desk organizer

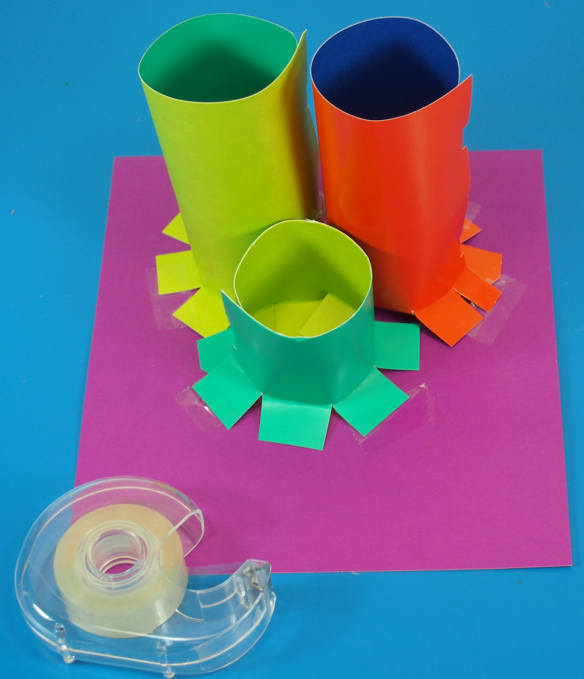
Press the tabs outwards to make the tubes stand more securely. Tape them down onto a flat sheet of Double Color Card paper.

tube crafts desk organizer

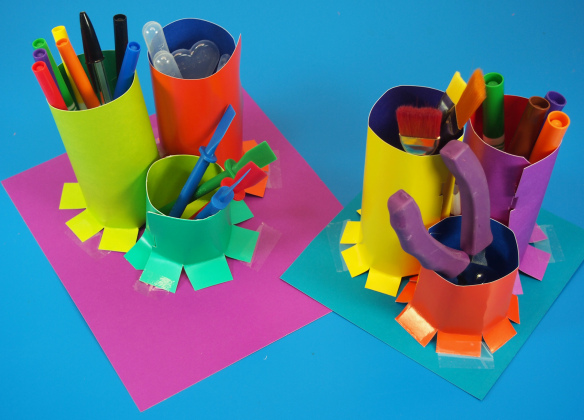
And voila! A great way to keep all your desk tools in one neat little area. We suggest using 3 tubes at a time because they provide stability for holding various objects. Use the tubes to store your favorite colors of markers, pencil crayons, Goo Spreaders, paintbrushes, pipettes and more!

Line-10

Like us on FacebookShare this post with your friends, or Subscribe to this blog today to receive original craft project updates every Monday, Wednesday and Thursday!


Tissue Paper Button Wreath

2014-12-03-FeatureImage

Start the Christmas decorating with a simple take-home ornament! Children younger than 5 years can experience the joy of making their own decorations with standard materials you will find in your classroom.

Age: 3-5 years

Duration: 10 minutes

Learning Objectives:

You’ll Need:

R22052 Double Color Card Sheets

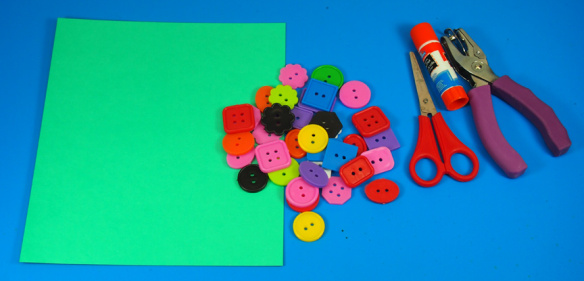
R2131 Bright Buttons

R2172 Tissue Circles

• Gluestick

• Scissors

• Pencil

• Hole punch

Line-21

This wreath is nice and compact to be hung off a doorknob or can be tacked to the center of a child’s room door. Hang up on a tree for a rustic “crafty” look!

P1015821

We are going to make a simple wreath out of tissue paper and card paper, using the buttons as ornaments to decorate it. Use coordinating colors to make your wreath. You don’t have to make the wreath exclusively for the holidays. Instead, you can adapt it based on different colors that are relative to various seasons! Test out different combinations of colors and materials to see which work best.

P1015822

Let’s start with making the wreath.

P1015823

Fold the sheet of Double Color Card sheet in half.

P1015824

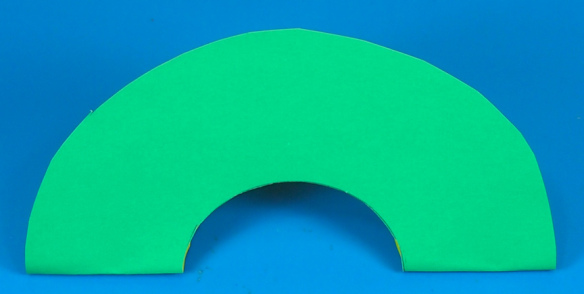
Use scissors to cut a small semi-circle out of the center of the folded sheet. Cut off the corners of the folded sheet and round out the edges to form a larger semi-circle.

P1015825

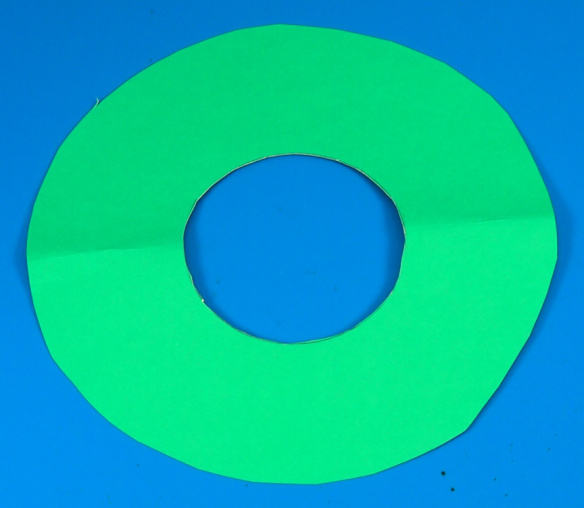
Now, unfold the wreath.

P1015879

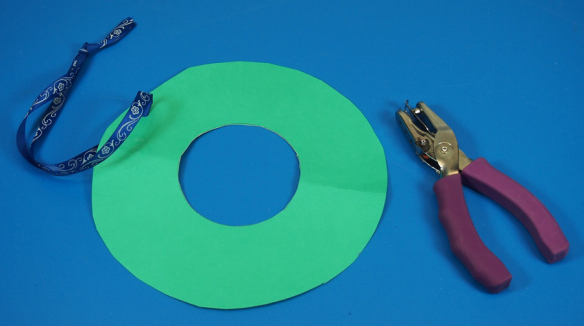
Punch a hole into the top of the wreath. Cut a length of decorative ribbon and thread through the hole. Tie a knot at one end.

P1015881

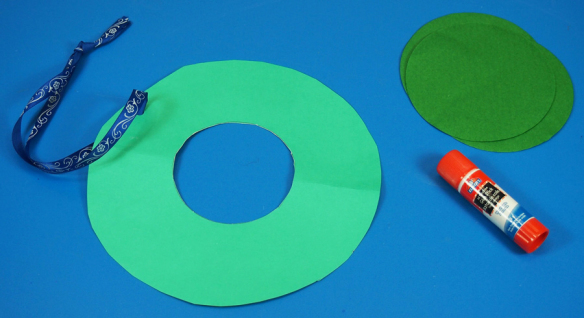
To add texture to your wreath, you will need to use our Tissue Circles, or find scraps of green tissue paper in your scrap paper box.

P1015882

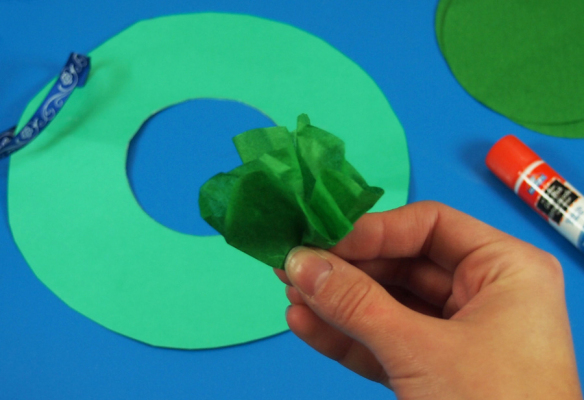
Take a scrap of green tissue paper and scrunch it in the center. Pull out the surrounding paper, much like you would when stuffing tissue paper into a gift bag.

P1015883

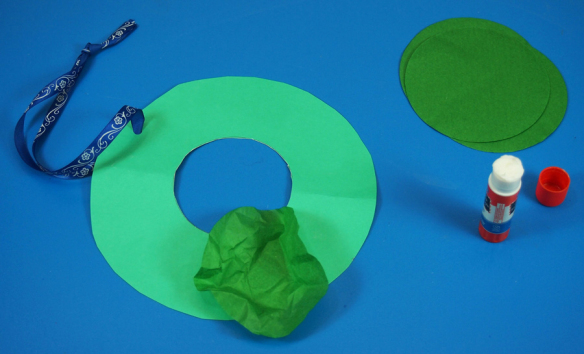
Dab a bit of glue onto the wreath and press the scrunched tissue paper on top.

P1015885

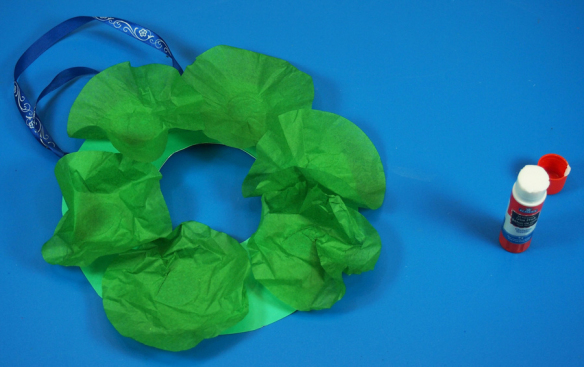
Add more tissue paper scraps all the way around the wreath.

P1015889

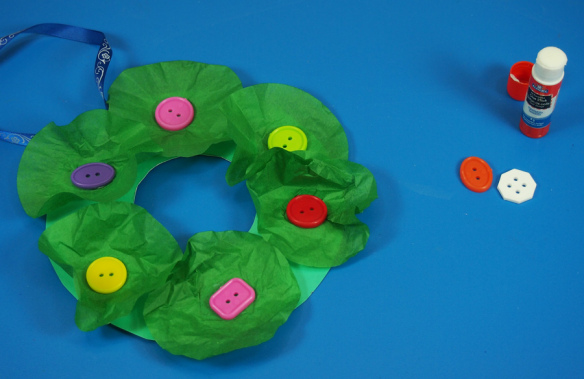
Glue a Bright Button onto the center of each tissue paper section. Enjoy a beautiful but easy-to-make decoration for this holiday season!

Line-14

Like us on FacebookShare this post with your friends, or Subscribe to this blog today to receive original craft project updates every Monday, Wednesday and Friday!