Mother’s Day Picture Frames

mothers day framesfb

Frame your favorite memory for Mother’s day!

Age: 3+

Duration: 15 minutes (plus drying time)

Learning Objectives: Practice literary skills while spelling out words with letter mosaics. Practice fine motor skills while gluing picture frame elements. Make a beautiful take-home craft.DSC_6521.JPG

You’ll Need: 

Line-10

Our economy frames come in lots of fun shapes, so you can match the tone of your favorite memory with a fun shaped frame! As a bonus, the centers of the frames pop out and can be decorated to add an element to your frame design. For this project, I’ll use the plain rectangular frame, but you can adapt this activity to any design in the Economy Fun Frames pack.

DSC_6522

Our cardboard frames are specially designed to nest inside each other, giving you more value! Simply break apart the frames along the perforations. You have a smaller frame inside for another project, and the solid center shape can be used as a decorative component!DSC_6523

Once you have your frame in front of you, it’s time to decorate! To keep this project fast and neat, I use washable markers to color in the frame, but you can use paint, colored pencils and crayons to decorate your frame.

Once your frame has its base color or colors, grab a pile of Alphabet Pasting Pieces and sort through them. I will need the letters “i,” “m,” and “o” because my frame will spell out “I ♥ Mom.” Feel free to choose your own special message to spell! You can explore different types of lettering styles with interesting colors and designs. Once you have chosen your message, glue the pieces down with a glue stick or white glue.

Now it’s time to create the heart component! I started with a sheet of our color diffusing paper, and cut out a small heart shape. Then I used red liquid watercolor paint to color the heart. Once that was dry, I cut a slightly smaller heart out of a purple tissue circle. Finally, I chose a purple heart button to layer on top of the other two hearts. DSC_6529

To hold everything together, I used one of our plastic lacing needles and some yarn to stitch the layers together. Our flexible needles are easy to thread and classroom-safe! There shouldn’t be any pricked fingers this Mother’s Day. Tie a knot in the yarn on the back side of your heart to secure it. DSC_6530

Once the heart component was put together, I glued it to the corner of the frame. DSC_6532

Once your frame is decorated, print out a copy of mom’s favorite photo, cut it slightly larger than the inside edge of the frame, and glue it in place. This makes a fabulous take-home craft for all of your students, and just in time for Mother’s Day!Frame 01 (facebook version_small)

Line-08

Like us on FacebookShare this post with your friends, or Subscribe to this blog today to receive original craft project updates every week!

Father’s Day Picture Frame

Father's Day Picture Frame BP

fathers day picture photo frame

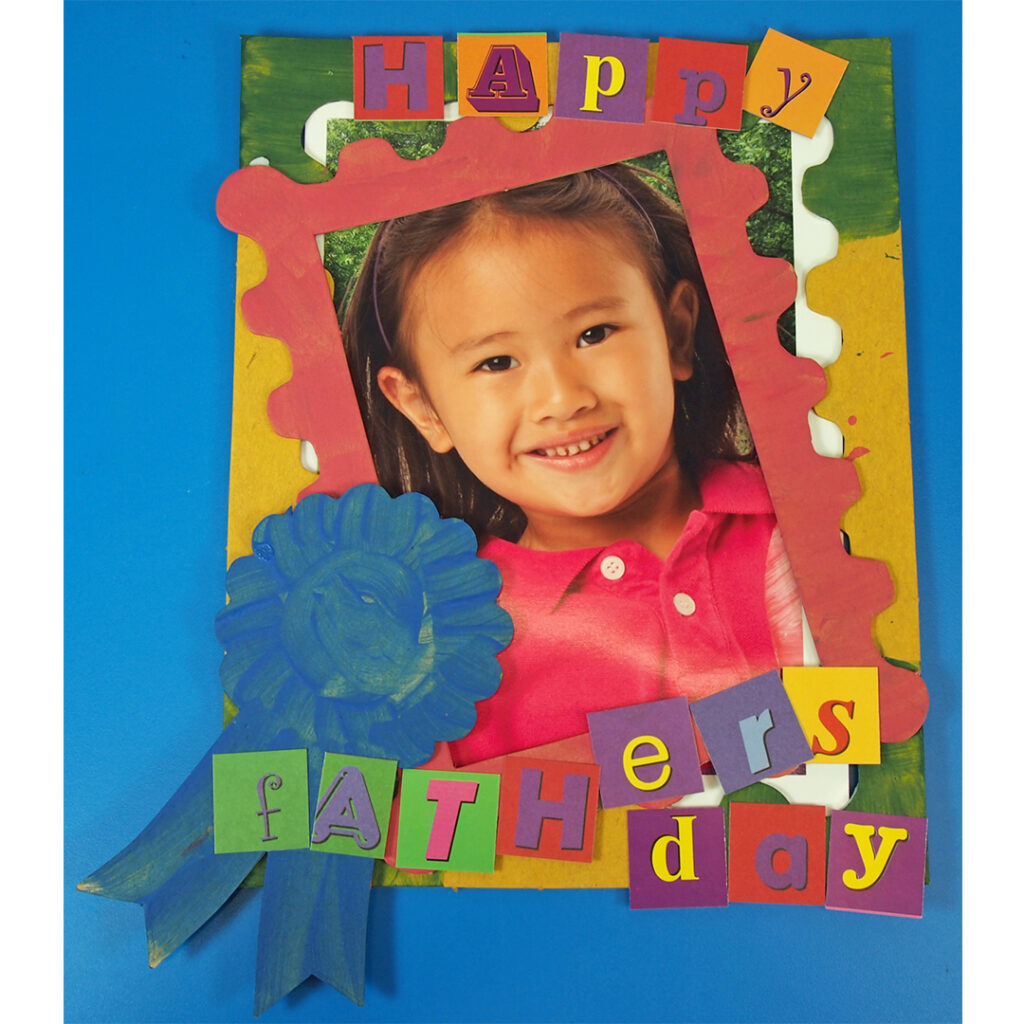
Frame wonderful memories for Father’s Day!

Age: 5+

Duration: 15-20 minutes plus drying times

Learning Objectives: Create beautiful painted frames for Father’s Day. Make a gorgeous take-home craft. Practice literacy skills while spelling out words with letter mosaics. Arrange and overlay various picture frame elements to get an interesting design.

fathers day picture photo frame

You’ll Need:

R52109 Chipboard Picture Frames

R15632 Alphabet Pasting Pieces

• Paint

• White school glue

• Paintbrushes

• Photograph (measured to frame size)

• Paint tray

Line-13

fathers day picture photo frame

Our chipboard frames are specially designed to “nest” into each other, giving you way more value for less! Simply break apart the frames at the score lines. These frames are intended to overlap together to create an interesting design. As an added bonus, the center of each frame contains a third image that can be popped out and glued to the corner of the frames. This project uses the frames with the winner’s ribbon, but you can adapt this activity to any design in the Chipboard Frames pack.

fathers day picture photo frame

For this activity, I use regular school-grade tempera paint and mixed all the colors used with a bit of white paint for greater intensity and to prevent the 100% recycled material from absorbing all the paint. Use broad, even brushstrokes to fill the frames with color.

fathers day picture photo frame

While waiting for the paint to dry, grab a pile of R15632 Alphabet Pasting Pieces and sort through them to find the letters that spell the words, “Happy Father’s Day” or a similar phrase. You can explore different types of lettering styles with the interesting colors and designs!

fathers day picture photo frame

Once the frames are dry, layer the largest in the back and the smallest pieces towards the front. Use the additional element to decorate a corner of the overall frame. Paste all the pieces together with white glue.

fathers day picture photo frame

Layer the Alphabet Pasting Pieces phrase onto the frame. Use white school glue to paste the pieces.

fathers day picture photo frame

Here’s a look at a simpler design created with the Alphabet Pasting Pieces and the frame.

fathers day picture photo frame

Print out a photo of yourself and paste to the back of the frame! This makes a great take-home craft for all your students and just in time for Father’s Day!

Line-13

Like us on FacebookShare this post with your friends, or Subscribe to this blog today to receive original craft project updates every Monday, Wednesday and Thursday!