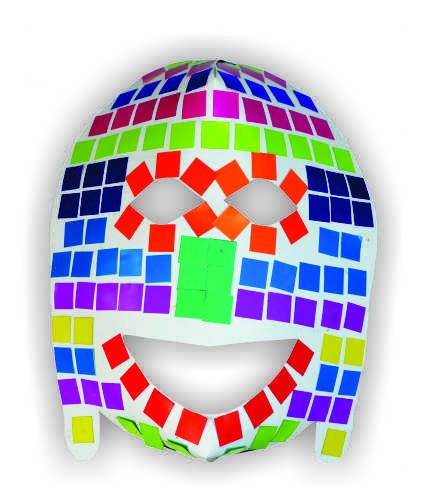
These beautiful, geometric masks are perfect for imaginative play and for unique Halloween costumes!
Age: 4+
Duration: 15 minutes (not including drying time)
Learning Outcomes: Exercise fine motor skills. Practice mosaic technique, which can be used on a variety of other projects. Talk about self-expression. Create a fun costume piece or wall-worthy artwork!
You’ll Need:
- R52010 African Masks
- R15639 Spectrum Mosaics
- Goo Spreader
- White Glue
- Tape

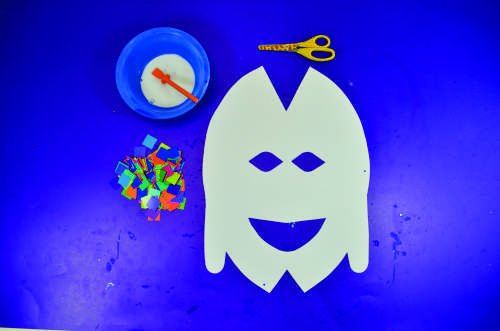
Start with one of our African masks flat on your work surface. In order to keep things neat, try using our Bright Bowls to hold a small amount of white glue and the mosaics! We suggest asking students to plan their designs out before they glue the mosaics down. It is hard to change a design once the glue is down!
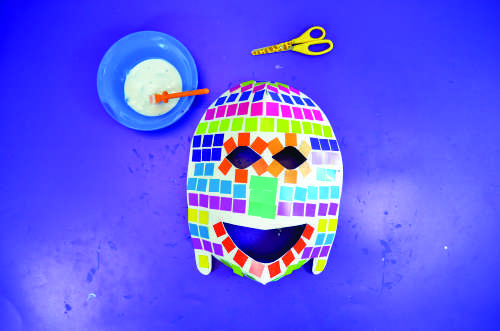
Once students have their designs, use a goo spreader to place a thin layer of glue on the top section of the mask. Lay down your mosaics in the glue. Repeat this process until your mosaic is complete. Allow the glue to dry completely.


Finally, once the glue has dried, overlap the edges of the V cut in the top of the mask and tape them together. Do the same for the V cut in the bottom of the mask. This will transform your mask from flat to convex!
Using chenille stems and the pre-punched holes, secure the mask on your face or hang it on the wall!

Like us on Facebook, Share this post with your friends, or Subscribe to this blog today to receive original craft project updates every week!

![]()