Little Fingers Big Art
Let’s make some ocean life art!
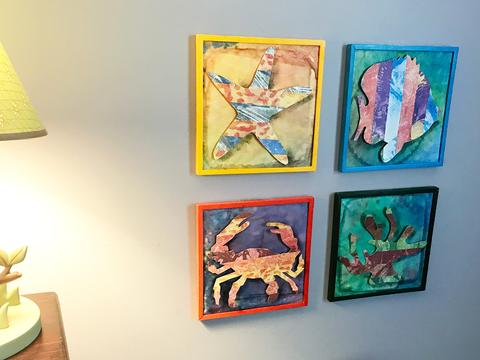
Age: 6+ Duration: 1 hour (plus drying time) Learning Outcomes: We’re going to get creative. We’re going to work on our dexterity. We’re going to learn about mixed media art. We’re going to study nature and focus on ocean life. Here’s what you need: Crafty Strips (R15702) Color Diffusing Paper 9×12 (R15213) Ocean art silhouettes…
Read MoreLet’s make a mandala fractions t-shirt!

Age: 4+ Duration: 30 minutes (or more, if you’re really having fun) Learning Outcomes: A mandala is a spiritual symbol that represents the universe. So, this craft will give us an opportunity to start a conversation about the people who create these symbols. Also, we’re going to focus on the mathematical component of these intricate…
Read MoreLet’s make a Rangoli decorated entryway!
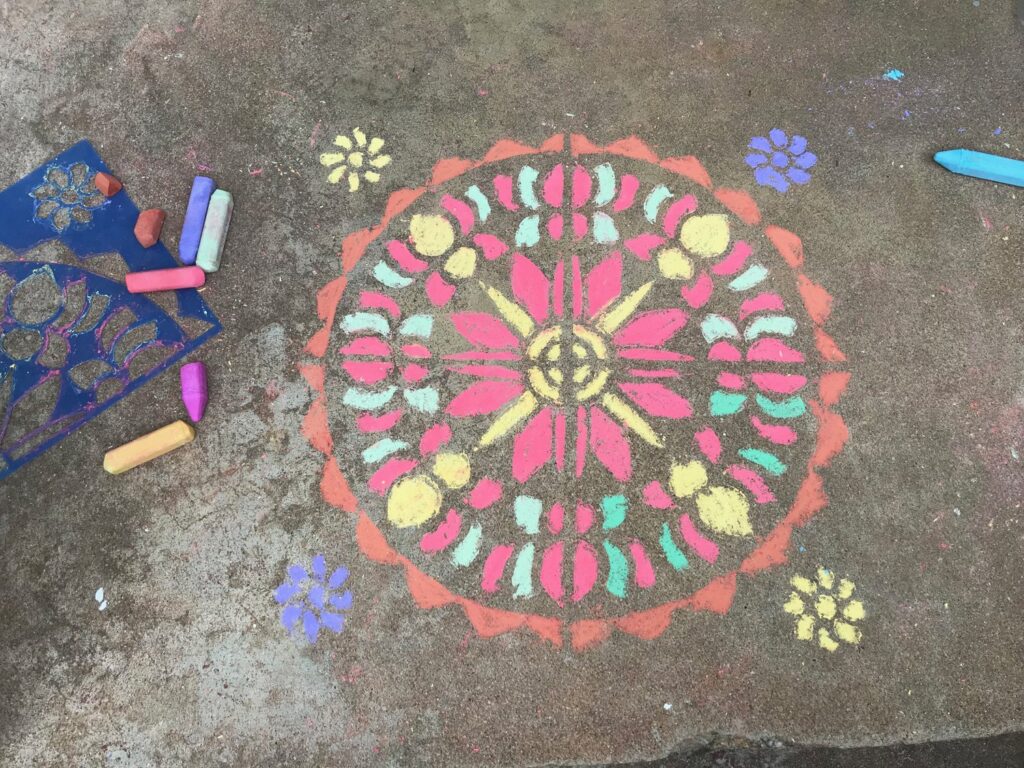
Age: 4+ Duration: 10 minutes Learning Outcomes: We want to start a conversation about Indian culture, Hindu traditions and Rangoli art to help us broaden our understanding of the people we share the world with. Here’s what you need: Rangoli Mega Stencils (R5621) Sidewalk Chalk If you’re looking for a fun, and very simple, summertime…
Read MoreOverlapping Stencil Shapes
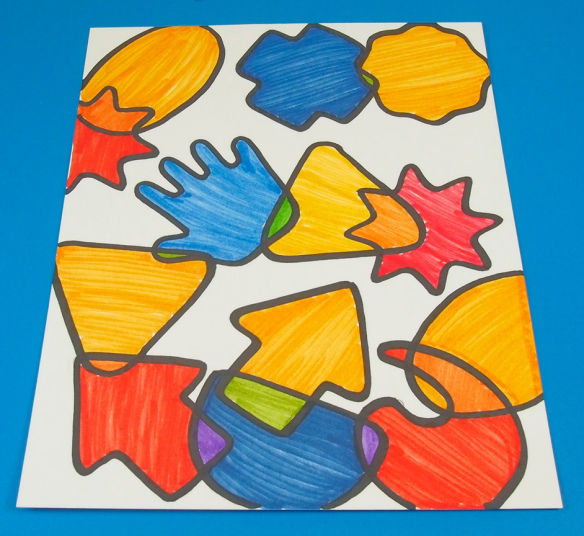
Blend basic shapes and create a colorful collage art piece! Great for rainy day art projects.Young children will love tracing out the fun shapes. The stencils are easy to manipulate and perfectly-sized for small fingers to handle. Build fine motor skills while combining colors and shapes for interesting effects! Age: 3-5 Duration: 15-20 minutes You’ll Need:…
Read MoreStained Glass Christmas Ornaments
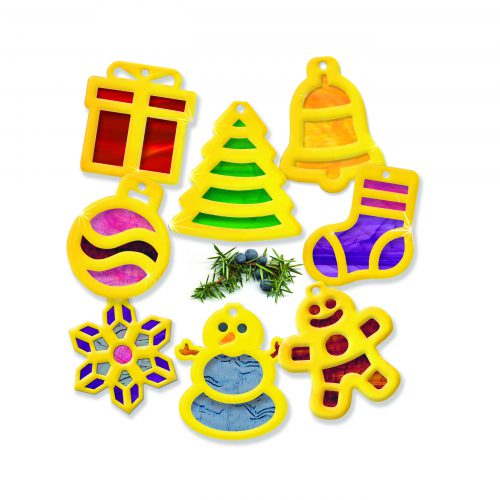
Need a fast and fabulous Christmas craft? These beautiful ornaments are the perfect project to spread holiday cheer! Age: 4+ Duration: 10 minutes Learning Outcomes: Explore the symbolism behind common Christmas emblems. Create beautiful take-home art that can be given as a gift. Exercise fine motor skills. You’ll Need: R31100 Stained Glass Christmas Ornaments Scissors Tape Yarn Pencil…
Read More3D Craft Circle Flower
These beautiful flowers will flutter in the breeze! Age: 3+ Duration: 7-10 Minutes Learning Outcomes: Exercise fine motor skills. Explore early paper sculpting. Create beautiful take-home artwork. You’ll Need: R15701 Craft Circles Glue Stick Washable Marker Large sheet of paper (we used 16 x 16″) Choose six of your favorite craft circles and fold them in half.…
Read MoreBeautiful Birch Bark Baskets
This quick and easy cultural craft is also useful both inside and outside the classroom! This kid-friendly take on a traditional craft is a beautiful take-home piece, but if they stay in the classroom, they’re great for holding pens, pencils, manipulatives and other small personal items. Age: 4+ Duration: 5 minutes (including printing time) Learning Outcomes: Explore the tensile…
Read MorePrehistoric Marbled Slinky Fish
This adorable fish is fun to make and even more fun to play with! Age: 5+ Duration: 15 minutes Learning Outcomes: Exercise fine motor skills. Create a 3D pal for dramatic play. You’ll Need: R15410 Marble Sculpture Paper Scissors Pencil Tape Washable Marker Start with a sheet of marble paper, white side up. Fold it diagonally, and…
Read MoreLet’s Make a Mother’s Day Bouquet!
Age: 6+ Duration: 1 hour, plus drying time. Learning Outcomes: We’re learning how to complete a project made of several different components, and how each of those unique parts is needed to create the final craft.
Read MoreLet’s Make A Window Cling!
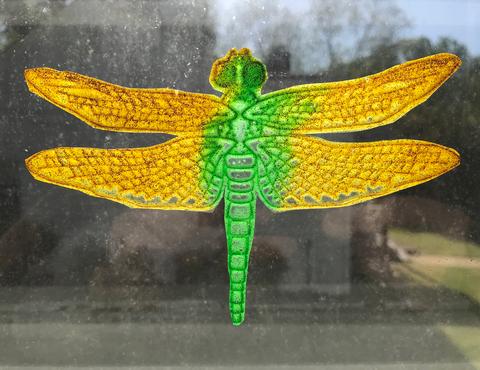
Age: 4+ Duration: 30 minutes (or more, depending on your design preferences), plus drying time. Learning Outcomes: We’re going to be mixing ingredients, painting and decorating with our creations. We can learn about the subjects related to our rubbing plates, nature, science, etc. And, we can even have a discussion about sunlight and color as…
Read More