3D Features Mask

finished craft.jpg

This cheerful mask incorporates paper sculpting to create vivid 3D facial features! Use as part of a costume or as colorful wall art!

Age: 5+

Duration: 30 minutes (plus drying time)

Learning Outcomes: Practice sculpting with paper. Explore new art techniques. Exercise fine motor skills. Talk about what masks represent for various world cultures.

You’ll Need:

  • R52010 African masks
  • R2172 Tissue Circles
  • Sculpting paper (we used white printer paper, but you can experiment with newsprint or construction paper)
  • White glue (mixed with equal parts water)
  • Tape
  • Paintbrush

Line-20

  1. To start this project, mix equal parts white glue and water in a small dish.
  2. Tape the V’s at the top and bottom of the mask together. This will make a convex mask, and prevent the tissue “skin” from tearing. If you use this technique on a flat mask, the glue and tissue will crack when you transform the mask to 3 dimensions.
  3. Challenge kids to crumple, bend and twist paper in order to sculpt their mask’s facial features. Tape each facial feature securely in place.
  4. Using your paint brush, spread your glue and water mix over your mask. Carefully lay tissues circles on the mask, and laminate them in place with more of your glue and water mixture. The tissue will absorb the moisture and mold itself to the contours of the facial features. If necessary, tear the tissue circles into different shapes to cover smaller areas.
  5. Allow the glue to dry thoroughly!
  6. Trim off any excess tissue paper.
  7. Use chenille stems to secure your mask to your head, or to hang it on the wall!

Bundle Savings

Get all the Roylco items used
in this project and save 15%!

$17.41 USD
bundled price
Add Bundle
to Cart

Line-07

Like us on FacebookShare this post with your friends, or Subscribe to this blog today to receive original craft project updates every week!

Day of the Dead Color-Diffusing Calavera

Day of the Dead Color-Diffusing Calavera Artwork

finished craft.jpg

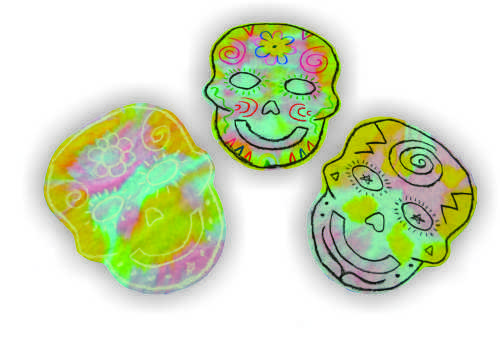
Bonus Post! Get ready to party for Dia de los Muertos with these color diffusing paper Calaveras!

Dia De Los Muertos, or Day of the Dead, is November 2nd. This Mexican holiday is celebrated throughout Mexico and in the United States, and it focuses on remembering  and celebrating friends and family members who have passed away. Traditions include building private altars called ofrendas, honoring those who have passed using calaverasaztec marigolds, and the favorite foods and beverages of the departed, and visiting graves with these as gifts.

You can celebrate the Day of the Dead in your classroom by creating bright color-diffusing paper versions of the traditional Calavera! A calavera is a representation of a human skull. The most well-known version of this are decorated spun-sugar skulls. These skulls are either given as gifts to children, or as gifts laid at the graves of those who have died. When calaveras are given as gifts to the deceased, the name of the deceased is typically written on the skull’s forehead.

Our calaveras are just as artistic as spun-sugar skulls, if somewhat less edible!

Age: 4+

Duration: 15 minutes (plus drying time)

Learning Outcomes: Explore Mexican culture and celebrate the lives of family members who are no longer with students. Exercise fine motor skills by tracing and drawing. Explore color mixing and liquid diffusion!

You’ll need:

Line-21

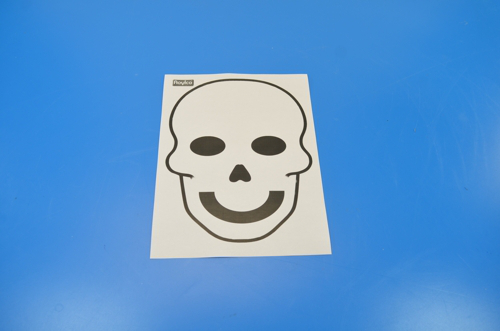
Start by downloading and printing out the Calavera template.

step 1.jpg

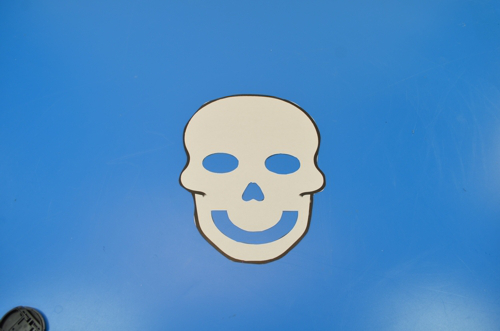
Cut out the shape of the skull, the eyes, nose and mouth.

step 2

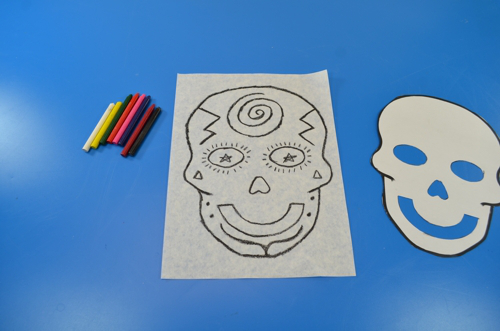
Lay the template on a sheet of color diffusing paper and trace the skull outline, eyes, nose and mouth with crayon. Make sure your crayon lines are very heavy, they will need to be heavy to resist the liquid watercolor paint we will add later.

Now it’s time to add some decorations to your calavera! Swirly lines, flowers, and geometric shapes are all great ways to decorate your calavera. If your calavera will be an offering, carefully write the person’s name on the skull’s forehead.

step 5

Next, lay your sheet of color diffusing paper on a tray, and using pipettes, carefully cover the sheet in liquid watercolor paint. Allow the paint to dry.

Once your calavera is dry, trim off the excess paper. Mount your calavera on construction paper or colored card stock for a professional-looking finish!

You have lots of options for crayon colors when designing your clavavera. Our example uses just black crayon, but using just white crayon creates a beautiful calavera too. Using all the colors in your crayon box is also a great option:

the end

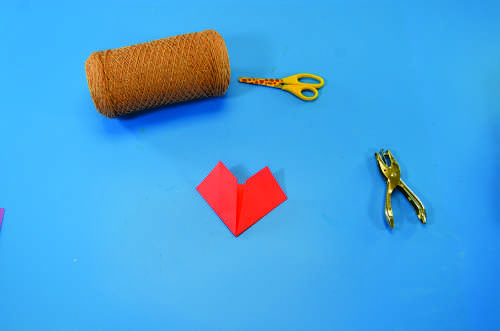
Suspend these bright calaveras from your classroom ceiling with string! Alternatively, string them together like paper lanterns to create a calavera garland.

Bundle Savings

Get all the Roylco items used
in this project and save 15%!

$15.62 USD
bundled price
Add Bundle
to Cart

Line-02

Like us on FacebookShare this post with your friends, or Subscribe to this blog today to receive original craft project updates every week!
Make Your Own Marbled Paper

Marbled Critters FB

A couple of years ago, we introduced our Foam Paint Bottles. Now, I’d like to walk you through a sensory-rich and beautiful activity: Marbled paper! The best part about this activity is that it can be both an end product and a craft component for other projects. First, I’ll take you through the marbling process. Then I’ll show you some craft ideas!

Age: 3+

Duration: 15 minutes (not including drying time)

Learning Outcomes: Encourage sensory development with this tactile foam paint. Develop fine motor and pre-writing skills by practicing the strokes needed to write in your marbling pattern. Create a beautiful work of art that can also be re-purposed as handmade craft paper.

You’ll Need: 

Line-17

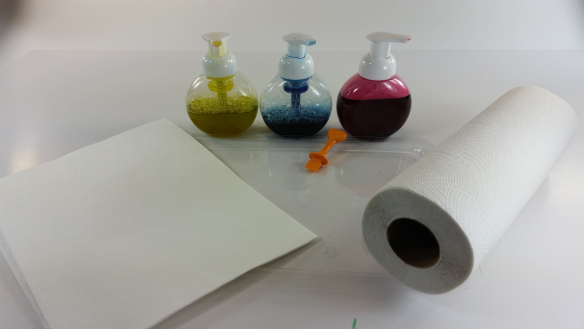
Start with an empty, clean fingerpaint tray and your foam paint bottles. I have mixed up red, yellow and blue for this project. You’ll find the instructions for mixing your foam paint here. You’ll also need plain white paper and paper towels.

FM1

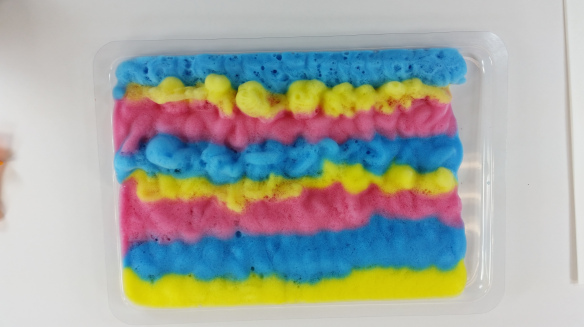
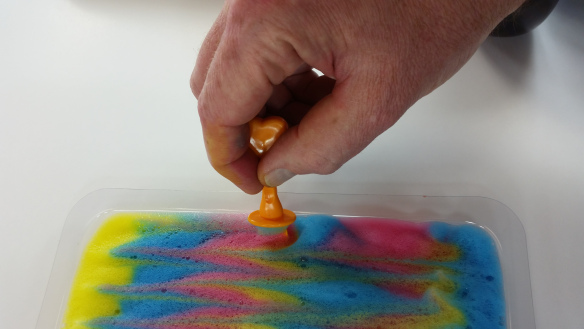
Start by pumping lines of foam paint onto your tray. A parent or teacher can do this for very young children. Older kids will have fun pumping the foam themselves. I suggest starting with parallel lines, since this pattern will be the easiest to marble.

FM3

Use this time to talk about color. What happens when red mixes with blue? Or when Yellow and blue mix? Once you have filled your tray with lines of foam paint, it’s time to marble!

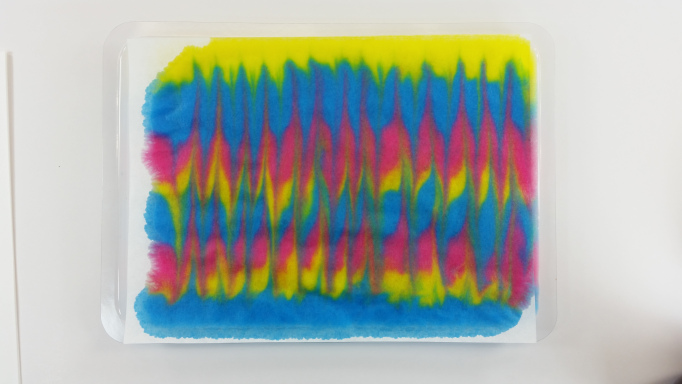
Grab your goo spreader, and carefully draw it across your lines of foam paint. Straight lines are easiest, but slightly older kids can experiment with zig-zags, curved lines, or even concentric circles. This is how you create your marbling pattern. Remember, some mixing is ok, but you want to be able to see the pattern when you make your paper print. Don’t completely mix the colors, or you’ll have a muddy brown mess.

FM4

Marbling in Progress

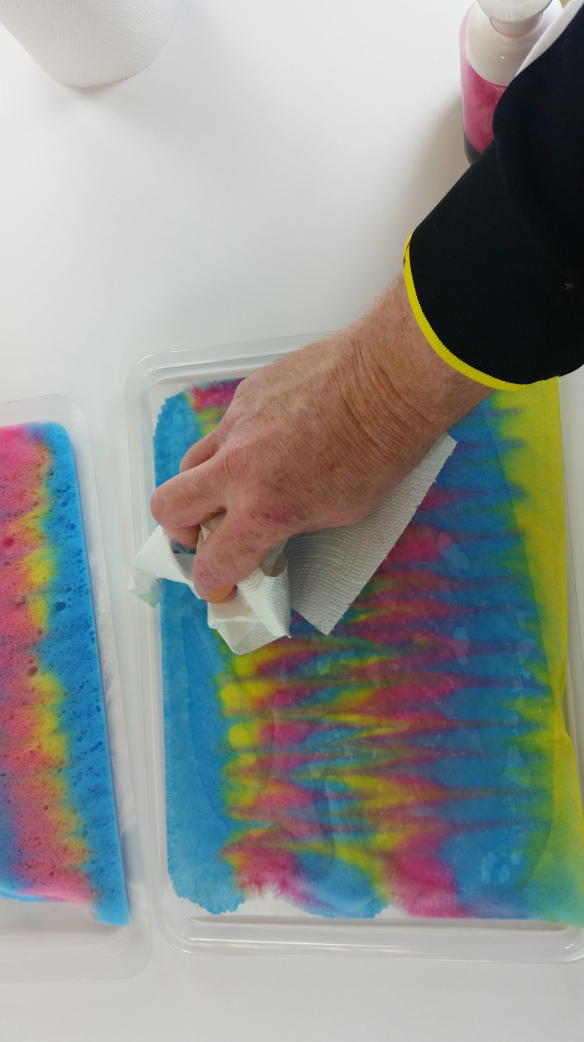
Once you are finished creating your marbling, it’s time to print it onto your paper. Simply lay a sheet of white paper or cardstock on top of the foam paint. Let it sit for a count of three, then lift it off the foam paint. Use the paper towel to quickly wipe excess foam off of your paper. FM7

Your paper should dry fairly quickly. Once it’s dry, your paper is ready to be displayed!

FM6

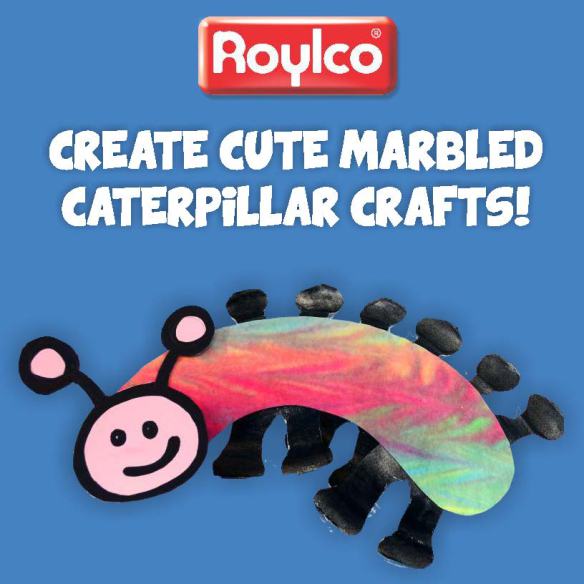
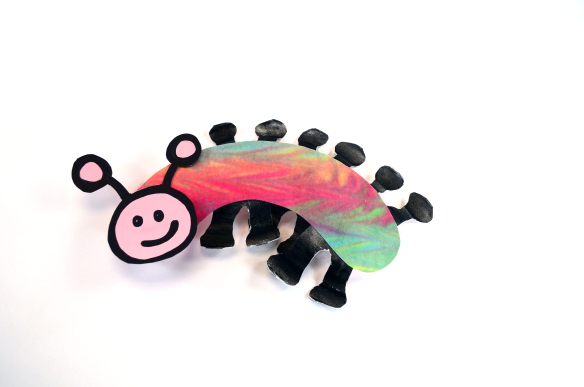
Alternatively, your paper can go into your craft paper stock and be used to create different crafts. For example, a delightful crawly caterpillar:

Marbled - Catapillar2.jpg

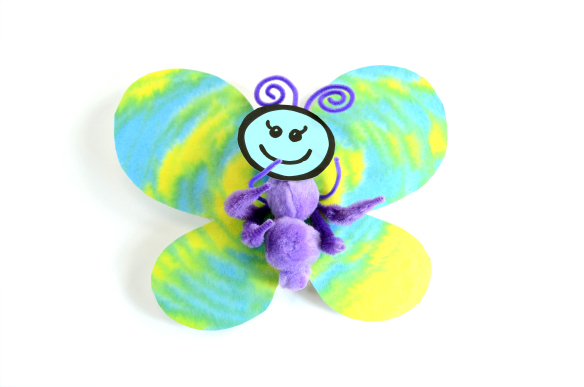
And the butterfly he will turn into:

Marbled - Butterfly1.jpg

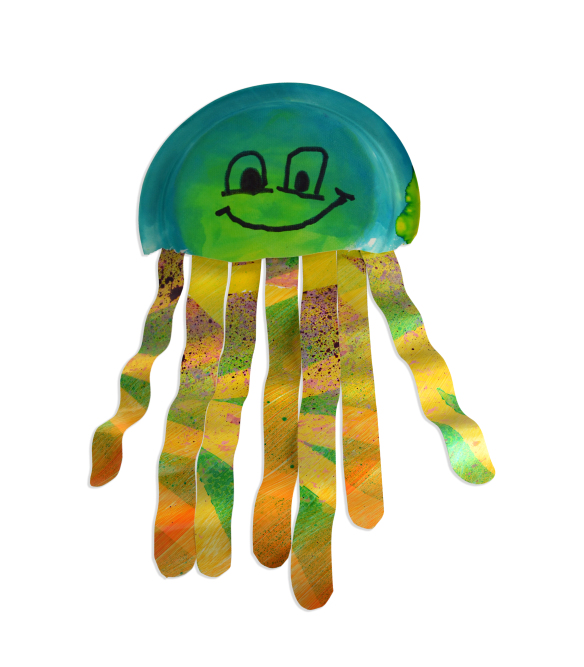
The marbling technique also works on paper plates! Use paper plates to create this playful octopus:Collage - JellyFIsh

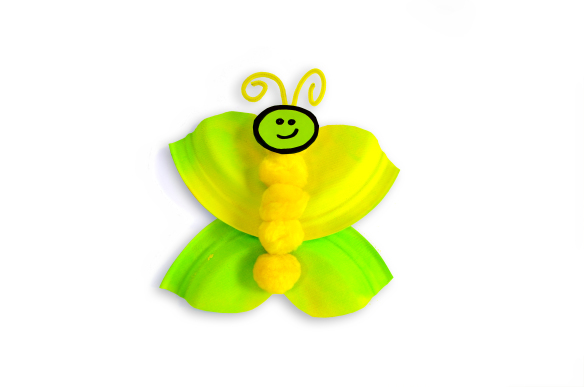
Or another take on marbled butterflies:

Foam Paint - Paper Plate Butterfly

Line-20

Like us on FacebookShare this post with your friends, or Subscribe to this blog today to receive original craft project updates every week!

Bundle Savings

Get all the Roylco items used
in this project and save 15%!

$28.46 USD
bundled price
Add Bundle
to Cart


Lace Paper Dolls

OLYMPUS DIGITAL CAMERA

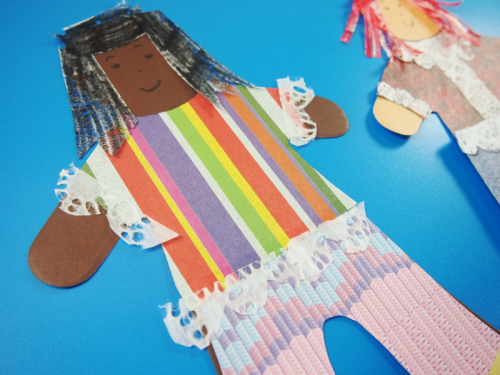
Add beautiful trims and details to your paper dolls with R22054 Lace Paper!

Age: 4+

Duration: 10-20 minutes

Learning Objectives: Use multiple materials to make details. Talk about fashion and how to combine details to make interesting combinations of clothes. Discuss proportions, clothing arrangements and combining pattern and color. Exercise scissor skills.

OLYMPUS DIGITAL CAMERA

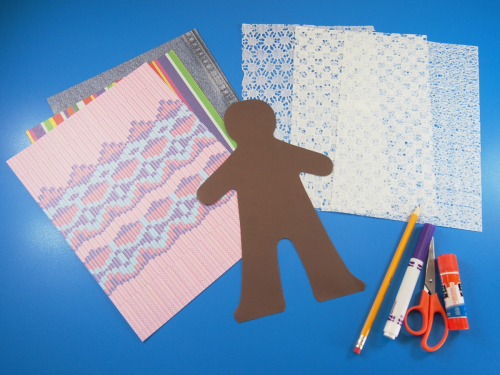
You’ll Need:

Line-07

OLYMPUS DIGITAL CAMERA

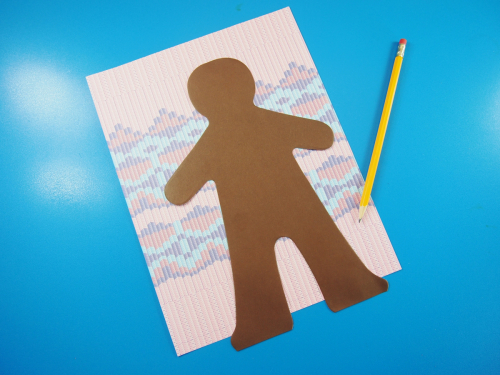
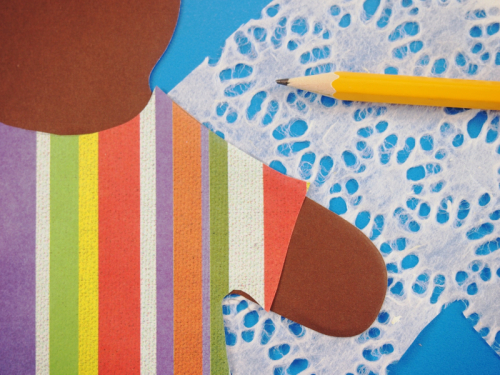
Choose your Paper Doll of choice and lay it onto a sheet of Fabric Paper. Trace around the edge of the Paper Doll. To make the pants, trace only around the legs and connect the lines when you remove the doll. Similarly, trace around the upper body area to make the shirt.

OLYMPUS DIGITAL CAMERA

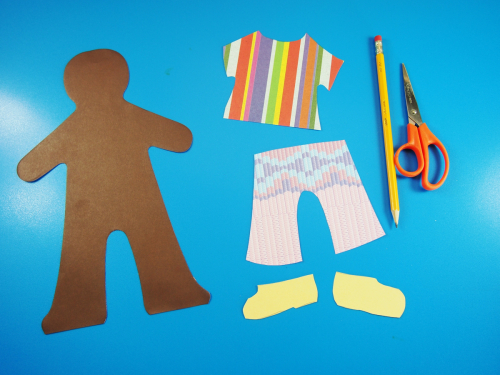
Cut out the resulting tracings. Use different types of paper sheets to add a variety of pattern and color to your Paper Doll’s overall outfit.

OLYMPUS DIGITAL CAMERA

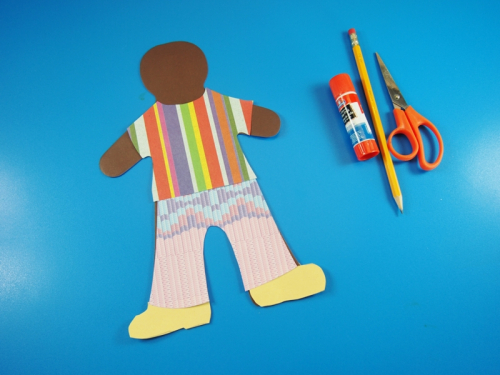
Glue the pieces down onto your Paper Doll.

OLYMPUS DIGITAL CAMERA

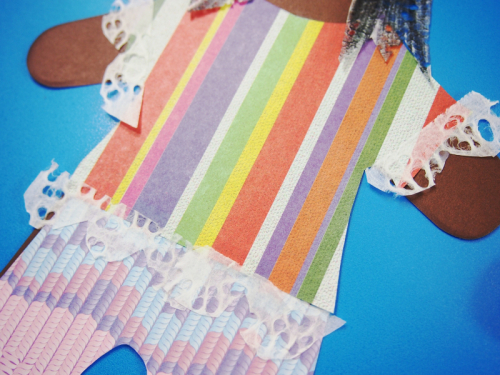
The lovely lace patterns in our Lace Paper are perfect for adding little details and embellishments to your Paper Doll’s outfit. Trace around the outside of your doll’s sleeve/arm area if needed.

OLYMPUS DIGITAL CAMERA

Cut scalloped edges with special scrapbook scissors or develop an advanced scissor skill by cutting a wavy line! Glue the strips down onto the edges of the separate clothing pieces.

OLYMPUS DIGITAL CAMERA

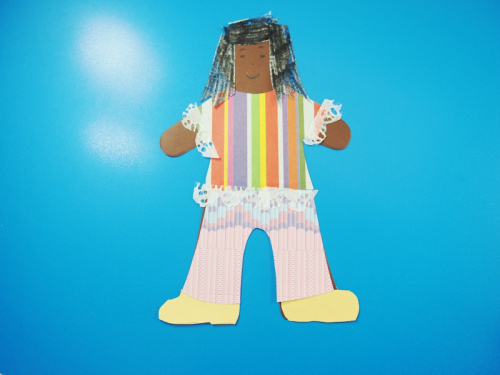
Even use the Lace Paper to make the hair! Cut out little sections and wisp the ends.

OLYMPUS DIGITAL CAMERA

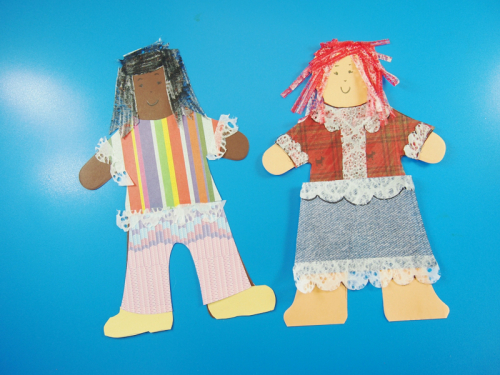
Here is another example of how you can combine lovely patterns of the Fabric Paper! Explore wonderful, wacky combinations and make your characters come to life!

Bundle Savings

Get all the Roylco items used
in this project and save 15%!

$21.90 USD
bundled price
Add Bundle
to Cart

Line-03

Thanks for checking out this post! Like us on FacebookShare this post with your friends, or Subscribe to this blog today to receive original craft project updates every Monday, Wednesday and Friday!