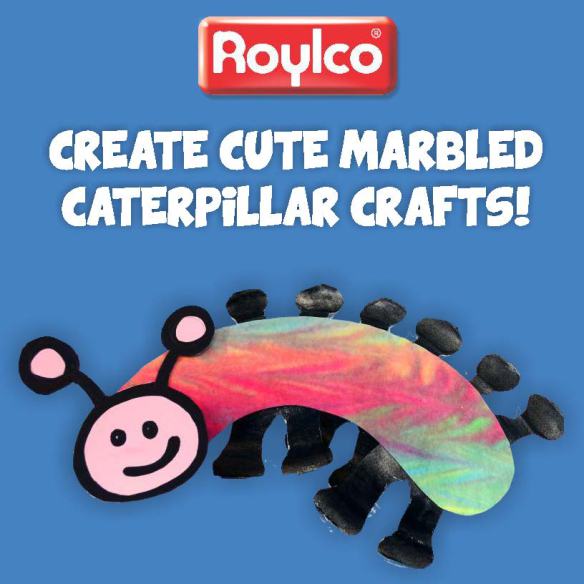
A couple of years ago, we introduced our Foam Paint Bottles. Now, I’d like to walk you through a sensory-rich and beautiful activity: Marbled paper! The best part about this activity is that it can be both an end product and a craft component for other projects. First, I’ll take you through the marbling process. Then I’ll show you some craft ideas!
Age: 3+
Duration: 15 minutes (not including drying time)
Learning Outcomes: Encourage sensory development with this tactile foam paint. Develop fine motor and pre-writing skills by practicing the strokes needed to write in your marbling pattern. Create a beautiful work of art that can also be re-purposed as handmade craft paper.
You’ll Need:
- R54465 Foam Paint Bottles
- R7512 Fingerpaint Tray
- R57015 Junior Goo Spreaders
- White paper
- Paper Towels
- Scissors
- Glue
- Black Construction Paper

Start with an empty, clean fingerpaint tray and your foam paint bottles. I have mixed up red, yellow and blue for this project. You’ll find the instructions for mixing your foam paint here. You’ll also need plain white paper and paper towels.
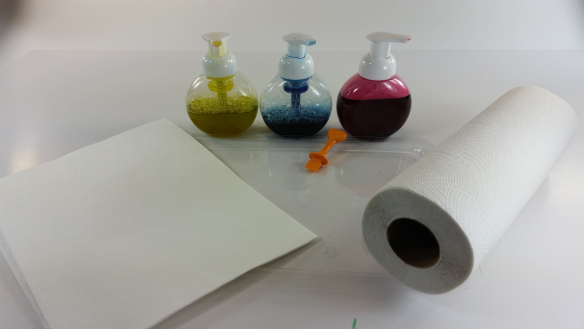
Start by pumping lines of foam paint onto your tray. A parent or teacher can do this for very young children. Older kids will have fun pumping the foam themselves. I suggest starting with parallel lines, since this pattern will be the easiest to marble.
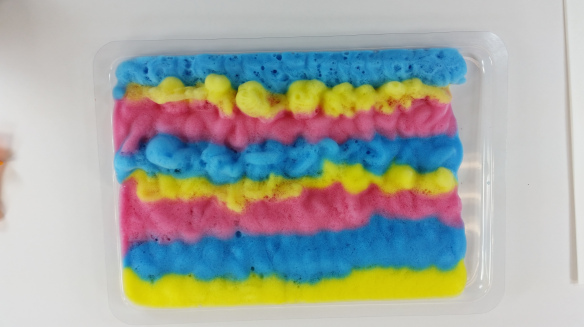
Use this time to talk about color. What happens when red mixes with blue? Or when Yellow and blue mix? Once you have filled your tray with lines of foam paint, it’s time to marble!
Grab your goo spreader, and carefully draw it across your lines of foam paint. Straight lines are easiest, but slightly older kids can experiment with zig-zags, curved lines, or even concentric circles. This is how you create your marbling pattern. Remember, some mixing is ok, but you want to be able to see the pattern when you make your paper print. Don’t completely mix the colors, or you’ll have a muddy brown mess.
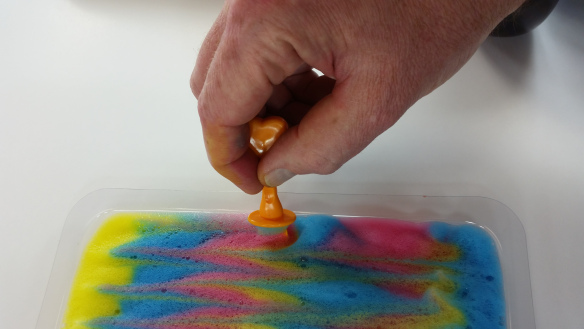
Marbling in Progress
Once you are finished creating your marbling, it’s time to print it onto your paper. Simply lay a sheet of white paper or cardstock on top of the foam paint. Let it sit for a count of three, then lift it off the foam paint. Use the paper towel to quickly wipe excess foam off of your paper. 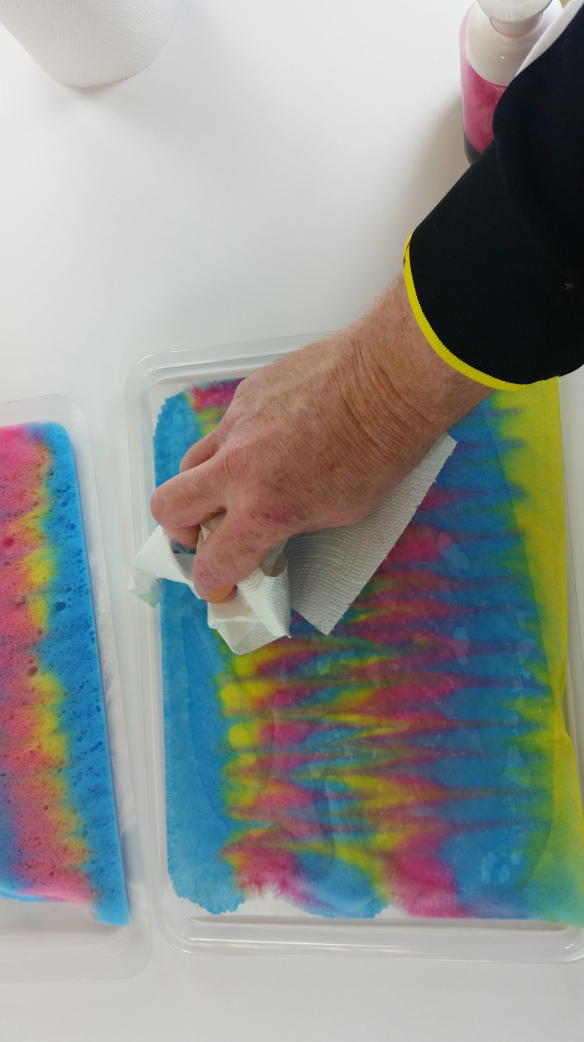
Your paper should dry fairly quickly. Once it’s dry, your paper is ready to be displayed!
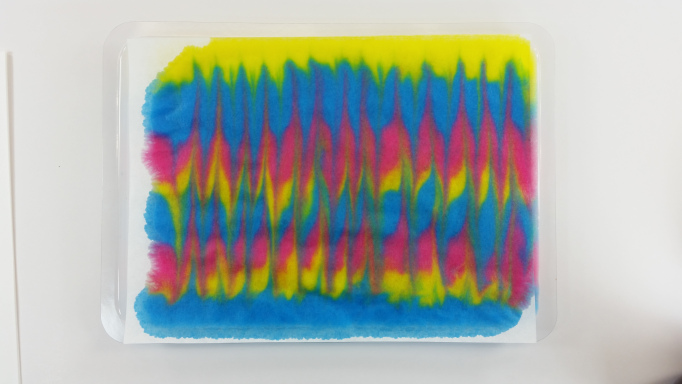
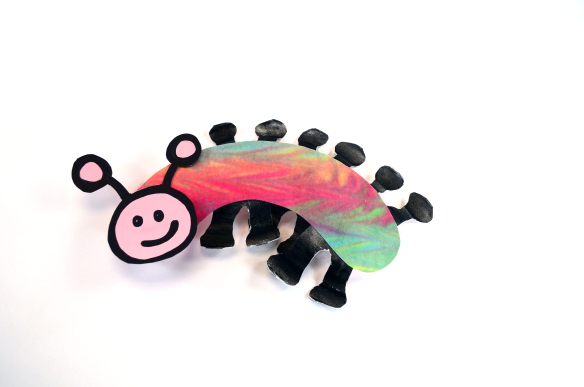
Alternatively, your paper can go into your craft paper stock and be used to create different crafts. For example, a delightful crawly caterpillar:
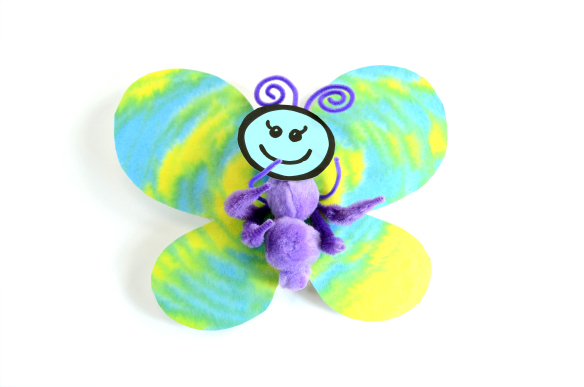
And the butterfly he will turn into:
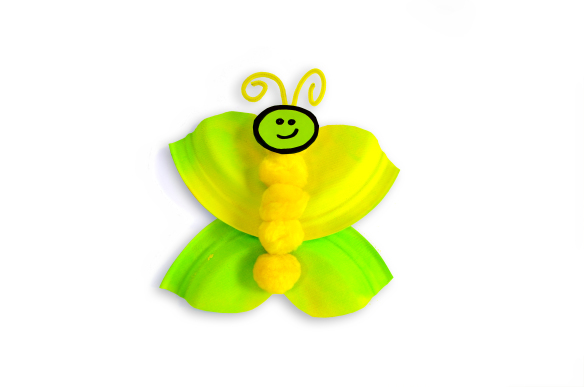
The marbling technique also works on paper plates! Use paper plates to create this playful octopus: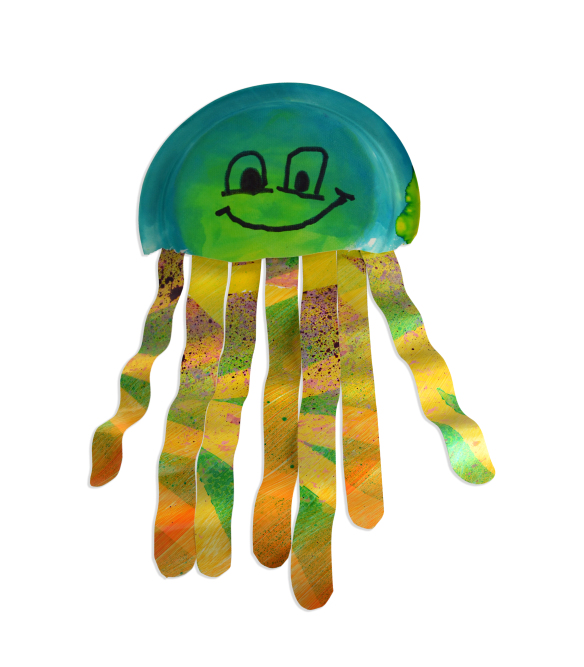
Or another take on marbled butterflies:

Like us on Facebook, Share this post with your friends, or Subscribe to this blog today to receive original craft project updates every week!
bundled price
to Cart
