Thanksgiving Hat

Feature-Image-featherhatcraft

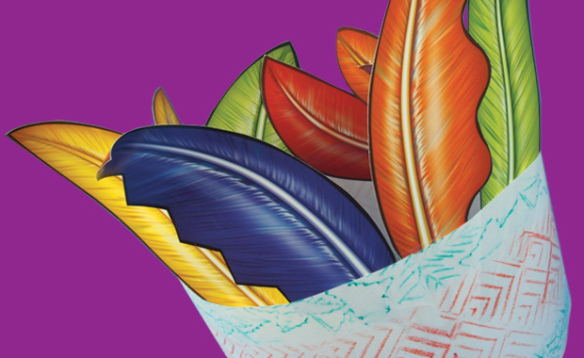
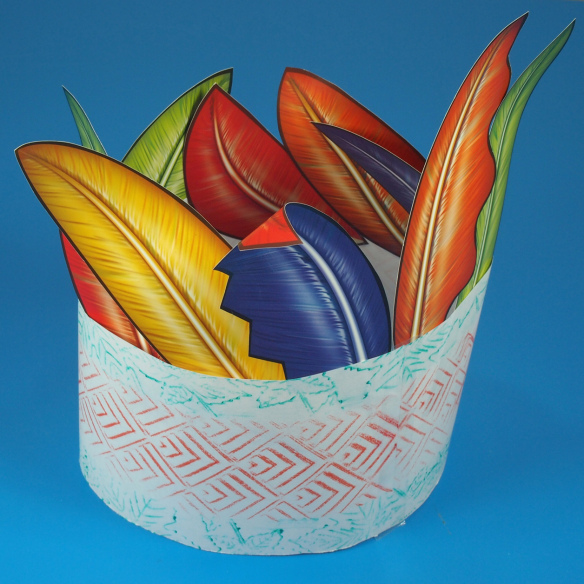
Inspired by what our crafters at the Roylco Summer Art Camp made, here’s how to put together your unique Thanksgiving Hat! Use the R28421 Scissor Skills Paper for this craft. 

Age: 4+

Duration: 15-20 minutes

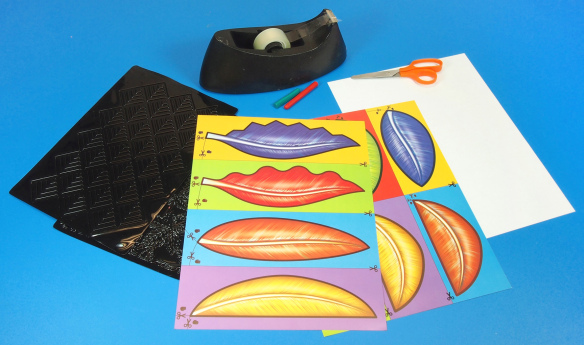
You’ll Need:

• R28421 Scissor Skills Paper

• R5870 Linear Rubbing Plates

• Sheet of paper, 8.5 x 11″ (20 x 28 cm)

• Crayons

• Scissors

• Tape

Line-06

Putting together the Thanksgiving Hat is super simple!
P9033137

For this activity, you can decorate the head band with any of our special rubbing plates!

P9033140

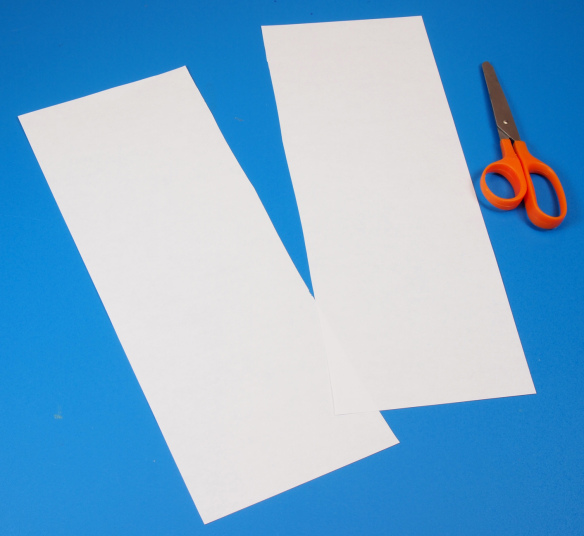
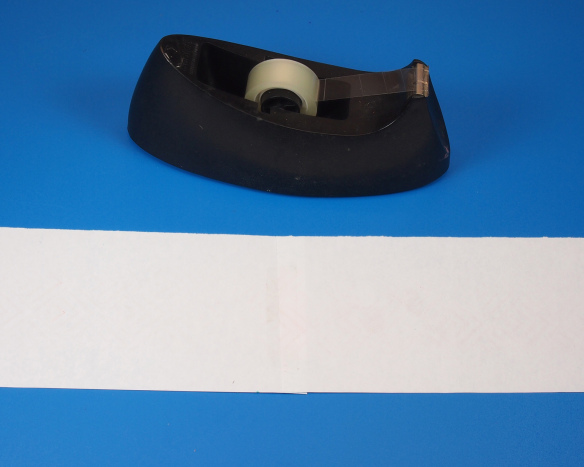
Fold a sheet of paper lengthwise in half. Unfold the paper and cut along the fold line to make two equal strips of paper. You’ll need both strips of paper for the entire headband.

P9033143

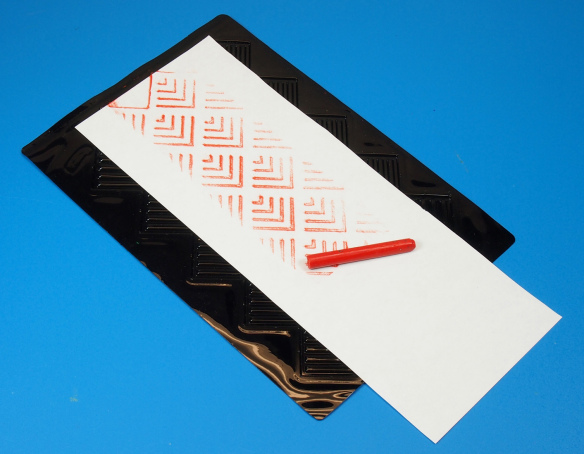
Place the headband on top of a rubbing plate. Use the side of a crayon to rub the pattern onto the headband.

P9033145

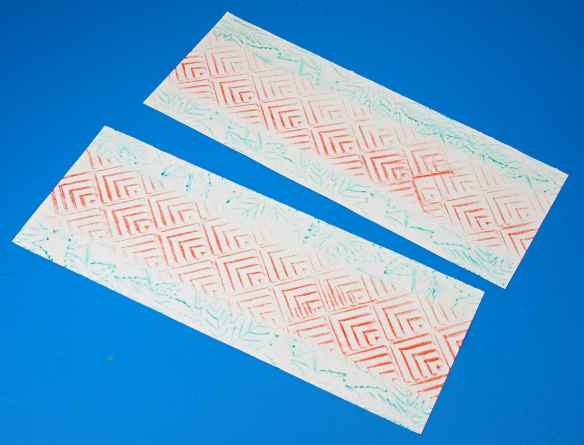
I used a different pattern for the top and bottom headband edges. Try it out with a different color too!

P9033146

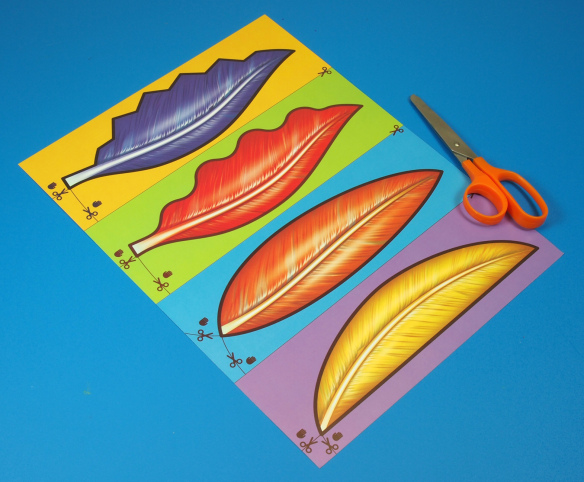
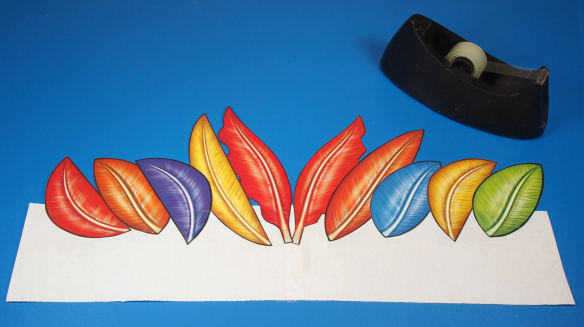
Choose one of the three types of feathers to decorate your headband with. We’ve made an easy set of feathers for beginners with which to practice their scissor cutting skills. The second set is intermediate, with wavy lines. The third, and most challenging, set features jagged edges for students to cut. Choose the most appropriate set of feathers for students to cut.

P9033155

Attach the two headband pieces together with a piece of tape. Join the two headbands horizontally to extend the length of the entire headband.

P9033160

Keep the headband flipped over to the blank side. Line up all your cut feathers along the top edge of the headband and paste onto the paper. The feathers are double-sided so you won’t have to worry about which side you paste them onto!

P9033161

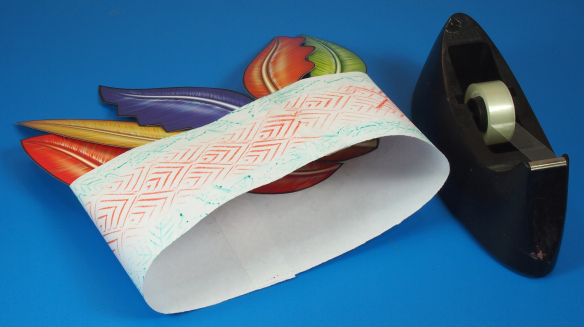
Join the edges of the headband together. Tip: First get students to adjust the headband for wearing. When they have found the right fit, tape the edges at that point.

P9033163

All ready for wearing! If you would like to add some dimension to your hat, curl out the ends of the feathers using a pencil.

CRAFT CHALLENGE:

What else did your students use to decorate their hats? You can use anything available in your craft supply closet or use scrap paper left over from other projects to cut out feathers. Once students have made their hats, sit your class down in a circle and talk about what each student is thankful for from the previous year.

Line-06

Send us your responses to subscriber@roylco.ca along with photos of your students’ hats! We’d love to hear from you!

Craft Spotlight: Fall Leaves Projects

Feature-Image-fallleaves

We’re well into the autumn season, fast approaching winter! Lengthen the season’s stay with some bright and colorful autumn crafts for your classroom. Check out our spotlight below on our R15334 Crafty Leaves, R15335 Spring and Autumn Leaves and R15656 Autumn Paper Bits!

Our autumn craft projects feature golden colors, patterns and natural die-cut leaf shapes for intriguing artwork! Use the leaves to decorate base materials, such as a paper tree trunk. Mix up the arrangements of the leaves on paper to make animal and people figures!

In this video, I show you how to layer and glue together the Crafty Leaves to make a bird in flight! This craft uses simply the Crafty Leaves, glue and a bit of imagination. Find leaves that appear to fan out like feathers on wings. Other leaves can be used to make the body of the bird. A tiny brown leaf was used for the head (but you can use the chestnuts for the bird’s head too!)

Use the gorgeous patterns in our Spring and Autumn Leaves as decorations for picture frames! I took our R52107 Craft Collage Boards and popped out the center so I could use the outside piece as a frame. Peel off the backing to adhere the leaves to the sticky side. I used three colors of the Spring and Autumn Leaves pack, including orange, red and green with the addition of yellow! Arrange the leaves along the sticky side of the frame. You can use both sides of the Spring and Autumn Leaves (one side is printed with flat color while the other side is gussied up with cute patterns!)

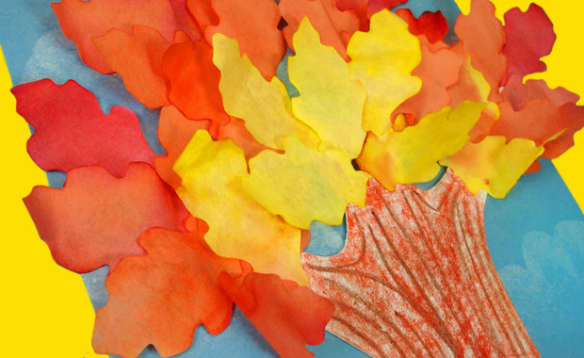
Create a lovely autumn tree and talk about the effect of the changing seasons on the tree’s leaves. Demonstrate this with our Autumn Paper Bits! Cut out a tree from brown construction paper. Glue down the leaves around the tree boughs. Make several different trees and paste only green leaves on one tree, orange and red leaves on the second, and leave the last tree blank. Illustrate buds or small twigs on the final tree to show how trees look like in wintertime!

Line-16

If you have some of these projects in your classroom craft closet, send us photos of your students’ artwork! We’ll make a feature post and show the blogging world your class’s artistic talent! Email us at subscriber@roylco.ca!

Craft Spotlight: Color Diffusing Paper Projects

Feature-Image-colordiffpapercollage

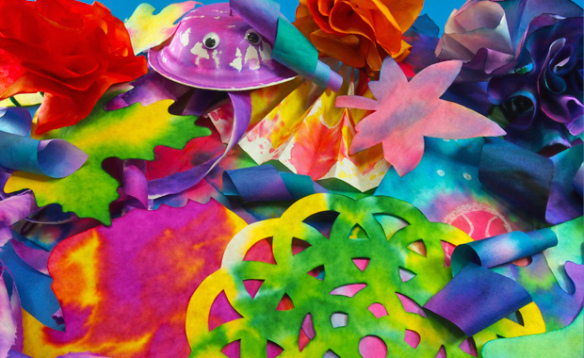
This week’s Craft Spotlight showcases our lovely Color Diffusing Paper products! Check out an amazing selection of our fabric-like paper in a variety of different projects. The Color Diffusing Paper is perfect for exploring concepts like diffusion and color mixing!

This post will introduce you to our Color Diffusing products through specially-made videos! The videos feature detailed methods of incorporating the Color Diffusing projects into your educational art program!

To start, we have our R2442 Color Diffusing Leaves! These leaves are specially die-cut in the shapes of leaves to encourage thinking outside the box with your nature art.

Color the leaves with all the colors of the rainbow! Use liquid watercolor on the leaves then spritz the paper with warm water to diffuse the colors throughout. Tip: Don’t use more than three colors on a single Color Diffusing Paper project. Mixing more colors will run the risk of turning the project muddy!

Next up is our R2440 Color Diffusing Paper Flowers! The flowers inspire the same level of creativity as our leaves, but can serve as an optional classroom decoration.

Explore new color combinations! Try a different color on each petal of the flower.

Finally, check out our R2445 Color Diffusing Butterflies!

In this video, we used markers to color in our butterflies. When you spray water onto the butterflies, the marker ink will spread throughout the butterfly cutout.

If you’ve used one of our products, send us photos of how you’ve incorporated it into your arts/crafts routine to subscriber@roylco.ca! We’d love to hear from you! 
Line-12

Rolly Scrolly Mix Up Art Game

Feature-Image-rollyscrollygame

This is a great icebreaker activity for your new classroom. Start out your day with giggles and fun! Draw a mixed-up character on sections of our R15406 Rolly Scrolly Paper, then unfold the entire thing to reveal a hilarious creation.

Age: 5+

Duration: 15 minutes

You’ll Need:

• R15406 Rolly Scrolly Paper

• Crayons

• Imagination!

Line-06

This is a super easy activity for kids of all ages to try out! First, divide your class into groups of four. Students should each get one Rolly Scrolly to work on. Show your students how to fold the Rolly Scrolly into four equal sections. To do this, first fold the entire Rolly Scrolly in half. Fold the Rolly Scrolly once more in half.

You will need to rotate the Rolly Scrolly so that the fold line is at the bottom.

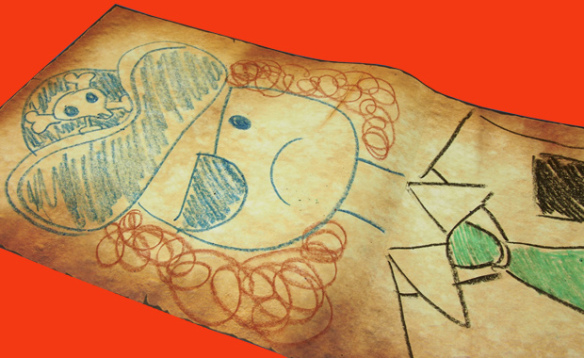
The Rolly Scrolly has four sections. Each of these sections will make up parts of a character. Draw your character’s face on the first section. Draw a pirate, a princess, a firefighter… anything!

When you are done drawing your character’s face, unfold the first section to the next blank section. Tuck the first section behind the second section. This part is MOST important: Pass your mystery Rolly Scrolly artwork to the person on your left. The person on your right should give you their hidden Rolly Scrolly artwork at the same time. Draw a fun shirt for the mystery character!

Repeat the previous step once you have finished drawing the shirt section. Fold this section of the Rolly Scrolly Paper underneath the previous section, then pass onto your left neighbor.

For the third section, draw pants, shorts, skirt, or a Superhero’s underwear!

For the fourth and final section, draw legs and feet. Give your character sneakers, high heels or rain boots. Have fun experimenting!

Final-Drawing

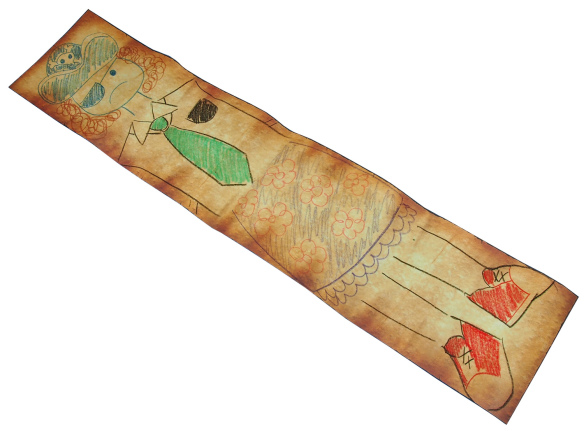
By this time, your Mix Up Rolly Scrolly character should make its way back again to you. When you receive it, unfold the sheet completely to reveal your hilarious character! P.S. Give your character a name once you’re finished drawing him/her!

Check out the video below for more details.

Line-06

Try out this activity and show us what hilarious characters you and your students come up with! Send your photos to subscriber@roylco.ca!!

VOTE FOR US @ Martha Stewart’s American Made Contest!

Hey there, blogger friends! Roylco has signed up for Martha Stewart’s American Made Contest! We need your help to reach the top of the nominees list!! Vote for us at the link! We’re so excited to be a part of … Continue reading

BIG IDEAS: Stained Glass Window Tessellations

Cover your entire classroom window with beautiful stained glass designs. Match the edges of the adorable animal shapes to create perfect tessellations. Teach students about tessellations, colors, light refraction, puzzle matching and more! The end result is amazing and everyone … Continue reading