This wild and colorful hat is the last in hour Halloween series this year! Add your top hat to a costume, use for dramatic play, or wear it to read Alice in Wonderland.
Age: 4+
Duration: 15 minutes
Learning Outcomes: Express yourself with color and pattern with a fashionable hat. Exercise fine motor skills. Encourage creativity.
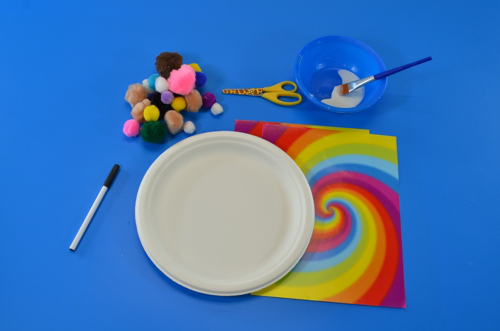
You’ll Need:
- R15295 Rainbow Paper
- Paper Plates
- Tape
- Glue
- Scissors
- Glitter Glue
- Pom Poms
- Washable Markers

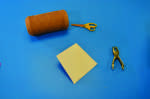
 This top hat is a great way to express who you are! It’s also super simple to make and decorate. Start by taping two sheets of rainbow paper together. Tape the 11″ sides together, and form a cylinder. Carefully lay the cylinder on your paper plate and trace around it. Carefully cut out the center of the paper plate. For this project, we are not discarding the center, we’ll use it for the top of our top hat. If students have difficulty cutting into their paper plate, carefully punch a small hole on the pencil line and cut from there.
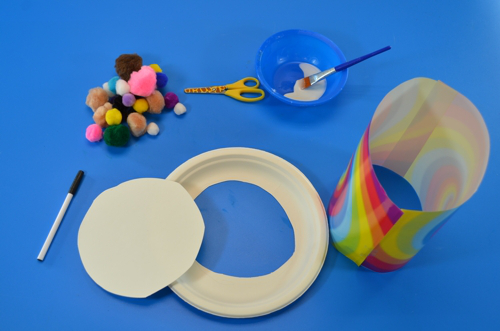
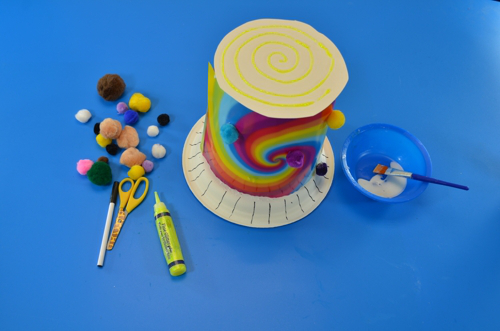
Now it’s time to construct your hat. Tape your paper cylinder to the paper plate. This will form the brim of your hat. Then tape the cut-out center of the paper plate to the top of the paper cylinder. This will enclose your hat and make sure your head doesn’t get wet in case of rain! (Note: these hats are NOT waterproof.)
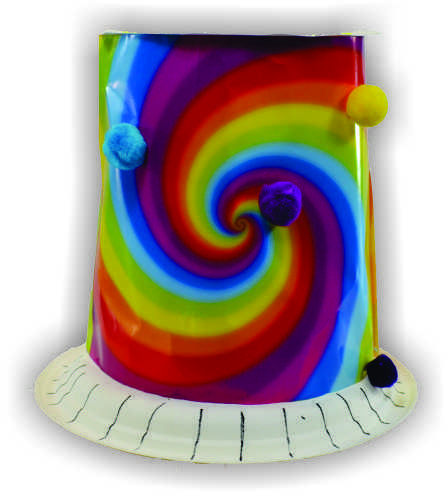
It’s time to decorate! We used glitter glue to create a spiral on the top of our hat, and glued pom poms to the cylindrical part. We also used a washable marker to add some stylish lines to the brim.
Once your class has finished their hats, have a Halloween fashion show! Use a sheet of red butcher paper on the floor as your “red carpet” and encourage students to walk down it in character to show off their hats and costumes. Of course pictures are a must for this activity!

Like us on Facebook, Share this post with your friends, or Subscribe to this blog today to receive original craft project updates every week

![]()