 Create your own Valentine’s Day artwork with Heart Mosaics! Use a tracing of your hand to form the tree trunk and branches, then fill in the gaps with Heart Mosaic leaves. Follow the complete tutorial below!
Age: 4+
Duration: 10-15 minutes
You’ll Need:
• R15233 Skin Tone Craft Paper
• Scissors
• Glue
• Pencil
This is a fun and simple craft to make with basic materials. You could even adapt the project artwork and use it to create the front cover of a large-sized Valentine’s Day card!
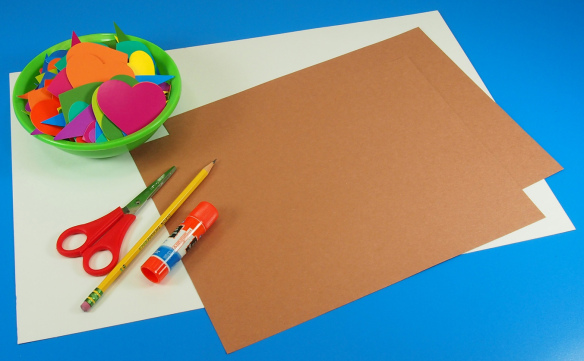 You can use any color of Skintone Paper to make your handprint tree. For this project, I used a specific color of Heart Mosaic leaves to fill in the tree gaps, but your students can use whichever colors they like best.
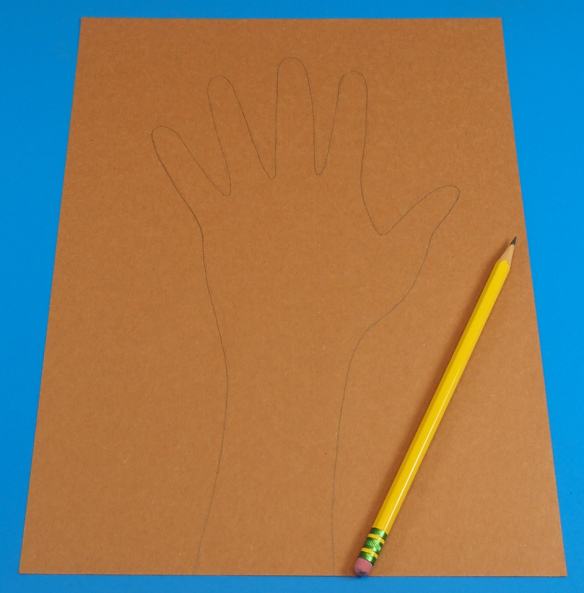 Turn the Skintone Paper vertically facing you and place your hand in the center of the page. Trace the outline of your hand with a pencil.
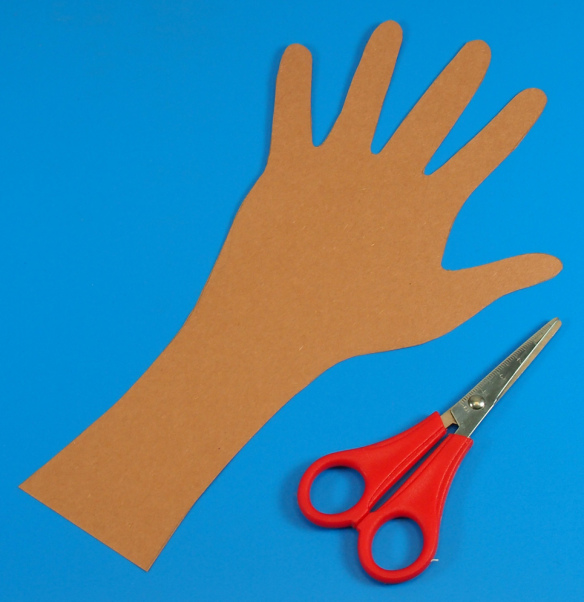 Cut out the traced outline. This will form the base of the tree (the tree trunk and branches).
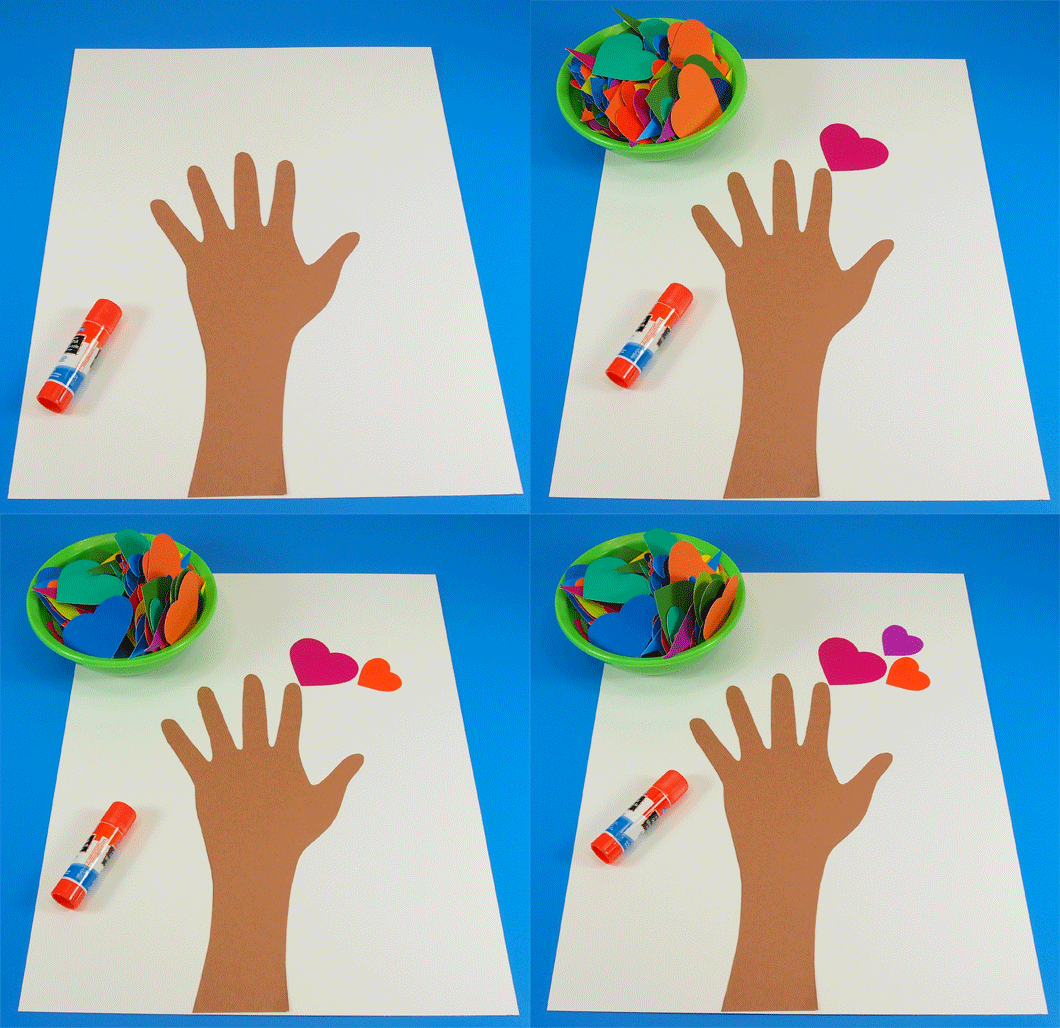 Next, paste your handprint tree onto a sheet of white paper. Align the bottom edge of the handprint with the bottom edge of the paper.
You can start laying out the Heart Mosaic leaves around the “branches” of the handprint. Angle the direction of the Heart Mosaics outwards from the center handprint.
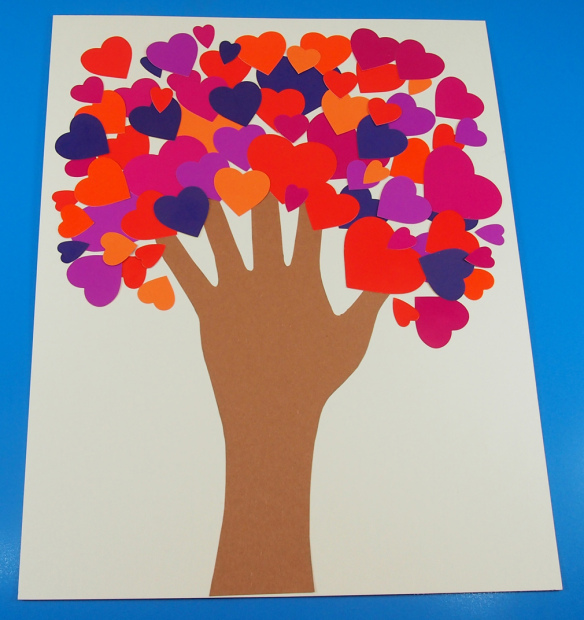 Once you have worked out the colors of your Heart Mosaic leaves, or where you want to place them on the page, start pasting them down.
Overlap various sizes of Heart Mosaics to get a fuller look for your tree.
Thanks for checking out this project post! If you’d like to share some of your projects with us, send your photos to subscriber@roylco.ca and we’ll write up a post for our viewers!

