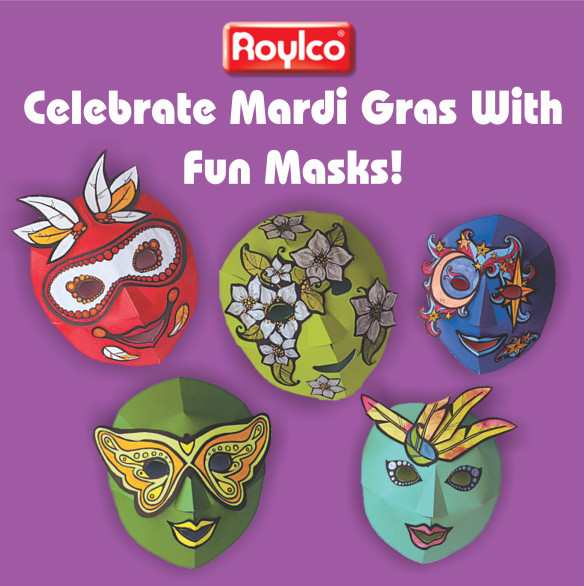
Celebrate Mardi Gras with Gorgeous Color Diffusing Masks

Mardi Gras is French for “Fat Tuesday”, reflecting the practice of the last night of eating rich, fatty foods before the ritual fasting of the Lenten season. It always falls the day before Ash Wednesday, the first day of Lent.   It is a time of great celebration where people throw parades and parties. Today we are going to teach you how to use Roylco R52081 Maridi Gras Color Diffusing Masks to make gorgeous masks. Let’s get ready for the parades and parties!

Age: 4+

Duration: 12 minutes

Learning Outcomes: Exercise fine motor skills. Integrate art,  and holiday activities. Makes a perfect take-home craft.

You’ll Need:

  1. Use liquid watercolor paint or water-based markers. The colors will mix and flow
    to produce interesting effects.
  2. To paint the paper, roughly cut out the images you will use for your mask. Note: you can mix and match components.
  3. It is important to plan your mask because there may be more than one mask image per sheet of color diffusing paper.
  4. Lay the pieces onto a paint tray or several sheets of newspaper to protect your work surface.
  5. Drip some liquid watercolor paint on and watch the colors flow. Tip: because the colors will mix, it is a good idea to work with only two or three colors—too many colors will result in brown masks!
  6. If you are using markers, color in the areas using as many different colored markers as you like. Once complete, spritz the sheet with a little water from a spray bottle, The water will help the marker to blend and “bleed” to produce a beautiful effect.
  7. Once completely dry, cut out the painted images. Add extra details with gel pen, markers or glitter glue before gluing onto the masks.

Ideas: To add even more interest to your mask, sprinkle a little salt over the mask before dripping on the paint. The salt will dissolve and add subtle star-burst highlights. You can add details with crayon before painting. The crayon will resist the paint and the detail will appear on the finished artwork.

Please visit https://roylco.com/shop/r52081-mardi-gras-color-diffusing-masks/ for more information.

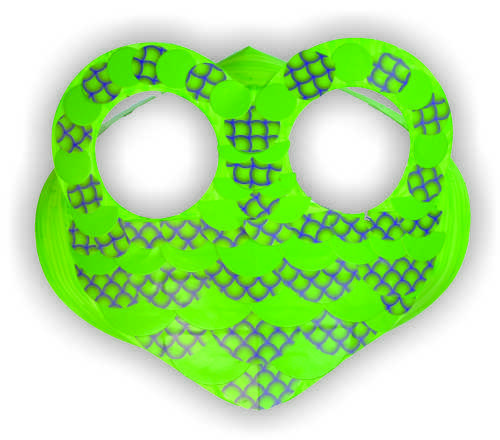
Frog Mask

finished frog mask.jpg

This adorable mask is a perfect addition to your costume closet! Wear it Trick-or-Treating too!

Age: 4+

Duration: 15 minutes (plus drying time)

Learning Outcomes: Augment student presentations with this adorable costume piece. Exercise fine motor skills. Create wearable art.

You’ll Need:

Line-07

Today we will explore a fun way to add texture and color to a mask using paper! We have chosen a frog mask, but this crafty technique can be used across a wide variety of art activities.

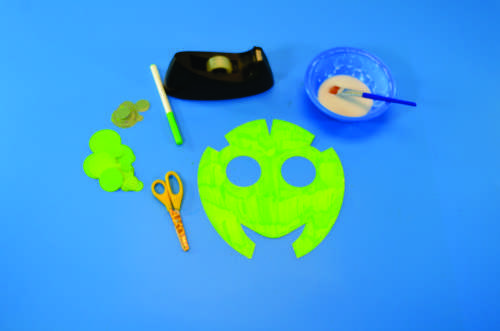
step 1

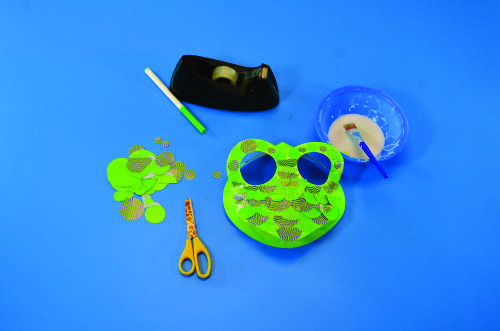
Start with a flat mask. We used a green marker to add a base color to the entire mask.

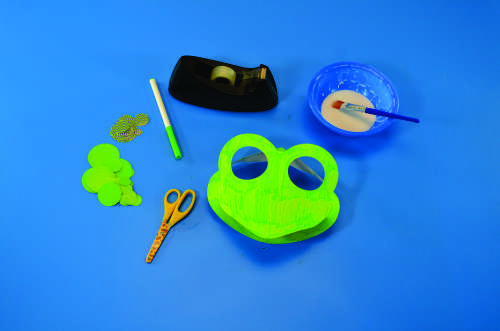
step 2

Next, tape the tabs and pleats of the mask together. This will give your mask a 3 dimensional shape! Remember, it is easier to color a mask while it is flat, but if you will be applying details with glue, it is easier to fold up and tape the mask together BEFORE applying glue. If you glue things to a flat mask, the dry glue may crack and cause pieces to fall off when you fold the mask.

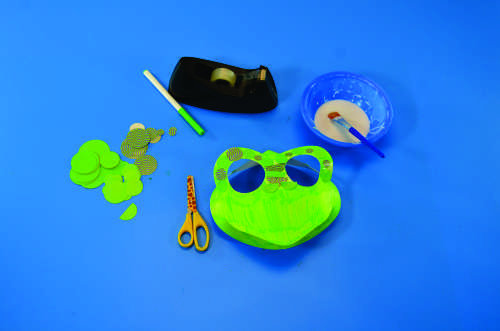
step 3

To add color and texture to your mask, try using circle popz! Spread a thin, even layer of glue around the frog mask’s eyes. We used small circles to line the eyes, alternating between a solid circle and a patterned circle.

step 4

For the rest of the face of the mask, we used larger circles cut in half. Spread a thin, even layer of glue on the mask, and start from the bottom of the face. Work your way upwards in slightly overlapping rows,

step 5

This twist on a typical collage technique is a simple, fun and effective way to add bright colors and patterns to a mask.

Use masks in your classroom for imaginative play, to add some life to a presentation, and as beautiful wall art! Don’t forget to take the time to talk about the history and uses of masks in different cultures.

Bundle Savings

Get all the Roylco items used
in this project and save 15%!

$22.51 USD
bundled price
Add Bundle
to Cart

 Line-20

Like us on FacebookShare this post with your friends, or Subscribe to this blog today to receive original craft project updates every week


Craft Spotlight: Farm Animal Masks

kids crafts barnyard masks

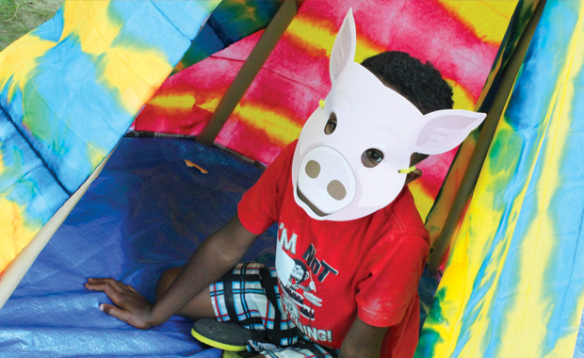
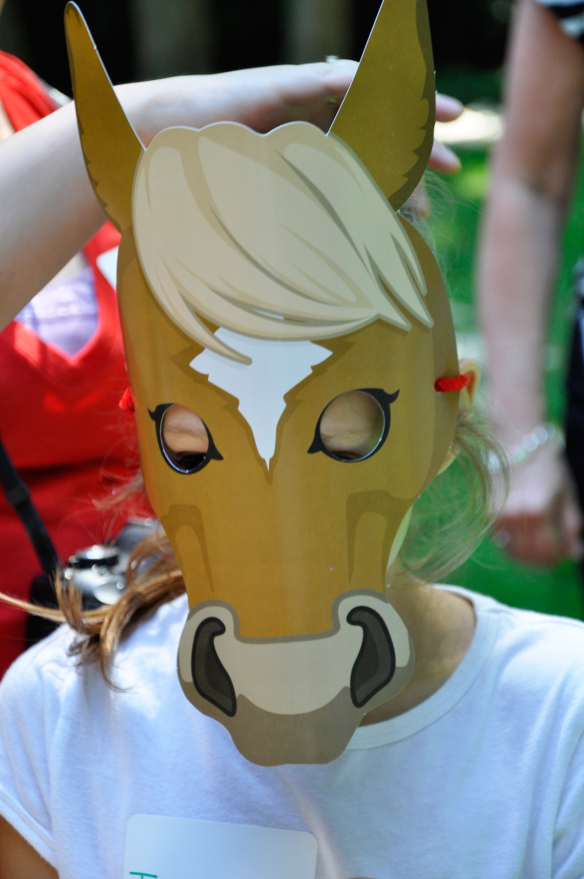
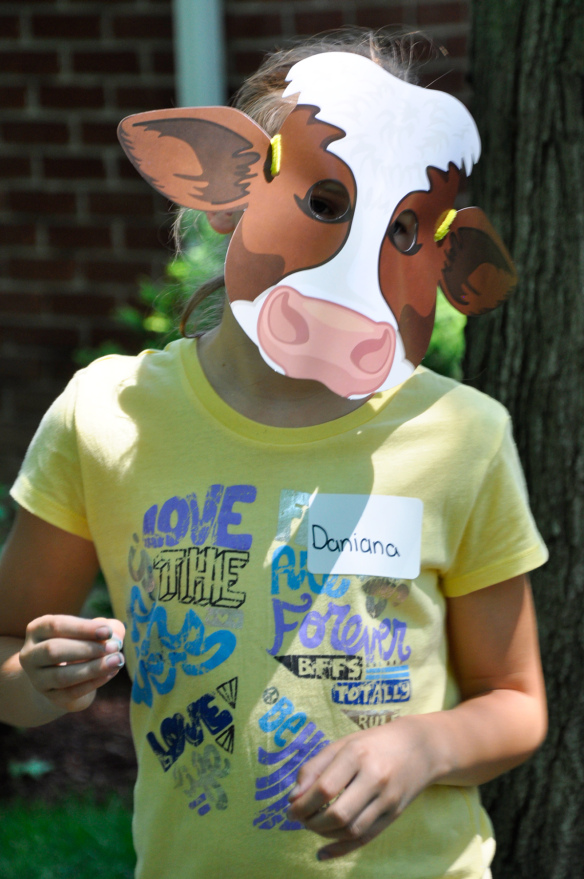
Dress up, learn facts, exercise and play farm with Farm Animal Masks! These pre-printed, coated masks are the perfect tools for encouraging students to participate in dramatic play and physical education!

There are 8 different animals to choose from, so your students get quite a bit of variety! Choose between a cow, duck, goat, rabbit, horse, pig, sheep and chicken.

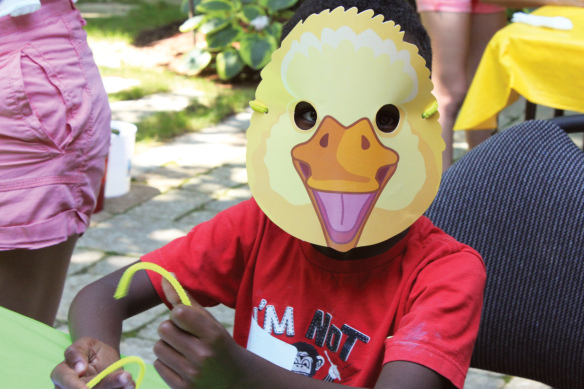
kids crafts barnyard masksTo wear the masks, attach a pipe cleaner to either side. Join the pipe cleaner at the back. The masks are pre-punched with holes to allow pipe cleaner or string to be threaded through. We find that pipe cleaner works best for adjustments, as you can always twist it tighter to hold it in place.

kids crafts barnyard masksWe played several fun games while wearing the masks. Sing “Old McDonald Had a Farm” and get students to call out their animal’s signature sound!

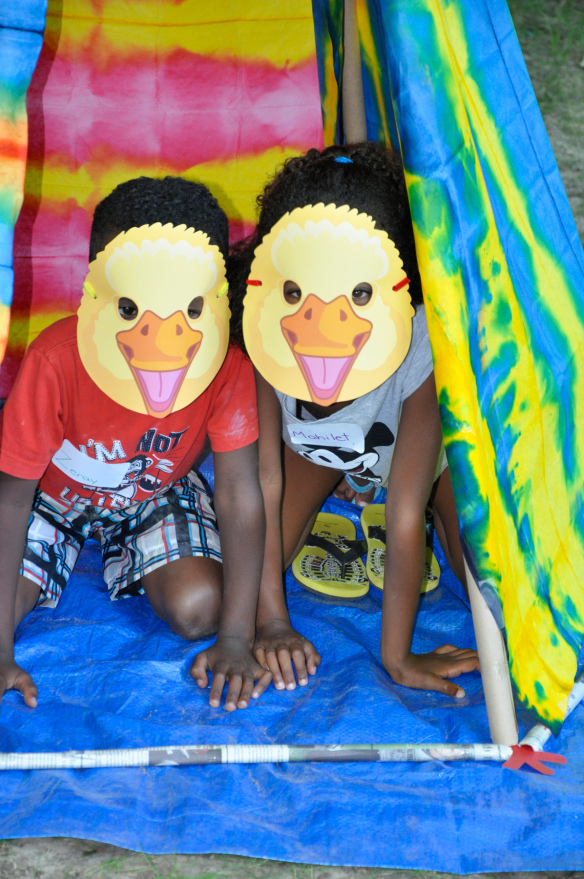
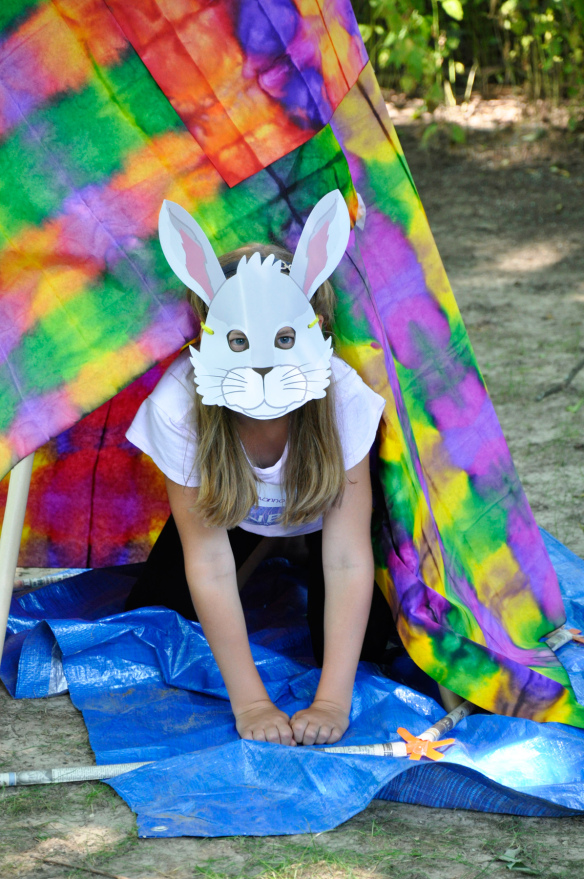
kids crafts barnyard masksWe set up a miniature tent (made of Color Diffusing Paper sheets and Newspaper Builders) to make a “playpen” for these duckies!

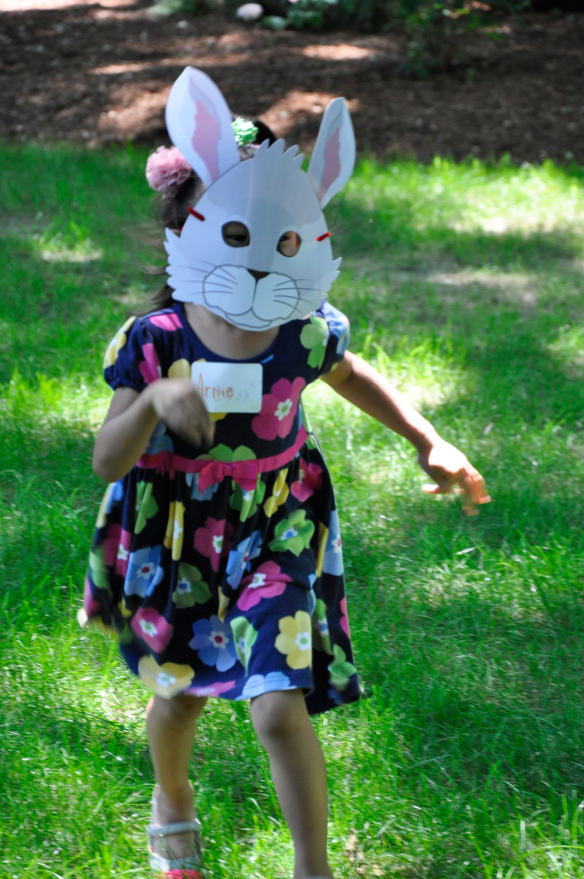
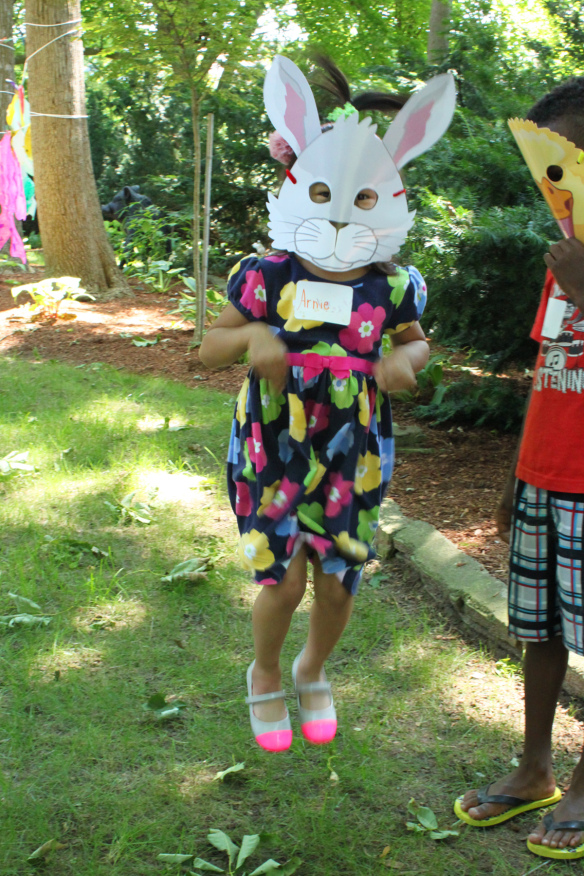
kids crafts barnyard masksPlay hop-scotch on the grass! Use grass marking spray or form square boxes from our Straws and Connectors to get your hoppity friends moving.

kids crafts barnyard masksWe gave our funny friends some crafts to work on while wearing their Barnyard Masks. This helped some of our shy kids open up, as wearing a mask made them feel more confident.

kids crafts barnyard masksLook at that hop! This bunny’s ready to take off!

kids crafts barnyard masksThanks for hanging out, everybody!

Line-12

Like us on FacebookShare this post with your friends, or Subscribe to this blog today to receive original craft project updates every Monday, Wednesday and Friday!