Posts Tagged ‘kids art and crafts’
The “Helping Hands” Good Deeds Display
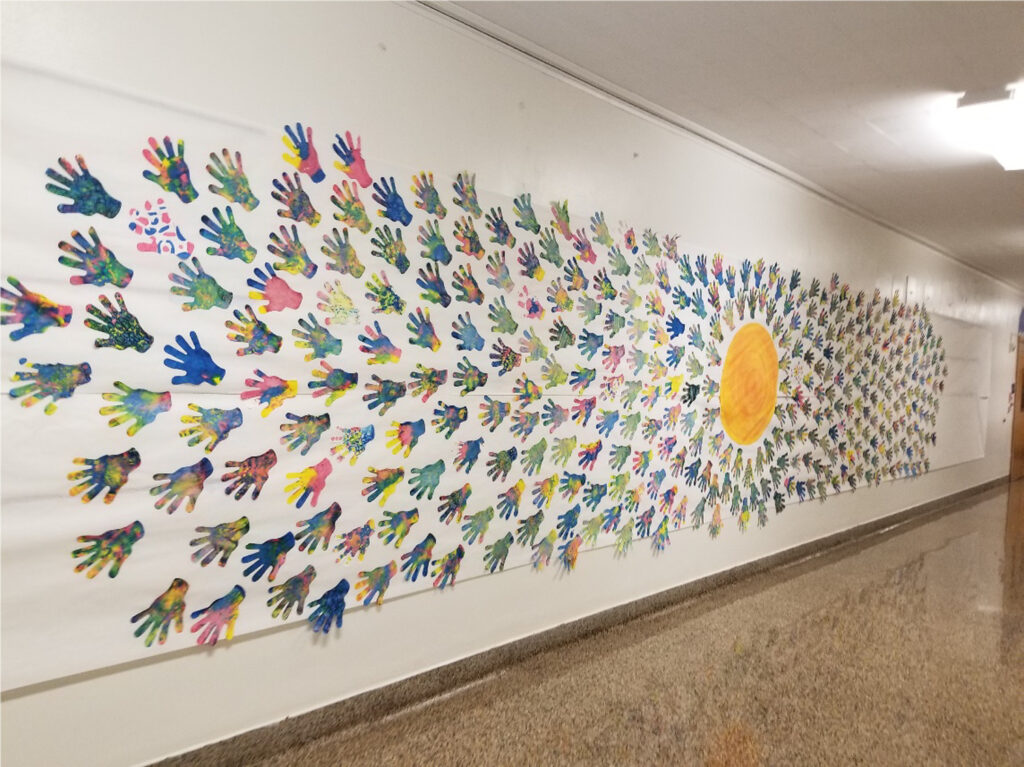
Special Post Contribution: By Amy Klossner Here are the photos of the project our school completed using Color Diffusing Hands. They were just perfect. We read the book Ordinary Mary’s Extraordinary Deed, before painting the hands with liquid watercolors. It’s a story about a little girl who does one good deed and that person does…
Read MoreOverlapping Stencil Shapes
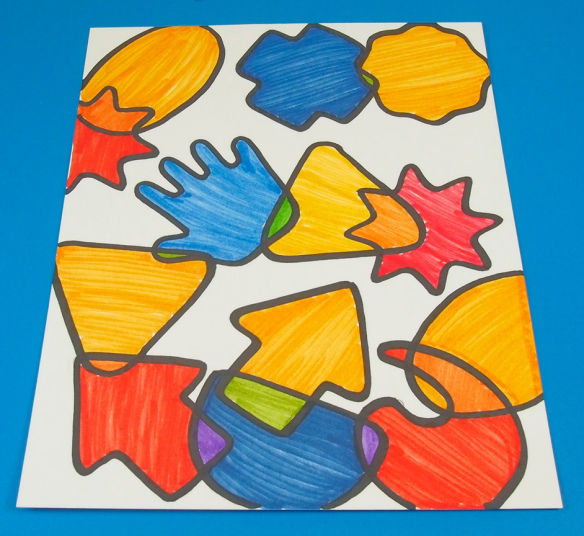
Blend basic shapes and create a colorful collage art piece! Great for rainy day art projects.Young children will love tracing out the fun shapes. The stencils are easy to manipulate and perfectly-sized for small fingers to handle. Build fine motor skills while combining colors and shapes for interesting effects! Age: 3-5 Duration: 15-20 minutes You’ll Need:…
Read MoreOverlapping Stencil Shapes
Blend basic shapes and create a colorful collage art piece! Great for rainy day art projects.Young children will love tracing out the fun shapes. The stencils are easy to manipulate and perfectly-sized for small fingers to handle. Build fine motor … Continue reading →
Read More