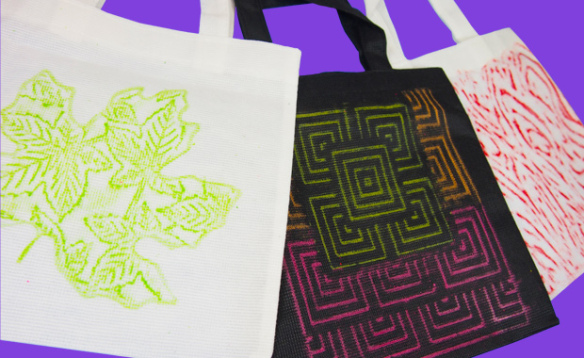
Store your art materials in personalized art totes! Make one for yourself (the ever-patient and longstanding art teacher) or invite your students to make one for you. The project is pretty simple and quick so students will love the opportunity to make more!
Age: 3+
Duration: 5-10 minutes
You’ll Need:
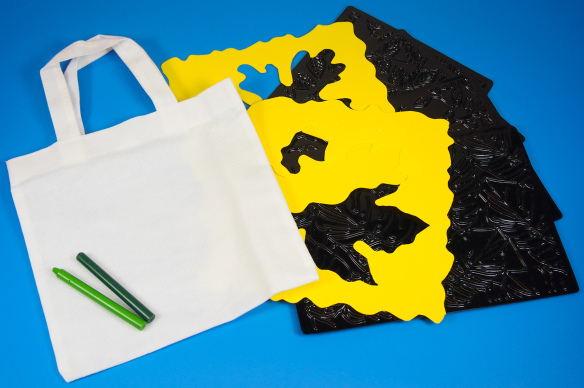
• Assorted rubbing plates: R5841 Optical Illusion Rubbing Plates / R5871 Organics Rubbing Plates / R5870 Linear Rubbing Plates / R5804 Flower Rubbing Plates
• Assorted stencils: R5615 Nature Stencils / R58621 Number Stencils / R58620 Fine Motor Skills Stencils / R5621 Rangoli Mega Stencils / R5618 Big Alphabet and Picture Stencils / R5522 Child’s First Stencil Set
• Crayons
• Dollar store / cloth totes
In this project, I’ll show you how to combine stencils and rubbing plates together to make authentic-looking prints. You can separate this combination into two activities, depending on their difficulty level: Younger children can use only stencils and crayons. Color the inside of the traced shape. Older children can use specific colors for certain parts of a rubbing plate pattern.
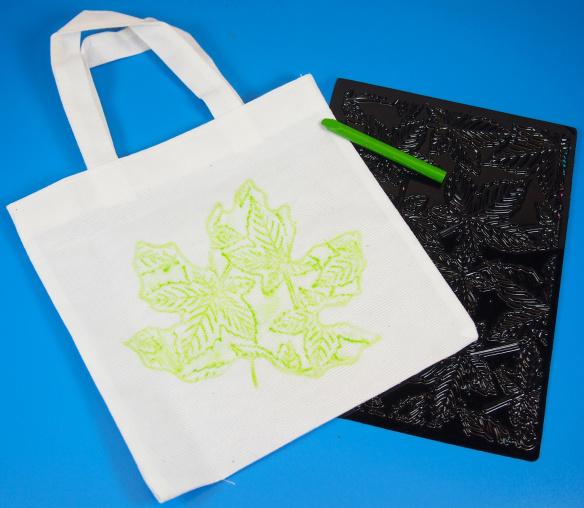
Here, I decided to make a leaf print on my art tote. To do this, I’ve selected a leaf stencil and chosen a rubbing plate pattern to match. In addition, I’ve picked two crayon shades of the color green.
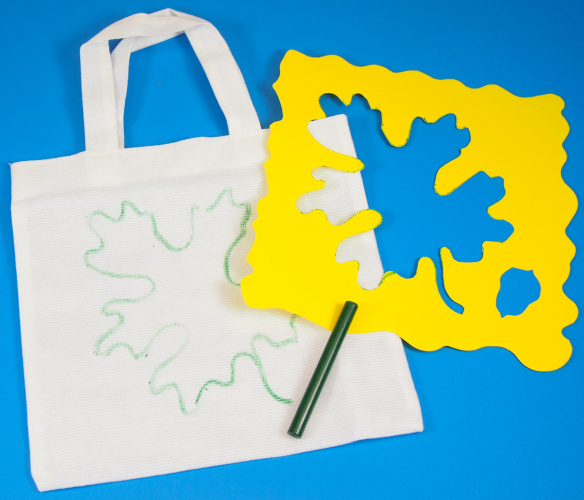
First, trace the leaf shape onto the middle of one side of the tote. Make the outline dark enough so the edges are visible on all sides.
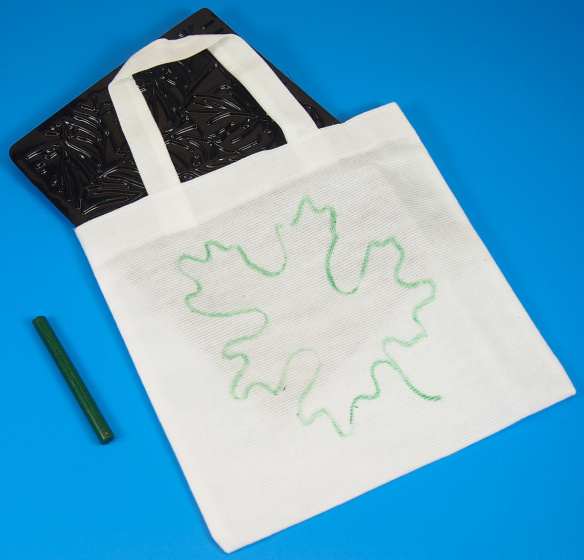 The rubbing plate fits so nicely into the tote bag, it was like it was meant to be!
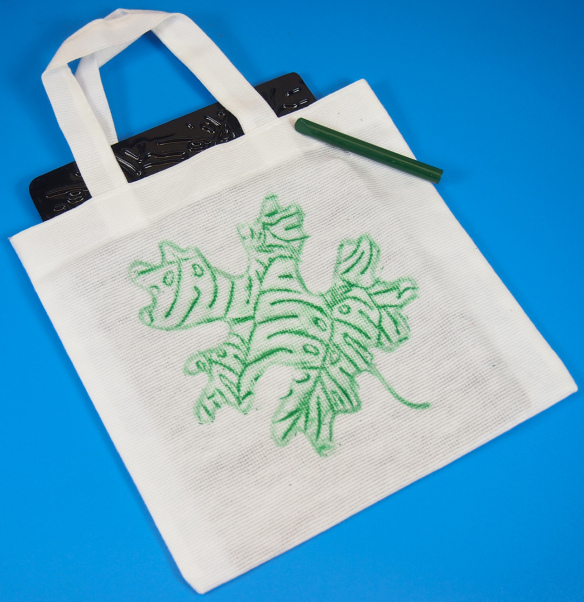 The cloth will be a lot tougher than regular paper. Be sure to use the point of the crayon to bring the pattern out. Rub the pattern all around the inside of the stencil outline.
Repeat the same technique for the opposite side! Here, I’ve simply used a rubbing plate print and rubbed directly onto the tote, without need of a stencil. Younger students can try this technique, since it’s a basic way to decorate the art totes.
The next technique is a little tricky, however. Encourage older students to try this method out:
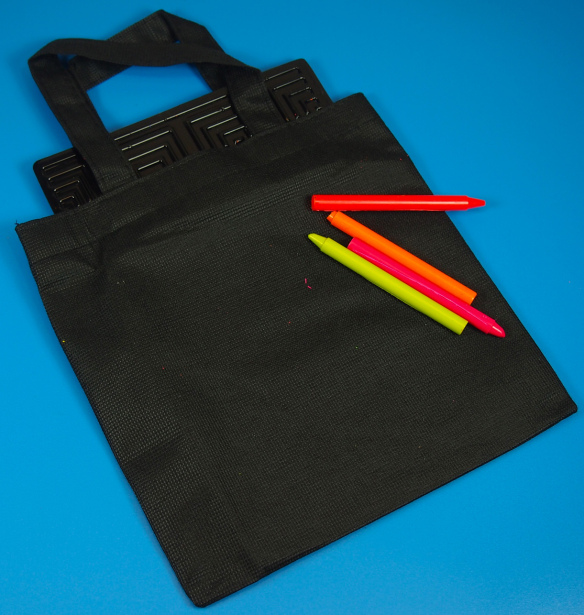
Slip an Illusion rubbing plate or something similar inside the tote. Pick out several vibrant crayon colors.
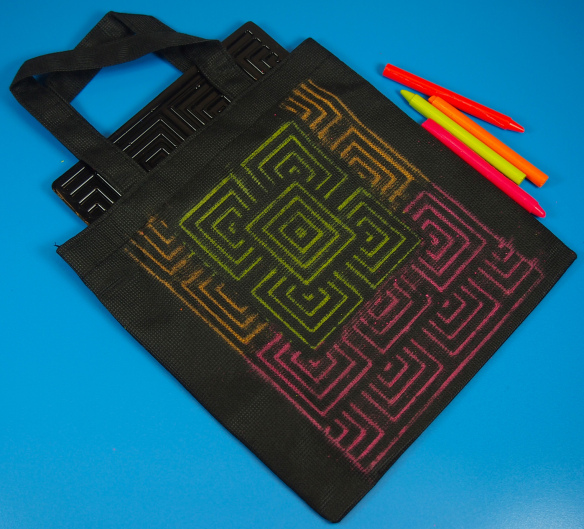
Rub certain sections of the art tote with one color, then switch to another color when you reach a different section of the rubbing pattern. Against the black tote, the neon colors just pop right out!
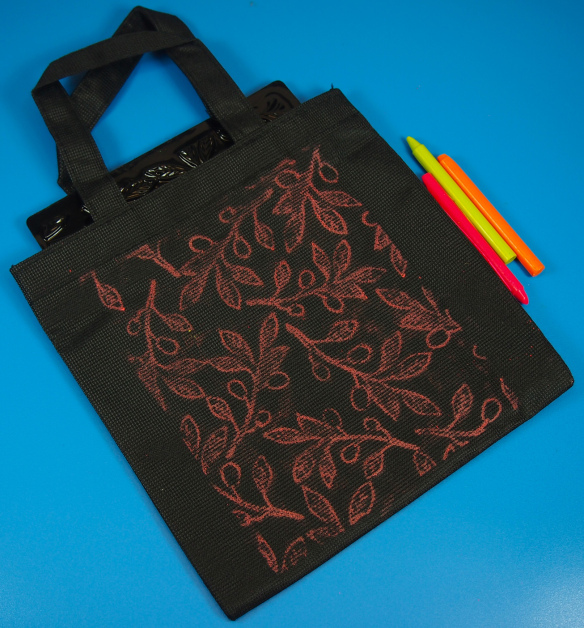
Here’s a rubbing plate print from one of our Organics Rubbing Plates.
Use your art totes to store your art materials (such as the rubbing plates, loose crayons, markers, scrap paper and so on)!
Thanks for viewing our post! Subscribe to our blog for updates every Monday, Wednesday and Friday with new craft ideas! If you’ve made any projects using the materials in this post or would like to showcase your own ideas, send us an email to subscriber@roylco.ca!
