Age: 4+
Duration: 30 minutes (or more, depending on your design preferences), plus drying time.
Learning Outcomes:
We’re going to be mixing ingredients, painting and decorating with our creations. We can learn about the subjects related to our rubbing plates, nature, science, etc. And, we can even have a discussion about sunlight and color as we enjoy our window clings.
Here’s what you need:
Any of our Rubbing Plates will work perfectly for this project.
Non-Toxic White Glue
Dish Soap
Food Coloring (liquid or gel)
Glitter (optional)
Brush (foam or bristle)
Sandwich Bag (optional – for detailed application of color)
If you’ve worked with our rubbing plates before, you’re going to love this project. It’s easy — and fun to mix, make, and use! I’m using the Insect Rubbing Plates (R5803), but our entire line of Rubbing Plates can be used in this way.
We’re going to create a very cool window cling using non-toxic white glue, some dish soap, and food coloring (you can use liquid or gel food coloring — both work great).
Kids as young as 4 will enjoy this project, with some help and guidance. Kids 4+ will need minimal help but will probably have an excellent time.

Here’s how you do it:
Step 1:
Anytime you’re working with glue things can get a little messy. You’ll be doing yourself a favor if you put some wax or parchment paper down on your work surface. This will also help to keep your rubbing plates from sticking to stuff.
Step 2:
Time to mix some colors! All these materials are safe, so it’s okay to use a cup or a bowl from the kitchen to mix your ingredients.
Start with about 2 tablespoons of white glue. Add a couple of drops of dish soap. It’s okay if your measurements are not super precise.
Next, add the food coloring. A little is plenty. For darker colors, add more. If you don’t have the color you need, try mixing the colors you have. You could also leave the color out to create a translucent appearance (perfect for bug wings).
Consider this:
If you want to use more than one color, you’re awesome! It might be a good idea to prepare all your colors during this step.
Also, glitter doesn’t work great everywhere — but it works great here! Add some glitter to your color during this step, and it will really add a nice, sparkly effect to your window cling. It will be so pretty when the sun is shining through!
Step 3:
Before you begin, make sure to use the side of the rubbing plate on which the pattern is sunk (not raised). It’ll help to keep the color in place.
A foam, or bristle brush, will work great for covering the bug with your mixture. For more precision, try using a pastry bag. Just pour the mixture into a sandwich bag, pushing it down to the corner, then snip a tiny hole in the point.
Really precise images will take some practice. You learn the best amount of glue as you go. But, keep in mind, the thinner the coverage, the more fragile your window cling will be.
Step 4:
We need to let it dry. Depending on how much glue you used, it could take up to 12 hours to dry.
Step 5:
Removal. You know how when you get some glue on your finger, and after it dries you peel it off, and somehow that makes you really happy? This step is like that — times 10.
Watch the edges. The glue can get under the plate, so make sure to peel any away from the back.
AHHhhh… that was fun.
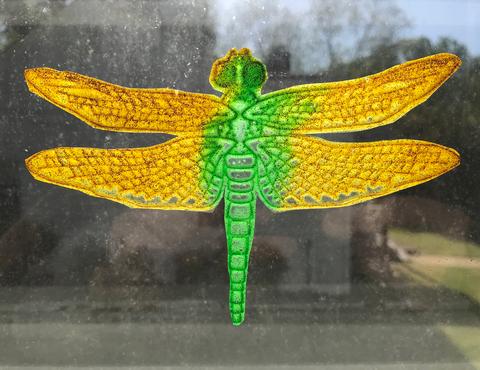
Now you have a window cling!
Consider this:
Trim the edges for a more elegant design.
Step 6:
The time has come to display your creation! Find a good spot in the window and give it a quick wipe with a damp paper towel. Be sure to dry it. Now, use your wet paper towel to dampen the flat side of your window cling. Press it firmly onto the window.
You did it!
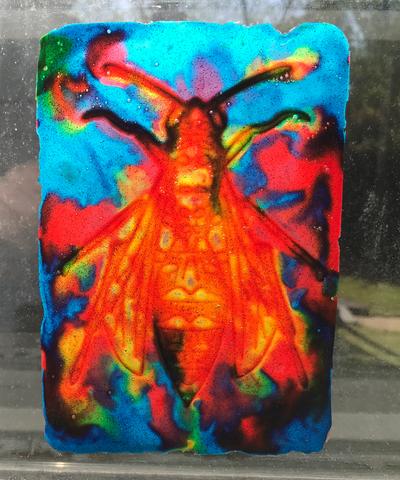
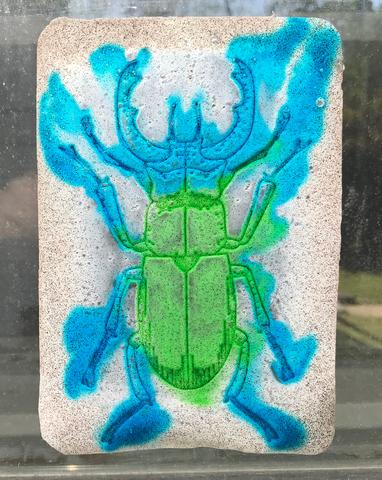
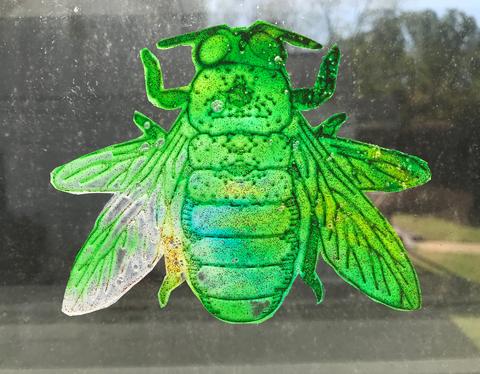
This is a great way to add a fun, science and nature theme to any environment —classroom, bedroom, kitchen, office — anywhere you want to hang up some inspiration.
Use your rubbing plates as many times as you like to create more window clings. Experiment with colors, color placement, backgrounds, trimming… get creative and make it your own!

